This skill helps to walk you through in Creation of the Azure Resource Group(a container that holds related resources for an Azure solution. The resource group can include all the resources for the solution, or only those resources that you want to manage as a group) by step by step assistance.
Note: Ensure you have access to a subscription in the Azure Portal with sufficient privileges to perform skill successfully.
Prerequisites: Login to portal.azure.com beforeand.
Tags: Azure, Cloud
-
1.
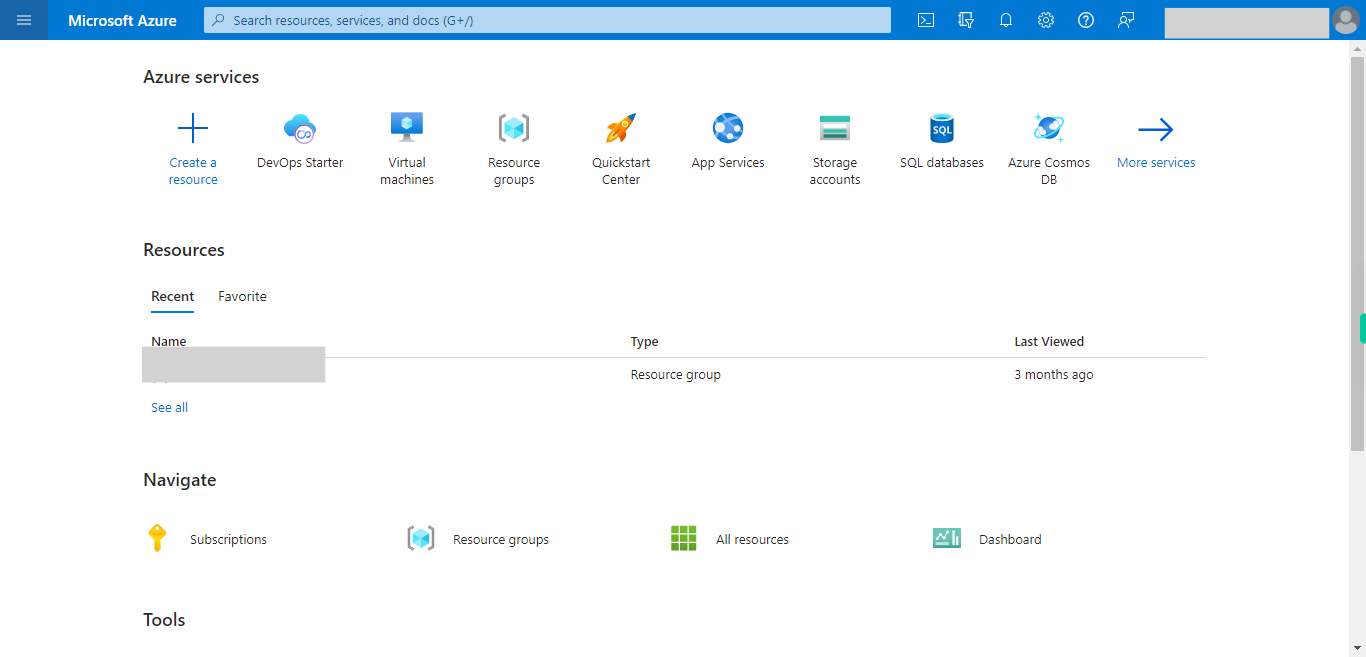
open Home - Microsoft Azure
-
2.
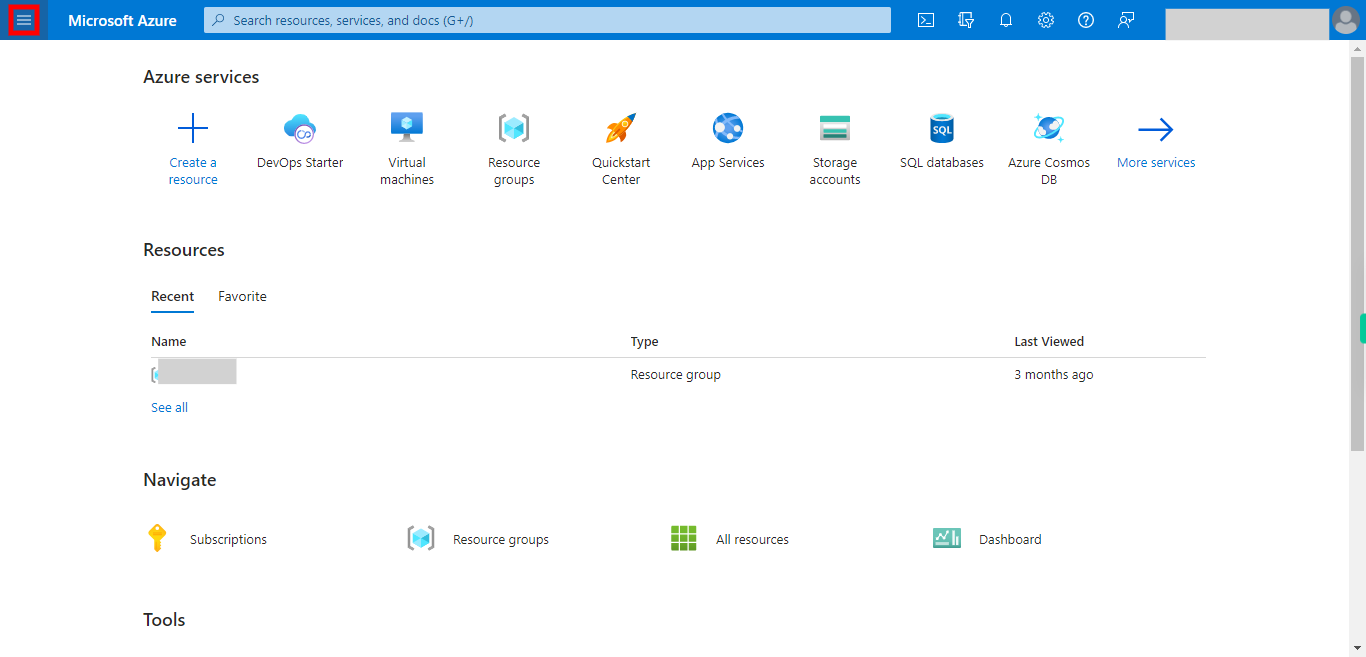
1. Click on the ≡ (hamburger icon) to see Azure Services.
-
3.
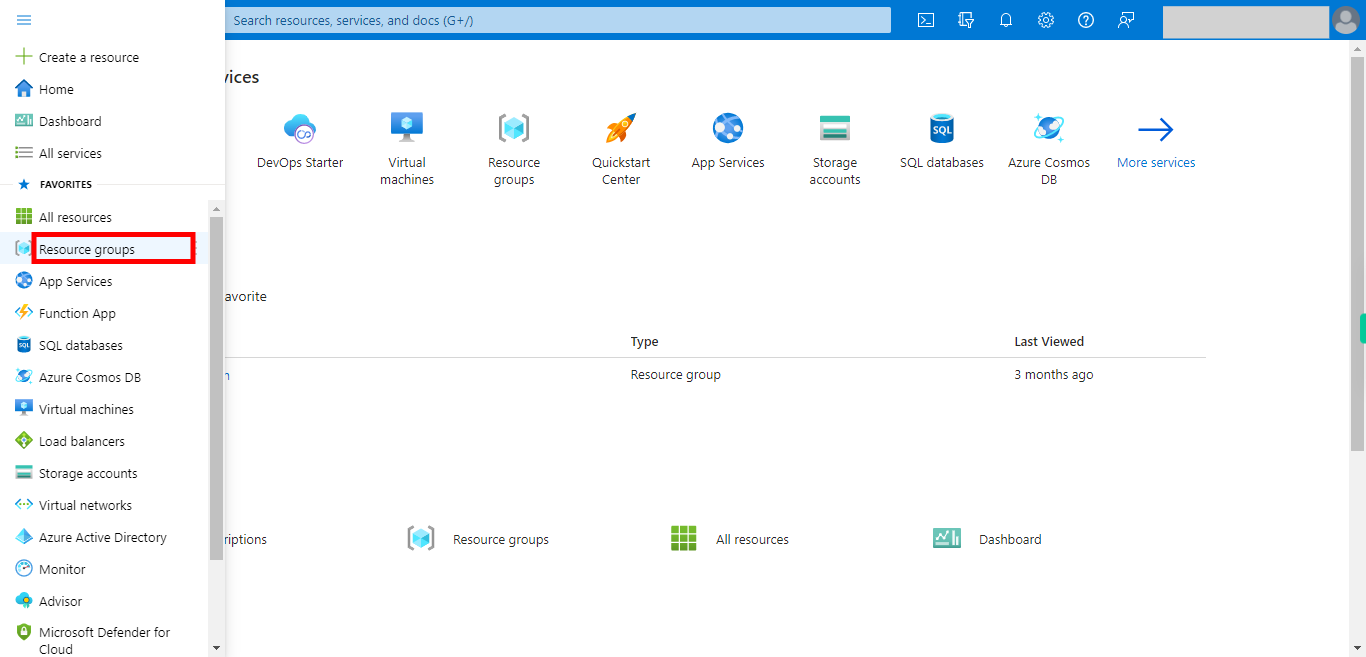
2. Click Resource groups.
-
4.
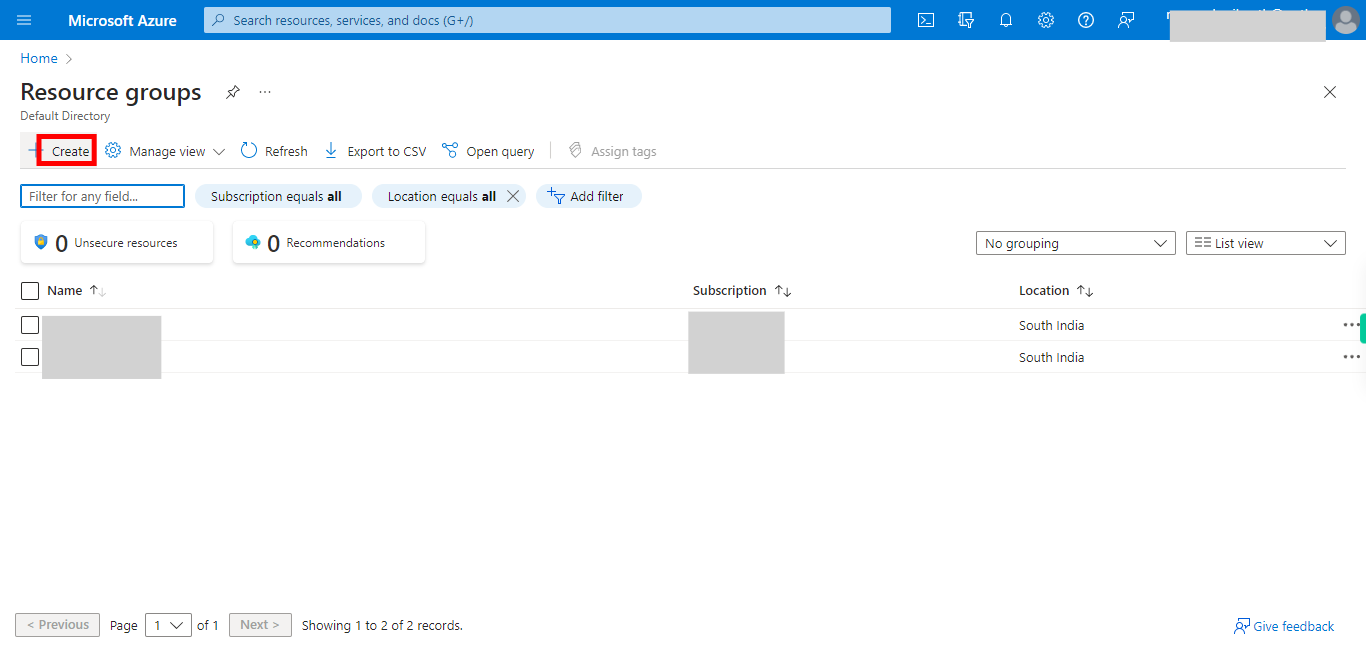
3. Click Create to start creating __Resource Group__.
-
5.
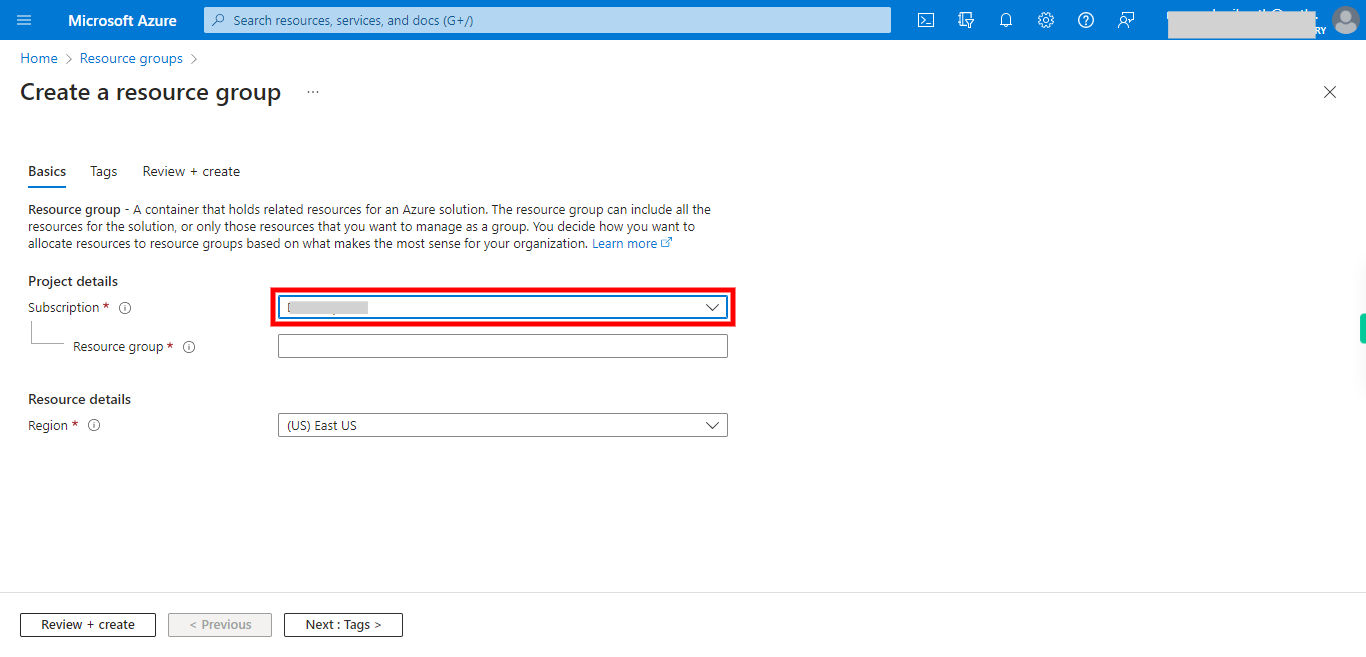
4. Select the __Subscription name__ in which you want to create Resource Group. Once done, click on the Next button on the Supervity instruction widget.
-
6.
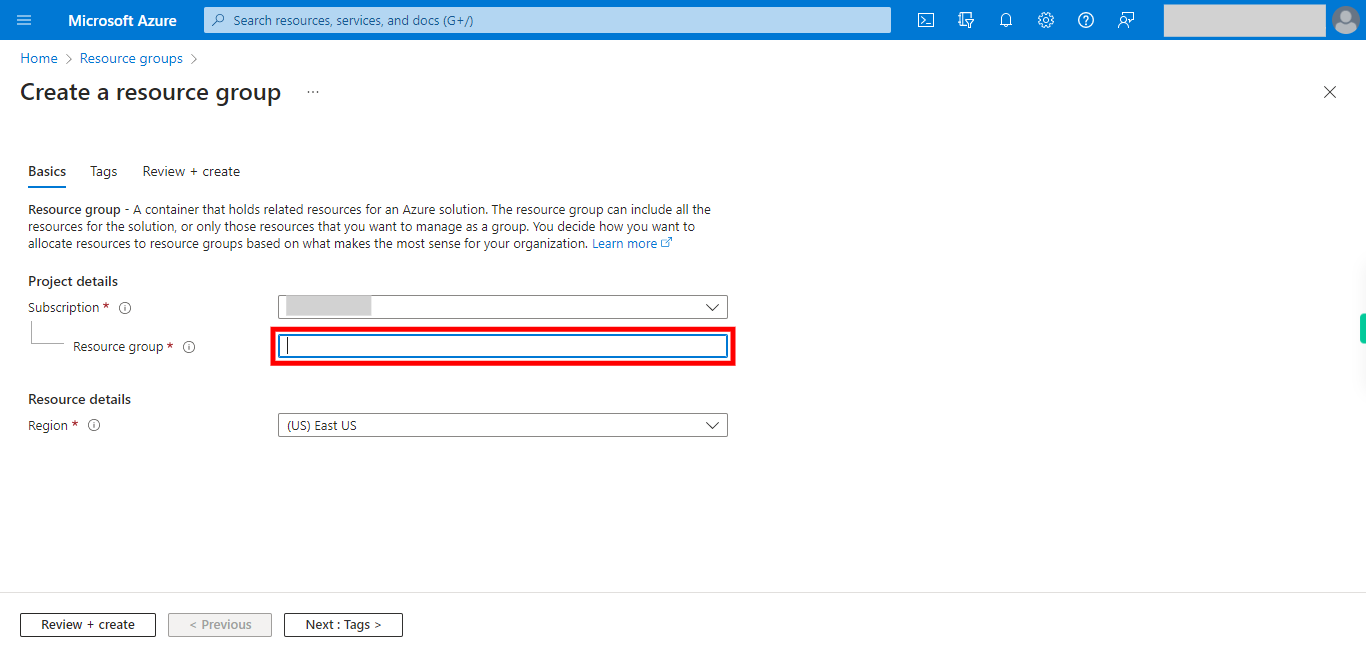
5. Click and type a name for new __Resource group__. Once done, click on the Next button on the Supervity instruction widget.
-
7.
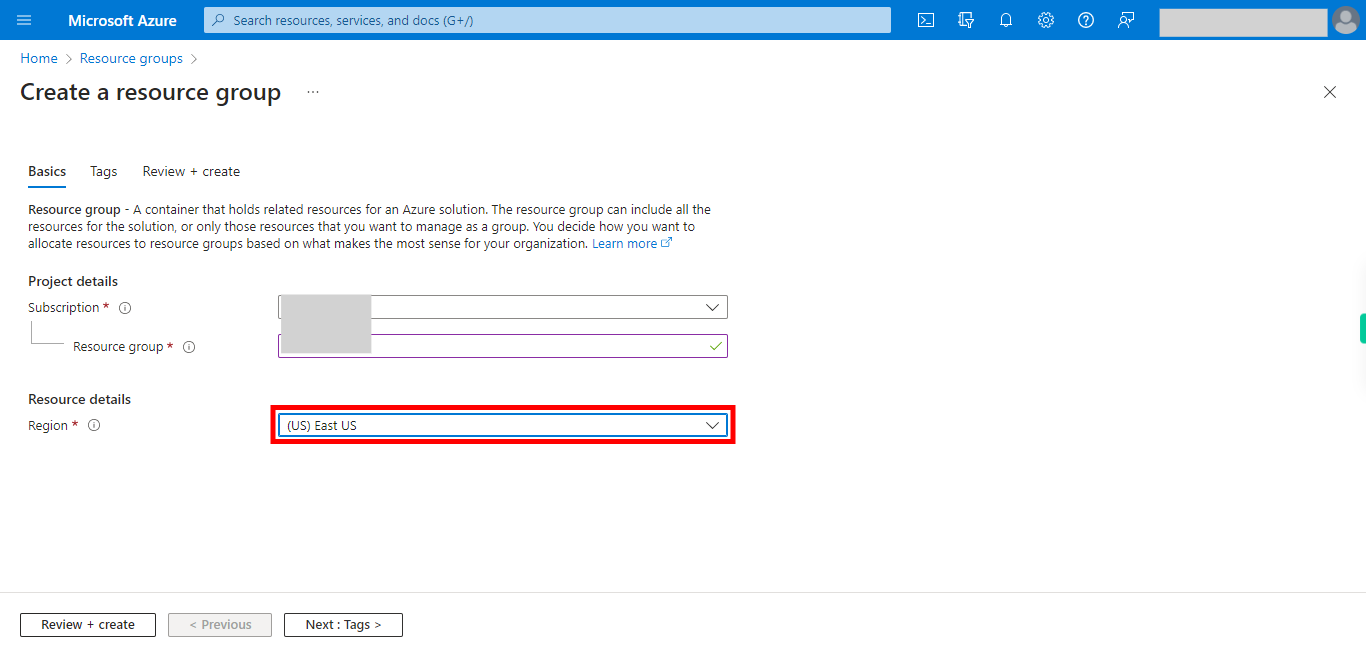
6. Click and select the __Region__ in which you want to create Resource Group. Once done, click on the Next button on the Supervity instruction widget.
-
8.
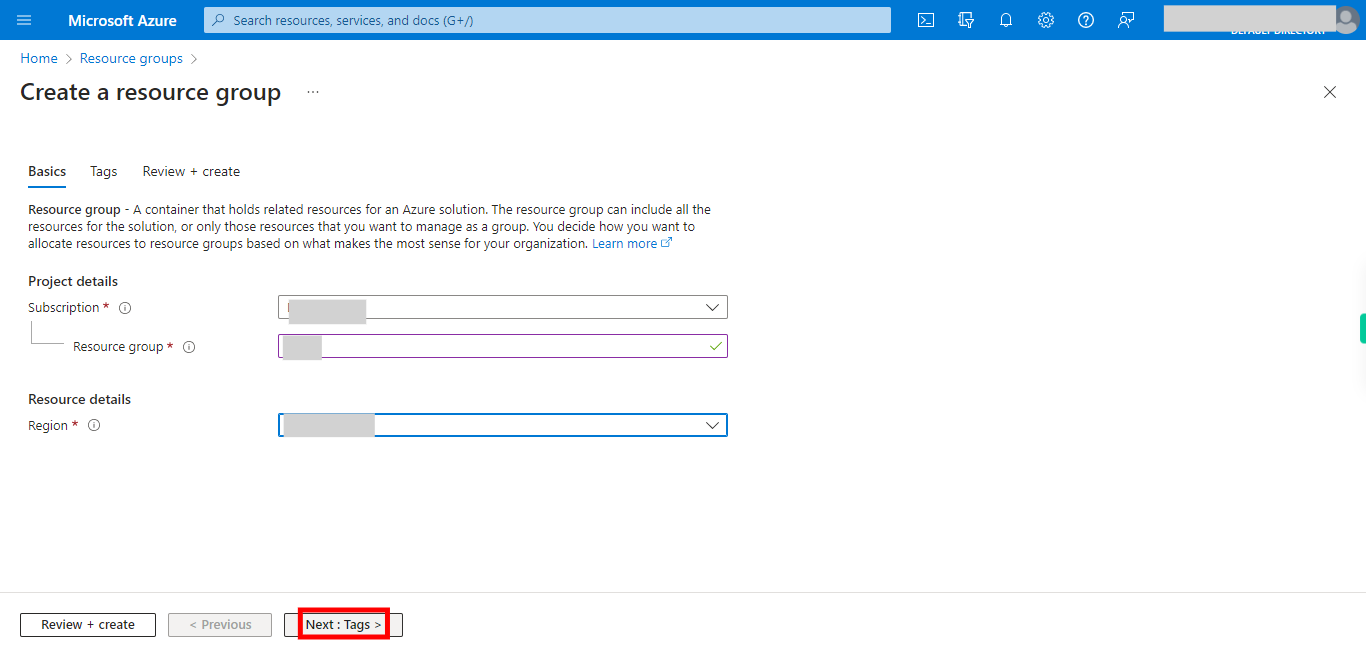
7. Click **Next: Tags** to proceed.
-
9.
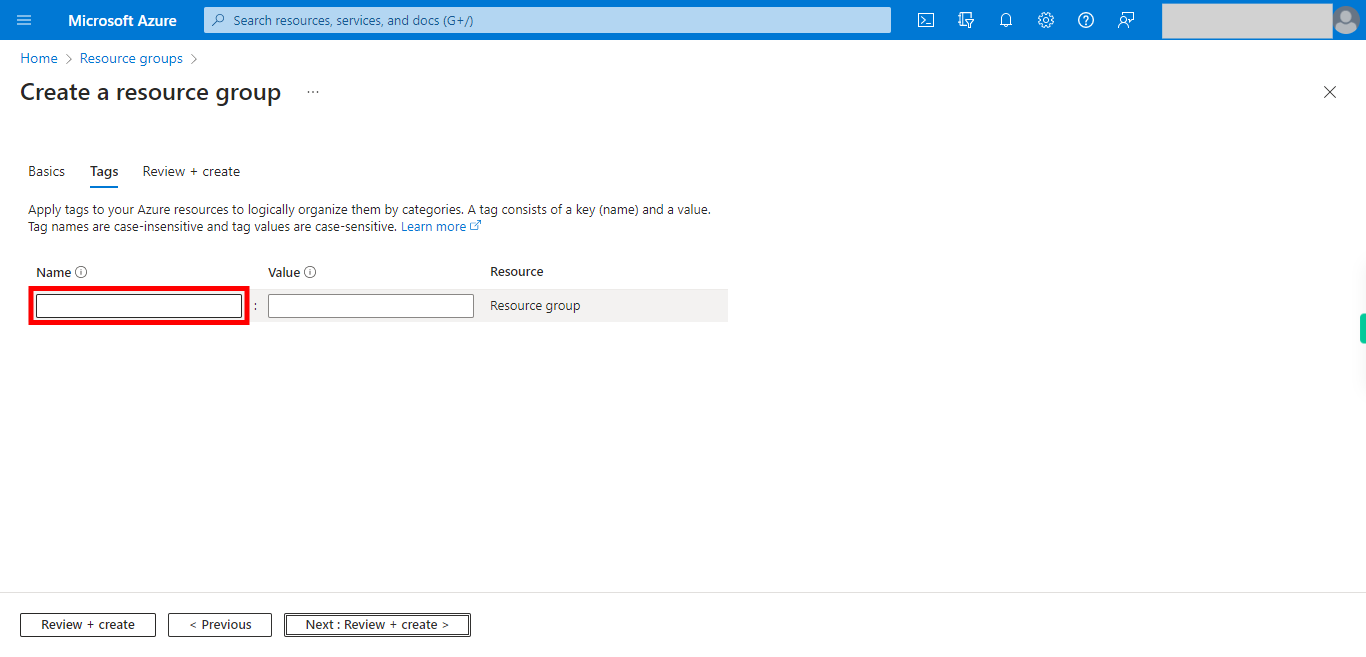
8. Add tags with key-value's as desired. ⚠ In certain Azure subscriptions, the creation of resource group without appropriate tags are blocked as mandated through application of certain policies. Once done, click on the Next button on the Supervity instruction widget.
-
10.
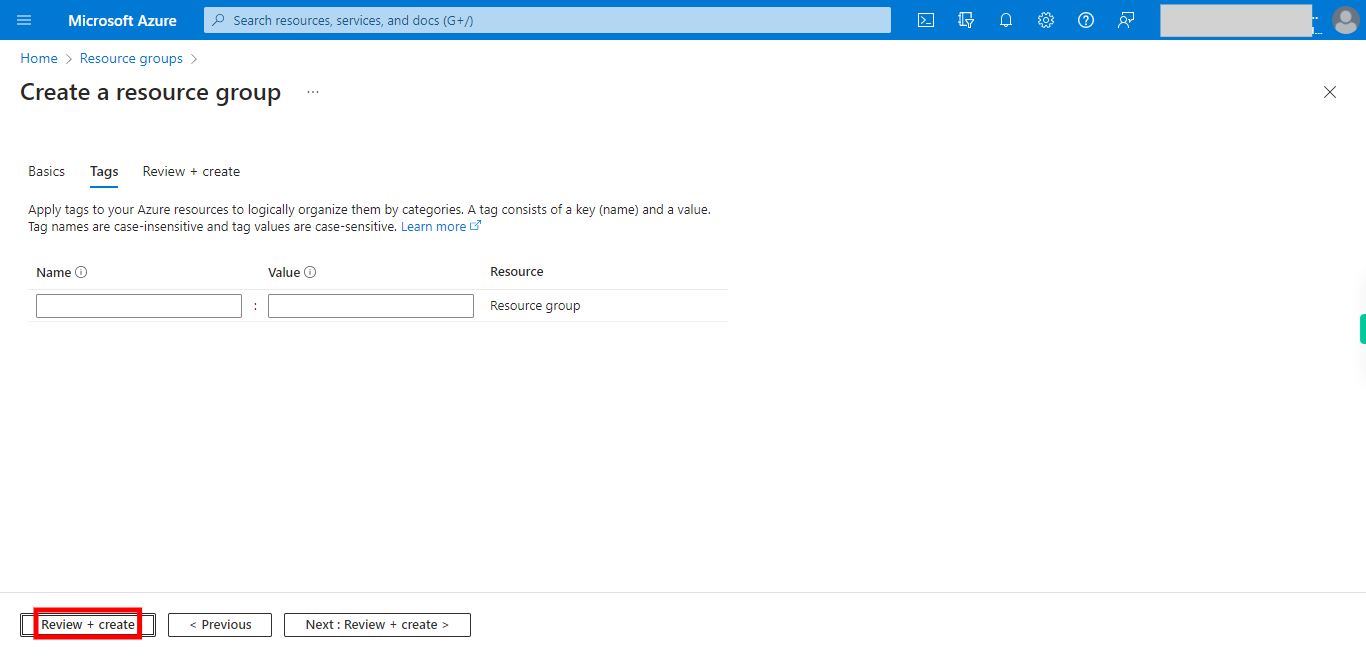
9. Click __Review + create__ to continue.
-
11.
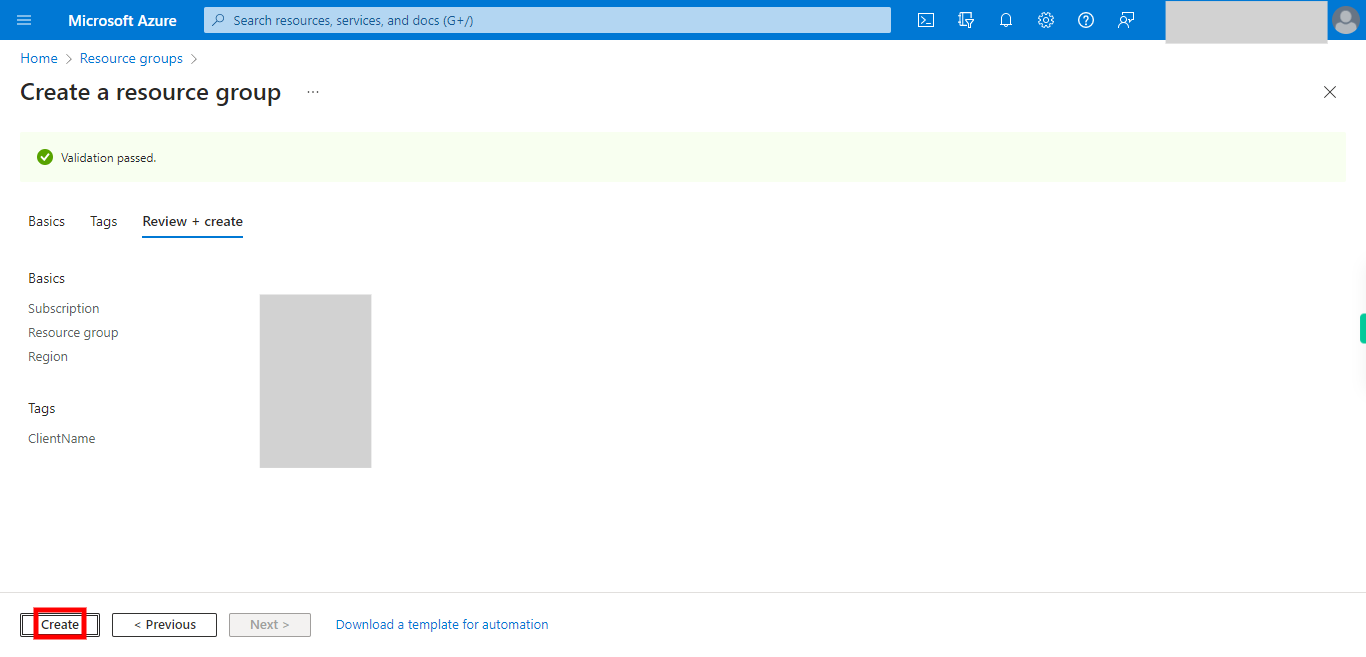
10. Click __Create__ to complete creation.
-
12.
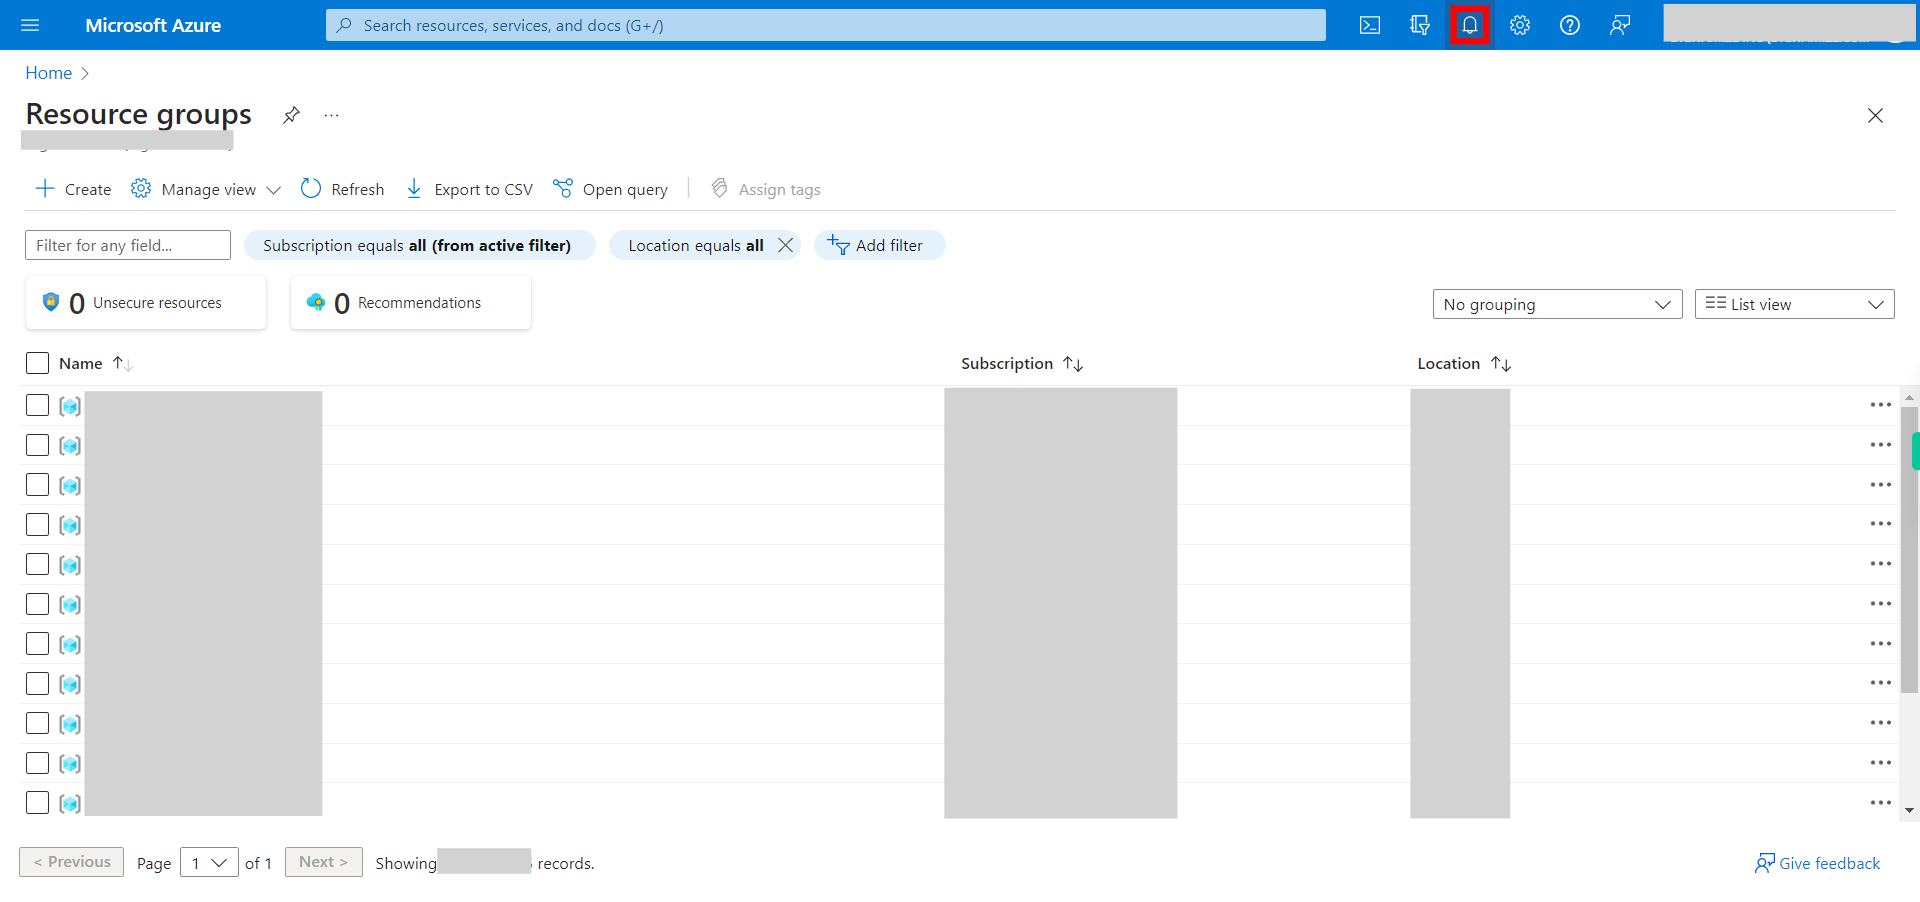
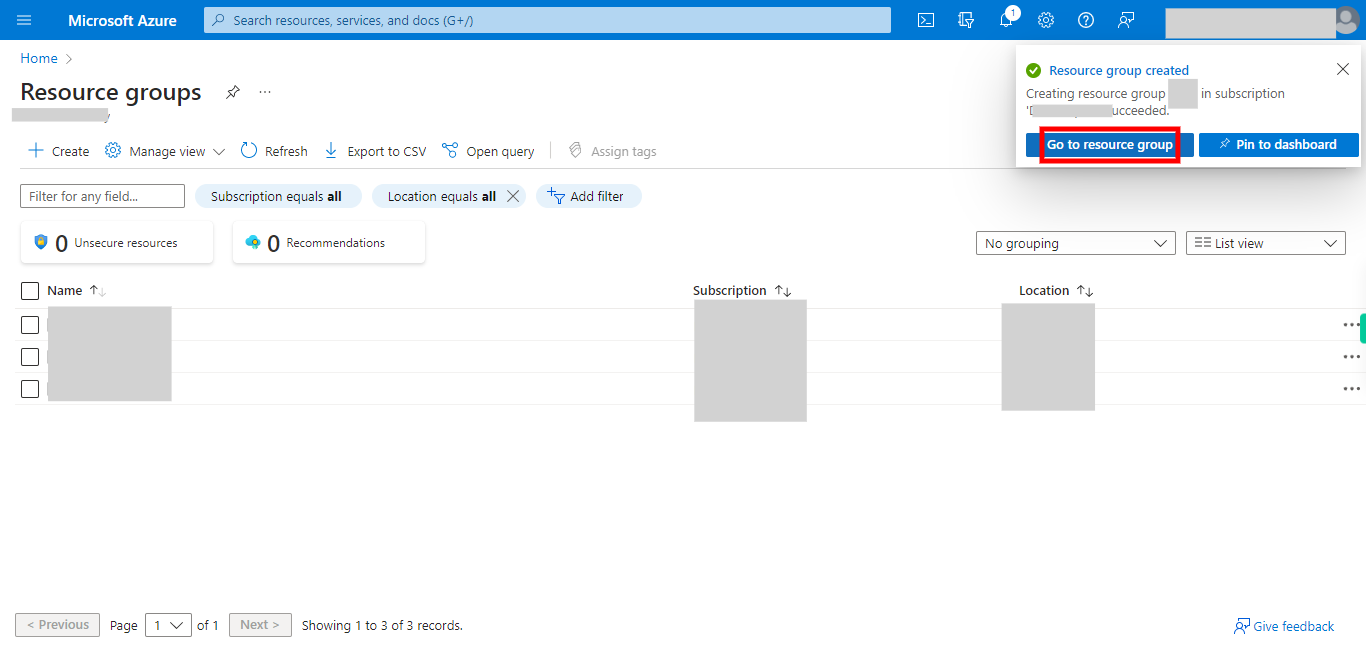
11. Click on 🔔 icon to check the status of the action created just now. Wait until the creation is successful.
-
13.
12. Click to __Go to Resource group__ to check the newly created Resource group.


