This skill navigates the process of adding and formatting tables in google slides. NOTE: Make sure that you have logged into Gmail account before playing the skill.
-
1.
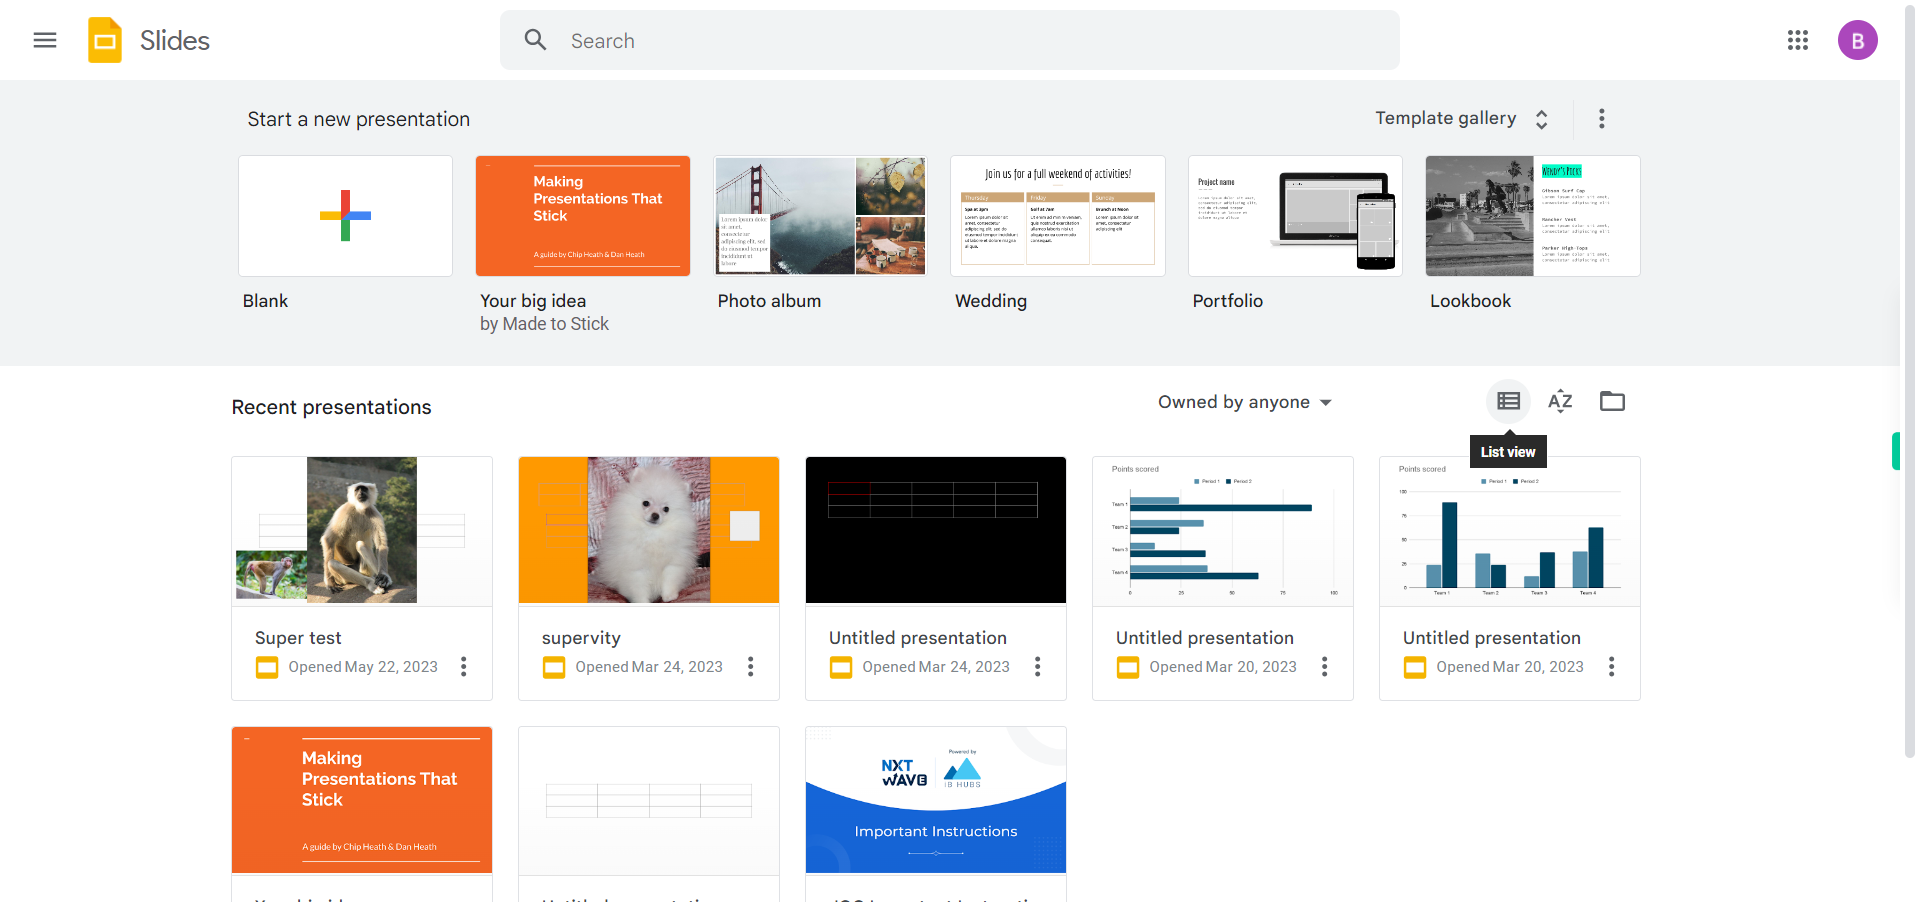
Open Google Slides application in browser
-
2.
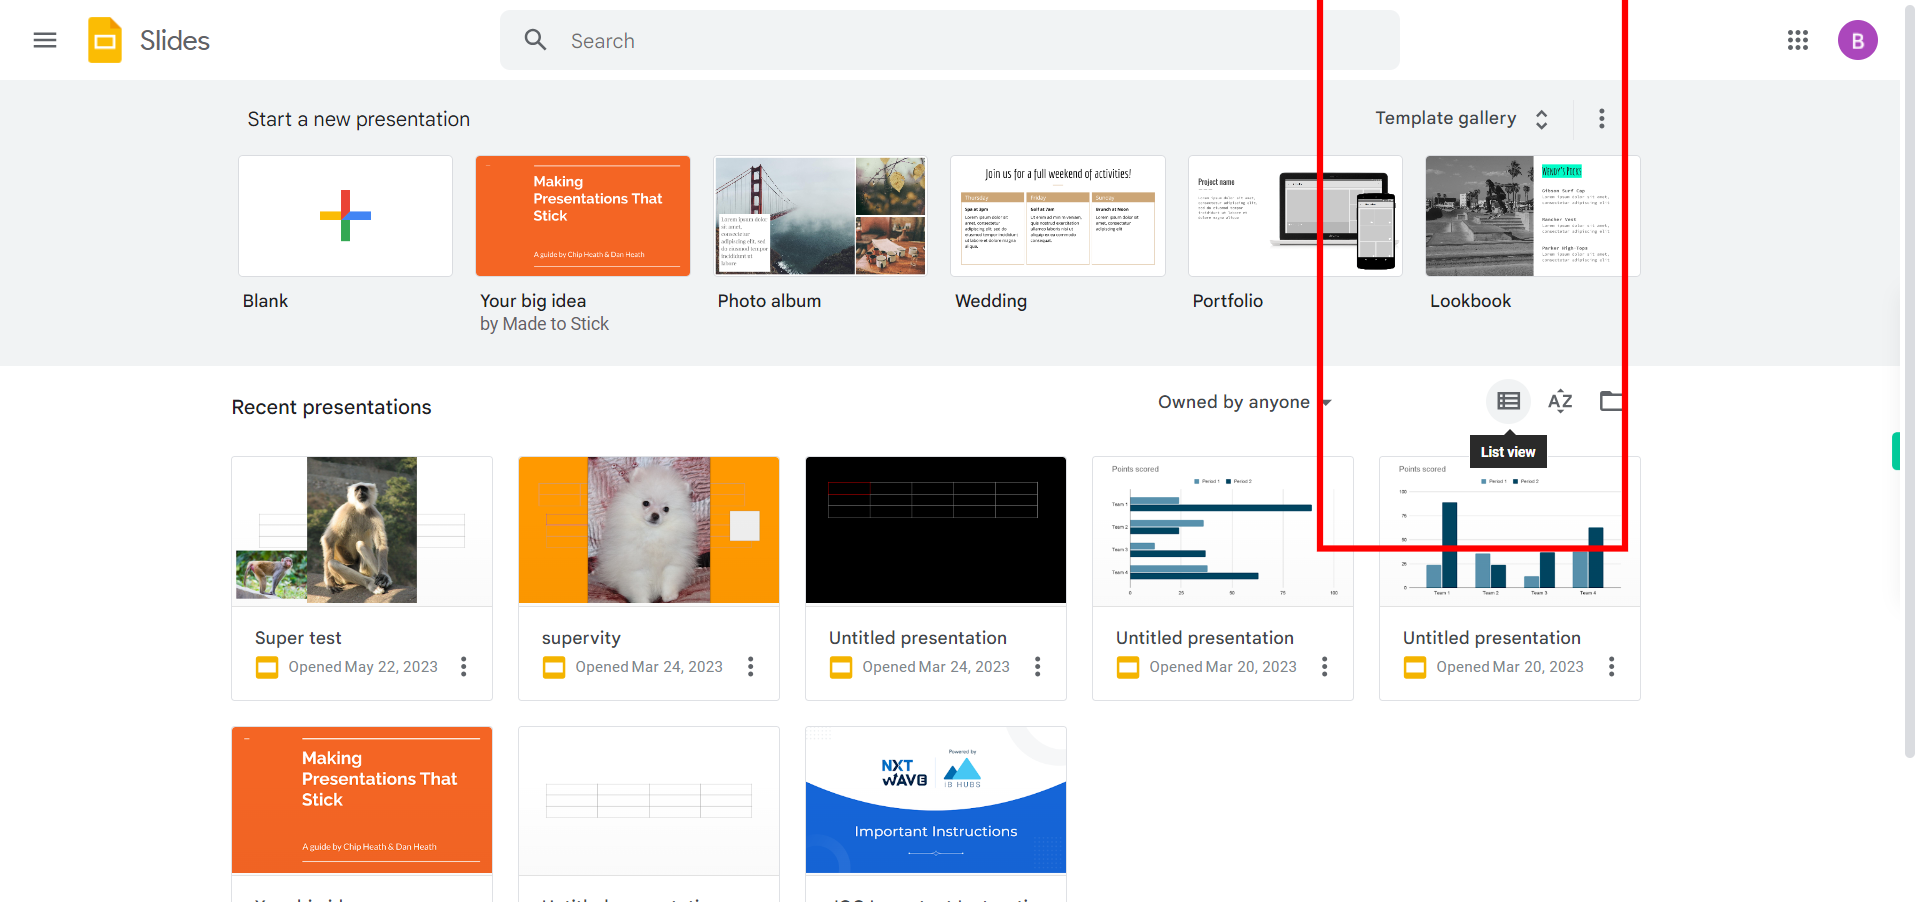
Make sure you will be in the List view of Google Slides. If it is in Grid view then Click on the icon in the toolbar to the left of the AZ icon. To switch from Grid view to List view. Then Click on the Next button in the Supervity instruction widget.
-
3.
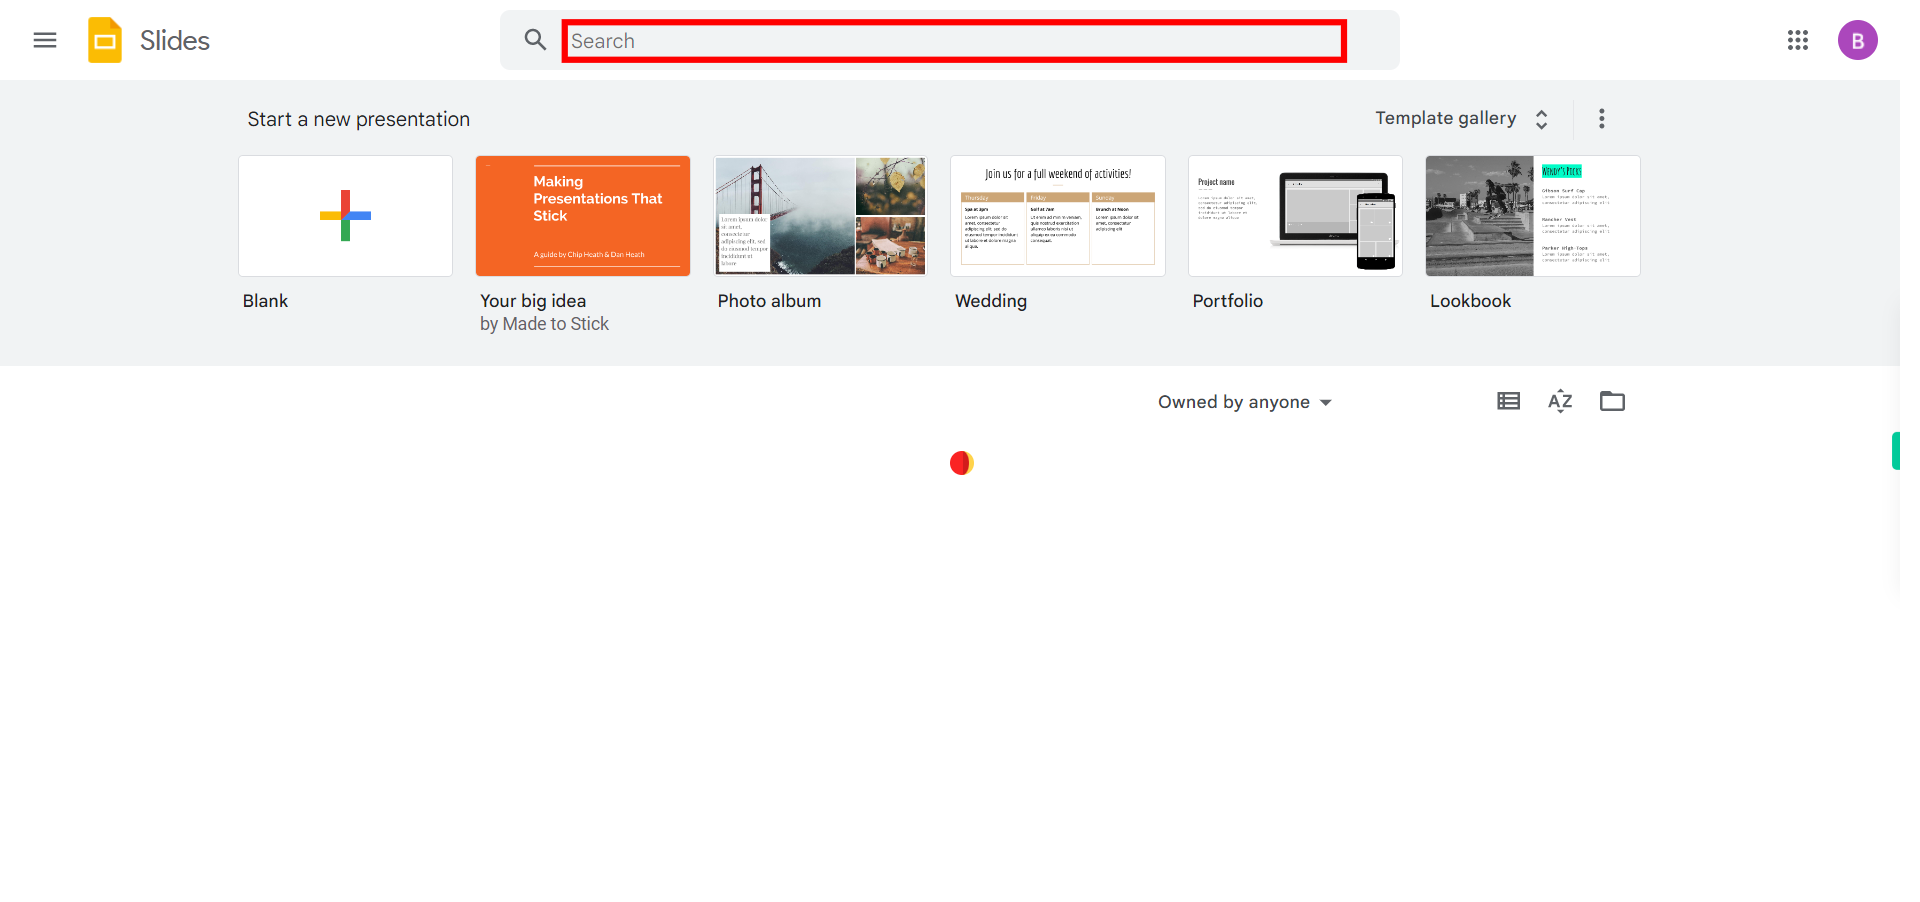
Click on the search bar, enter the name of the file for which you want to add or format the table then press enter. Then click on the Next button in the Supervity instrction widget and then Open the file.
-
4.
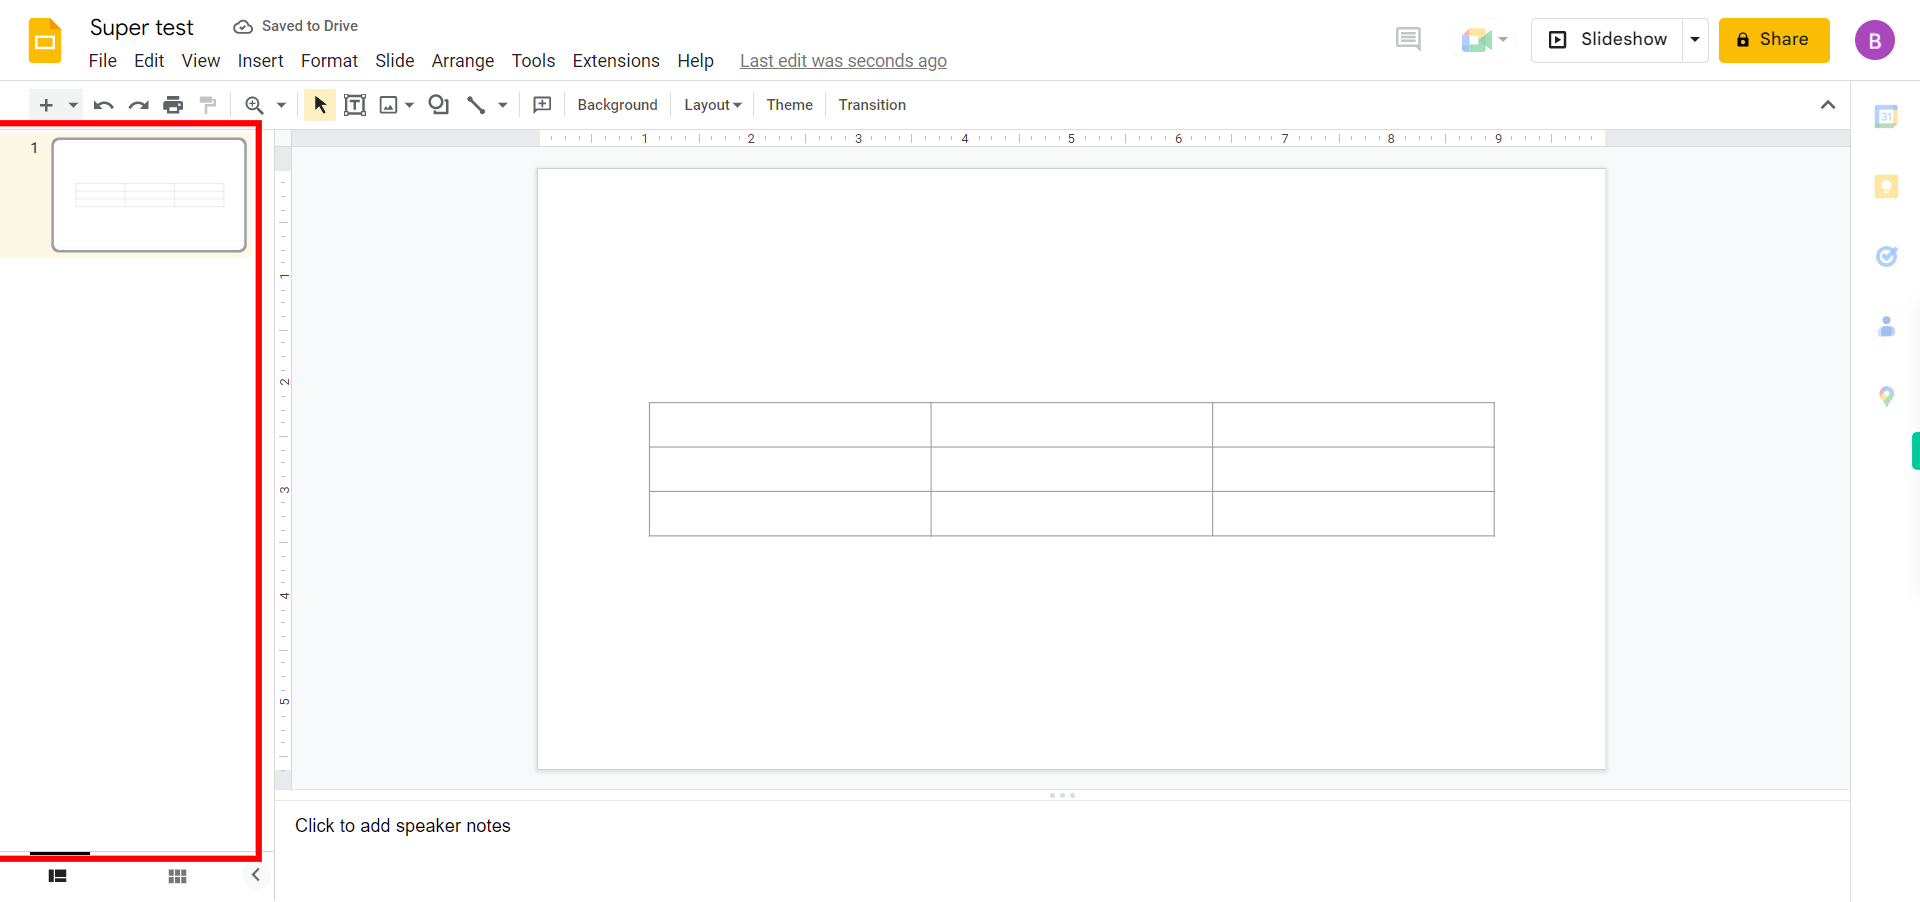
Click on the Next button in the Supervity instruction widget and then Select the slide you want to add or format the table.
-
5.
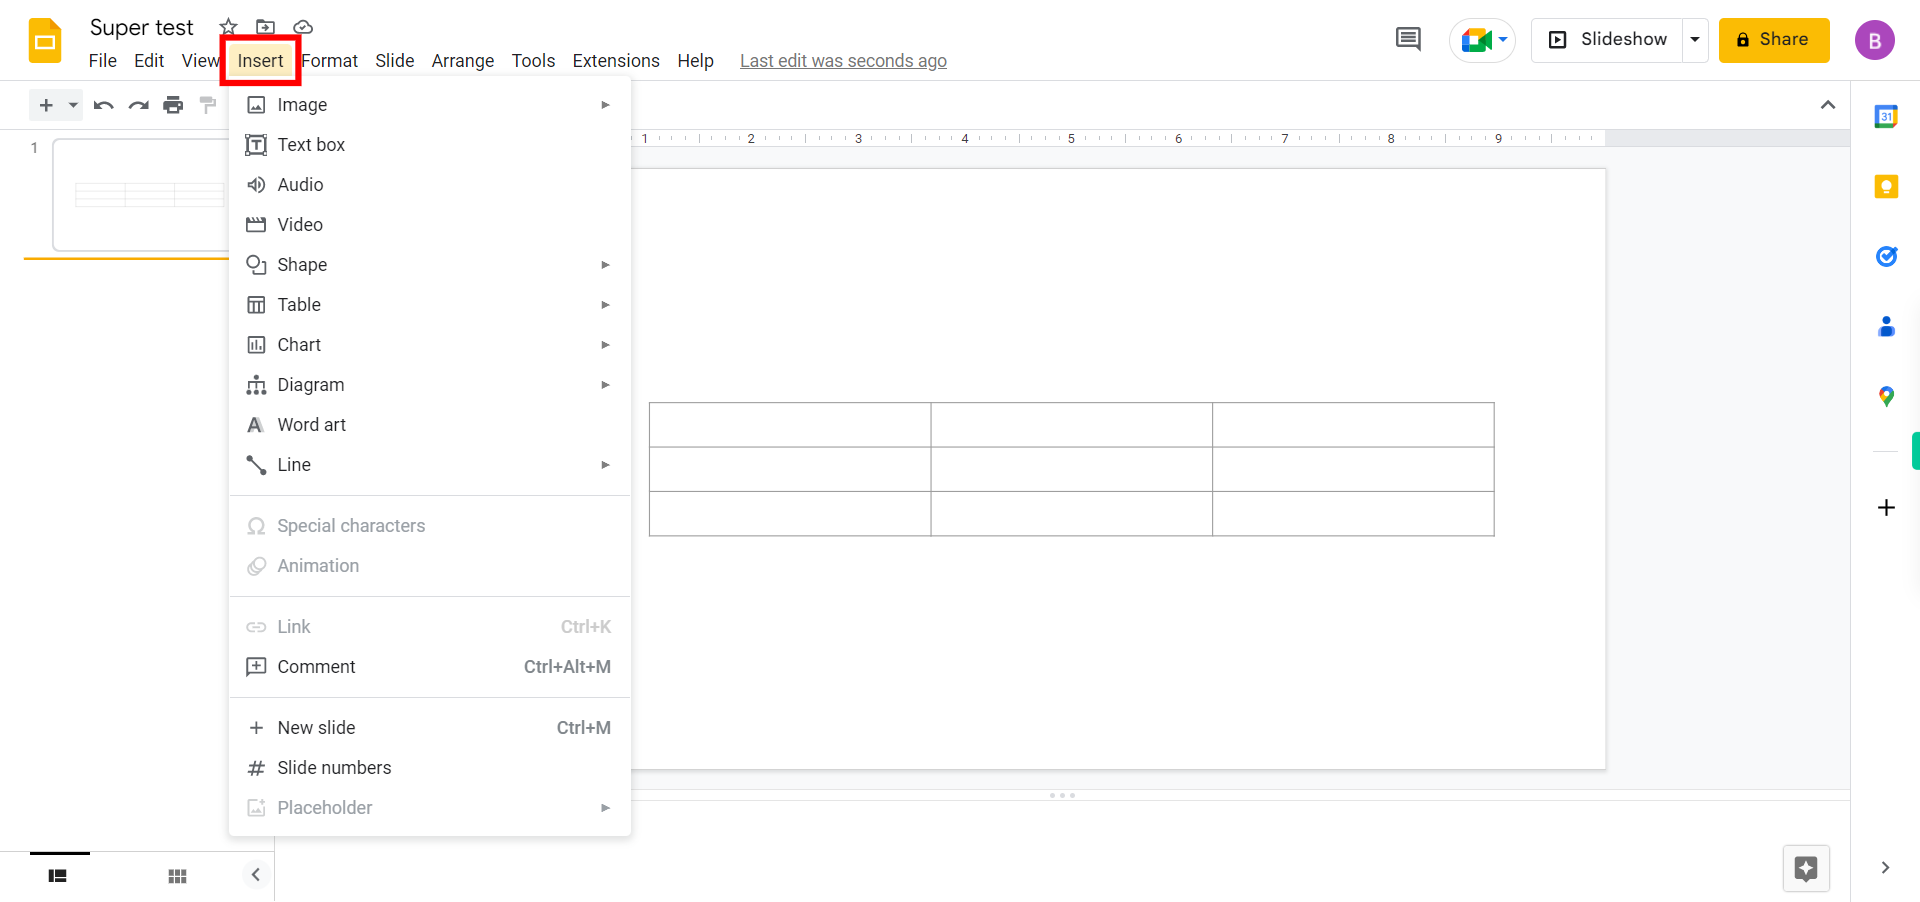
Click on the "Insert" menu at the top.
-
6.
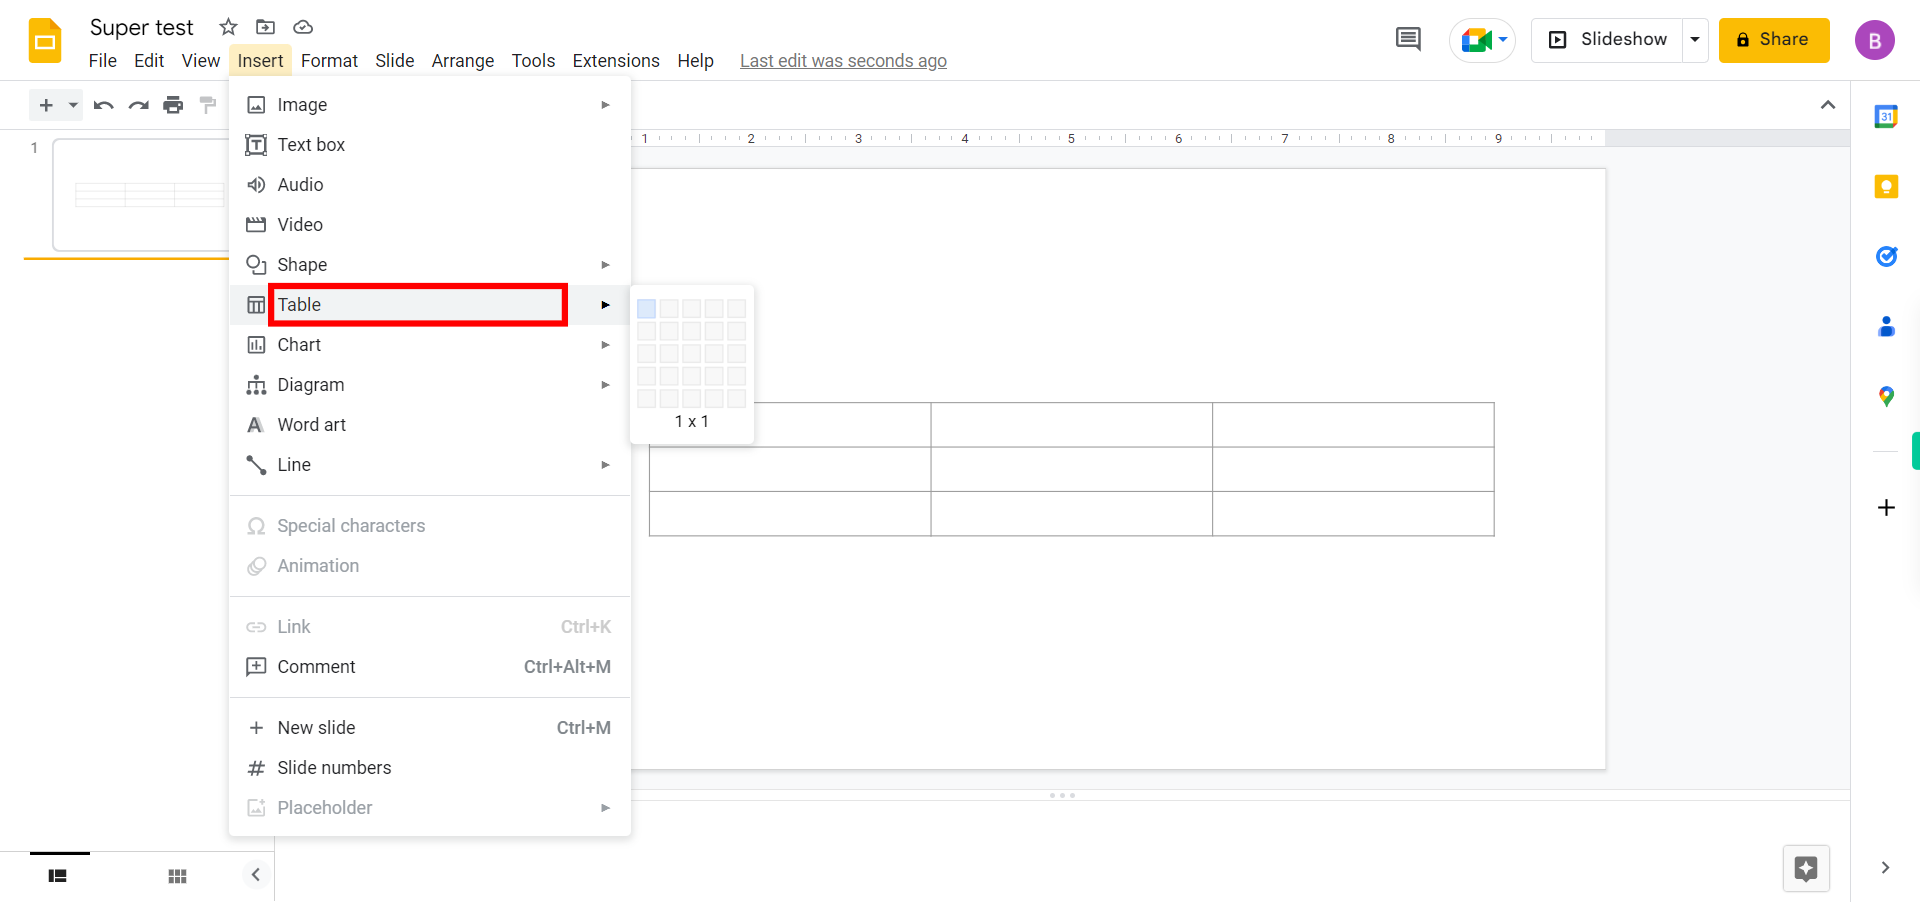
Click on the Next button in the Supervity instruction widget. Select "Table" from the dropdown menu. Choose the desired number of rows and columns for your table. A table will be inserted onto the slide.
-
7.
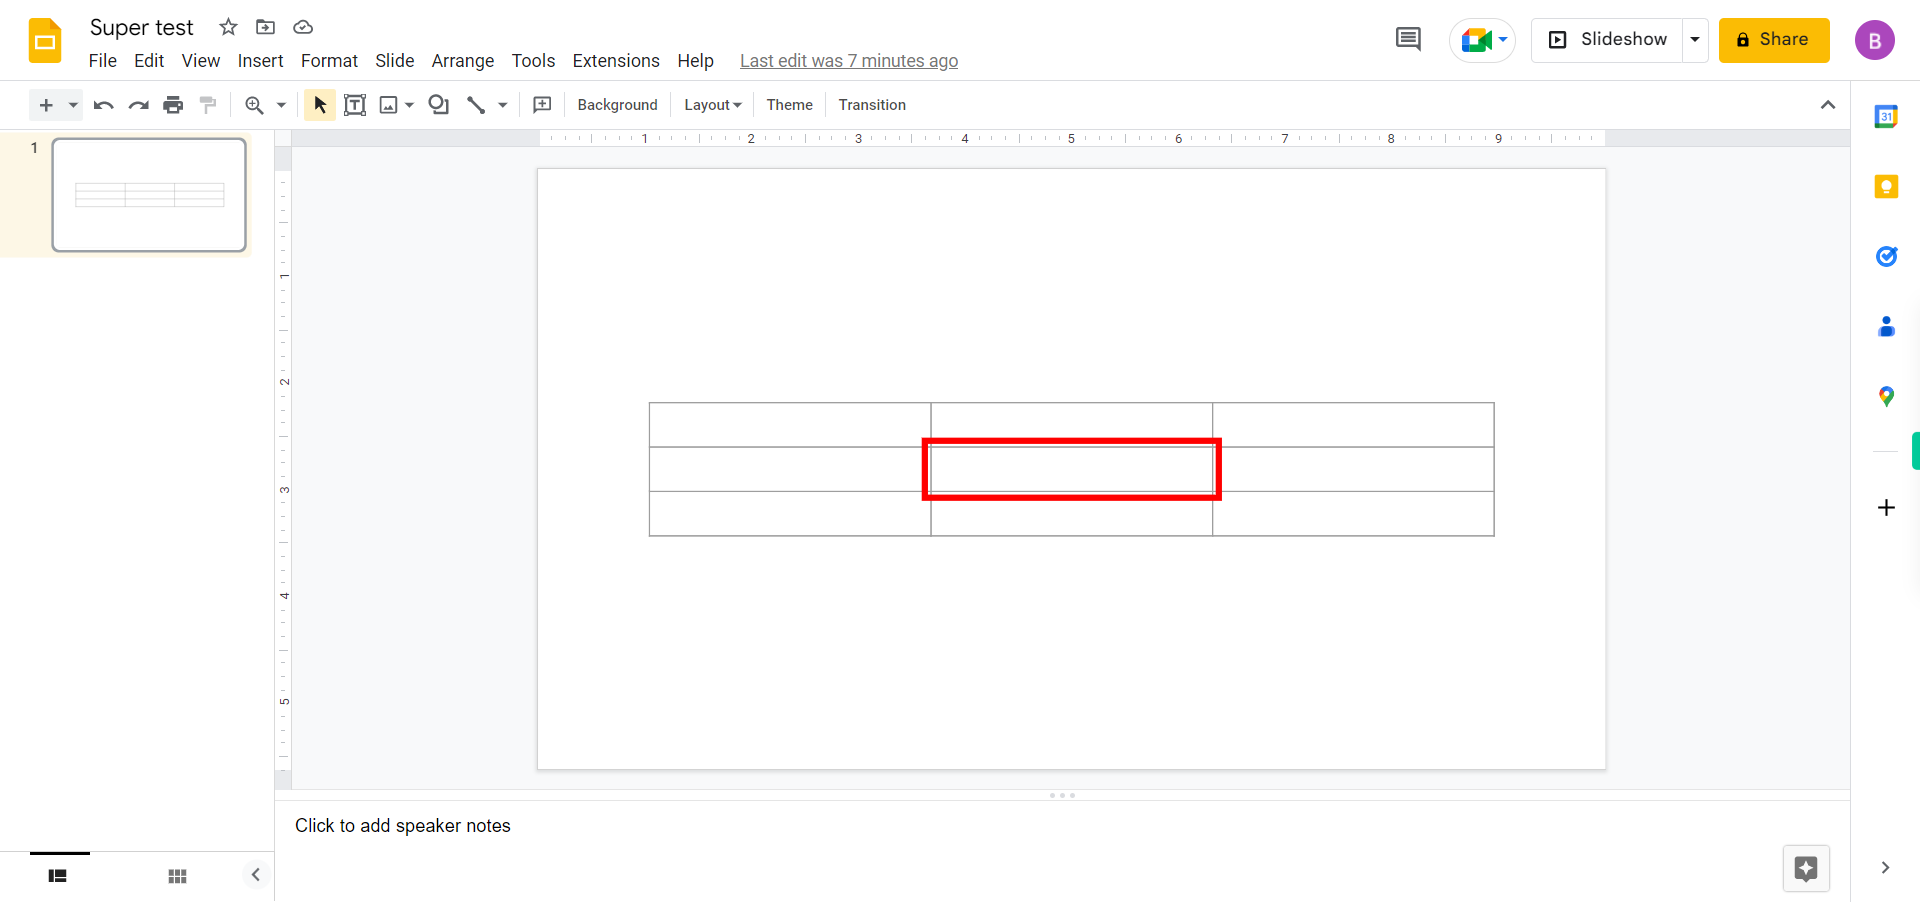
Click inside a cell and start typing to enter text or data. Press "Tab" to move to the next cell in the row. Use the arrow keys to navigate between cells. Select the table by clicking on it. And then click on the Next button in the Supervity instruction widget.
-
8.
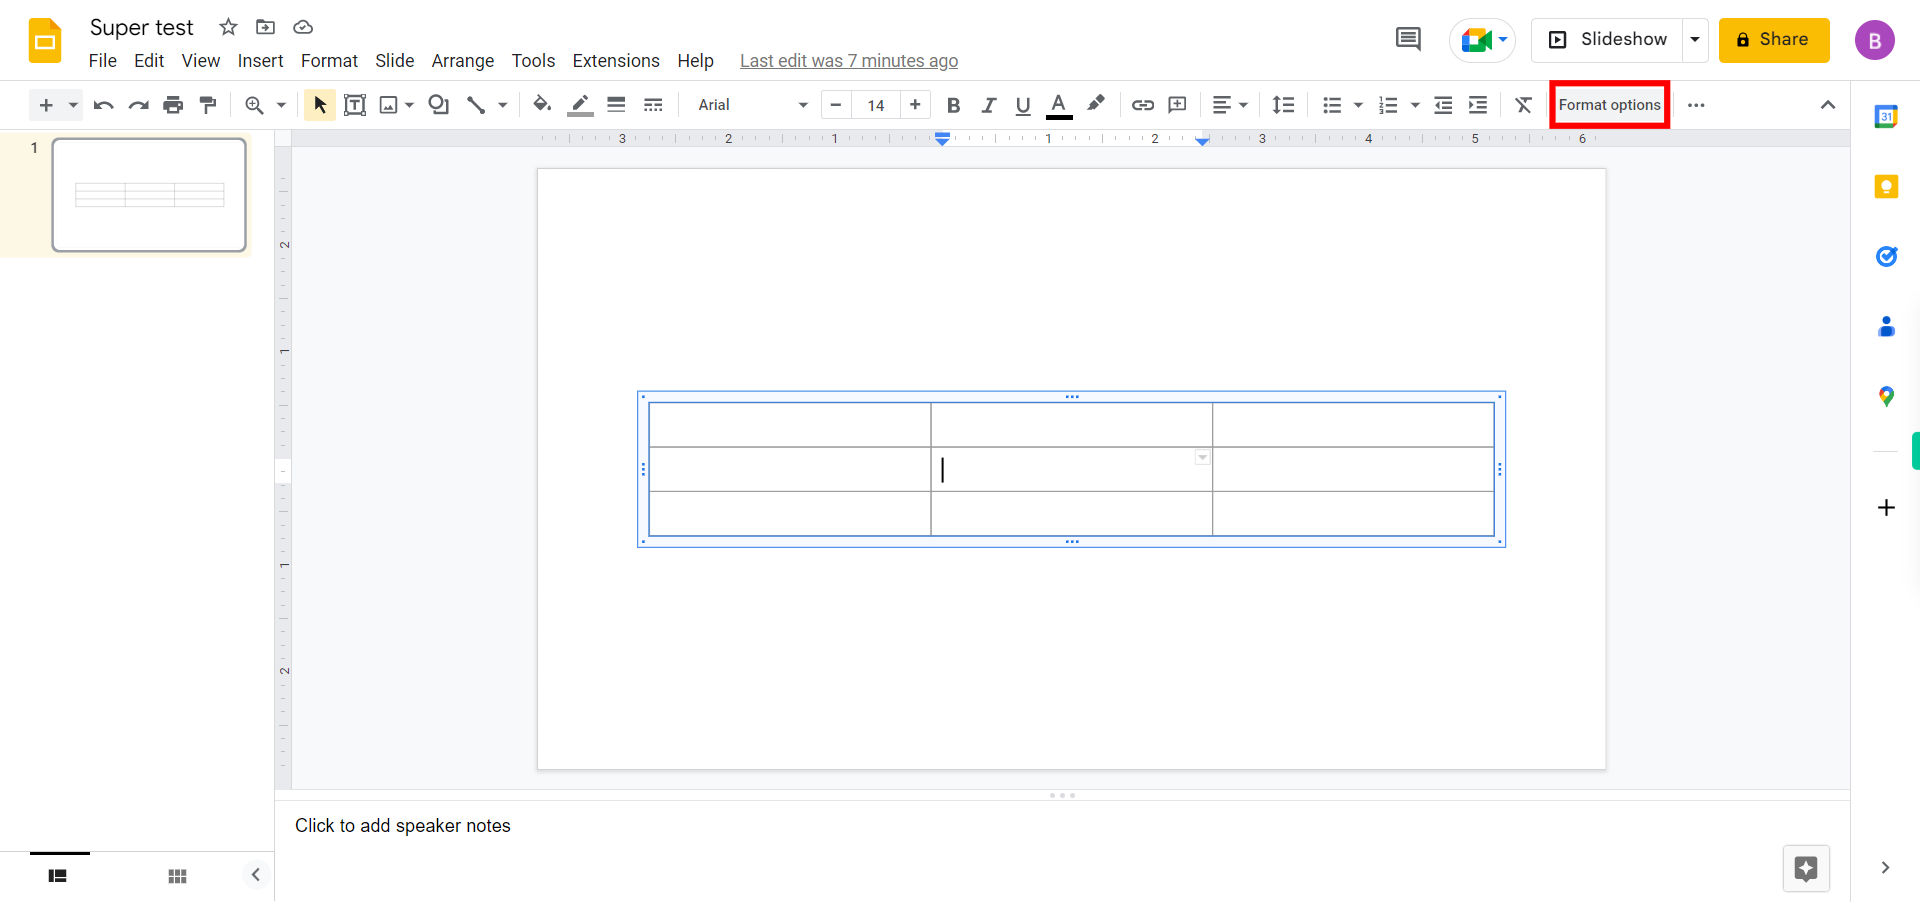
Click on the Next button in the Supervity instruction widget. And then use the toolbar options that appear to format the table like Changing the text alignment, font style, font size, and font color, etc. Then click on the format options in the toolbar.
-
9.
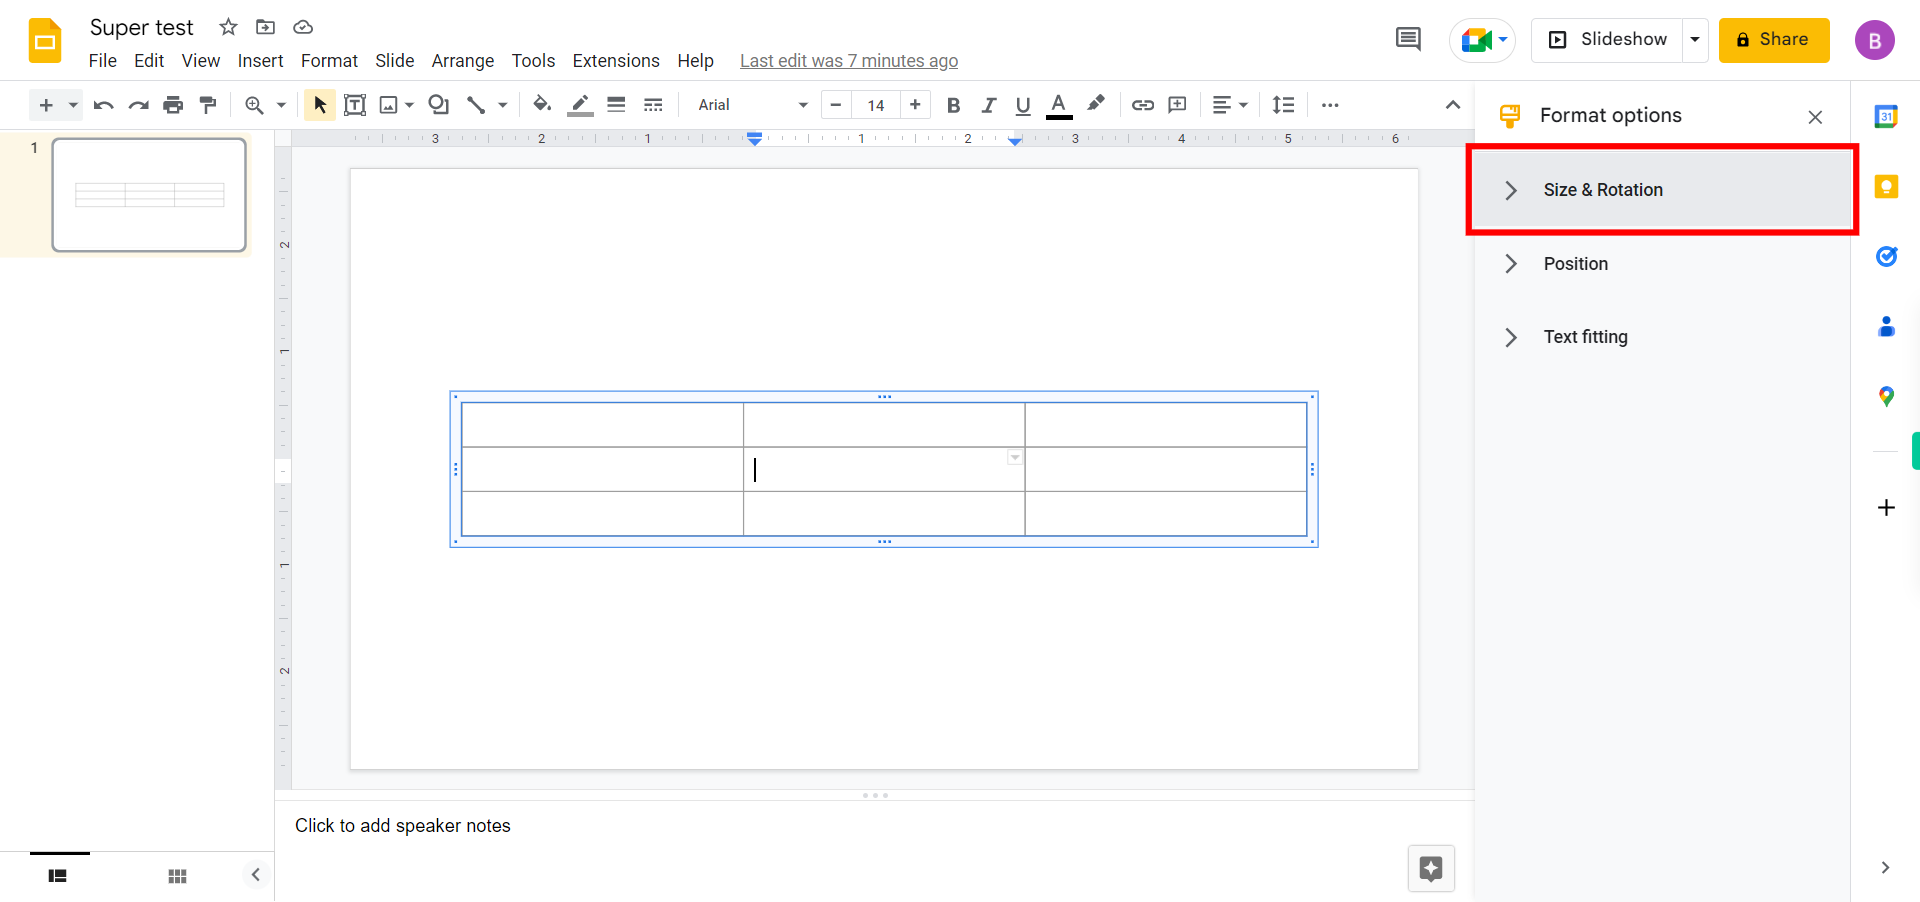
Click on the Size & Rotation option, do the required changes if any, and then click on the Next button in the Supervity instruction widget.
-
10.
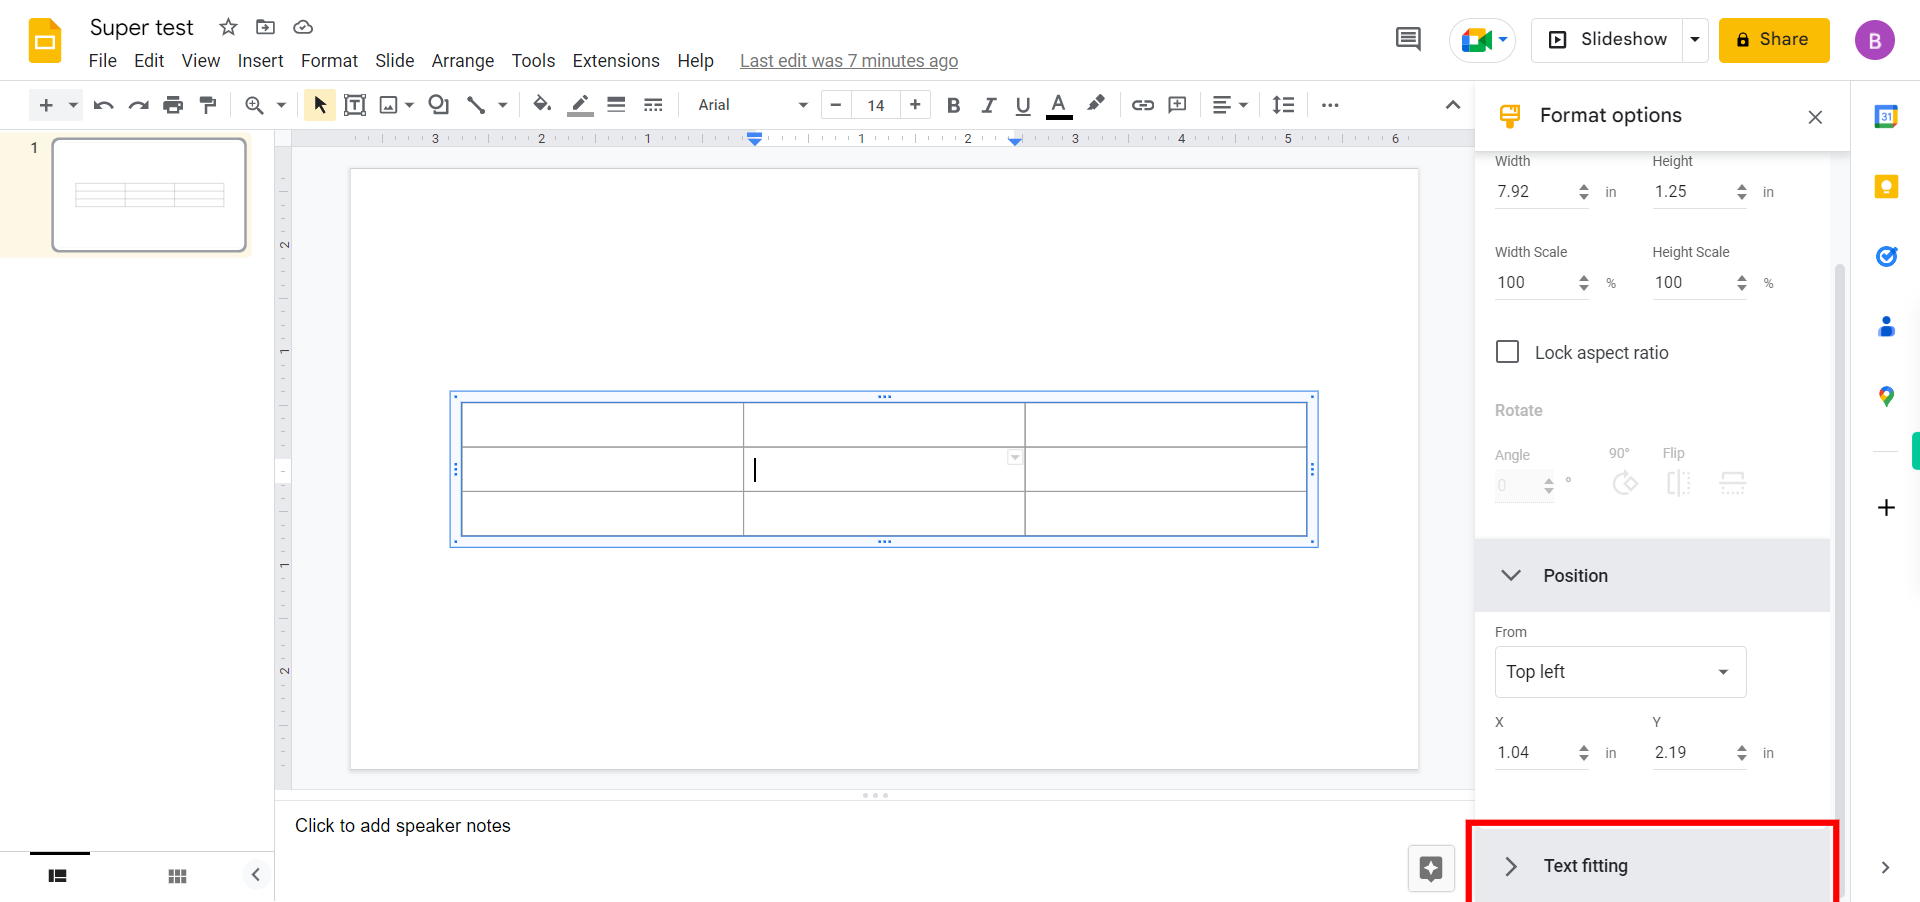
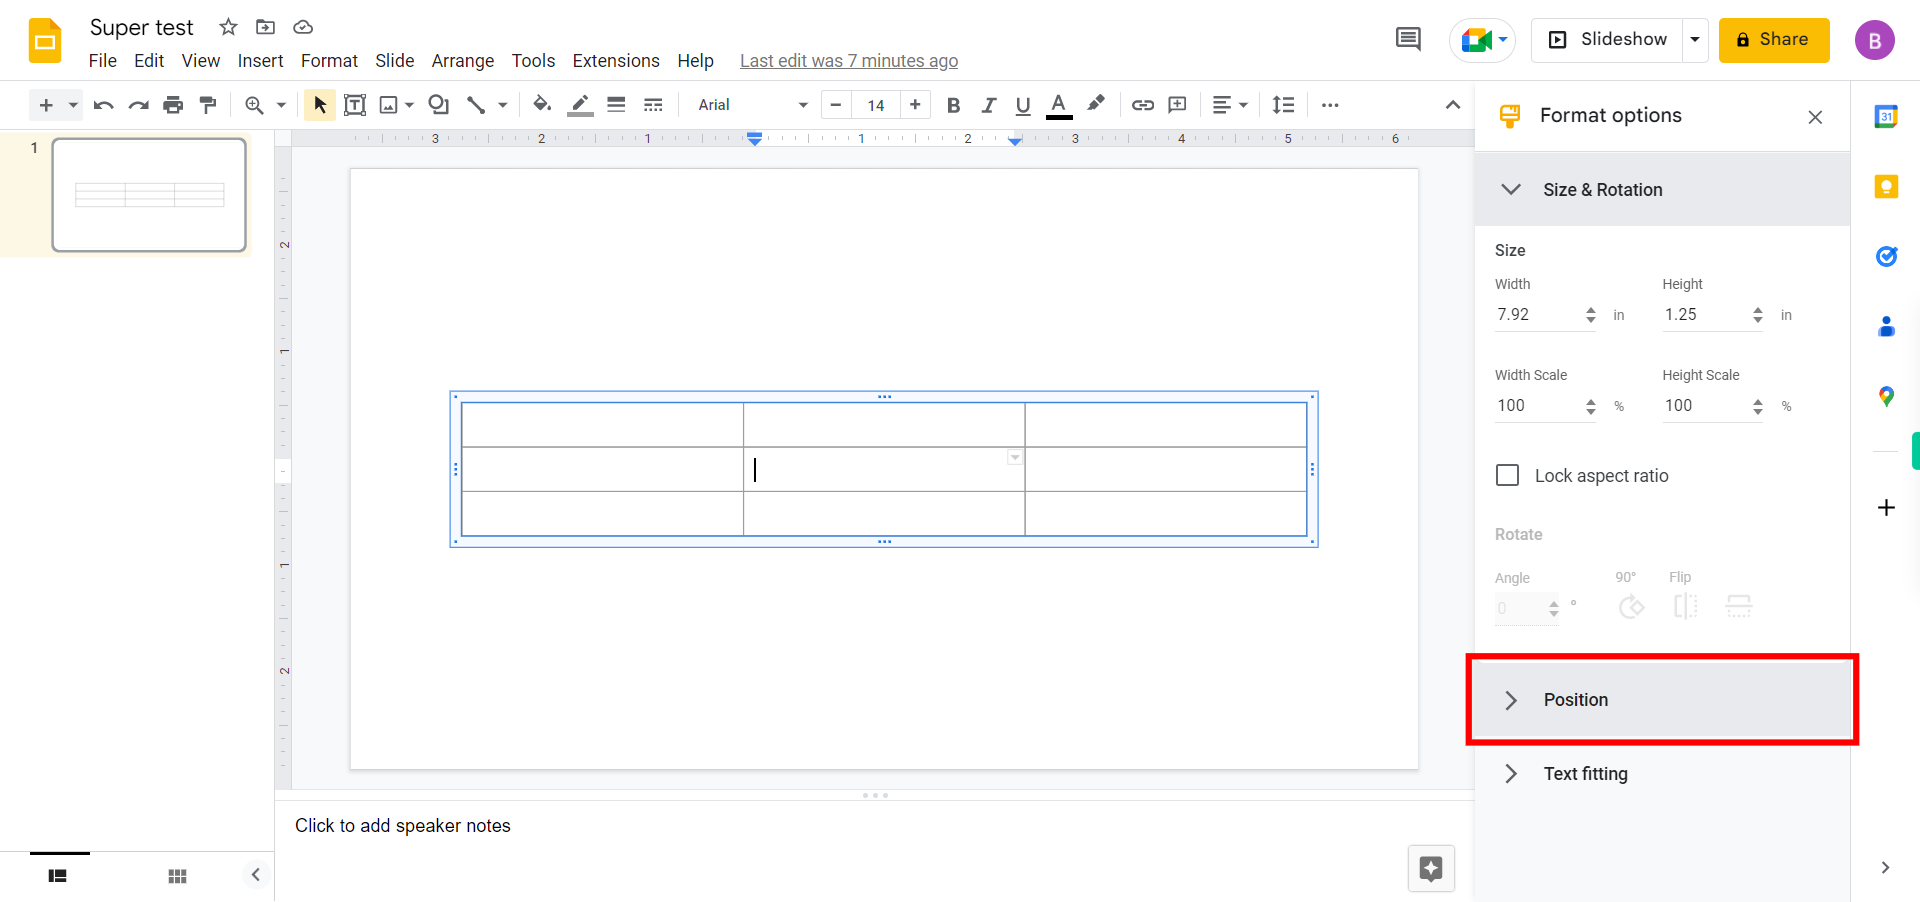
Click on the Position option, do the required changes if any, and then click on the Next button in the Supervity instruction widget.
-
11.
Click on the Text fitting, do the required changes if any, and then click on the close button in the Supervity instruction widget.
