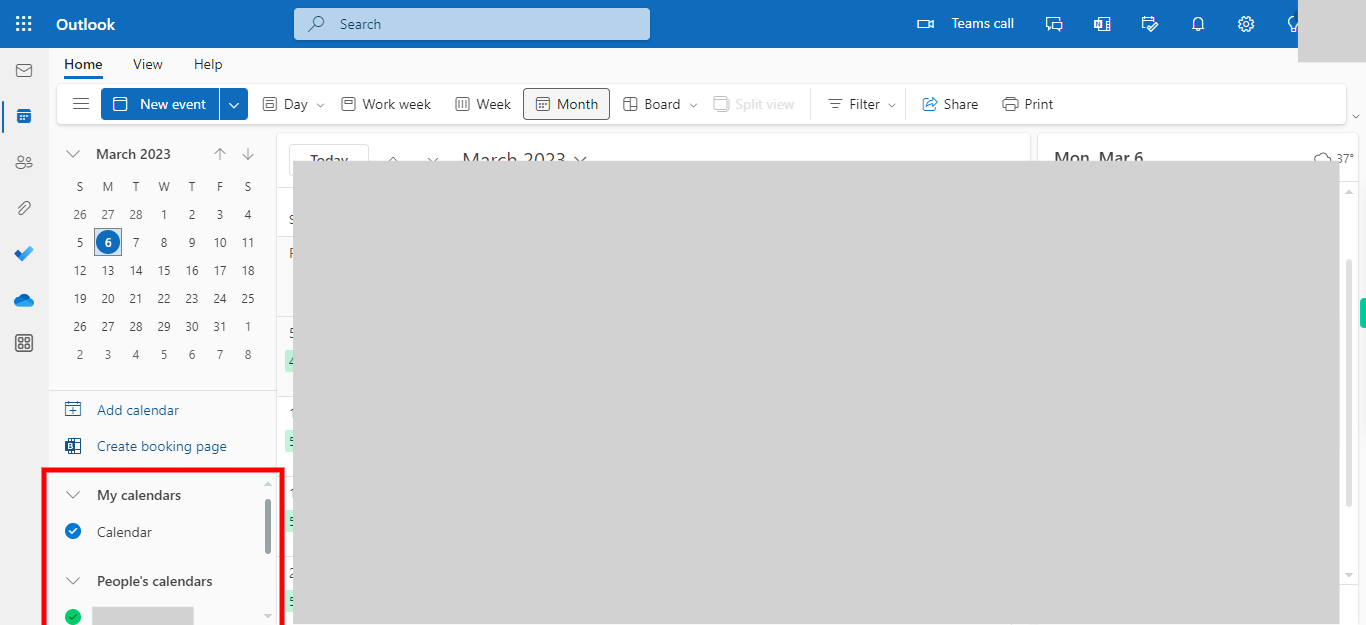
Viewing multiple calendars in Outlook promotes better scheduling, coordination, collaboration, and organization, both for individuals and teams. It avoids conflict and multiple to and fros, saving time for all involved parties. So, how do you activate it - try this skill and go through an interactive guide right on the application, saving you the hassle of locating and enabling the feature.
Note: 1. You need to be logged in withhttps://outlook.office365.com/ URL
2. Make sure you are already logged into your web MS Outlook account.
-
1.
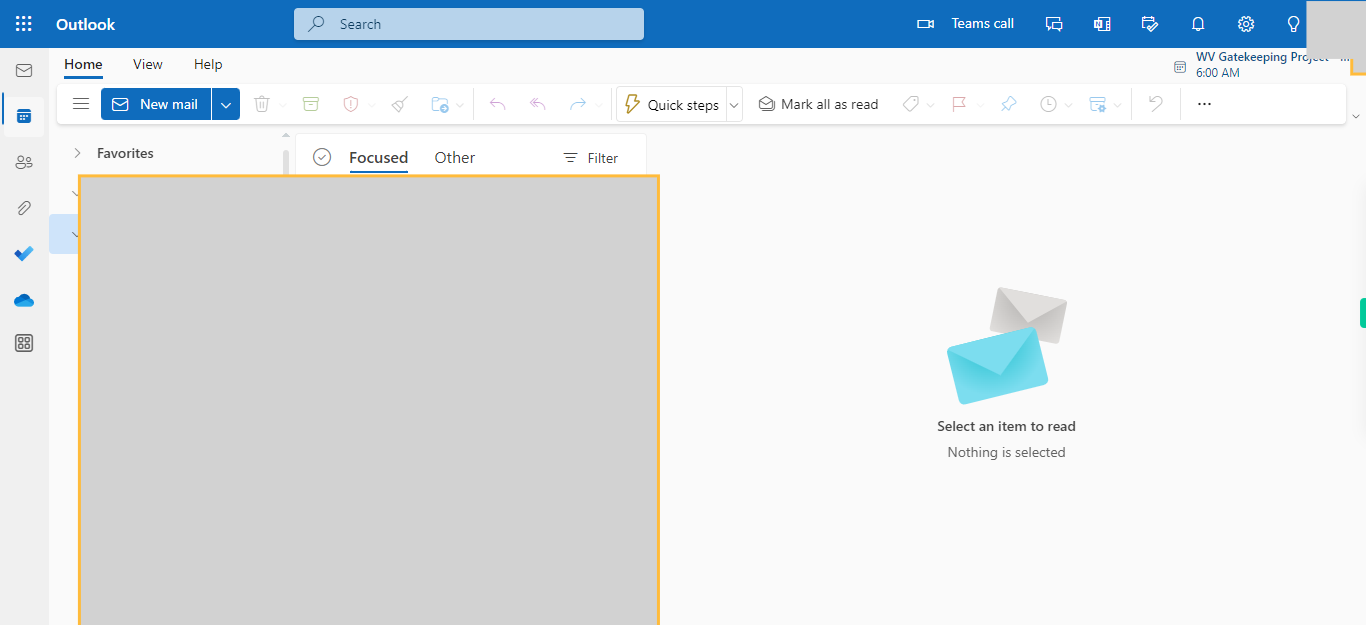
Open web Outlook account.
-
2.
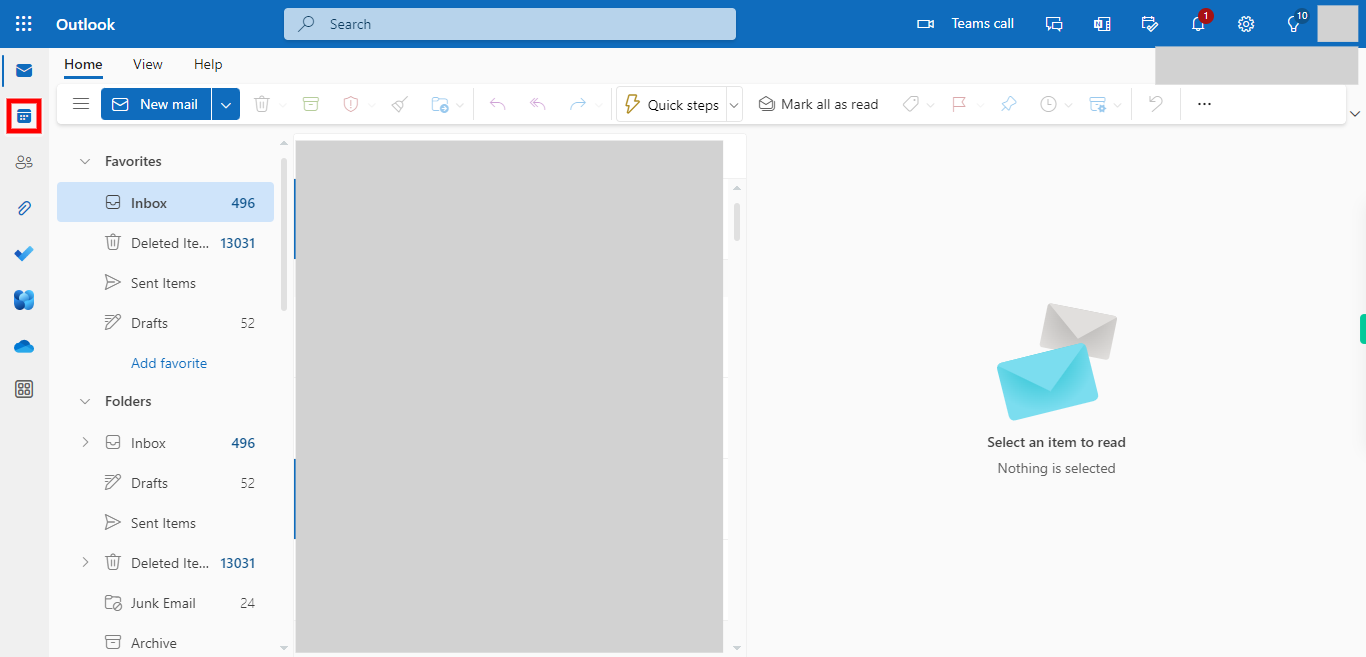
Note: The specific location and appearance of the calendar icon may vary depending on the version and configuration of Outlook you are using. The Calendar icon is usually represented by a square grid or a specific icon that resembles a Calendar. It is typically located in the navigation bar or sidebar. Click on the Calendar icon to switch to the calendar view. Once you click on the calendar icon, you will be taken to the calendar view, where you can see your existing events, appointments, and schedule.
-
3.
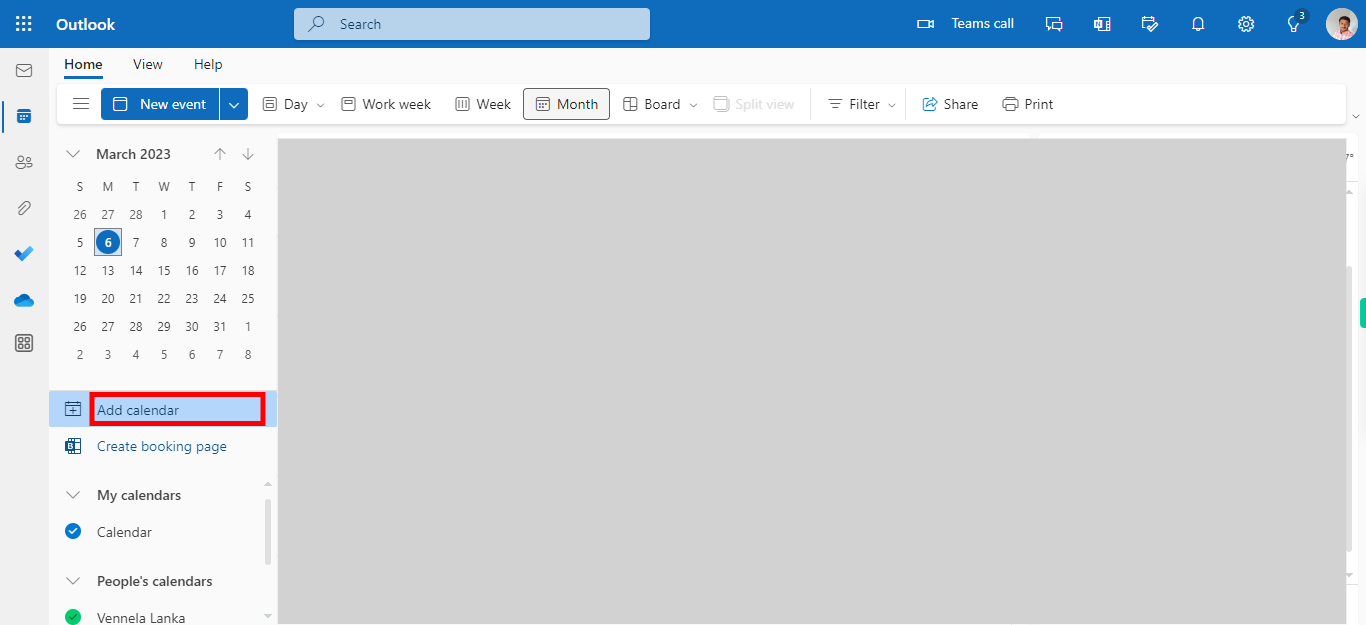
On the left side of the screen, you'll see a panel called "My Calendars" or "Calendar Groups." This panel displays a list of calendars available to you. To add a calendar to the view, click on the "+" or "Add Calendar" button usually located near the top of the panel. This will open a new window with different options for adding calendars.
-
4.
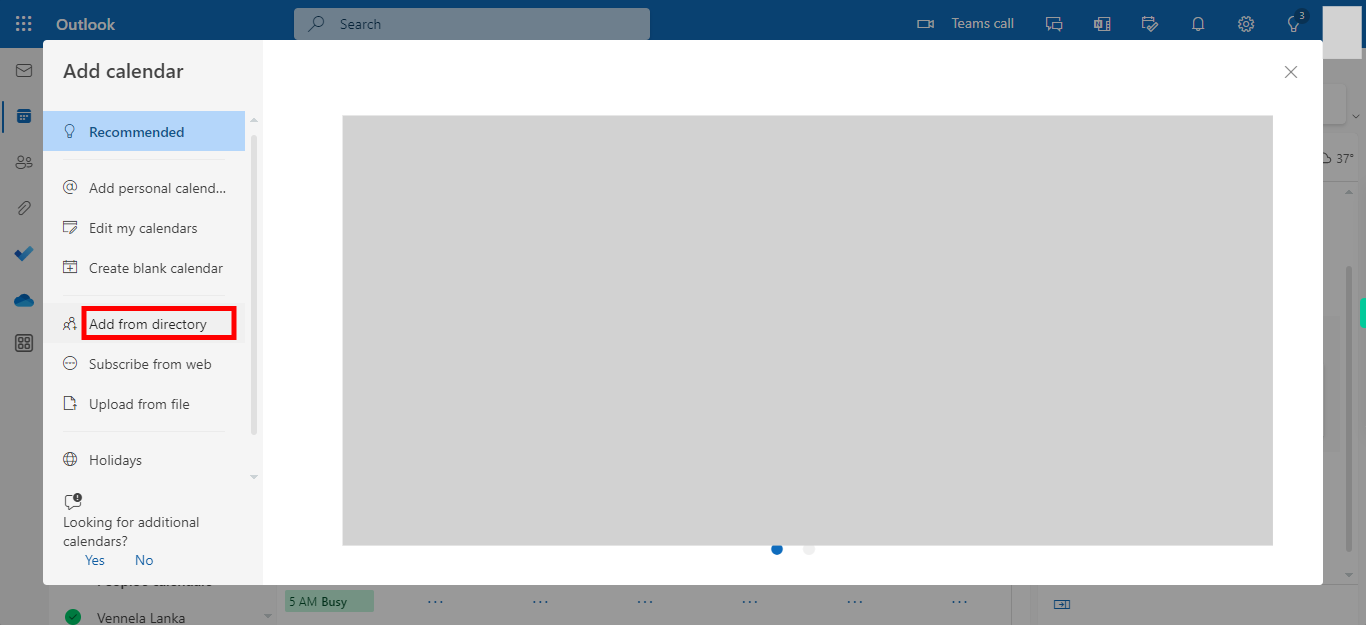
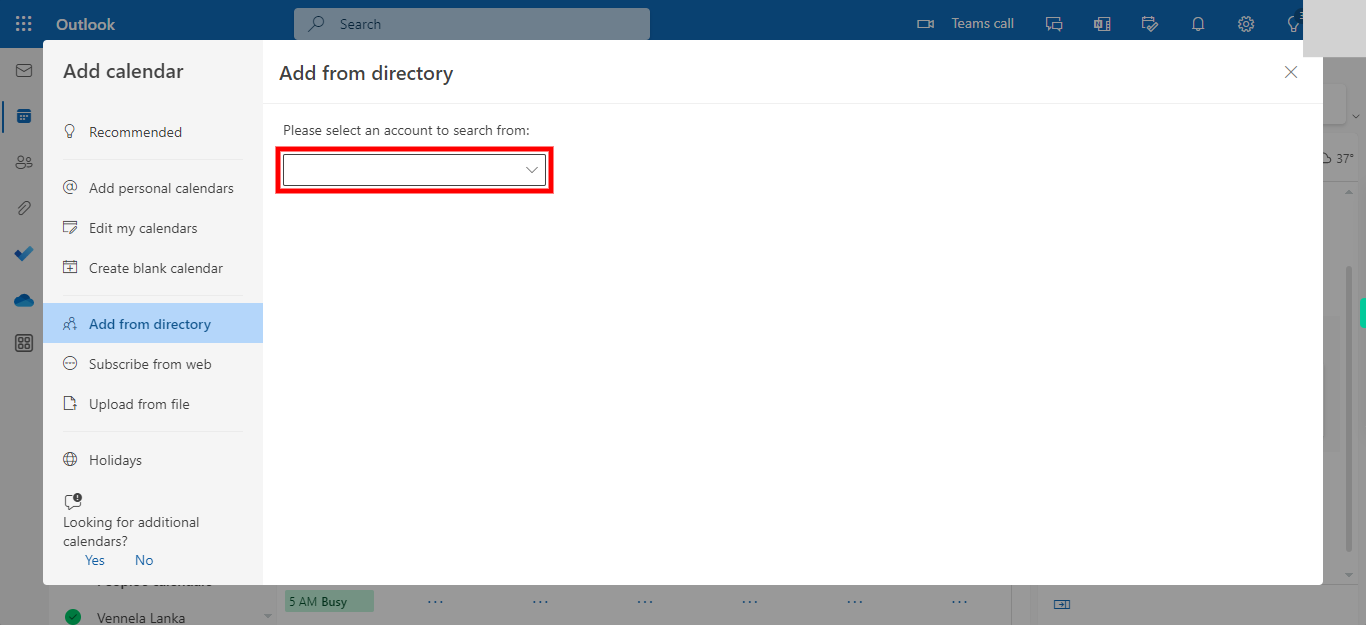
In the new window on the left side, multiple submenus are available. Click on the "Add from the directory" tab from the left side submenus. After selecting "Add from the directory," a dialog box or search field may appear, allowing you to search for specific calendars or users in the directory.
-
5.
First, click on the Next button on the Supervity instruction widget. Click on the "Please select an account to search from:" dropdown menu to open it. A list of available accounts should be displayed. Review the list and select the account you want to search from. This could be your primary email account or any other account associated with Outlook.
-
6.
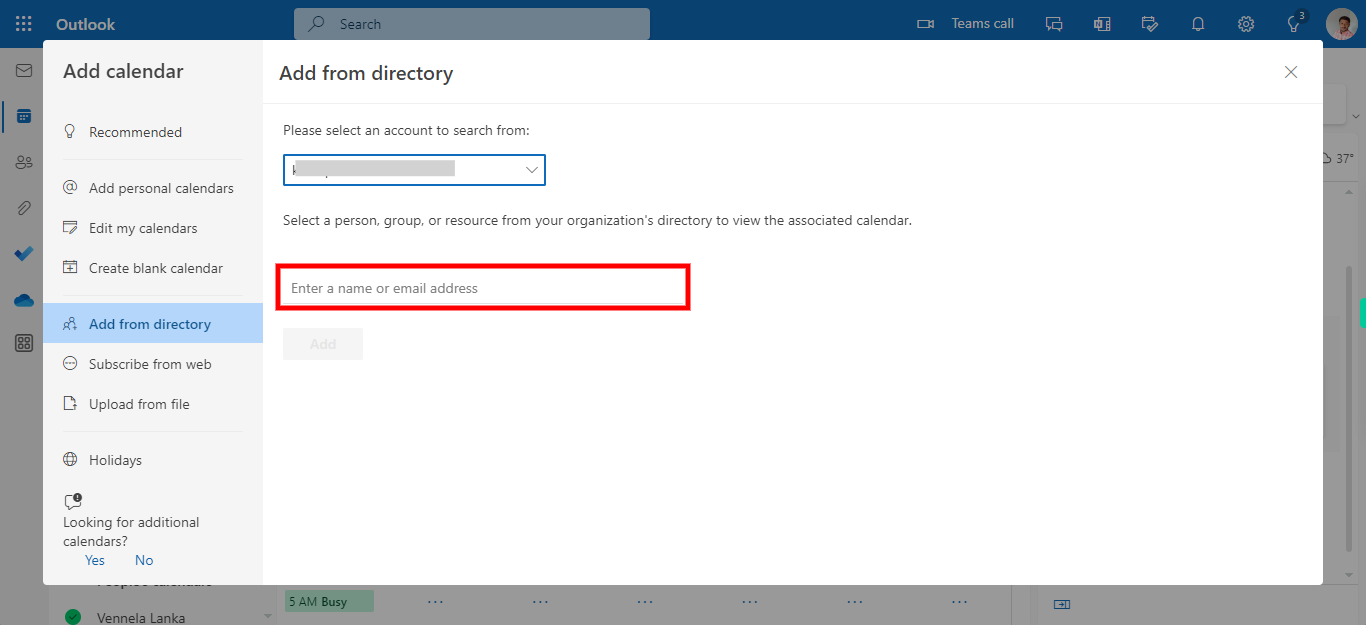
Click on the Next button on the Supervity instruction widget. Click on the "Enter a name or email address" field to activate it. Enter the email id or name of the user available in the organization, whose calendar you want to add.
-
7.
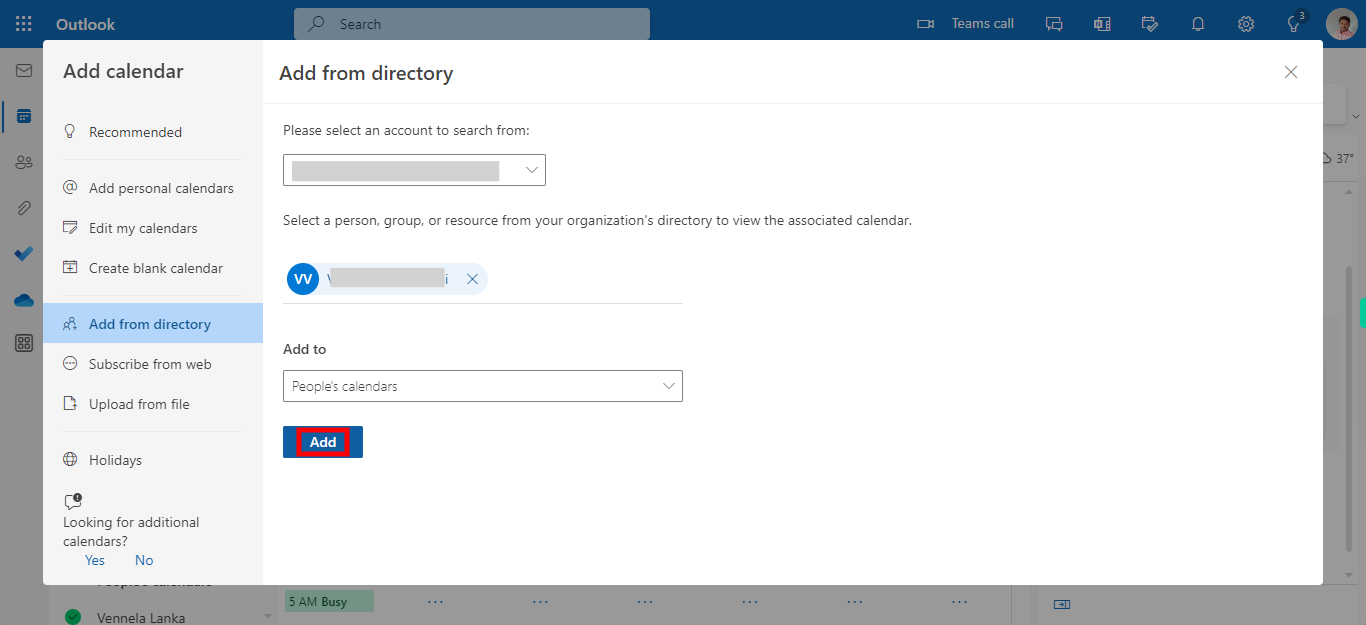
Click on the "Add to" dropdown menu. A list of options should appear, displaying different calendar options or categories. Click on "People's Calendars" to select it as the destination for the new calendar or event. Once you have selected "People's Calendars," click on the "Add" button.
-
8.
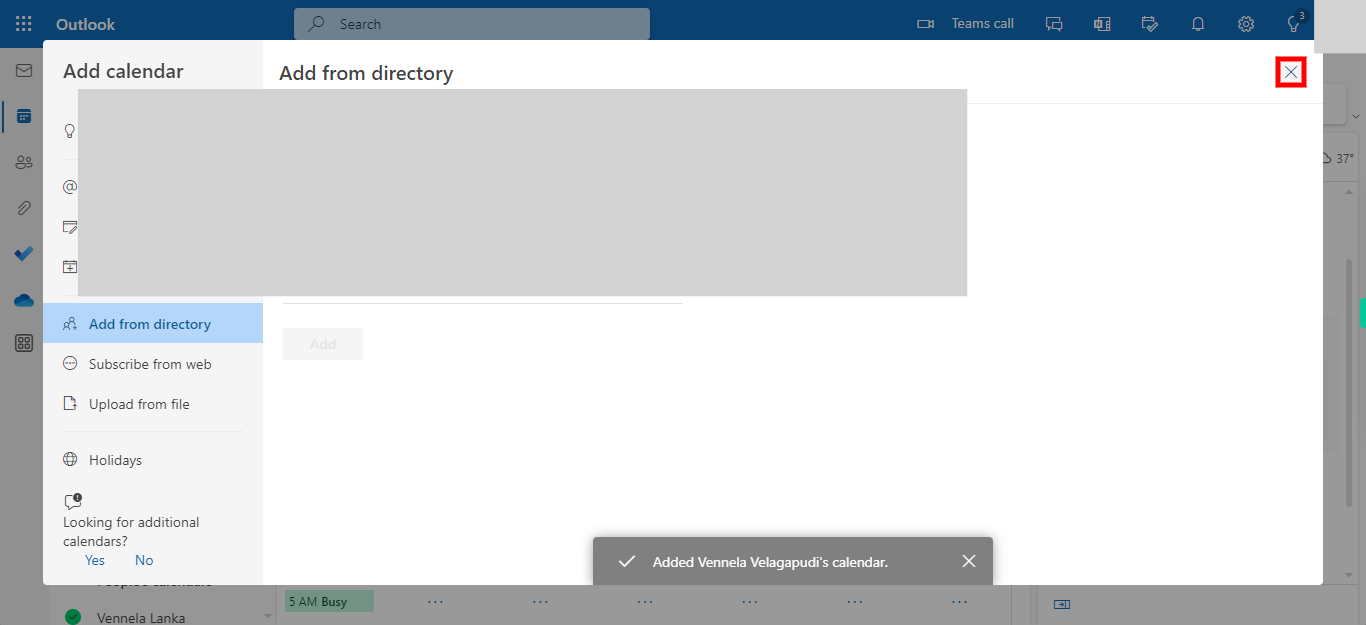
Click on the close icon on the top-right corner of the "Add from directory" window. The close icon is always represented by an "X" symbol, to close the "Add from directory" window By closing the "Add from directory" window, the pop-up window gets closed and displays the calendar page.
-
9.
You can notice the recently added email id related events have already been added to the calendar. If not added, click on the "People's calendar" dropdown to expand it. A list of available calendars associated with people or shared with you will appear. From the list, select the email ID or calendar name that you recently added or want to select. Once done, click on the Close button on the Supervity instruction widget.


