Step by step process to create a new presentation on Google Slides. Creating a new presentation enables users to design visual slideshows for various purposes such as presentations, reports, or educational materials. NOTE: Ensure that you have already logged into the Google Slides web application before utilizing this skill.
-
1.
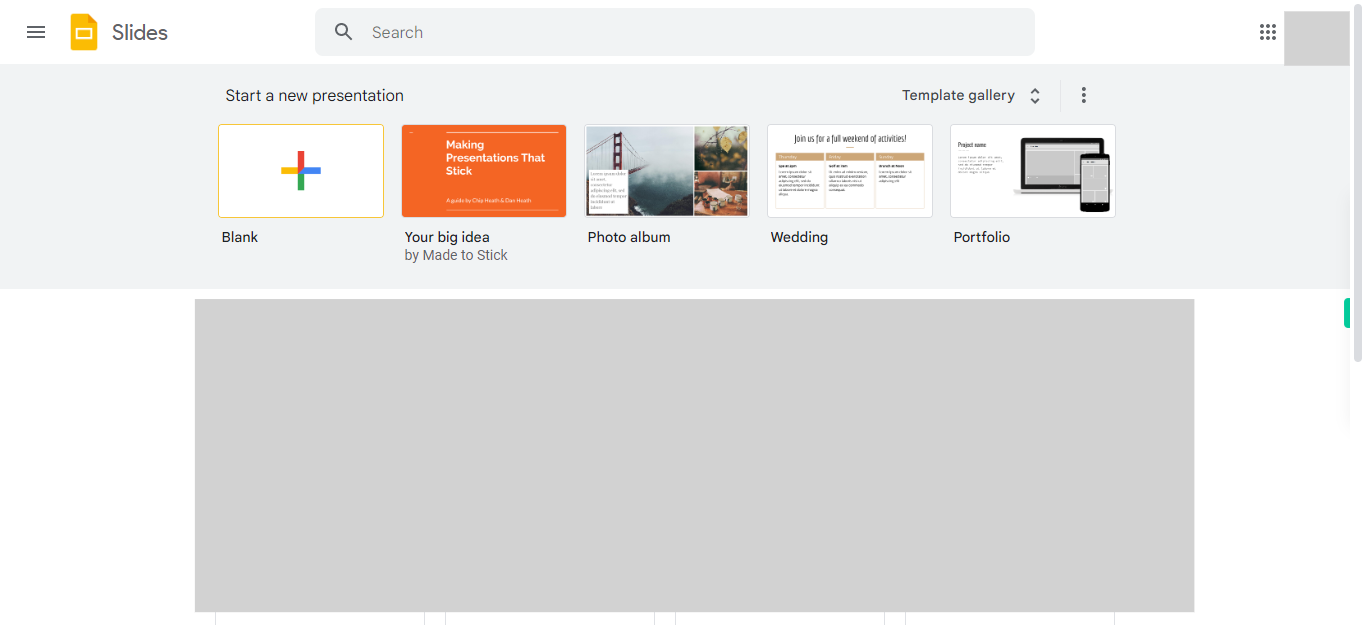
Open Google Slides web application.
-
2.
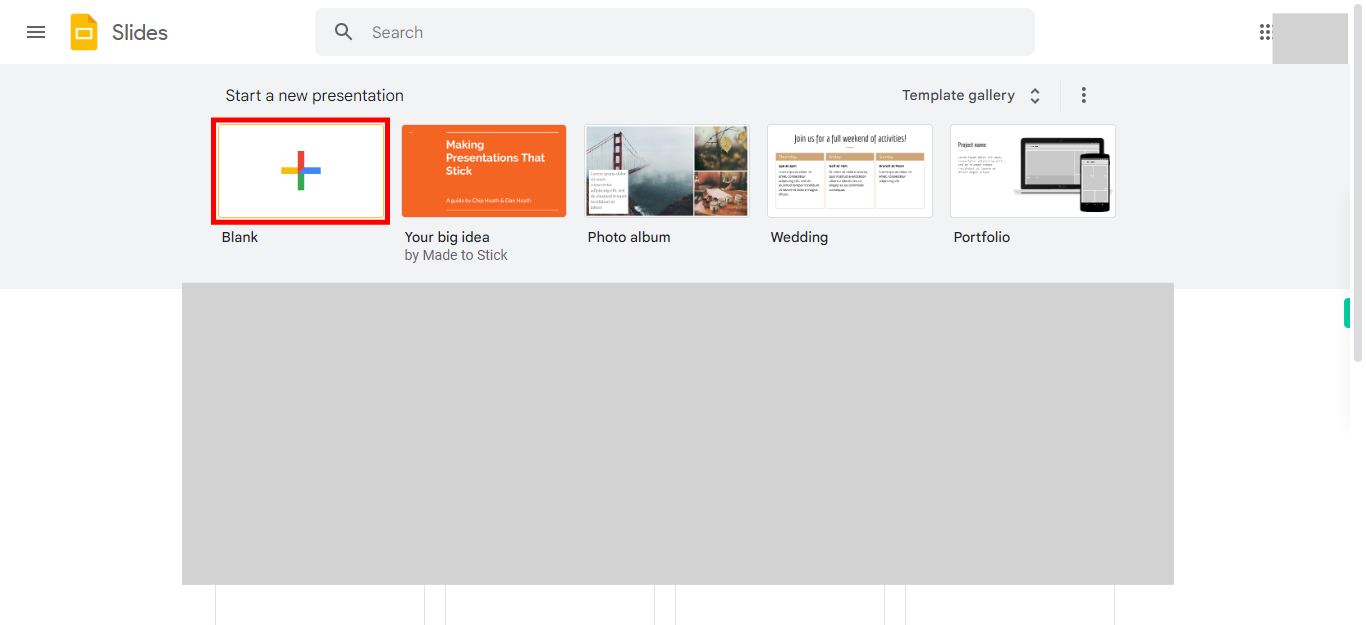
Click on the "+" icon or the 'Start a new presentation' button typically opens a new blank presentation where you can begin designing your slides.
-
3.
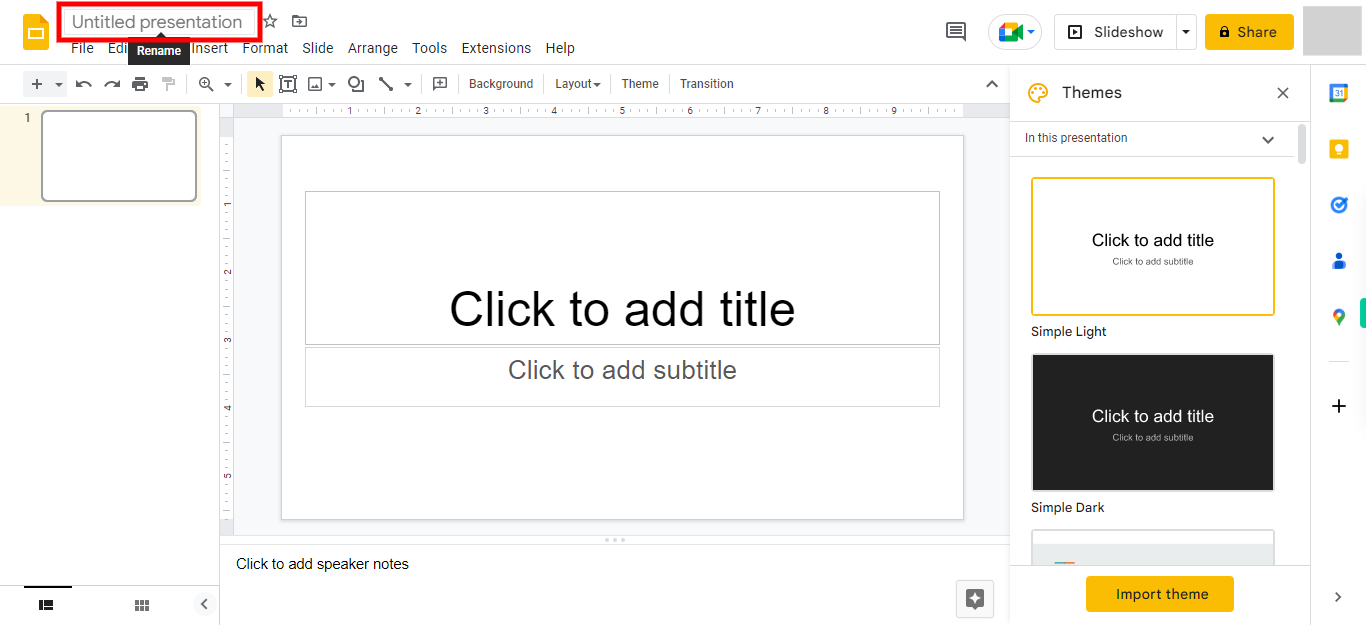
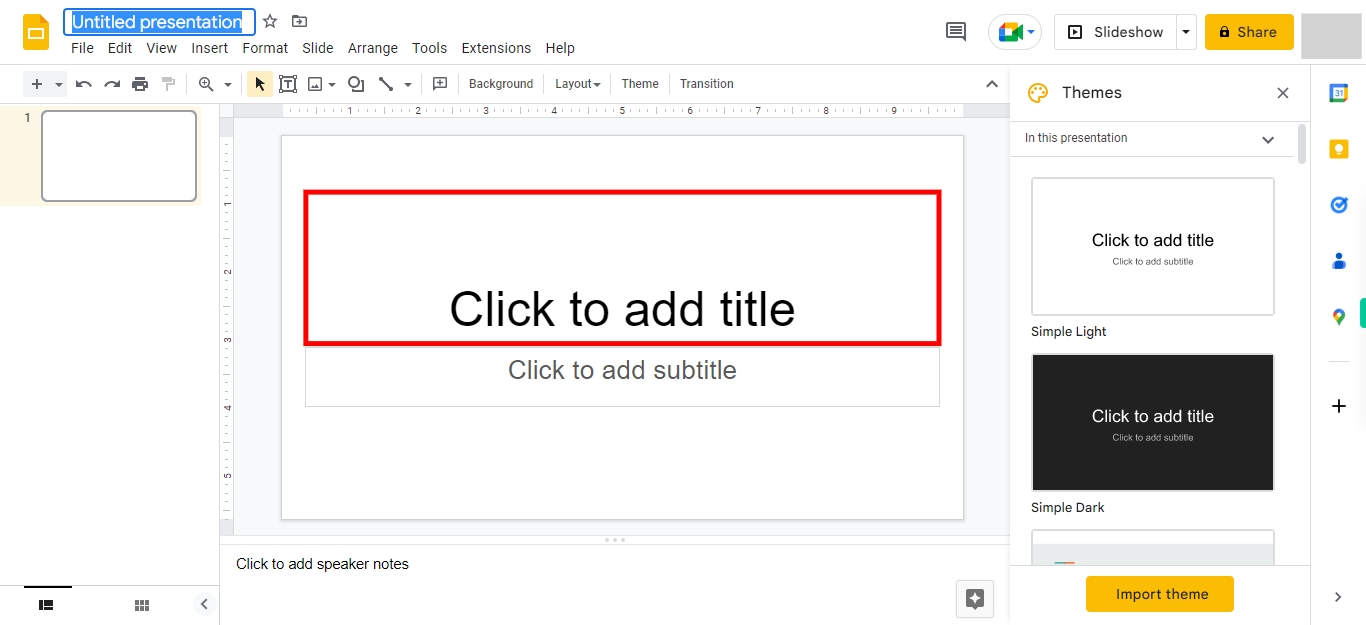
To provide a name to the presentation, click on the existing title ("Untitled presentation") at the top of the page. Edit the title to give your presentation a meaningful name that reflects its content. Once done, click on the "Next" button on the Supervity instruction widget.
-
4.
Click on the 'Next' button within the Supervity instruction widget, then add the title and subtitle to the presentation.
-
5.
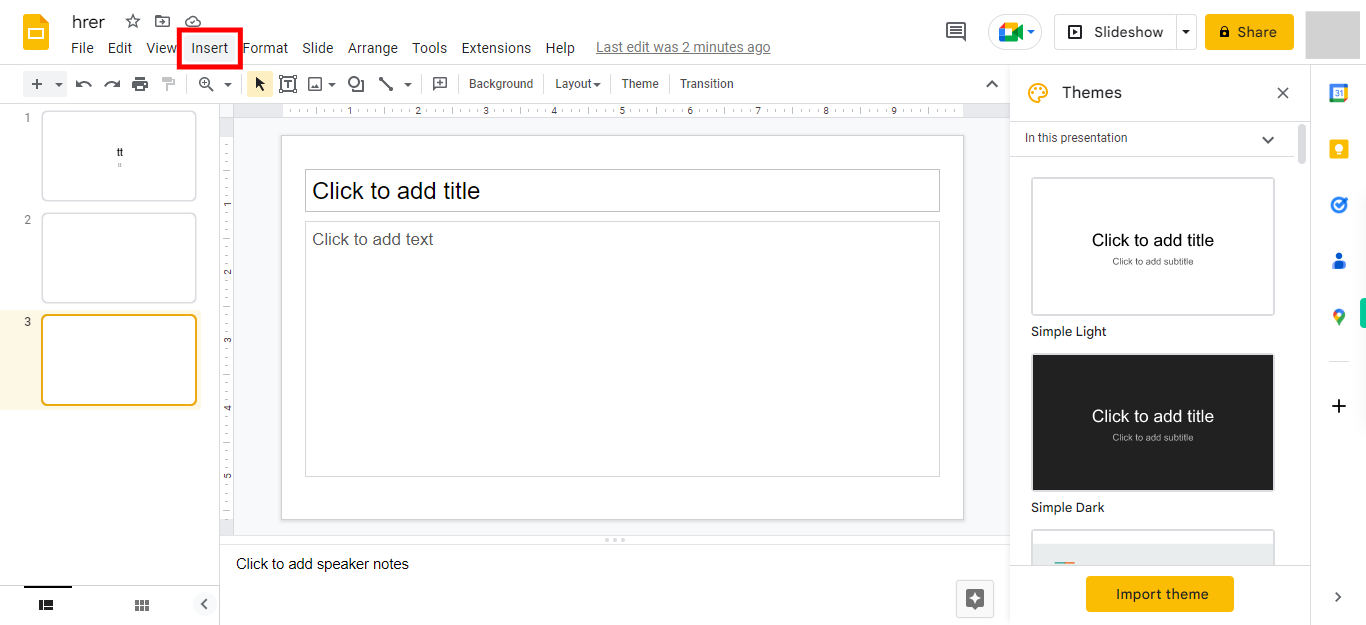
Click on the 'Insert' icon, and the options under that menu will appear.
-
6.
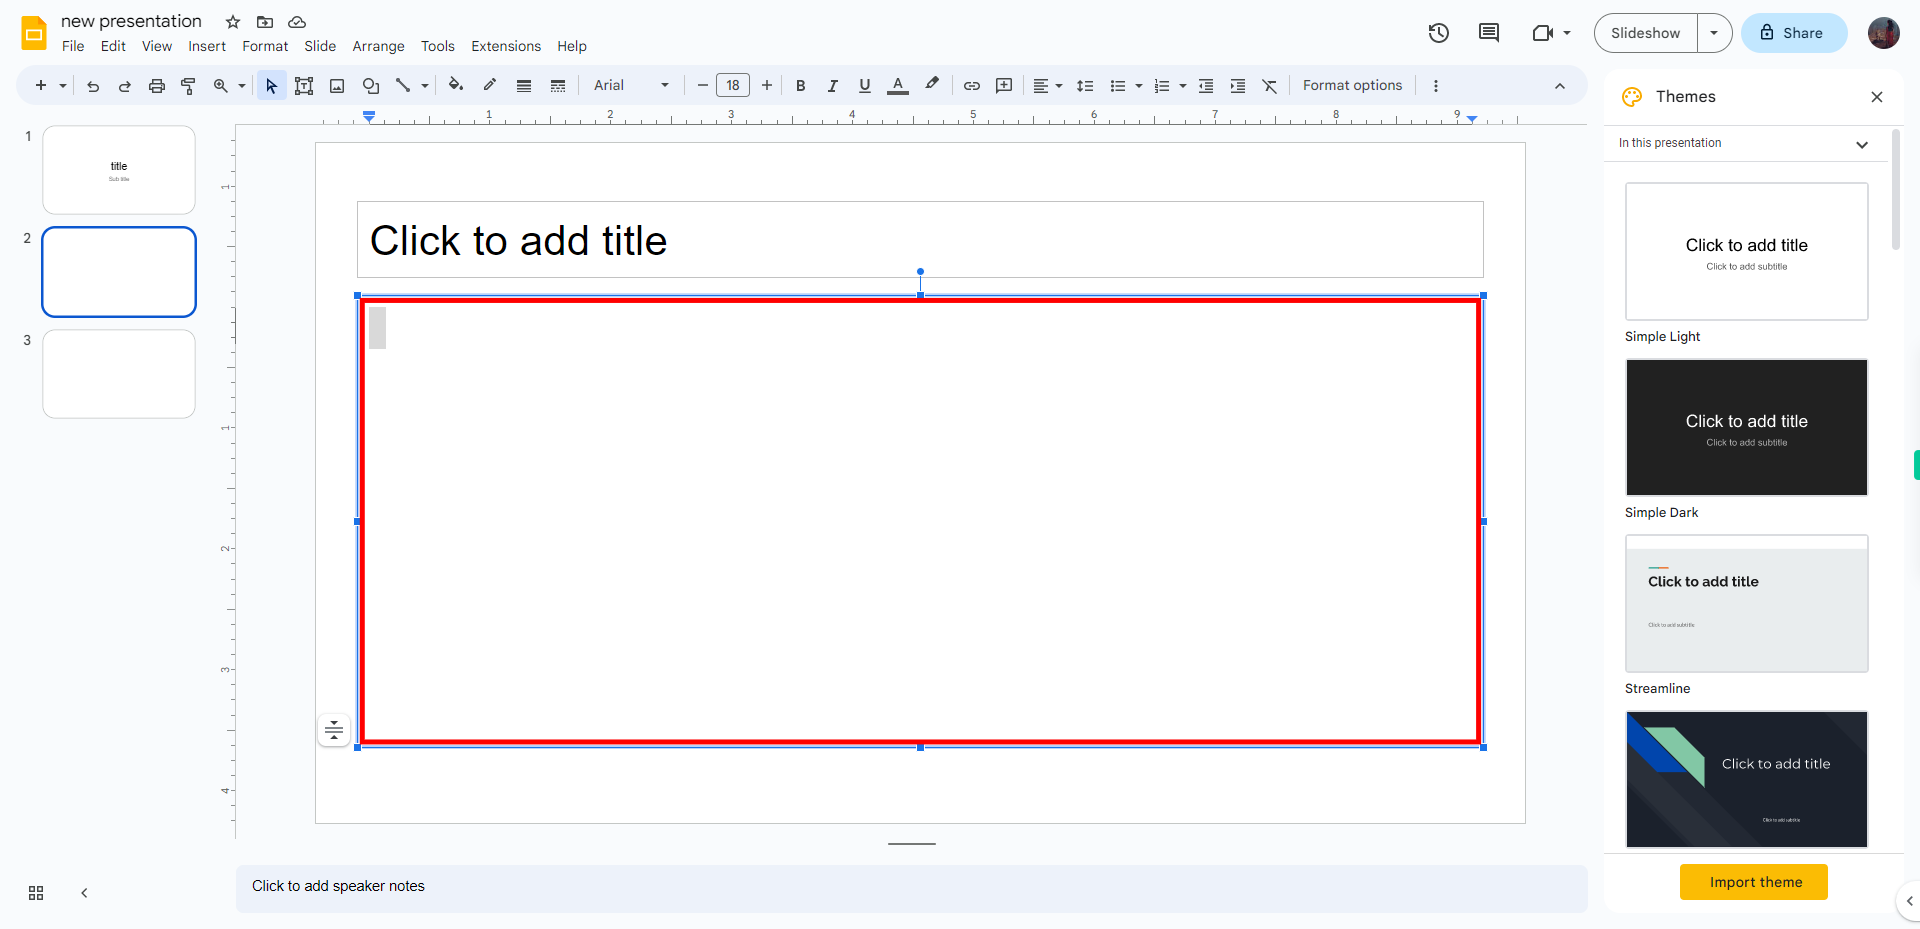
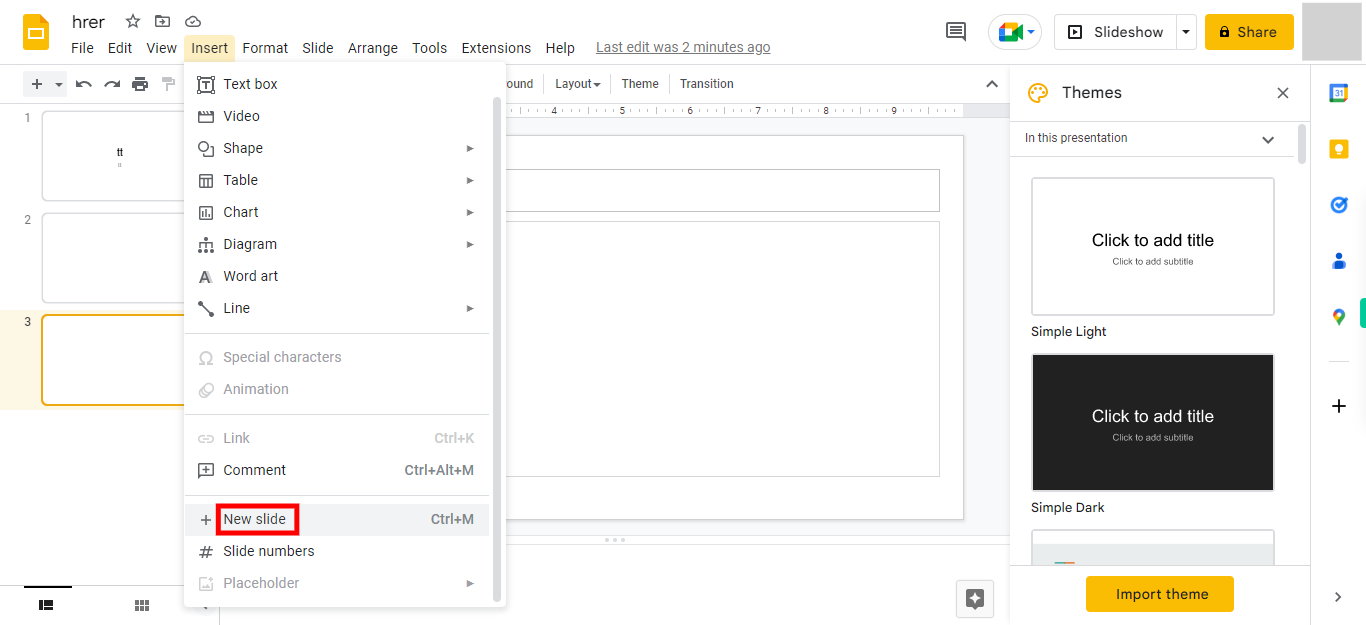
Now, Click on the ''Next'' button on the Supervity instruction widget. From the dropdown options of the 'Insert' menu, choose the '+ New slide' option to add a new slide to the presentation.
-
7.
Click on the ''Close'' button on the Supervity instruction widget. Then, you can enter a description, add images, and incorporate videos based on your specific requirements. Utilize the provided text fields or placeholders to input relevant descriptions or content.
