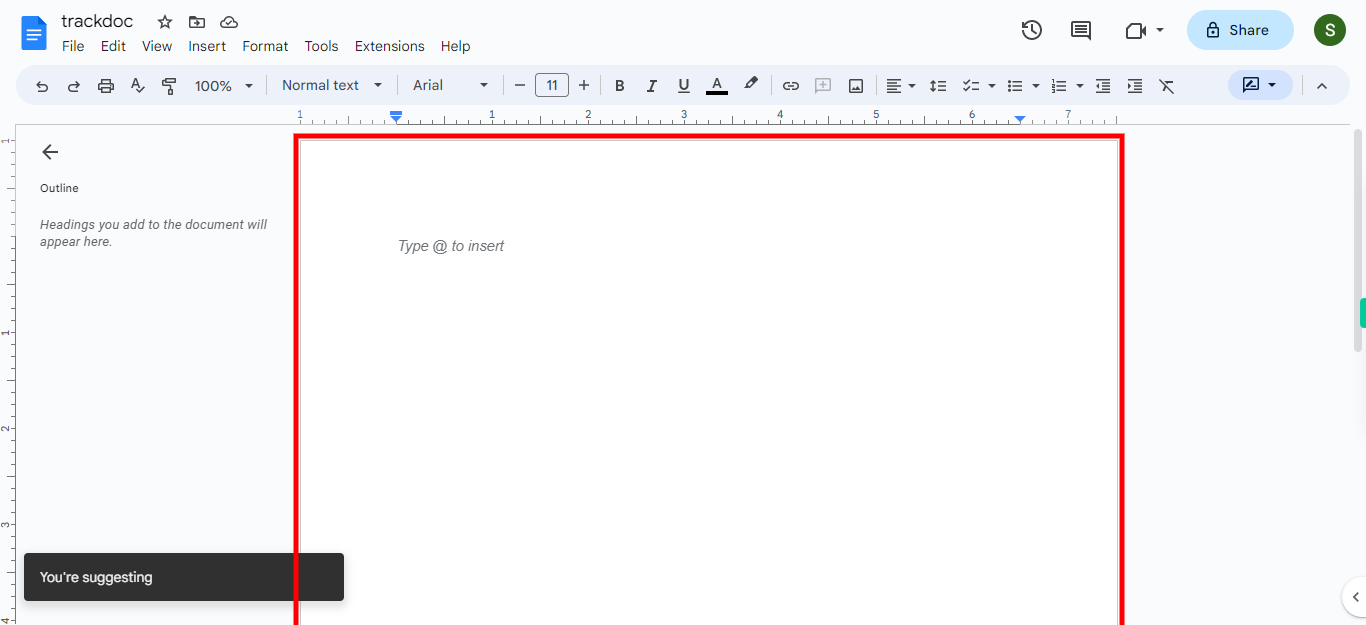
Step by step process of tracking changes made to a Google Document. Tracking changes feature in Google Docs enhances collaboration, version control, and transparency when multiple individuals are working on the same document, making it a valuable tool for collaborative writing, editing, and reviewing processes. Note: Make sure that, you are already logged into the Google Docs web application before playing this skill.
-
1.
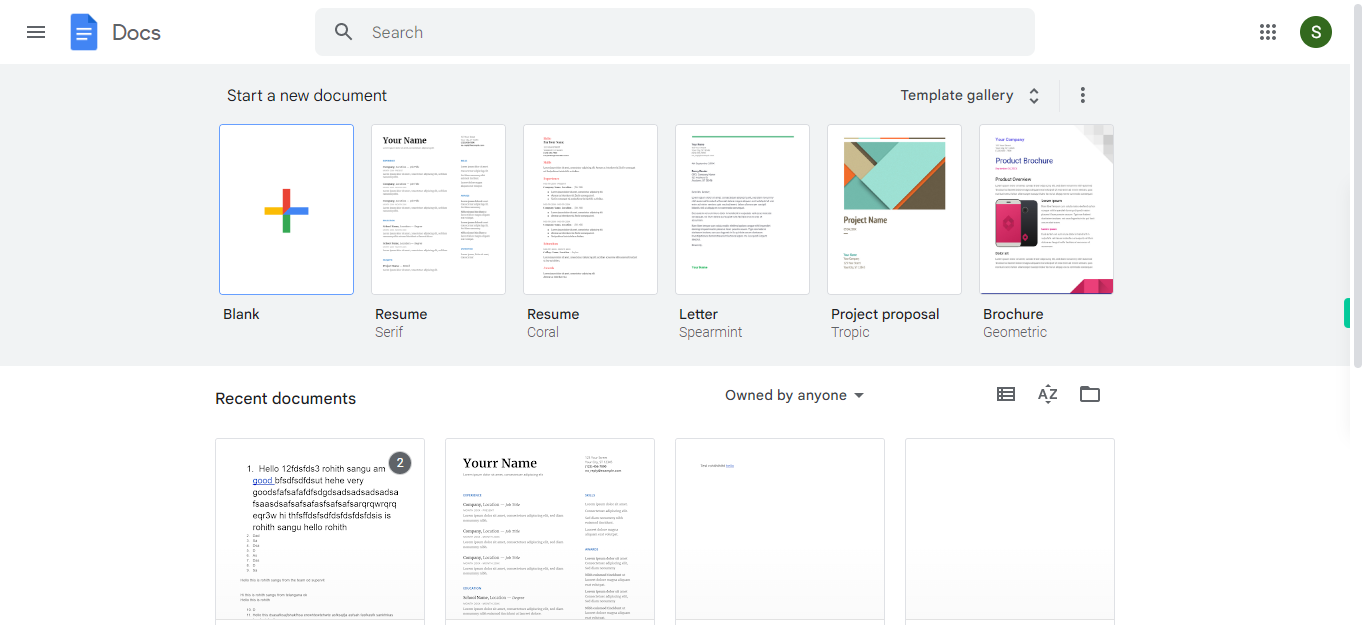
Open Google Docs web application.
-
2.
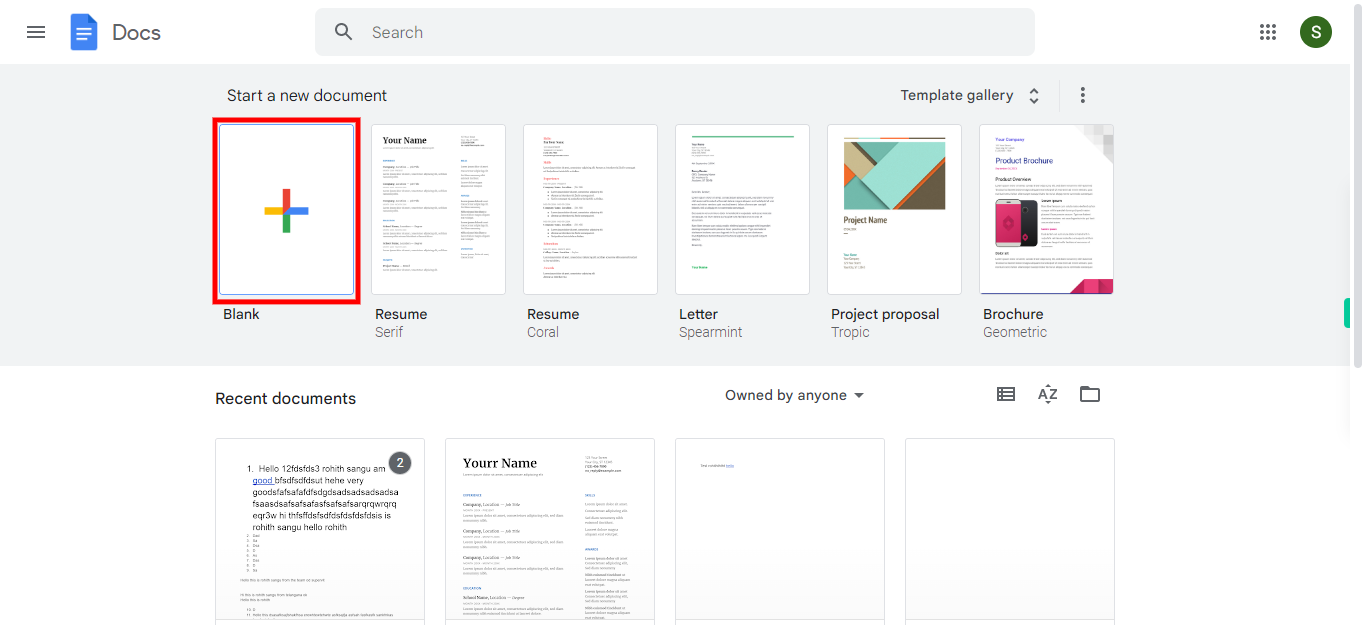
To begin creating a Google Document, click on the "Create" icon, typically represented by a "+" symbol.
-
3.
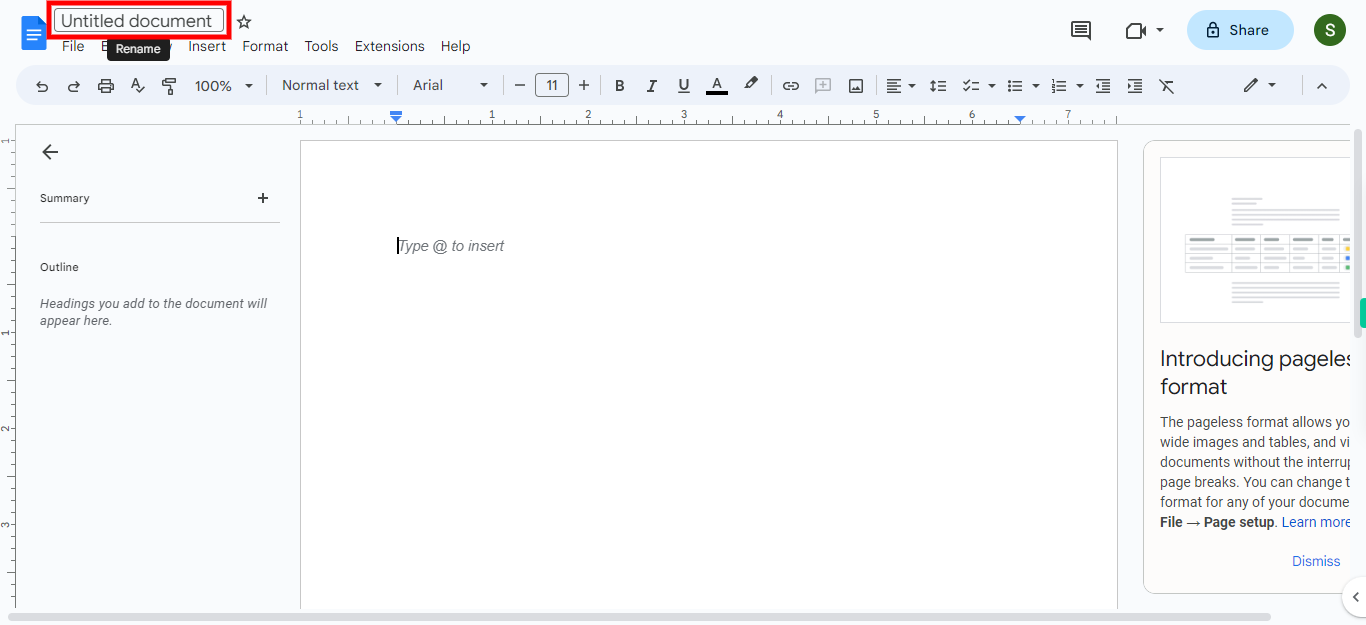
By default, the document is named "Untitled document". Click on it and enter the desired title for your document. Once done, click on the "Next" button on the Supervity instruction widget.
-
4.
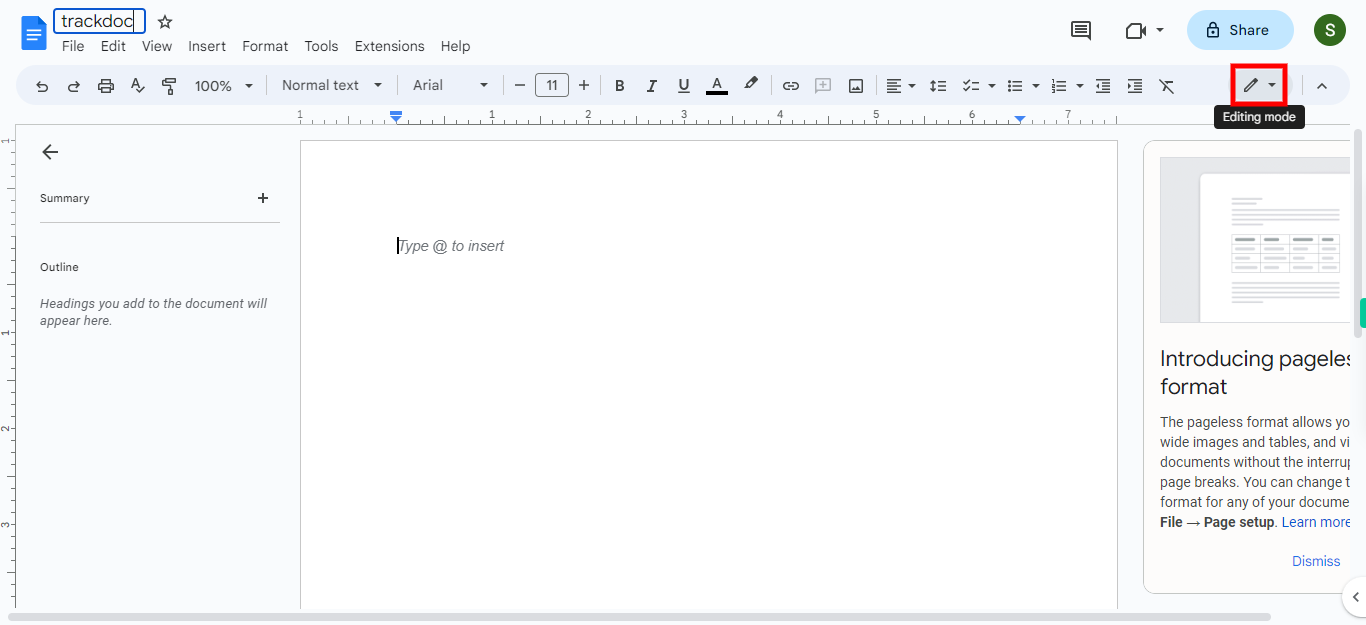
Before beginning the document preparation process, click on the editing symbol located in the top-right corner of the web page to initiate the first step of enabling the tracking process.
-
5.
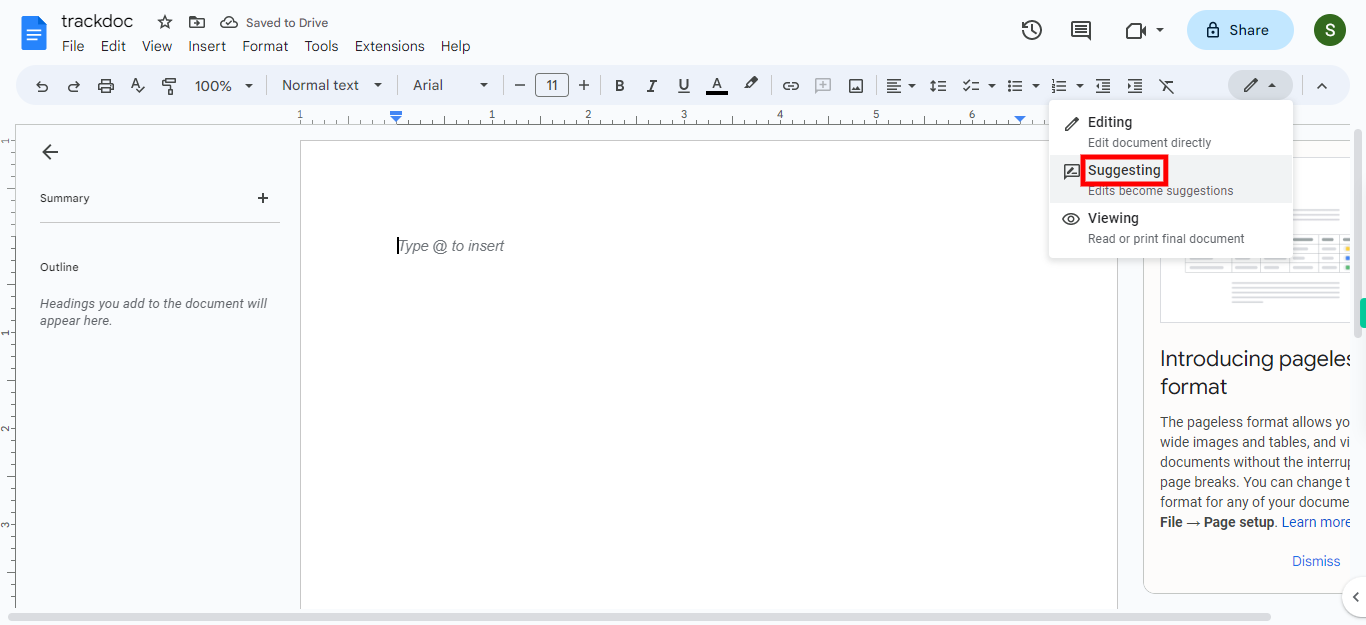
The "Suggestions" feature in Google Docs is closely related to the tracking of changes made to a document. When the "Suggestions" mode is enabled, any edits or modifications made by collaborators are presented as suggestions rather than direct changes to the original text. Click on the "Suggesting" icon to enable the collaborative editing mode in Google Docs.
-
6.
Now, begin preparing your document, as all the changes you make will be tracked and recorded.
