Step-by-step process of inviting attendees to an event in Outlook. Note: Make sure you are already logged into the Outlook web application while trying out this skill.
-
1.
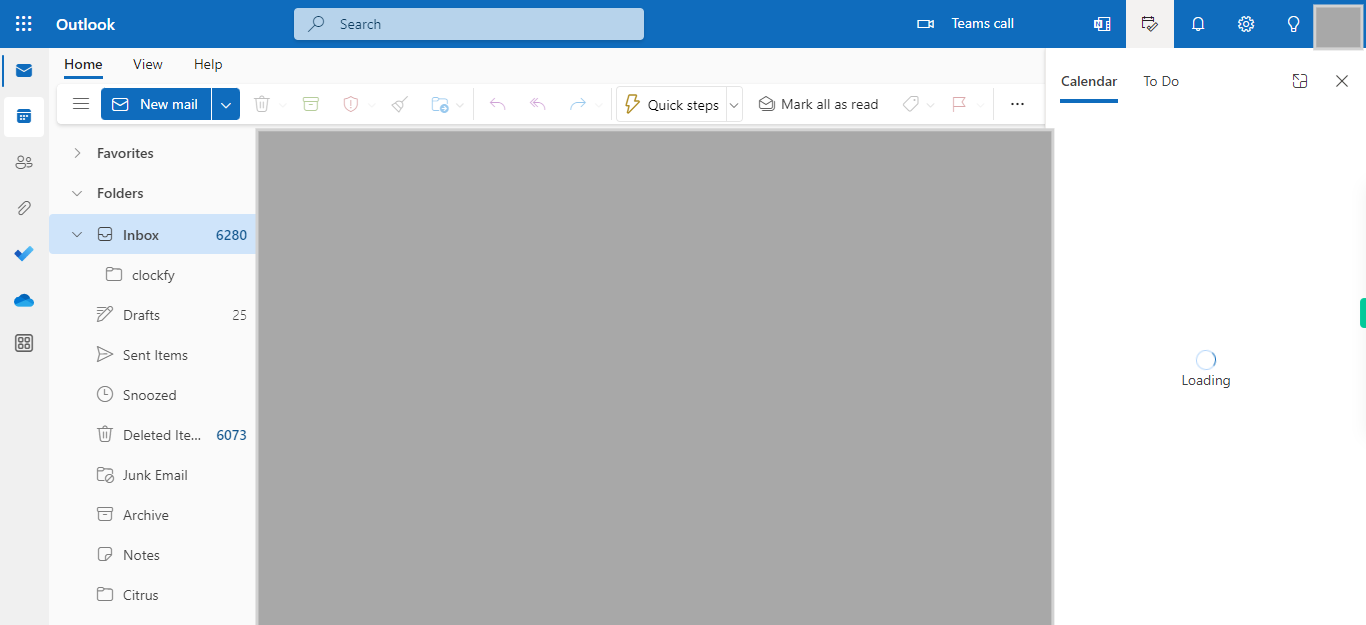
Open - Outlook
-
2.
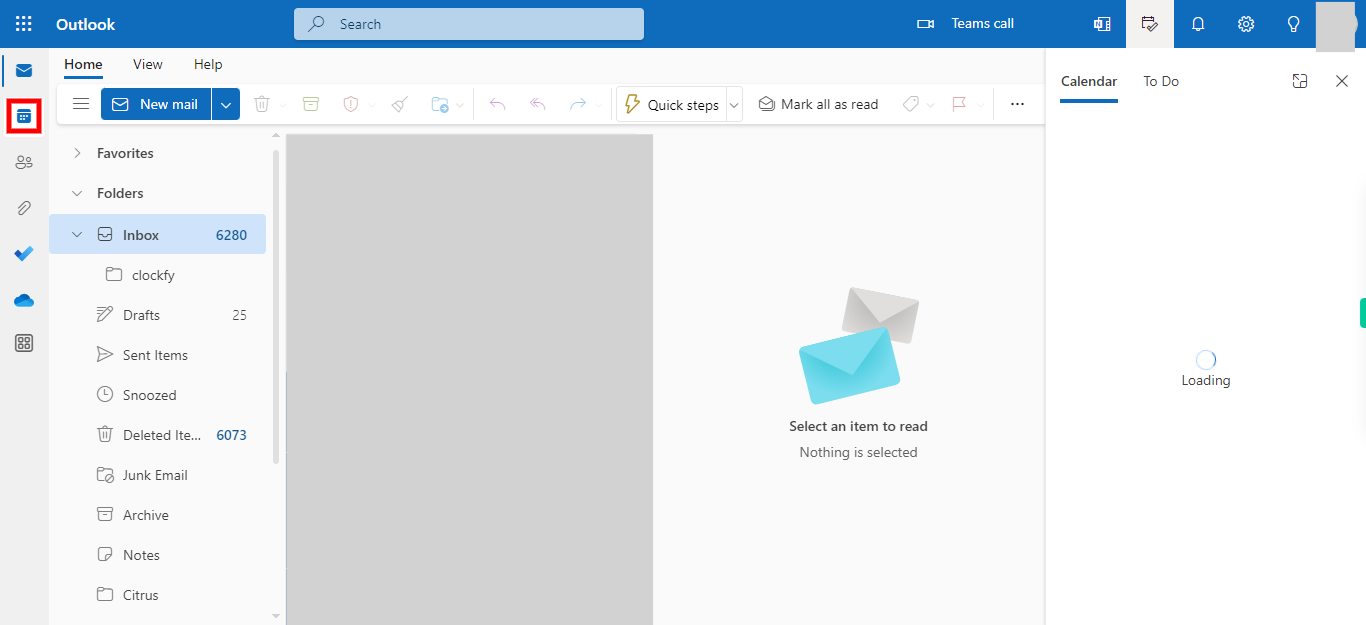
To access the calendar functionality, click on the calendar icon. This action will open your calendar view, where you can view and manage your scheduled events and appointments. The calendar icon serves as a quick and convenient way to navigate your calendar within the Outlook interface. Then click on the "Next" button in the Supervity instruction widget.
-
3.
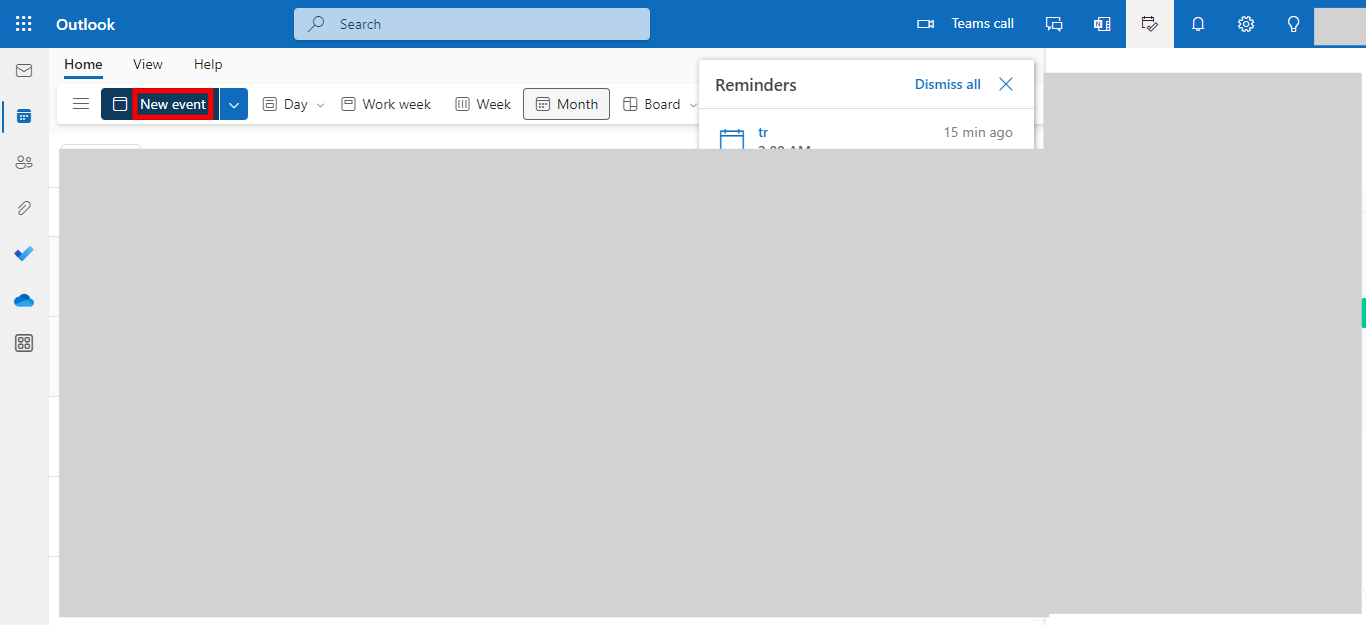
To create a new event in Outlook, click on the "New event" button. This will open a new event window where you can enter event details such as title, date, time, and location.
-
4.
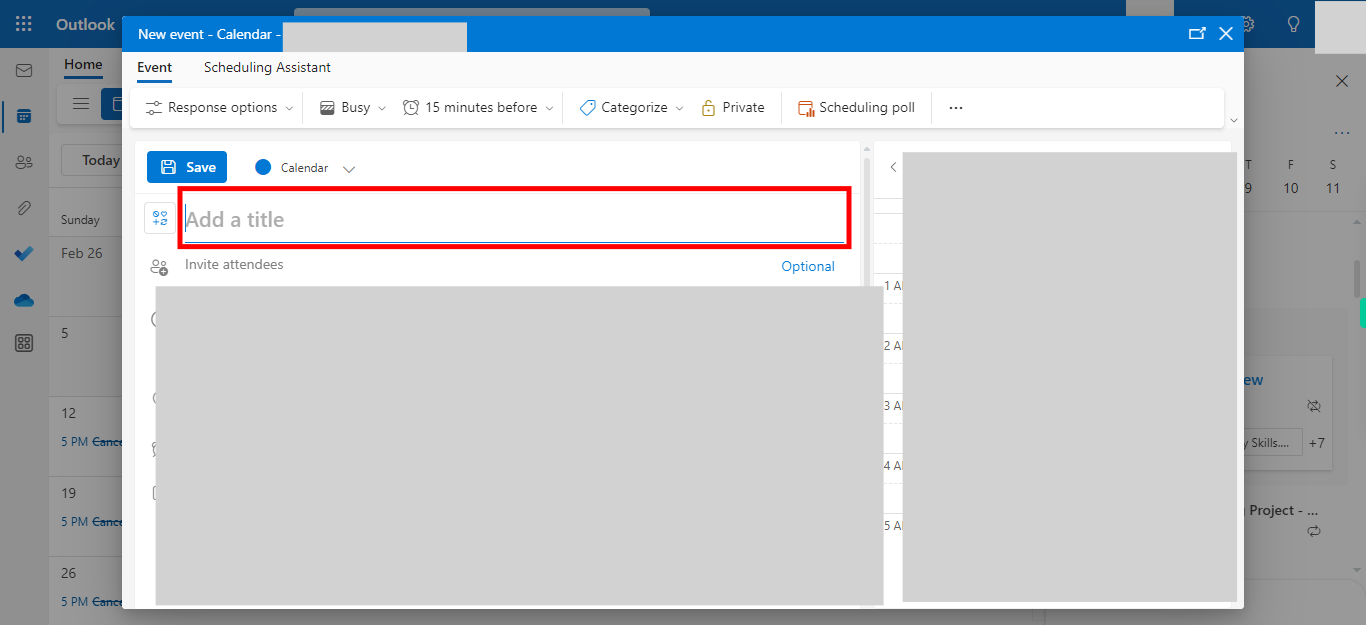
Click on Add Title field and add a title to the event. When adding a title for the event in your calendar, provide a concise and descriptive name that accurately represents the nature of the event. The title should be clear and informative, allowing attendees to understand the purpose of the event at a glance. Consider including relevant keywords or details to help participants identify and remember the event easily. Once done, click on the Next button on the Supervity instruction widget.
-
5.
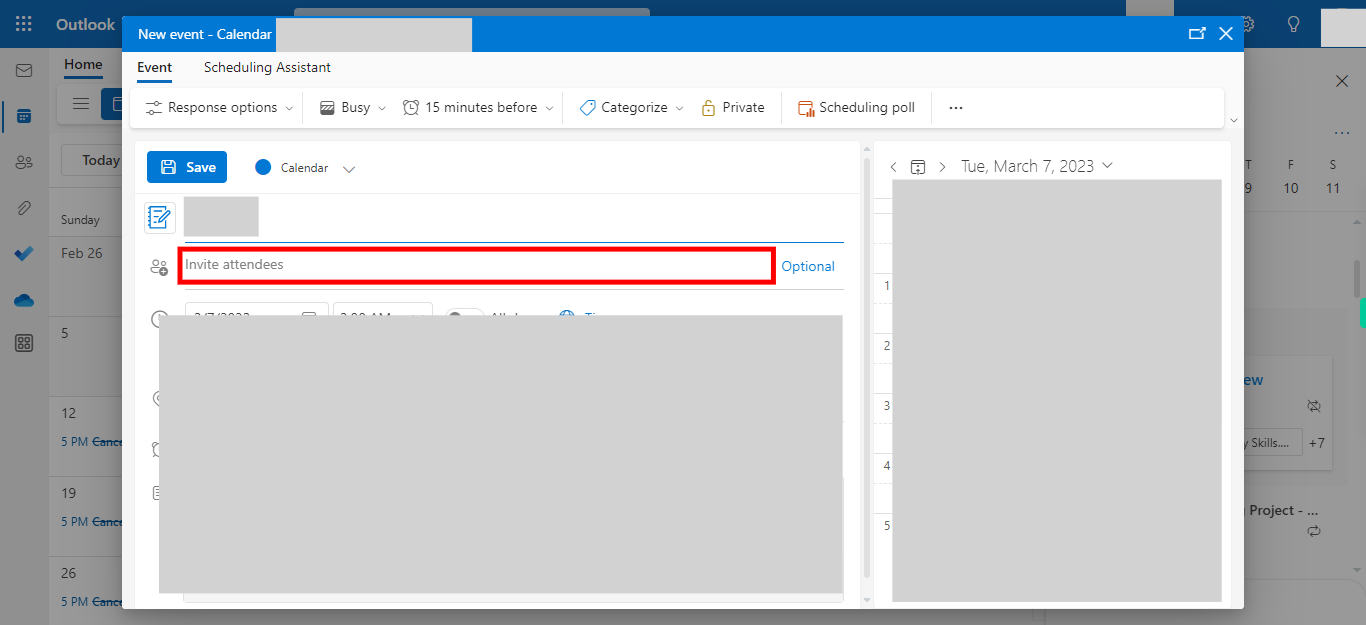
To manage attendees for the event, click on the "Attendees" option and select "Add New Attendees." From there, you can add new participants to the event. Once done, click on the Next button on the Supervity instruction widget.
-
6.
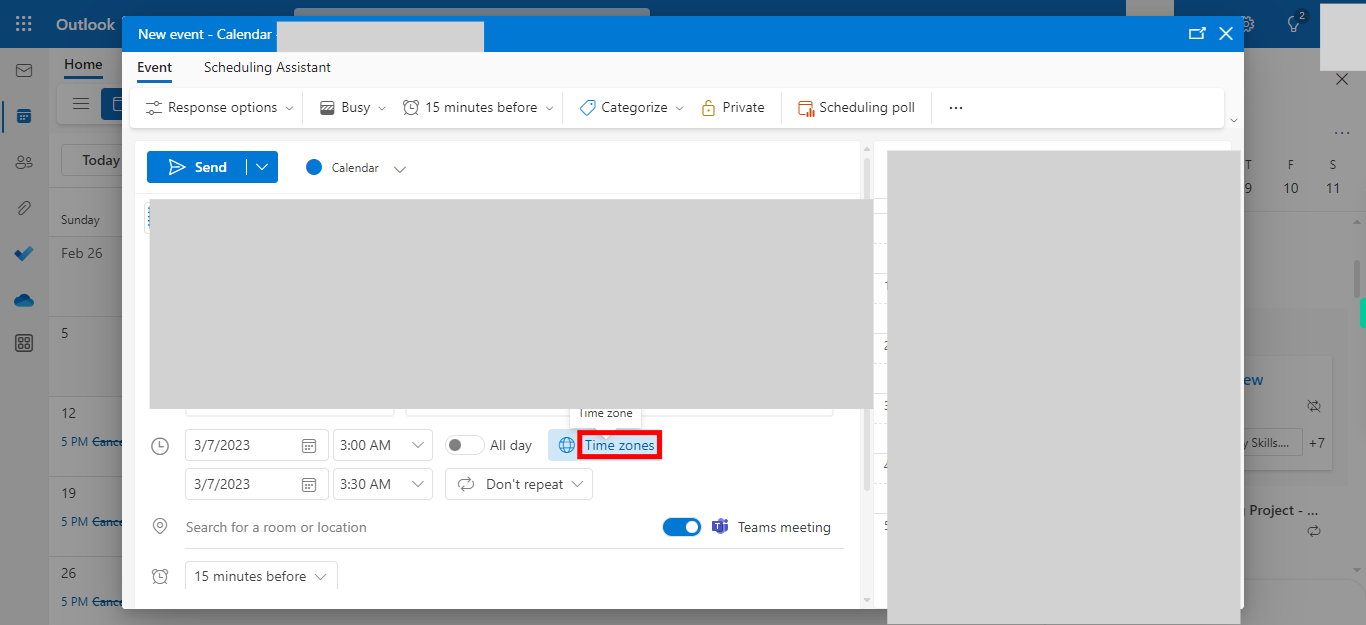
Click on the time zone option, and enter the desired date and time for the event. Make sure to specify the correct time zone to accurately schedule the event. Once done, click on the Next button on the Supervity instruction widget.
-
7.
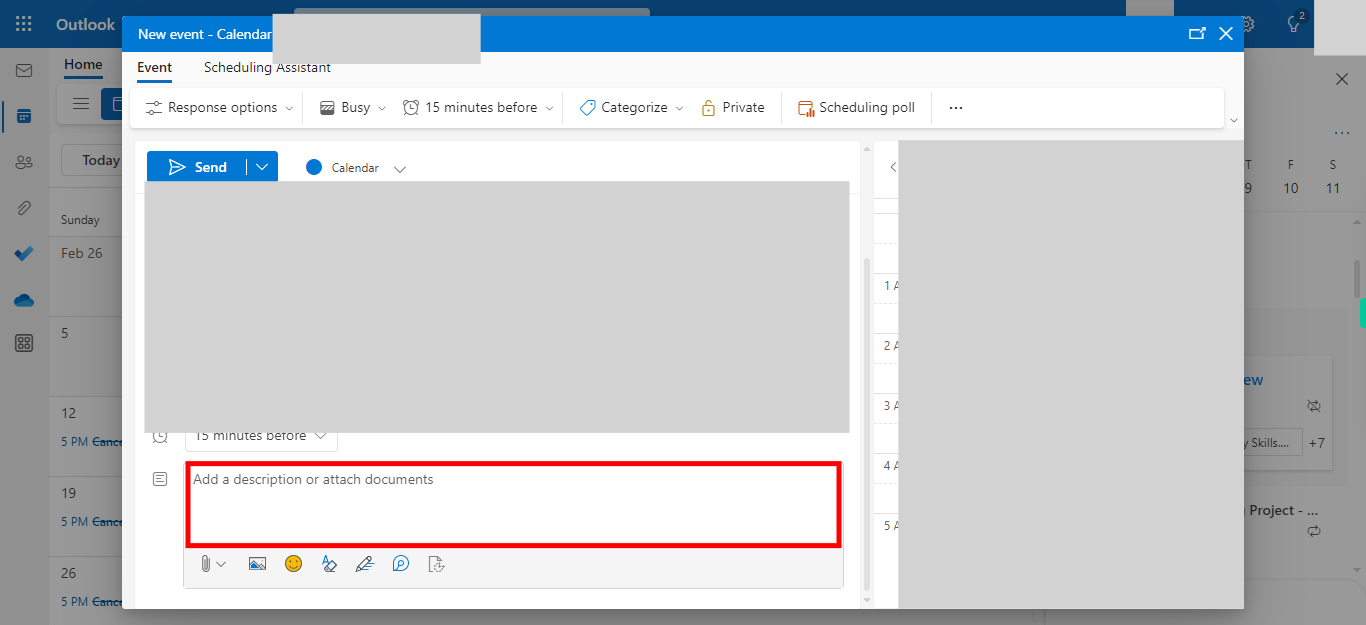
Click on the description field within the event details. This field allows you to enter relevant information, such as the purpose or agenda of the event. Provide a clear and concise description to provide attendees with the necessary context. Once done, click on the Next button on the Supervity instruction widget
-
8.
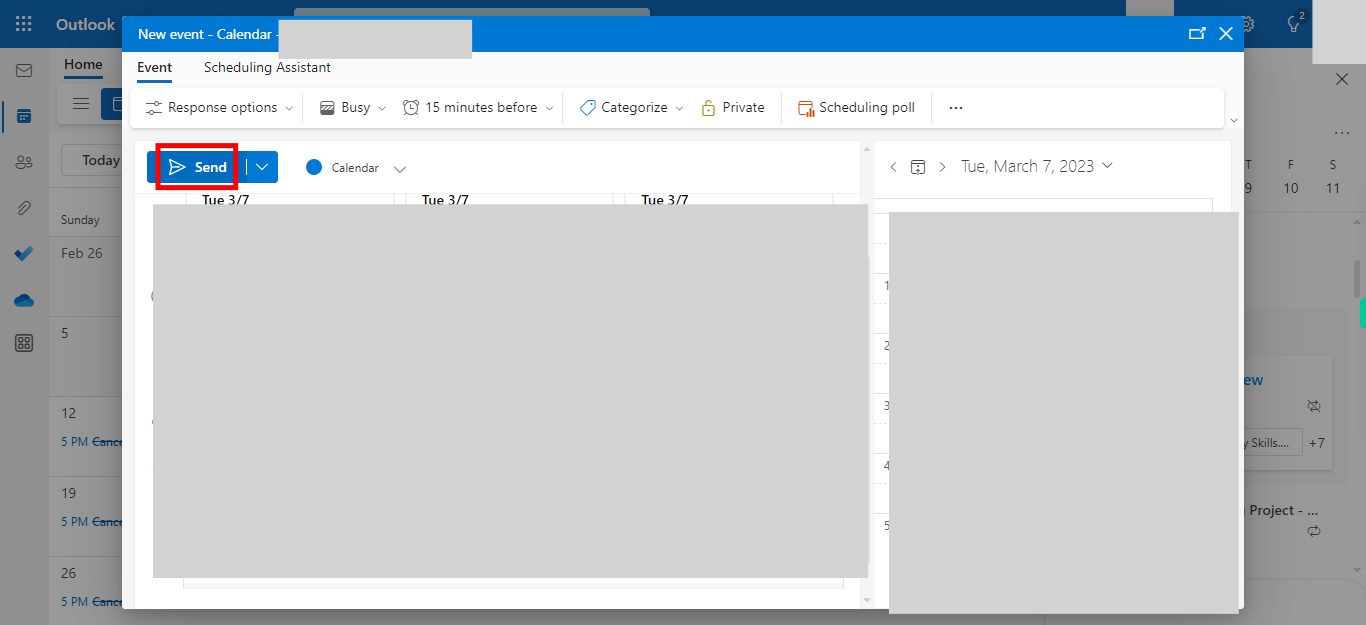
By clicking the "Send" button, you will initiate the action of sending the message or invitation. Ensure that all the required information is entered correctly before proceeding. Once clicked, the message will be sent to the designated recipients or attendees.


