Creating a new calendar event in Outlook can sometimes be puzzling, but what adds to the challenge is understanding the process, setting event details, managing participants, configuring reminders, handling recurring events, ensuring privacy, and troubleshooting any obstacles. Fortunately, this skill acts as an active assistant, providing clear instructions to create events effortlessly, customize event settings, invite attendees seamlessly and set up reminders right on the application. Note: Make sure you are already logged into your web MS Outlook account.
-
1.
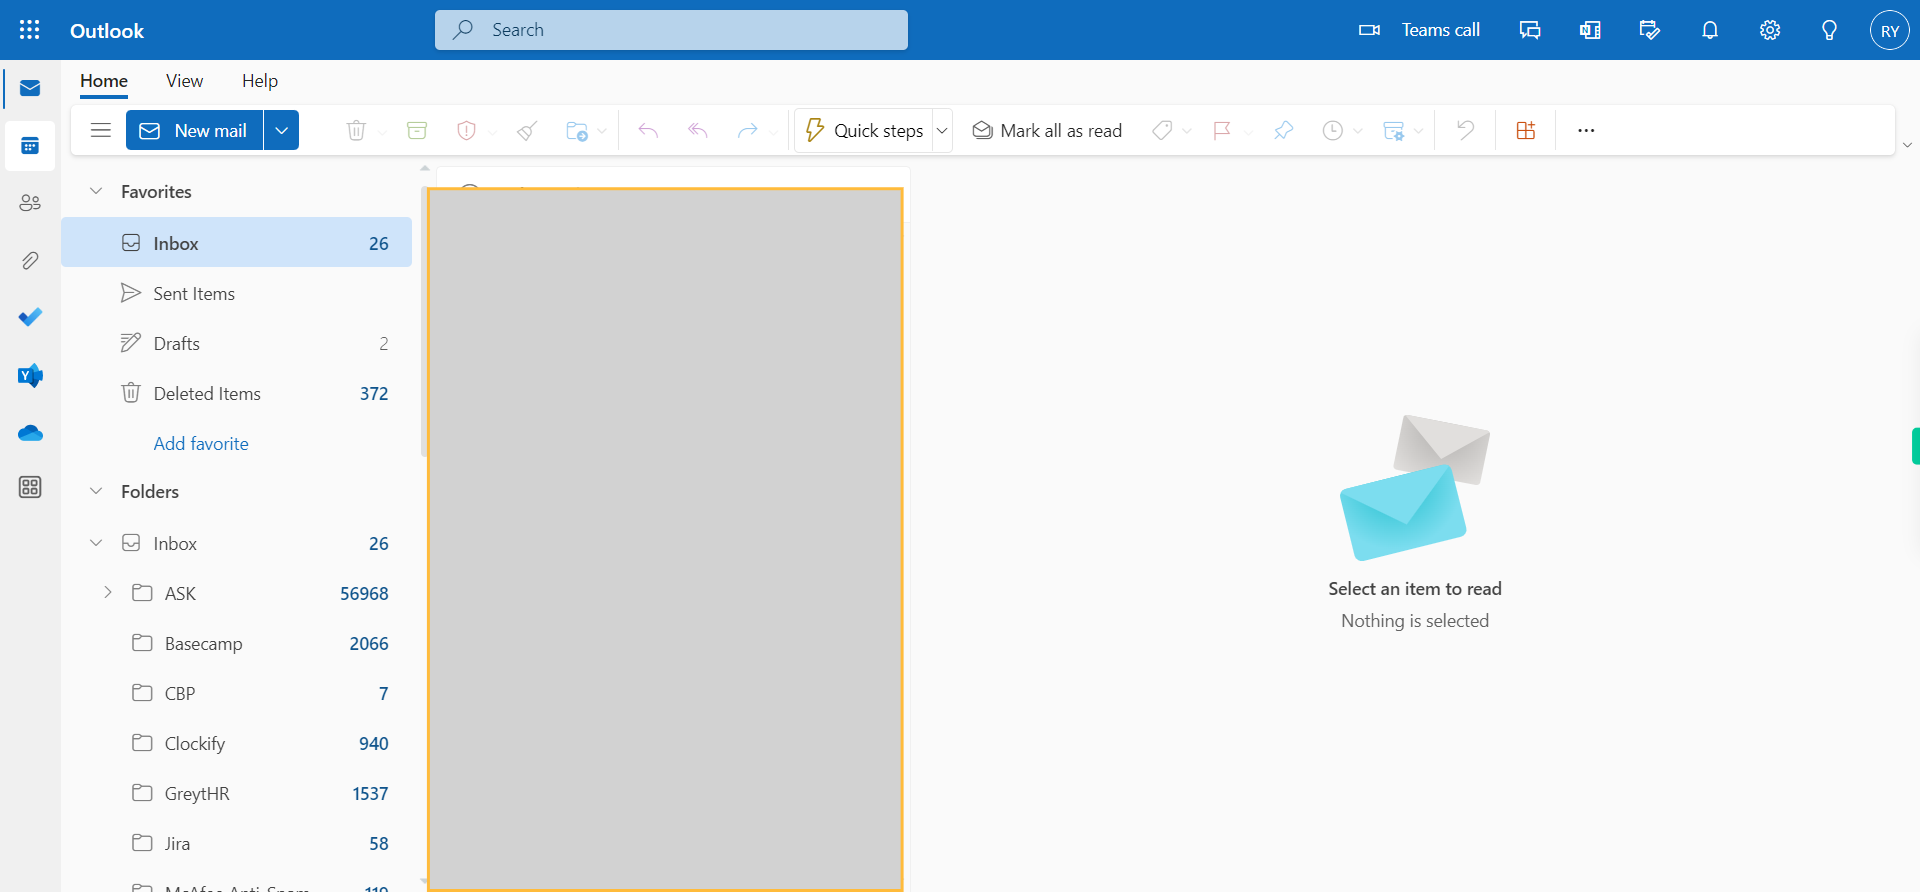
Open web Outlook account.
-
2.
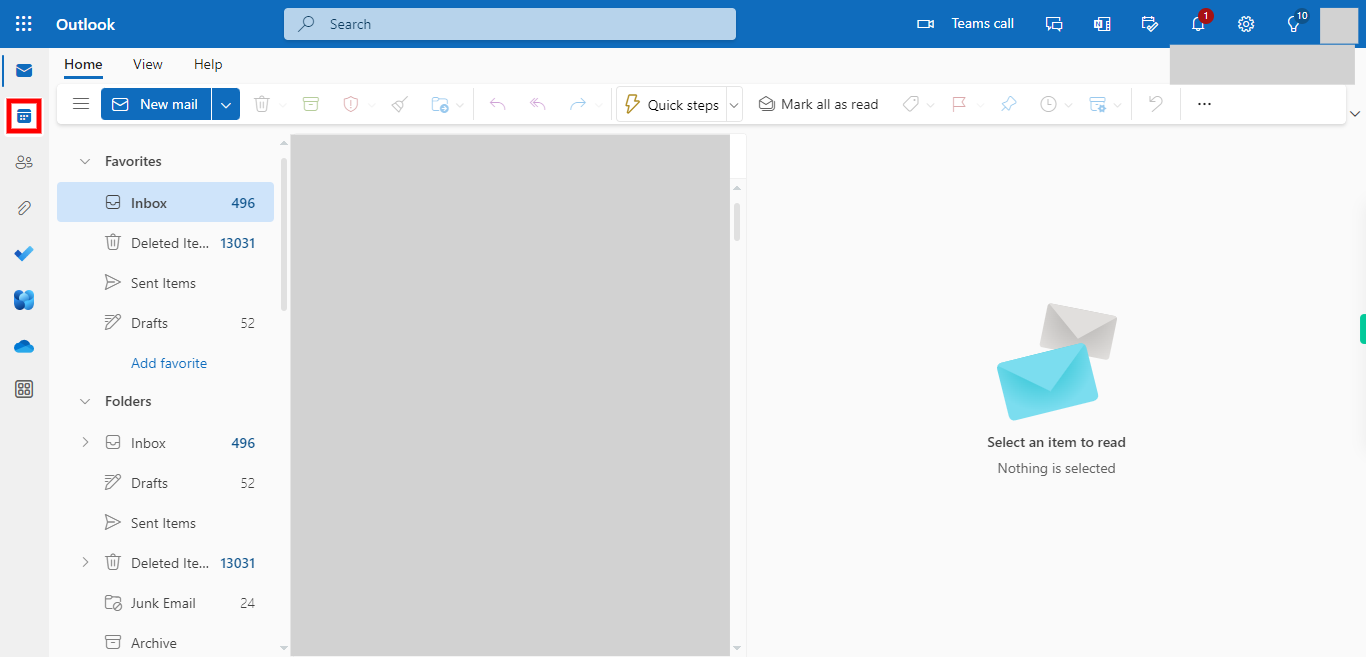
Click on the Calendar icon to switch to the calendar view, where you can see your existing events, appointments, and schedule. Note: The specific location and appearance of the calendar icon may vary depending on the version and configuration of Outlook you are using.
-
3.
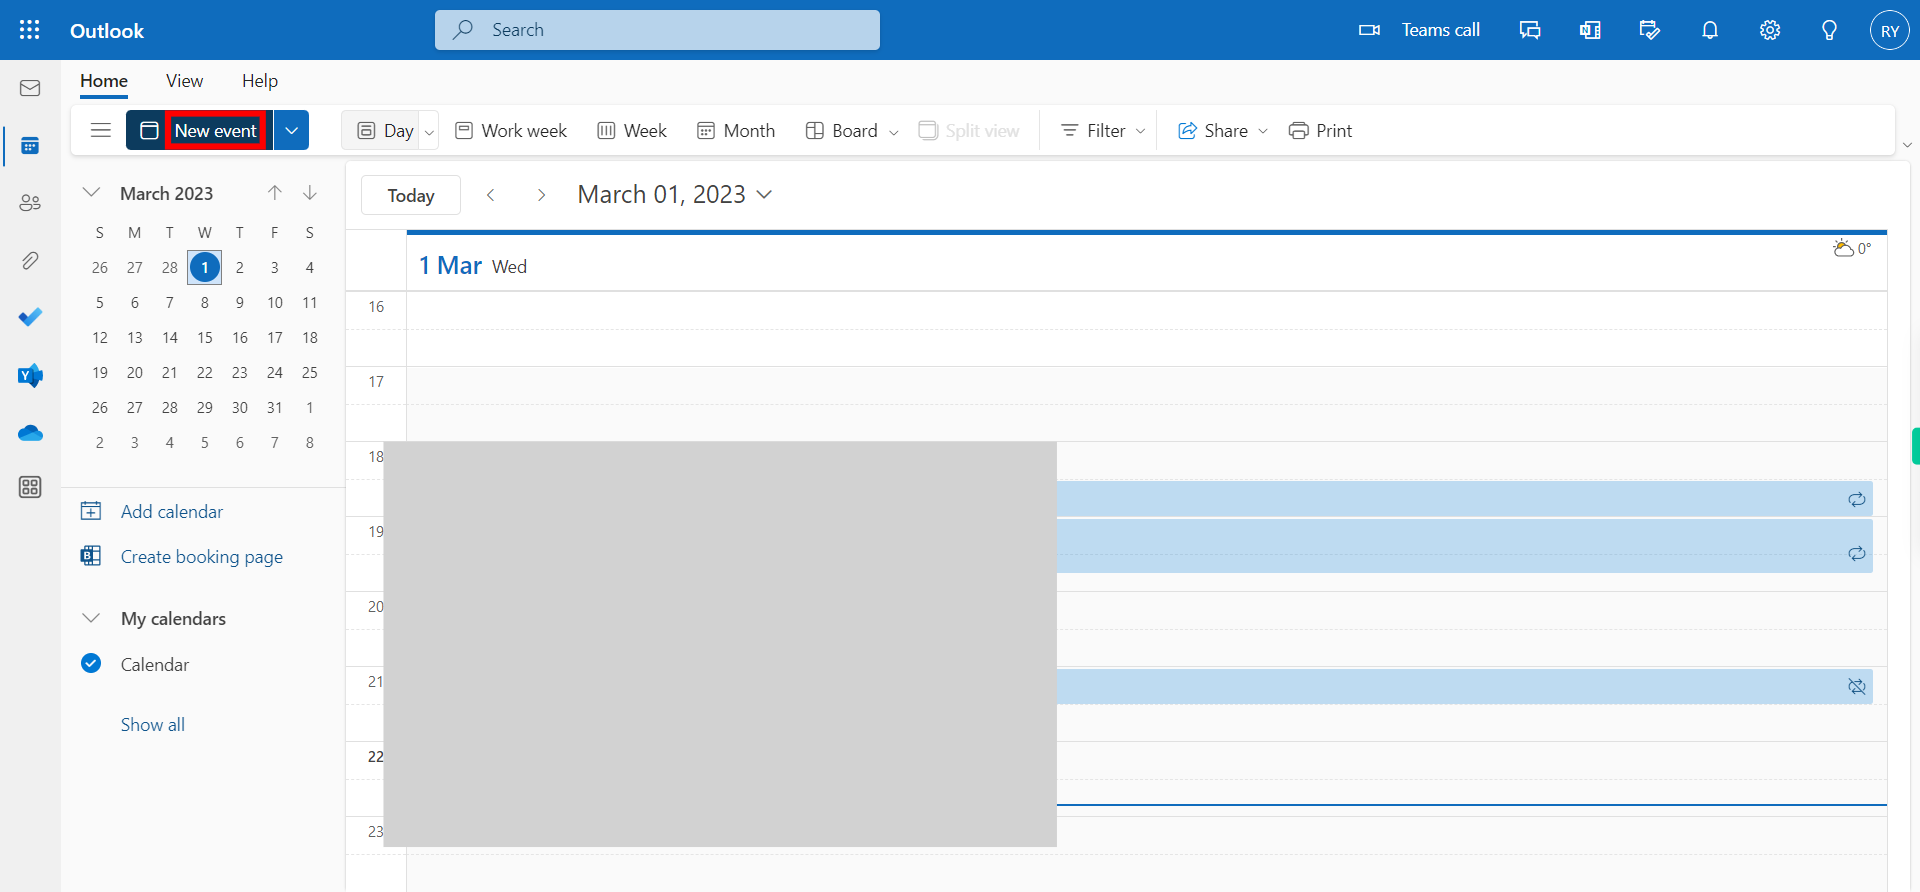
Click on the "New Event" button to initiate the creation of a new event. This button is located at the top of the calendar interface and may be represented by a plus symbol (+) or labeled "New Event," A new event creation window or form will appear, allowing you to enter the details of the event.
-
4.
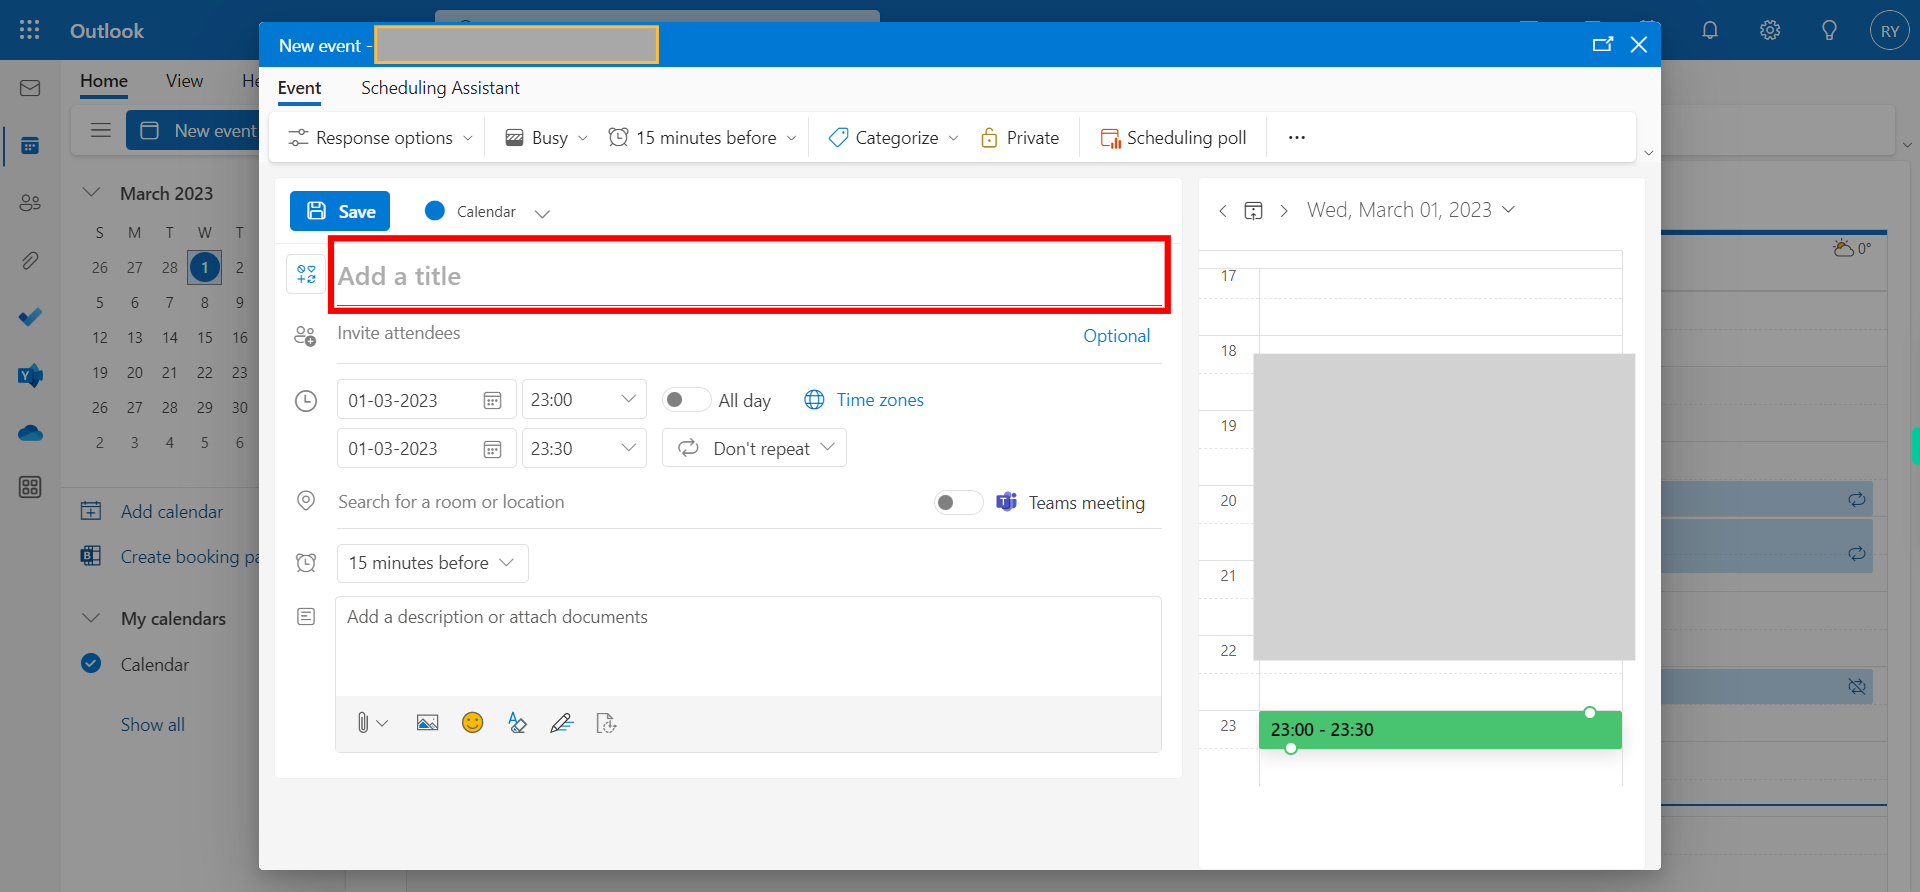
In the event creation window or form, click on the "Add a title" field to activate it and start entering the title for your event. Enter the desired title or subject of the event. Once done, click on the Next button on the Supervity instruction widget.
-
5.
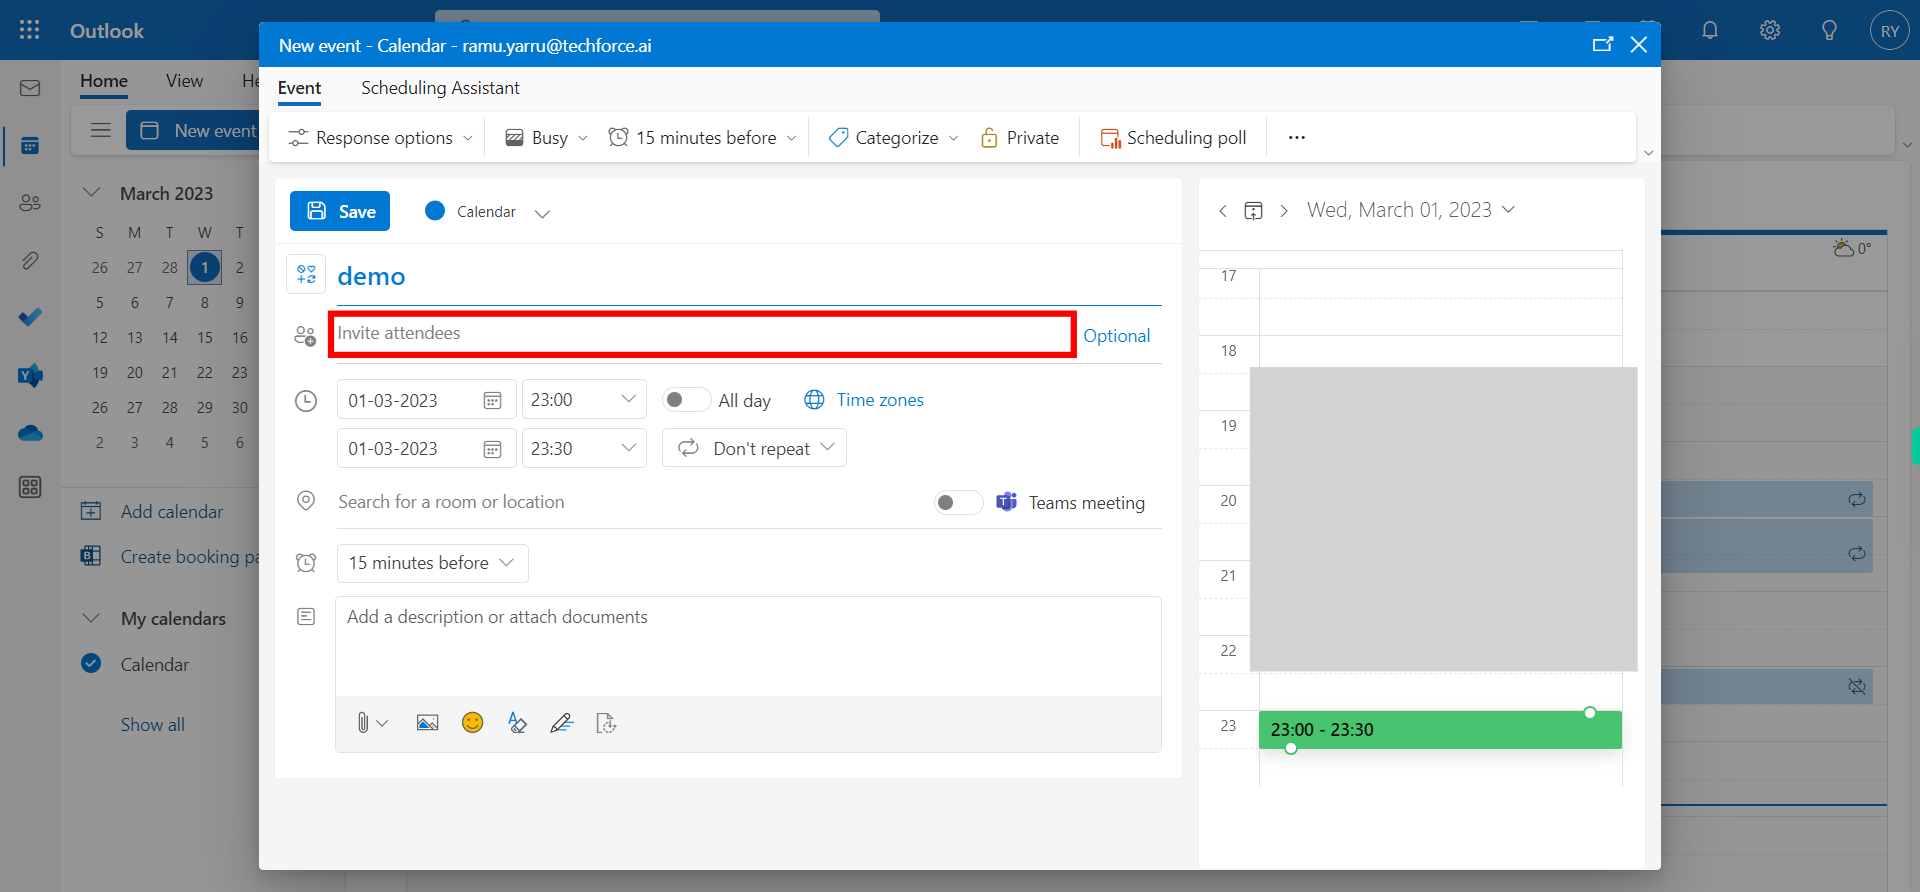
Click on the "Invite Attendees" or "Add Attendees" section to open the attendee selection interface. In the attendee selection interface, you can enter the email addresses or names of the individuals you want to invite to the event. Type in the email addresses directly, separating multiple addresses with commas or semicolons. Select the desired attendees from the suggestions or continue typing until you have added all the necessary attendees. Once done, click on the Next button on the Supervity instruction widget.
-
6.
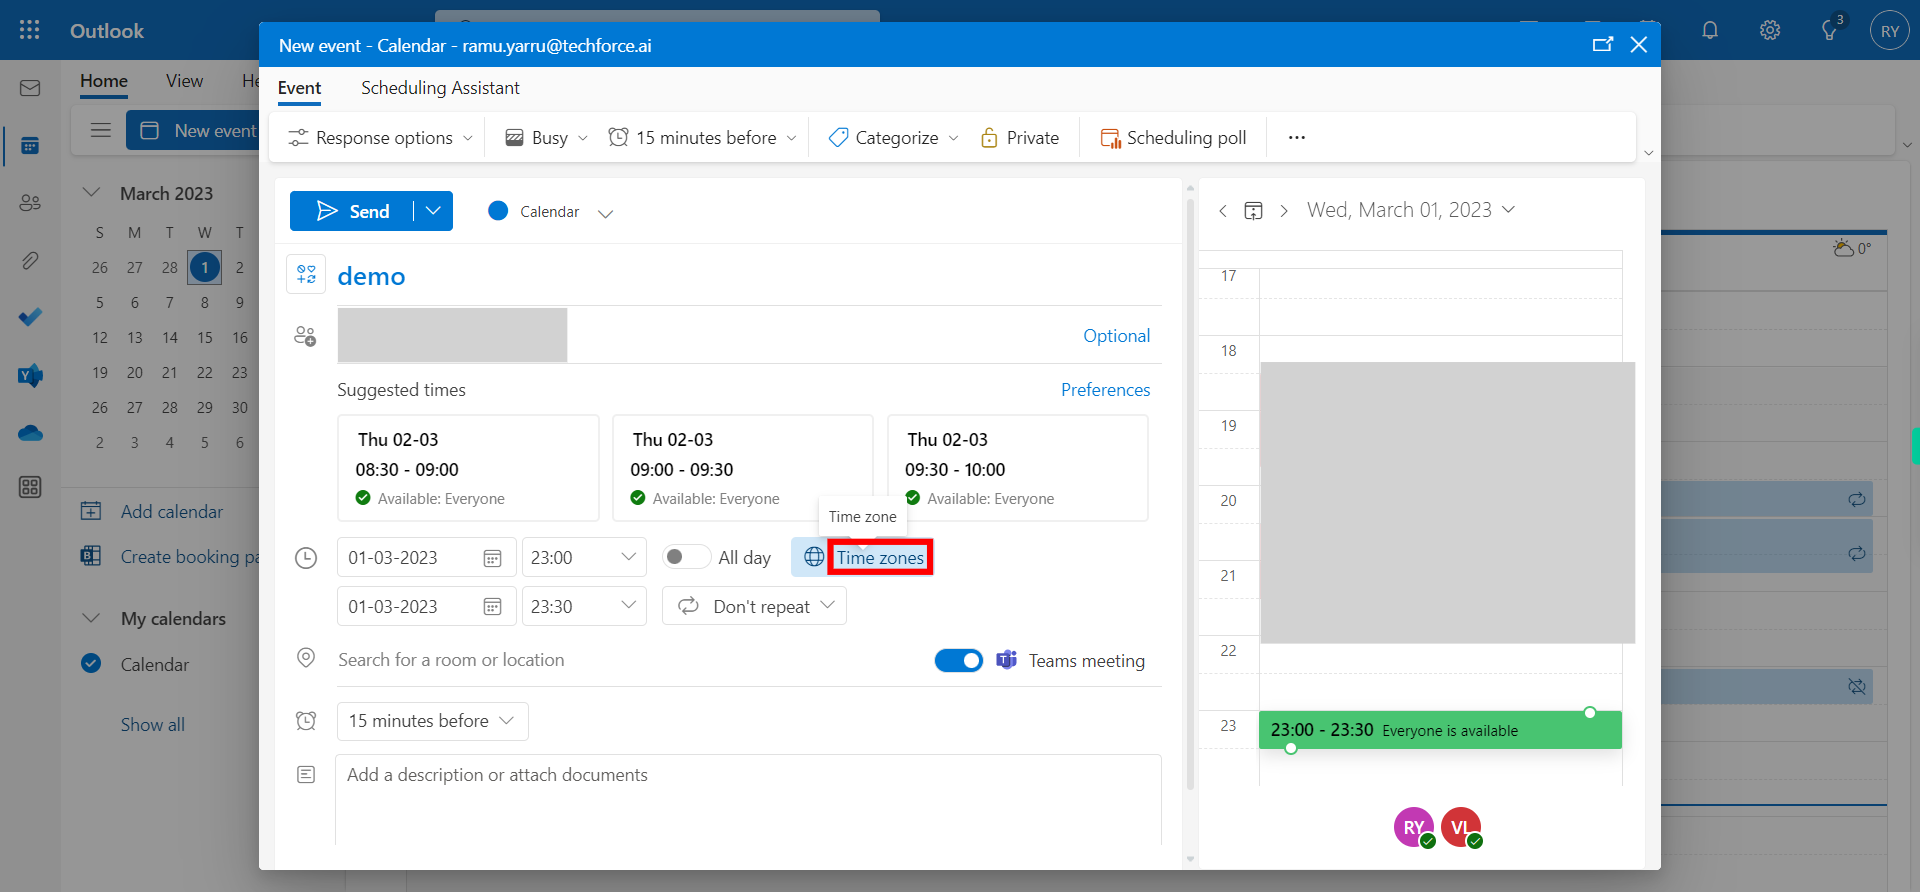
Click on the "Time Zones" section to access the time zone settings. A window or dialog box will appear, displaying various time zone options and settings beside the date and time fields. Select the desired time zone or configure the time zone settings as required. Once done, click on the Next button on the Supervity instruction widget.
-
7.
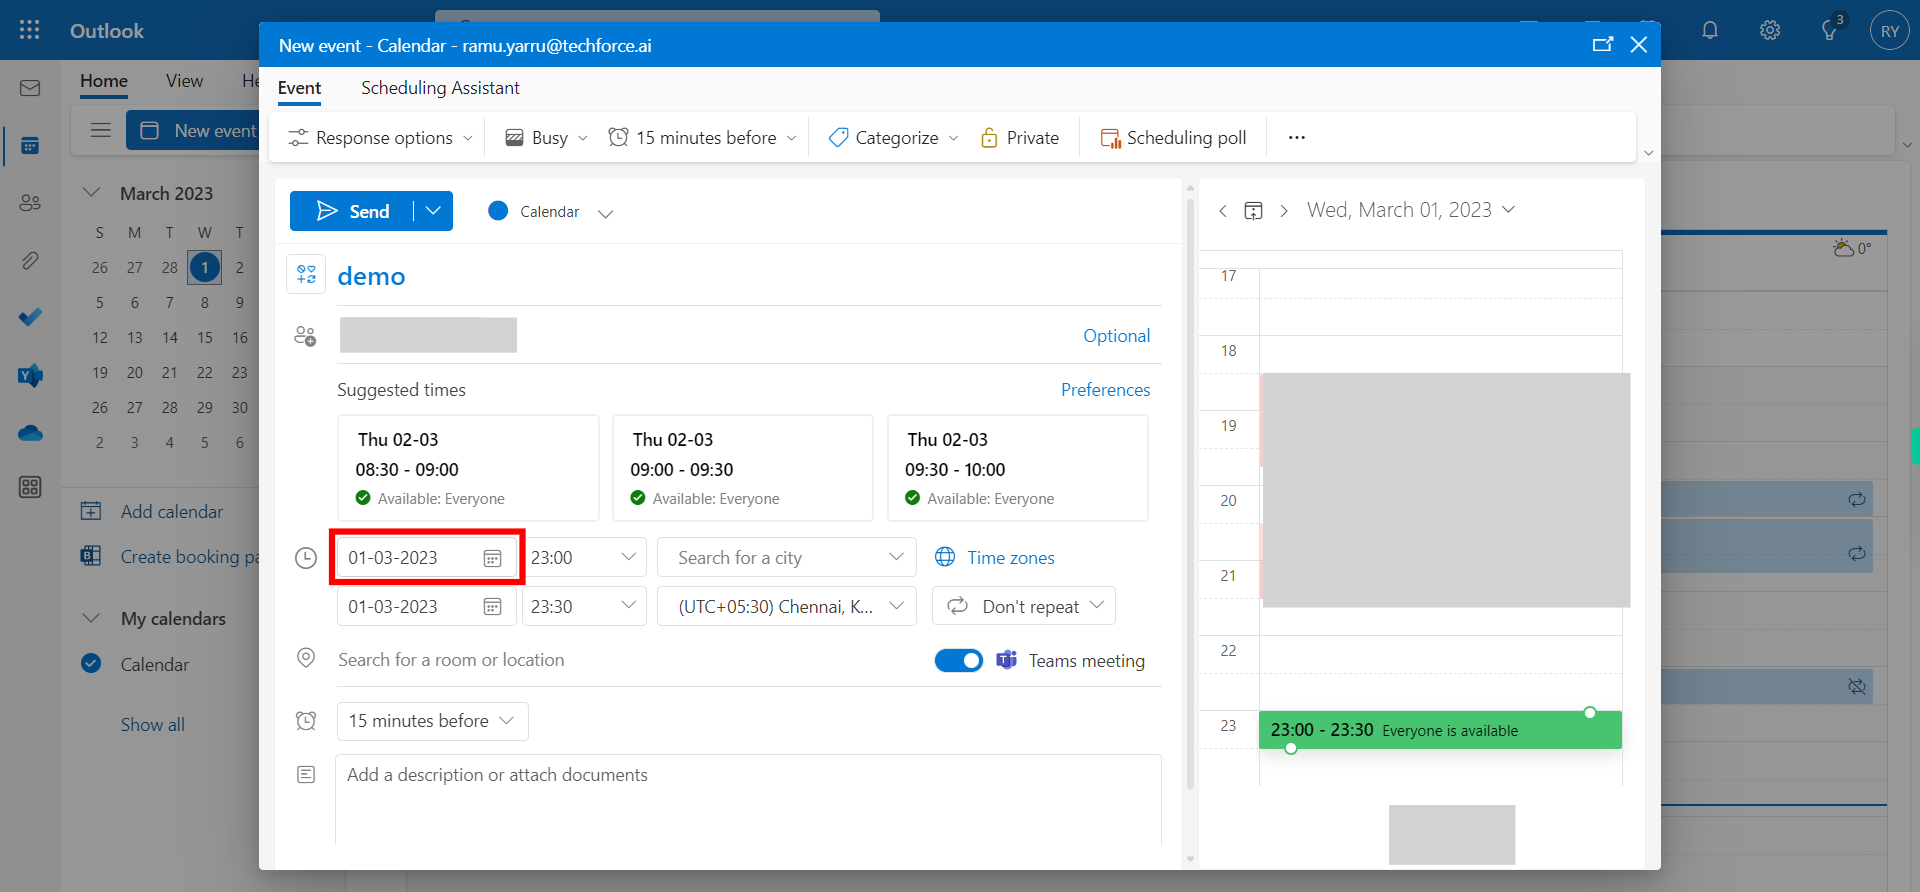
Click on the date field to activate it. A calendar interface or drop-down menu will appear, allowing you to select the desired date for the event. Use the provided controls to navigate to the desired month and day, and then click on the specific date to select it as the start date. The selected date should now appear in the date field. Once done, click on the Next button on the Supervity instruction widget.
-
8.
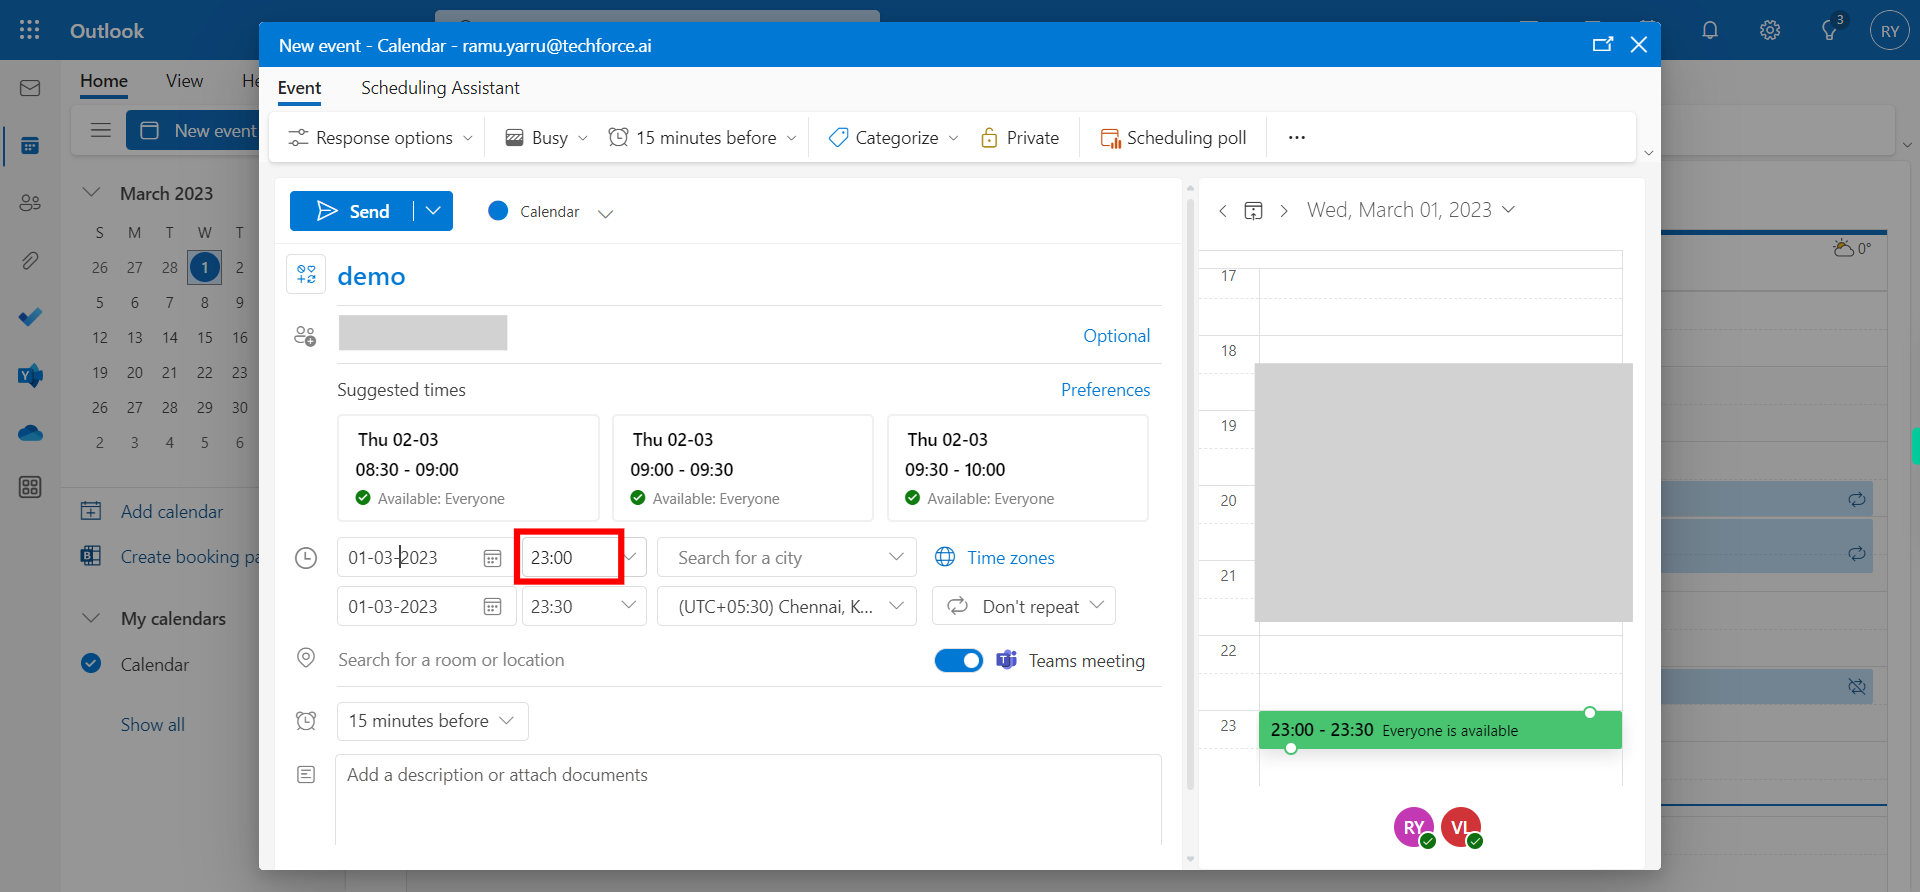
Click on the "Start Time" field to activate it. A drop-down menu will appear, allowing you to select the desired start time for the event. Use the provided controls or type in the appropriate start time, taking note of the AM/PM designation, if applicable. The selected start time should now appear in the "Start Time" field. Repeat the same with "End Time". Review the selected start and end times to ensure they accurately represent the duration of the event. Once done, click on the Next button on the Supervity instruction widget.
-
9.
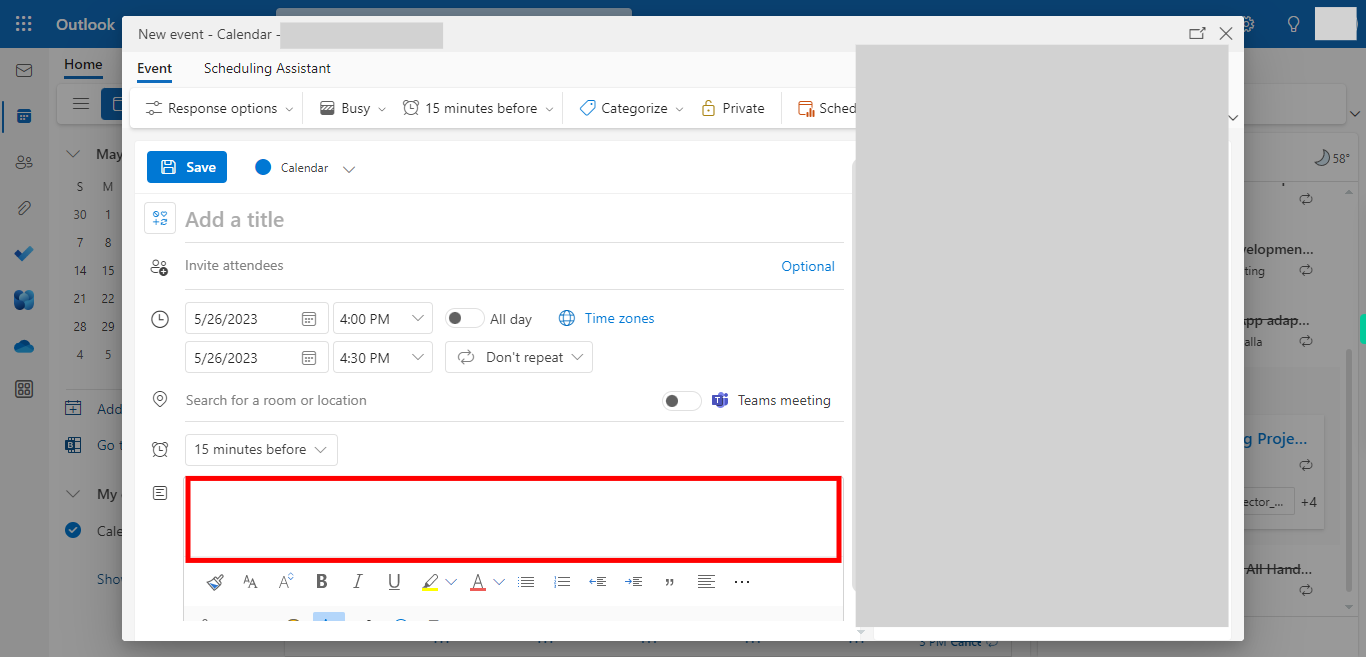
Click on the "Description" field and enter the required text or additional information for the event. You can format the text using the formatting options provided in the text editor, such as bold, italics, bullet points, etc., if available. Include any relevant details, notes, or instructions that you want to communicate to the event attendees or to remind yourself about the event. Once done, click on the Next button on the Supervity instruction widget.
-
10.
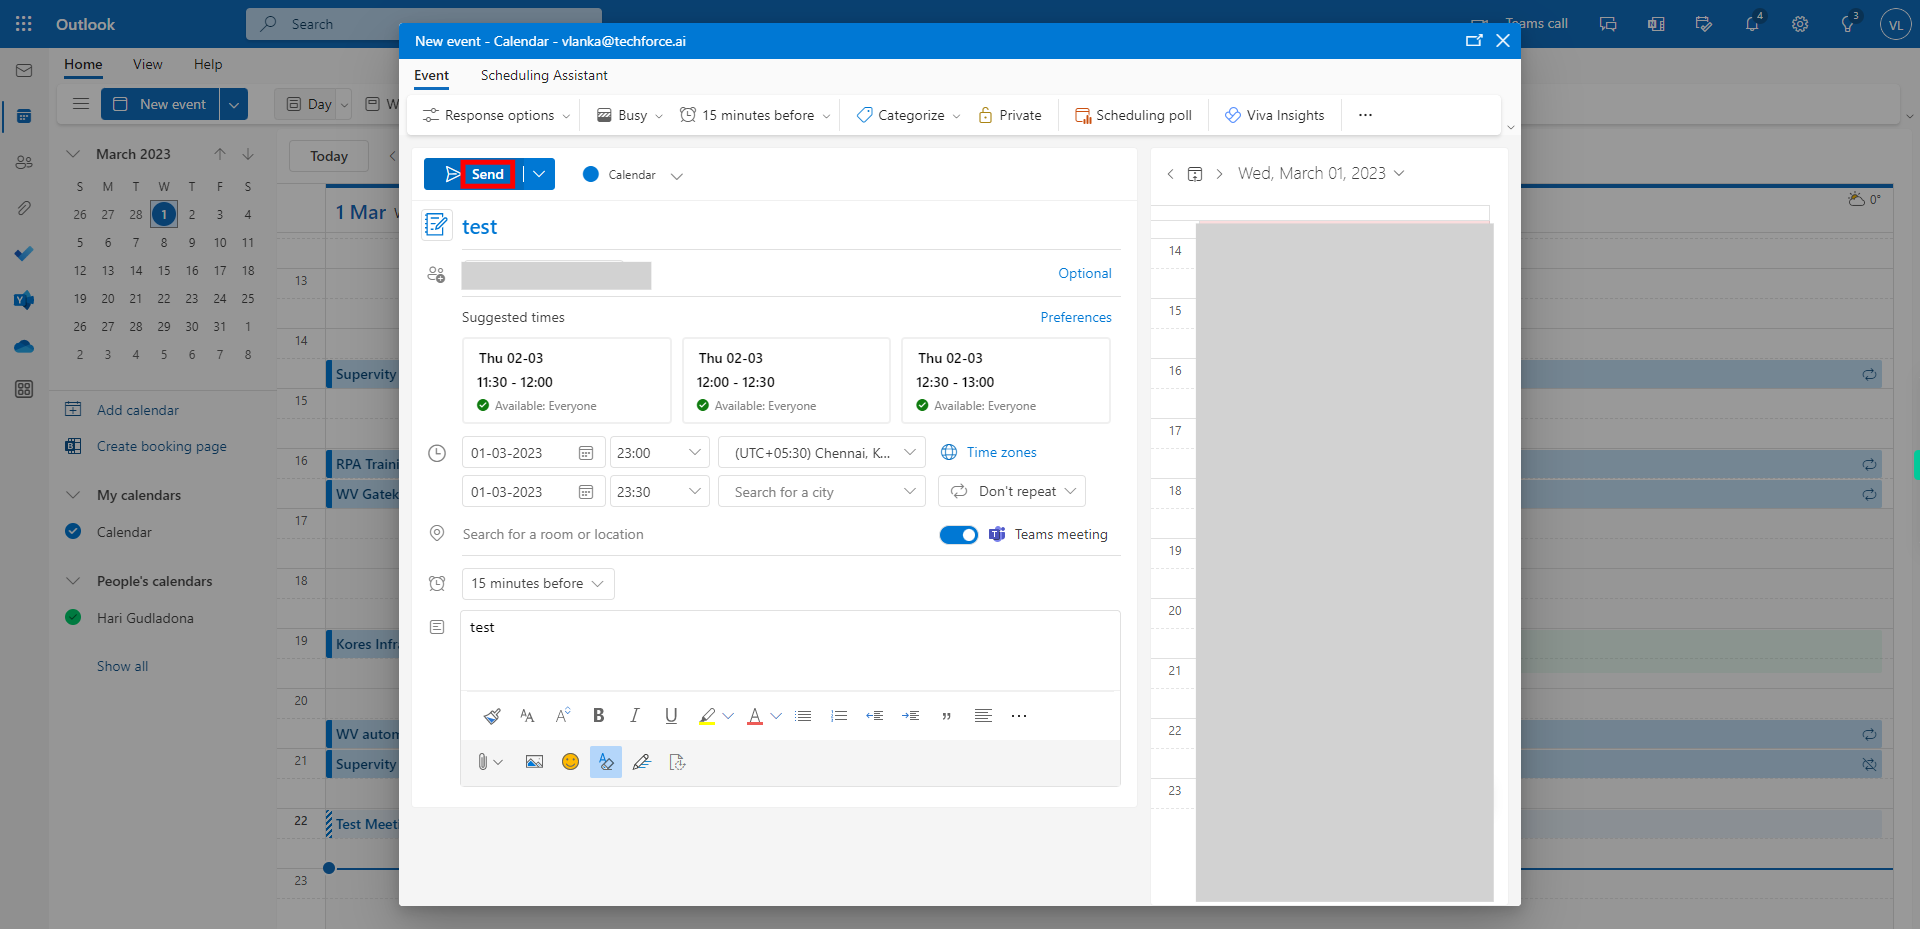
Once you have entered all the necessary information for the event, click on the "Send" button (the specific label may vary depending on your version of Outlook) to share the event. Outlook will automatically send invitations or updates based on the information provided to the invited attendees.


