Scheduling to send an email in Outlook can be a bit elusive, but what adds to the convenience is understanding the process. This skill acts as a reliable assistant, providing step-by-step instructions to schedule email delivery effortlessly. Try the skill and quickly learn to navigate through the features. Note: before playing this skill user should login outlook account in browser
-
1.
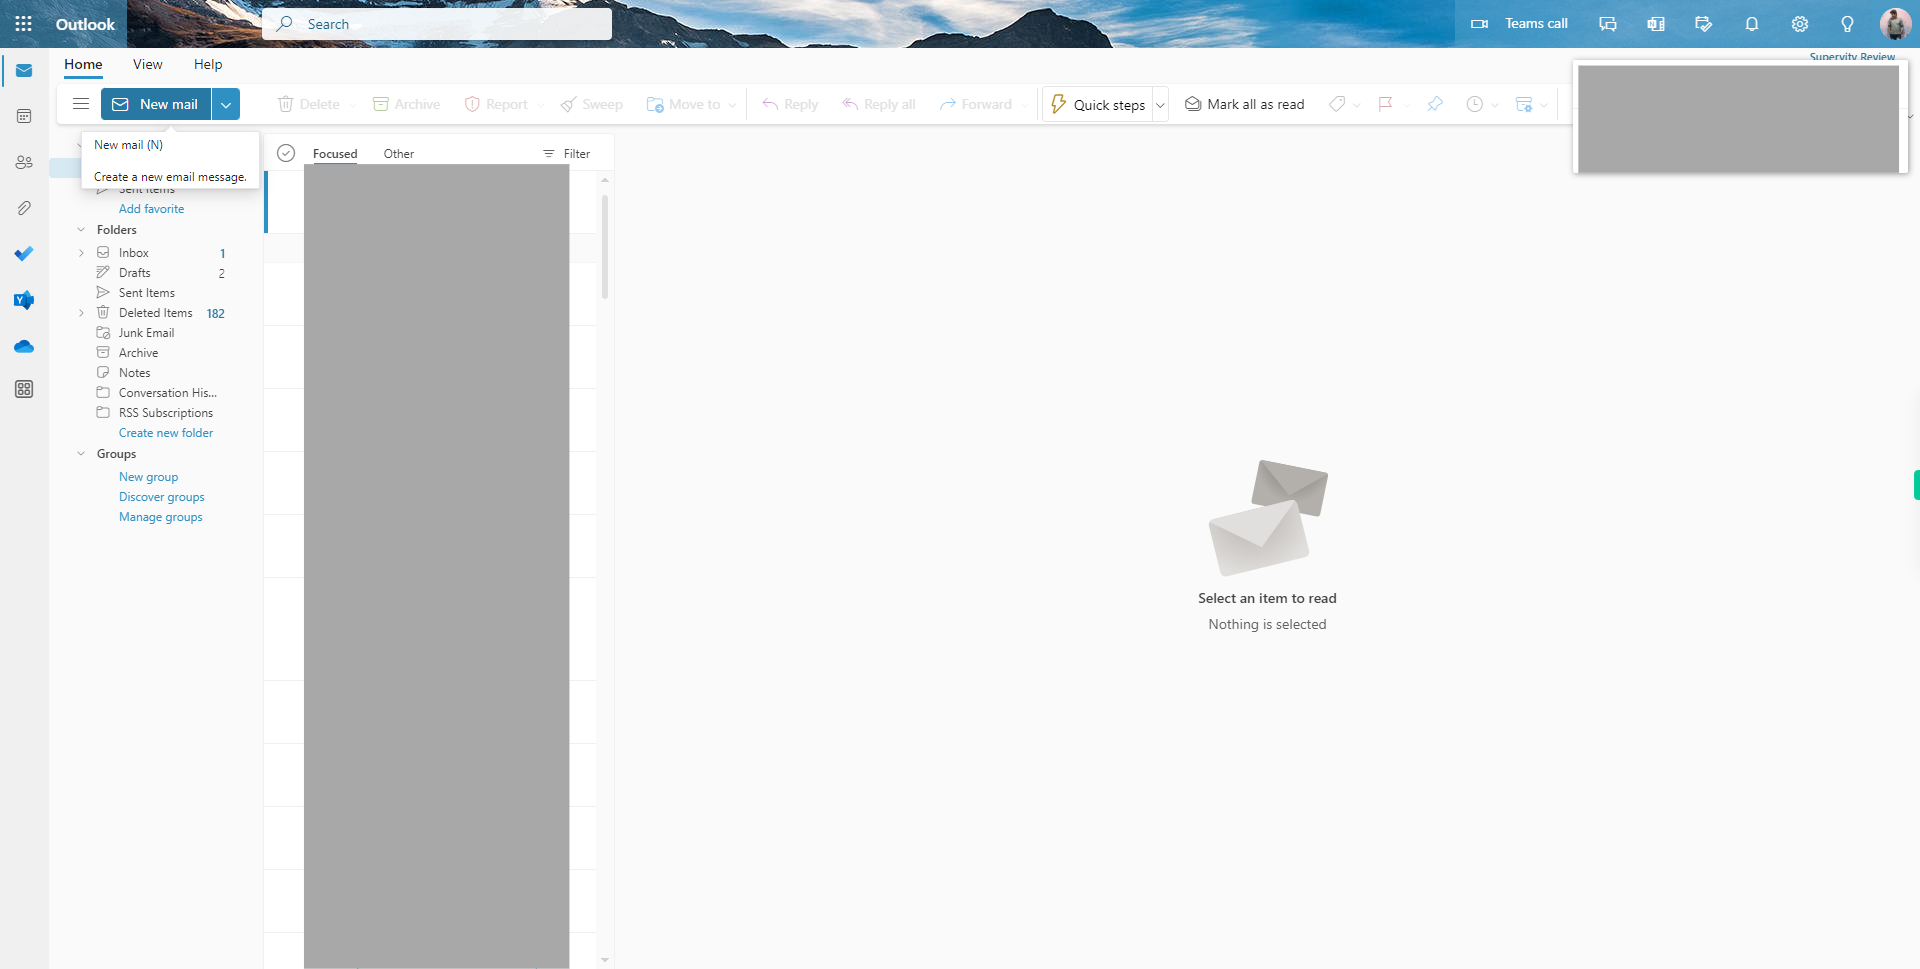
Open web Outlook account.
-
2.
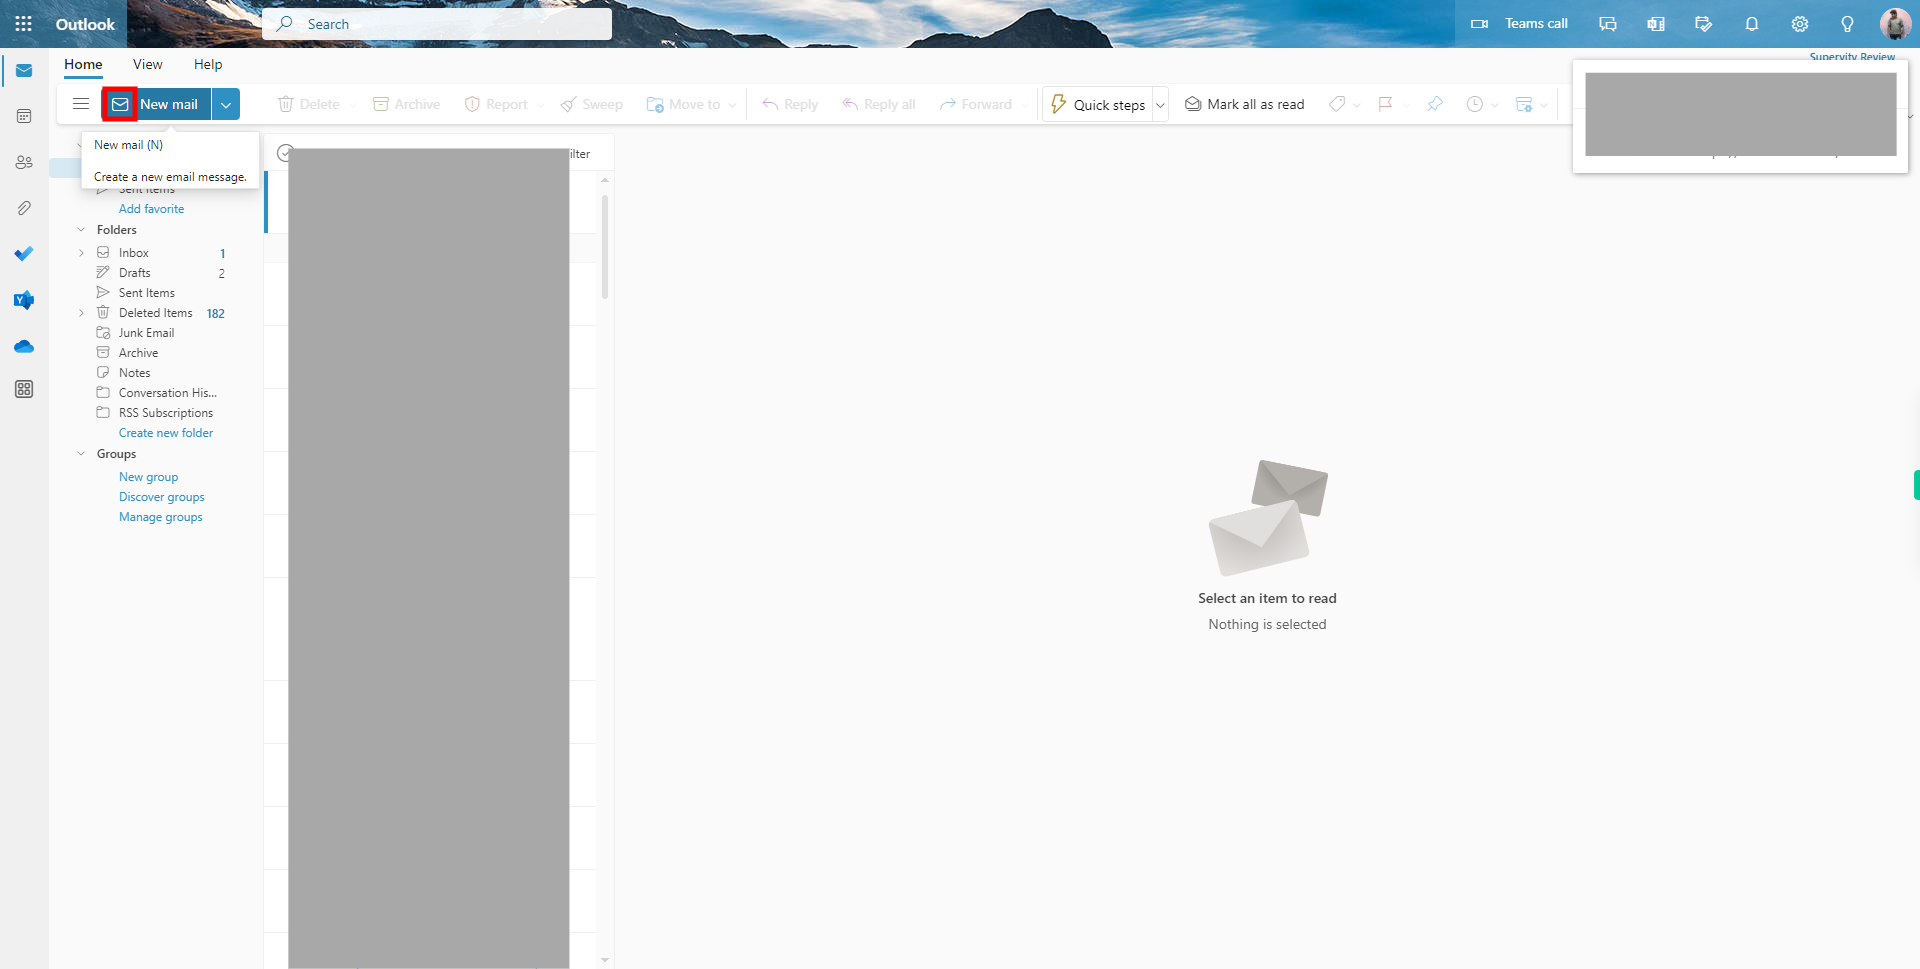
Click on the "New Email" button given on the top left corner of the page to start composing a new email. A new email composition window will appear on your screen. In the window, you will see various fields such as "To," "Cc," "Bcc," "Subject," and the email body.
-
3.
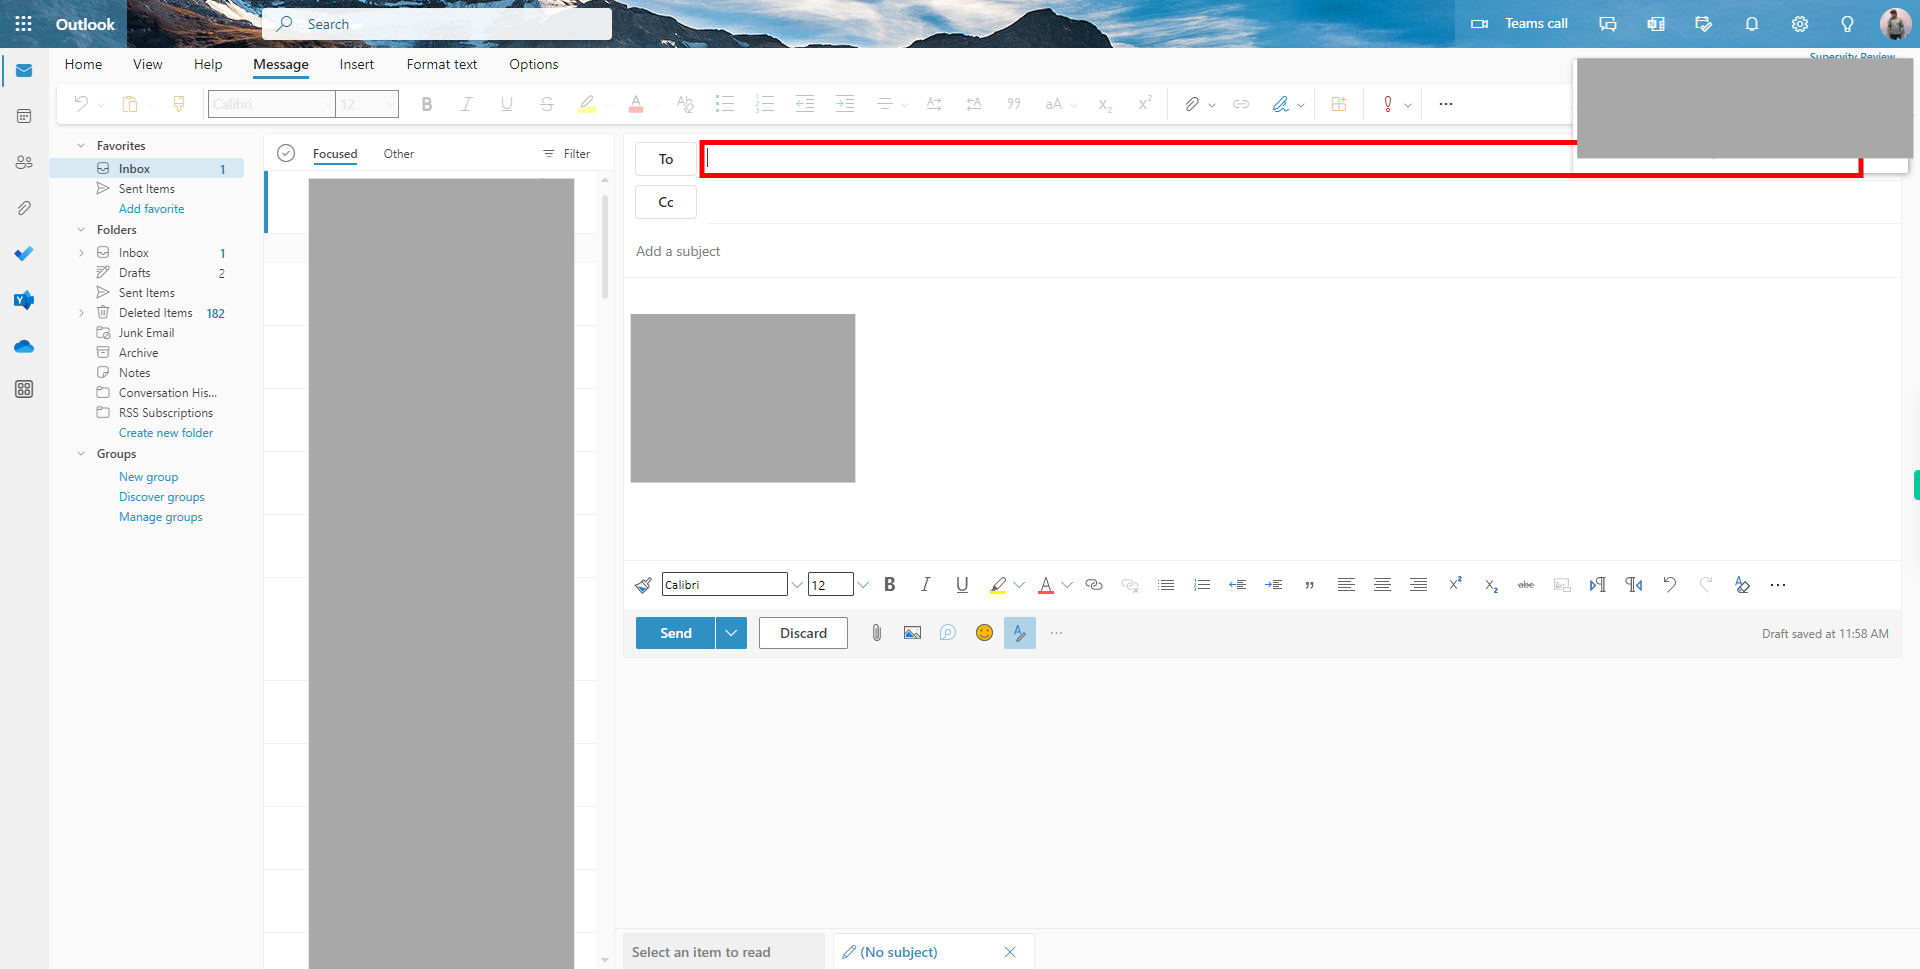
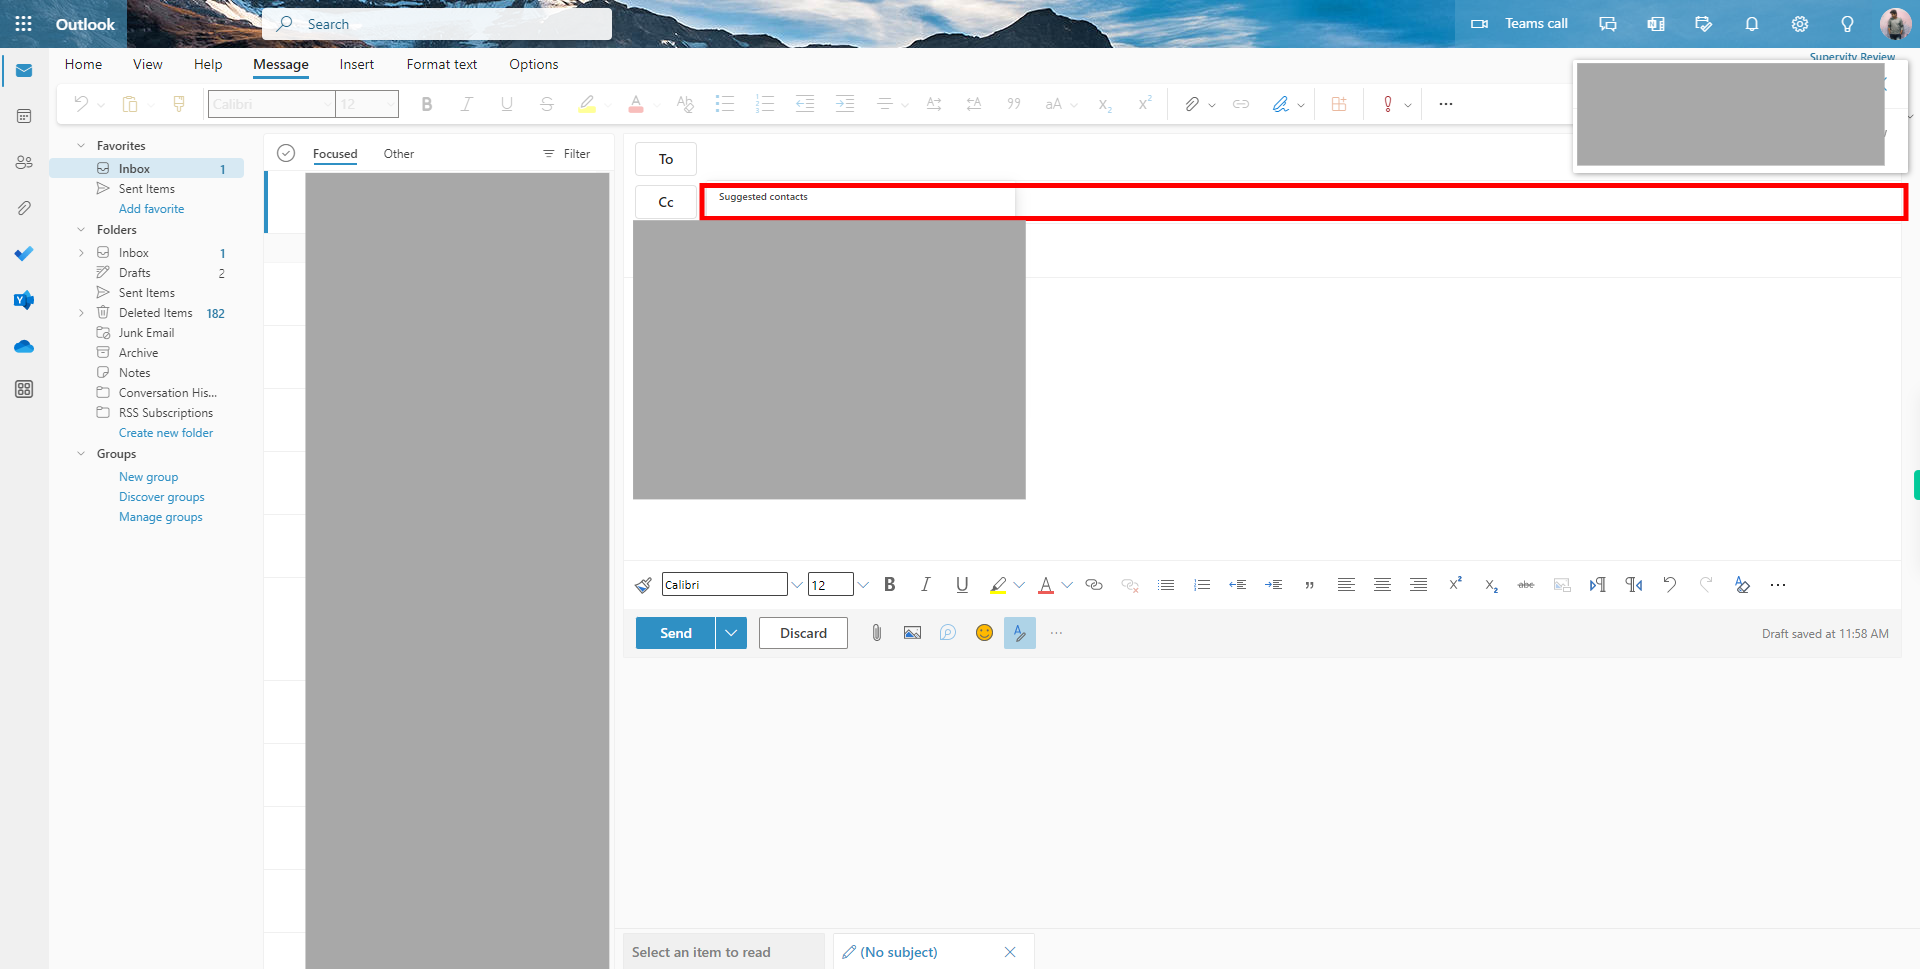
Click inside the "To" field to activate it and start entering the email address of the recipient. Type the email address directly into the "To" field. If you are sending the email to multiple recipients, separate each email address with a comma. As you type, Outlook may auto-suggest email addresses from your contacts or previous email history. You can select the suggested email address by clicking on it or continue typing the complete email address if it's not suggested. Once done, click on the Next button on the Supervity instruction widget.
-
4.
Click inside the "Cc" field to activate it and start entering the email address of the recipient you wish to copy. Type the email address directly into the "Cc" field. If you are sending the email to multiple recipients, separate each email address with a comma. As you type, Outlook may auto-suggest email addresses from your contacts or previous email history. You can select the suggested email address by clicking on it or continue typing the complete email address if it's not suggested. Once done, click on the Next button on the Supervity instruction widget.
-
5.
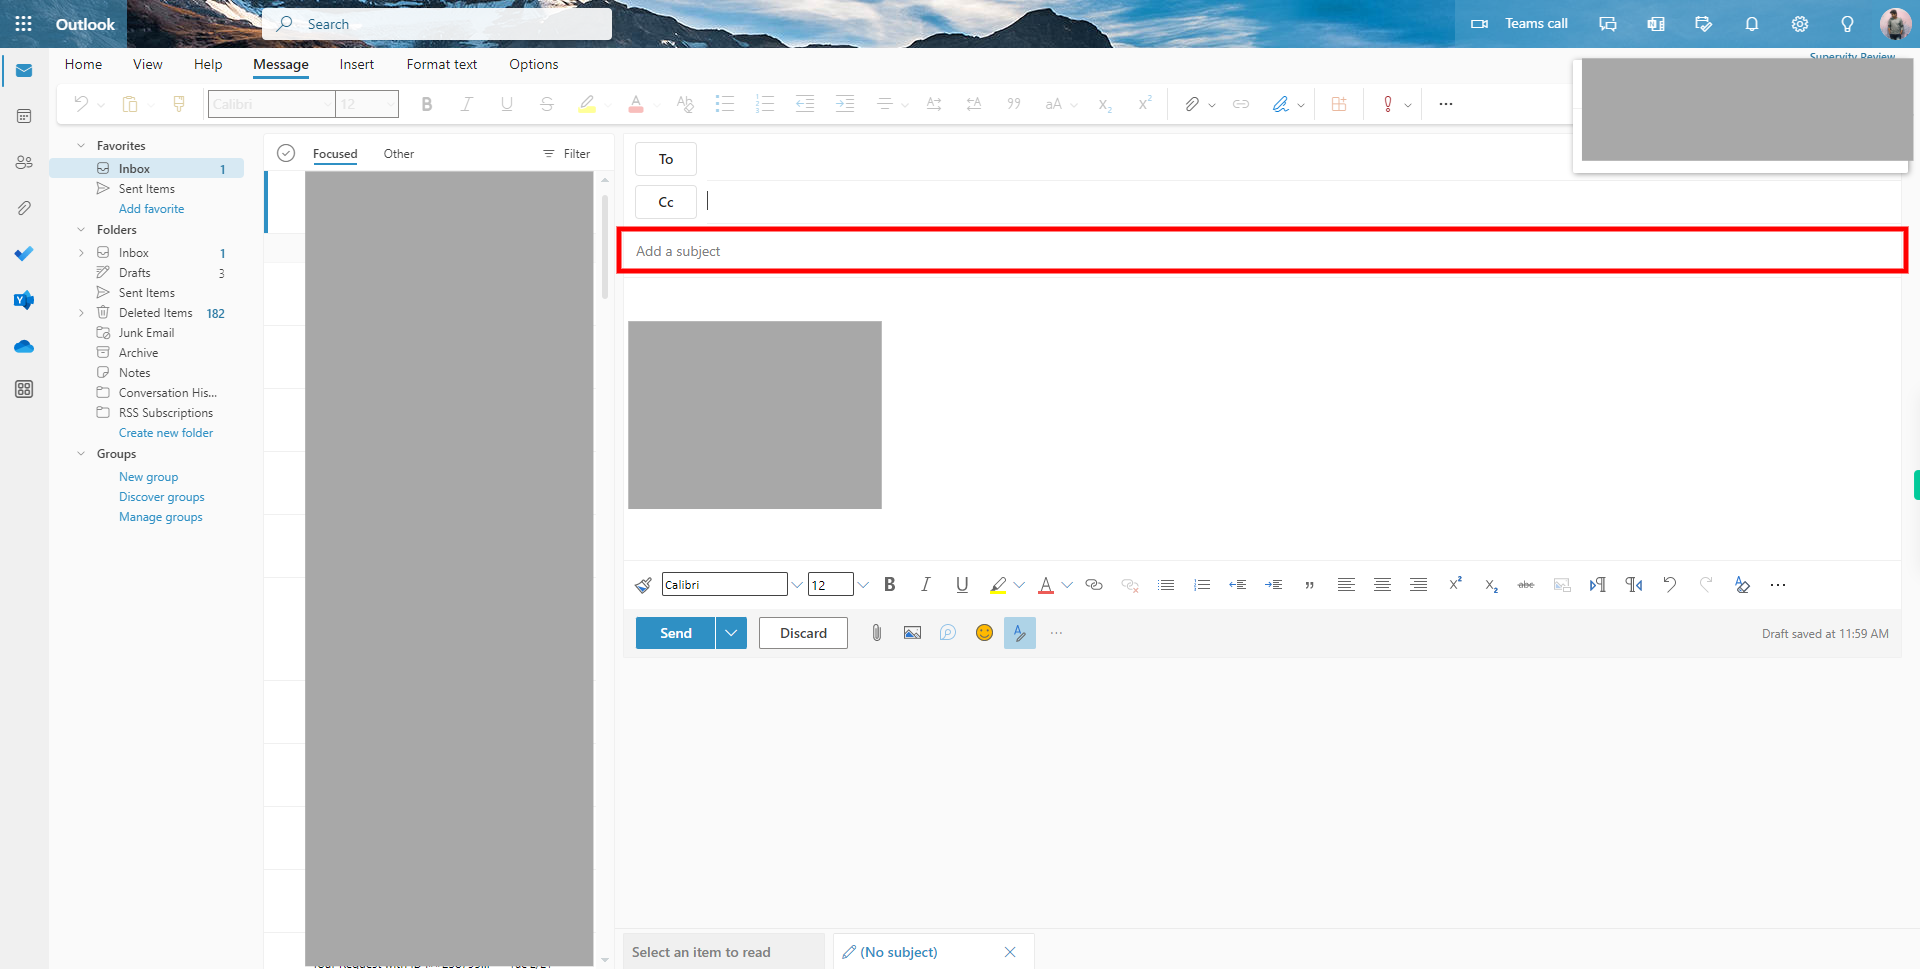
Click inside the "Subject" field to activate it and start typing the subject of your email. Enter a concise and descriptive subject that accurately summarizes the content or purpose of your email. As you type, you can review the subject in the subject field to ensure it conveys the intended message. If needed, you can edit or revise the subject before proceeding further. Once done, click on the Next button on the Supervity instruction widget.
-
6.
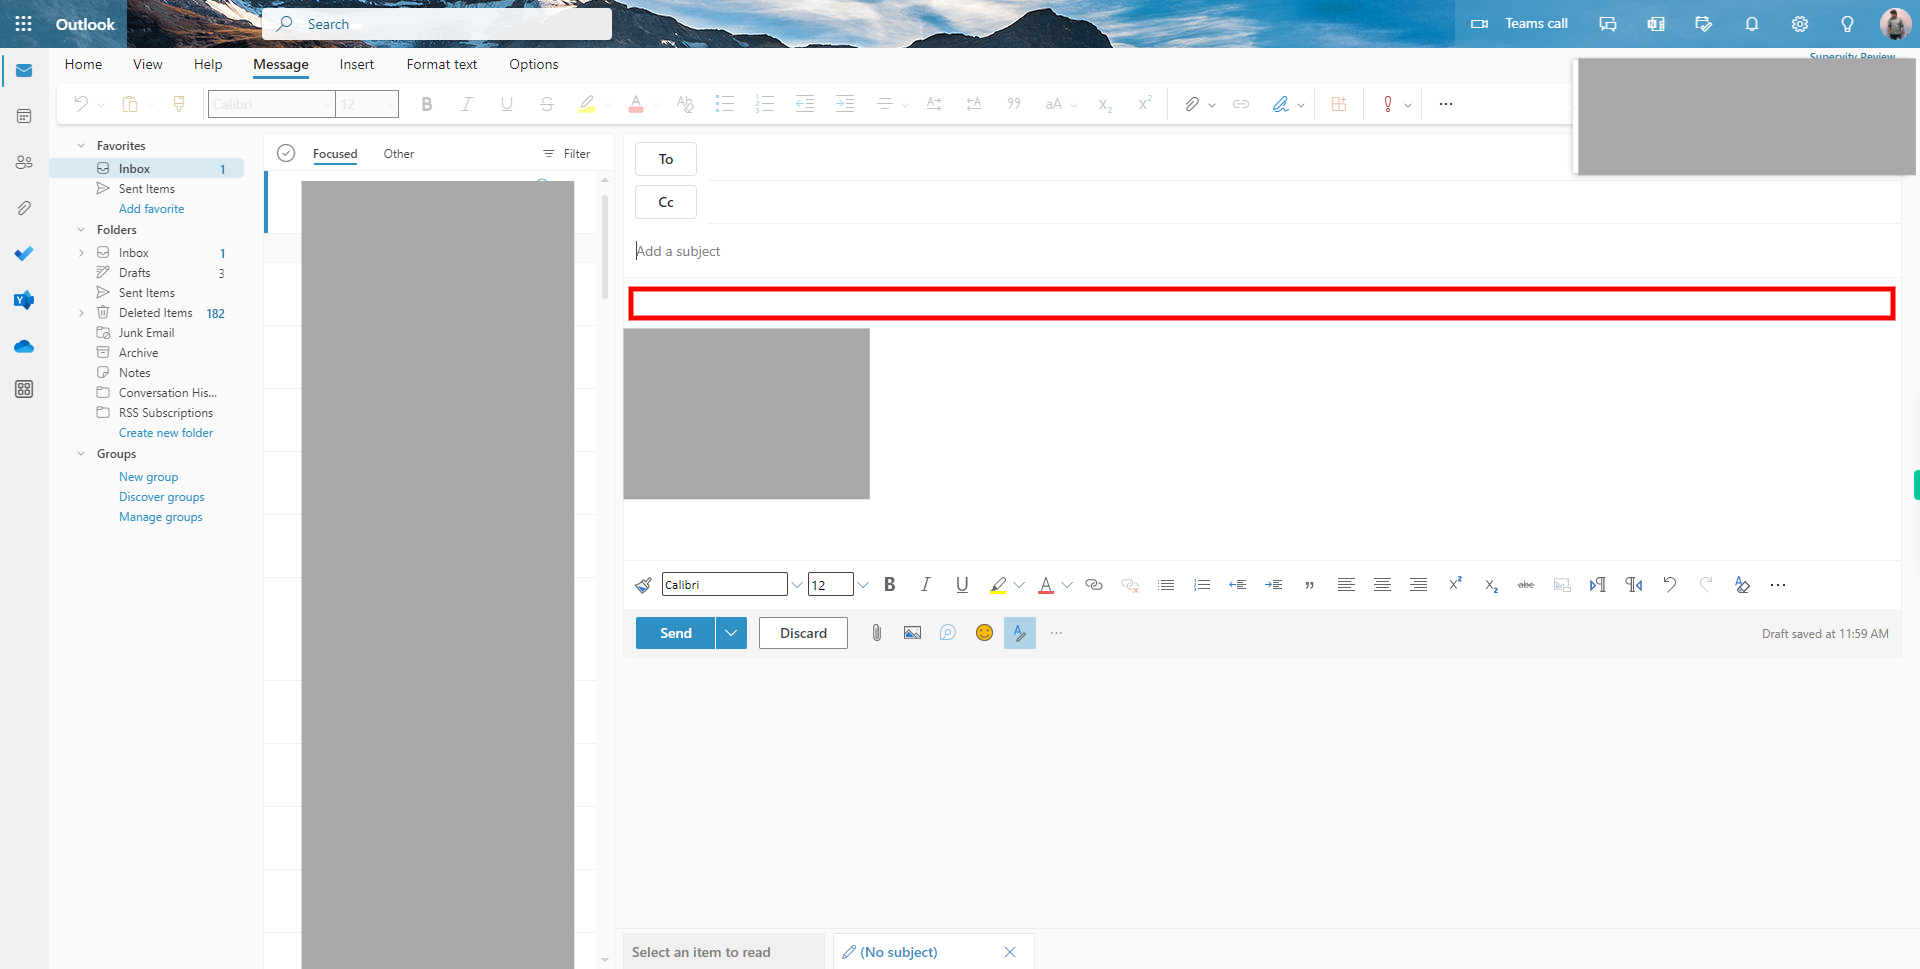
Click inside the body section to activate it and start typing your email message. Enter the content of your email, including any text, formatting, and links, and attach files, and images, or insert tables as desired. You can use the formatting options available in the toolbar (e.g., font style, size, bold, italic, etc.) to customize the appearance of your email content. As you type, you can review and edit your email content within the body section to ensure it accurately conveys your message. Once done, click on the Next button on the Supervity instruction widget.
-
7.
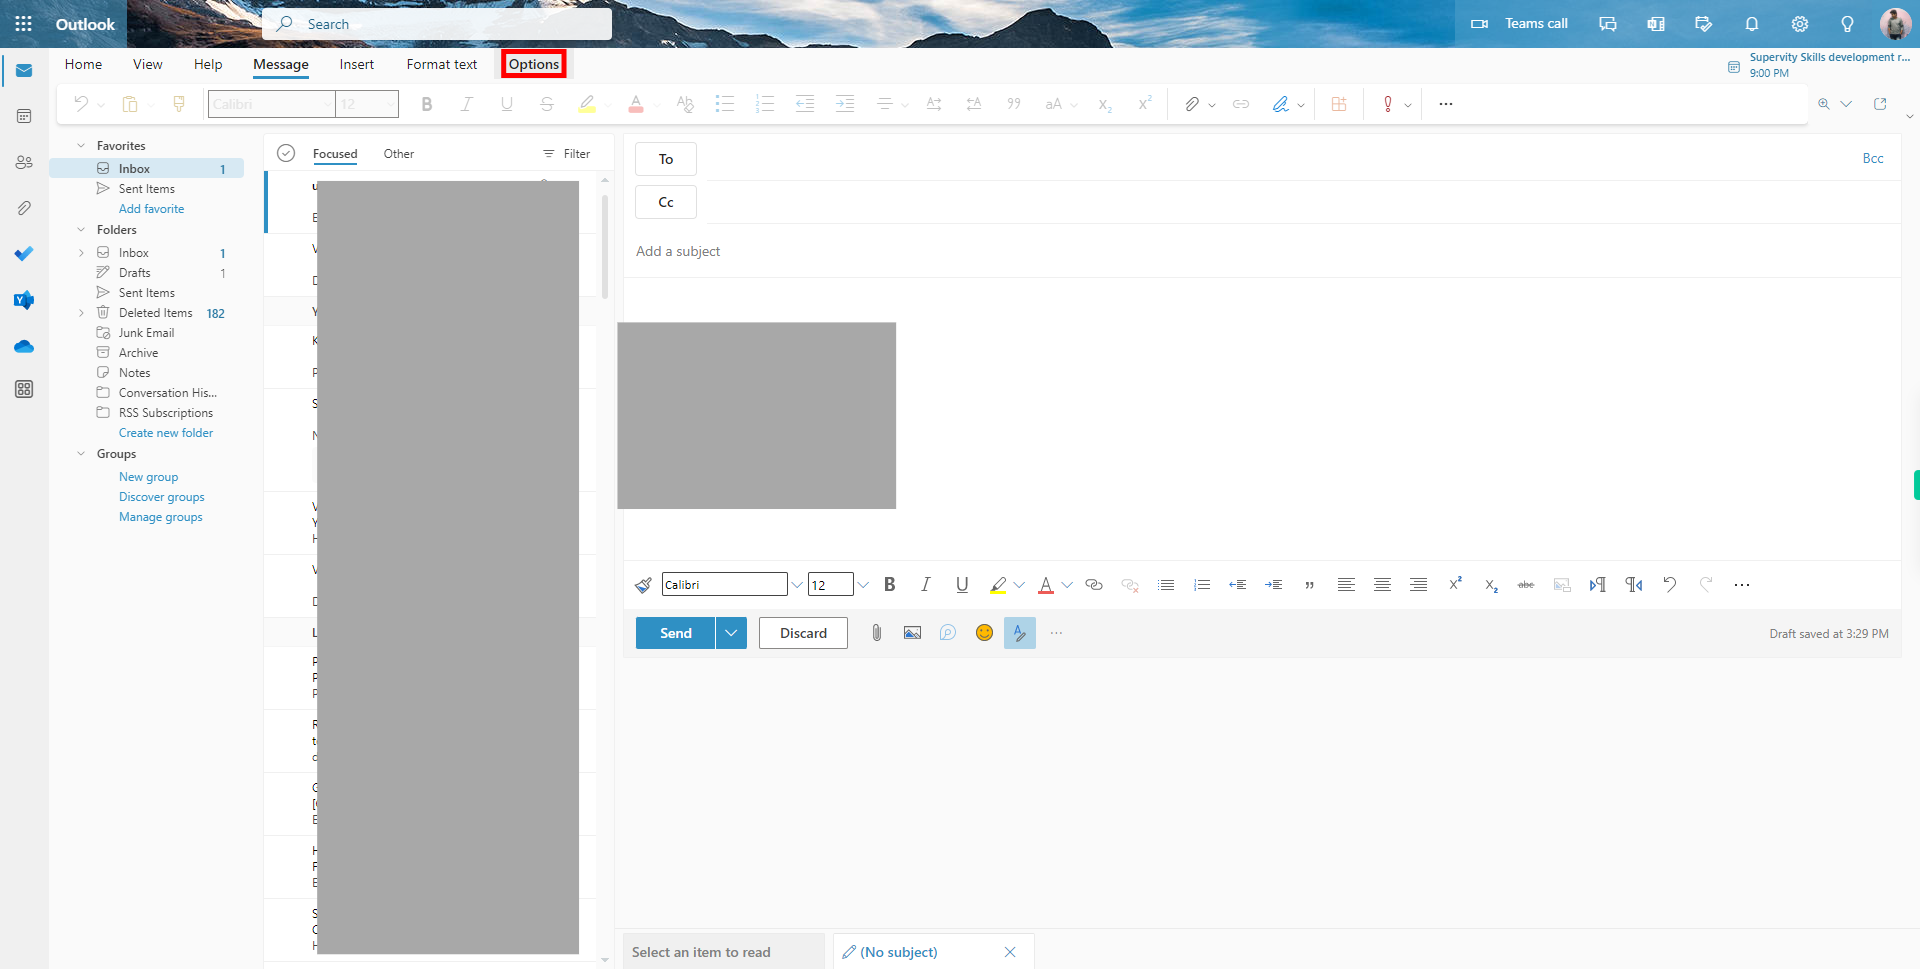
Click on the "Options" tab located next to the "Message" or "Format Text" tab. This will switch the view to display additional options and settings related to the email. The "Options" tab provides various features and functionalities that you can utilize to enhance or modify your email, such as email delivery options, message importance, sensitivity, voting buttons, encryption, and more.
-
8.
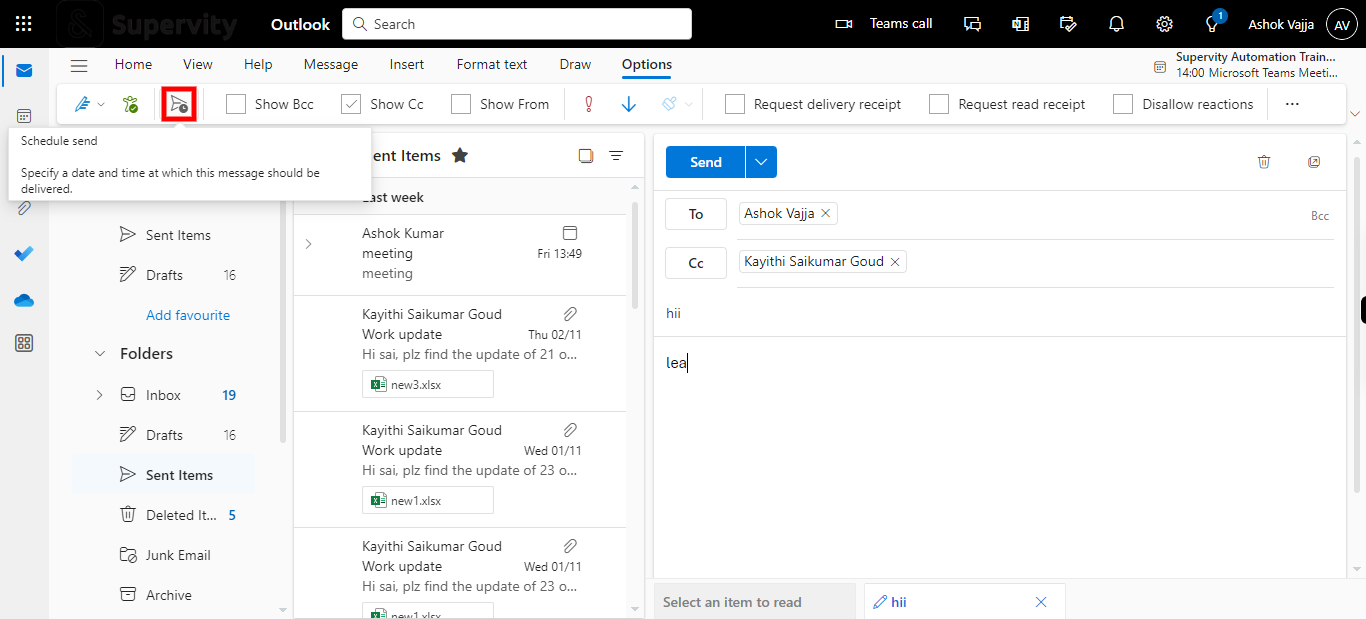
From the submenu that appears, select the "Schedule send" icon in the expanded options. A new window will open to access the scheduling settings.
-
9.
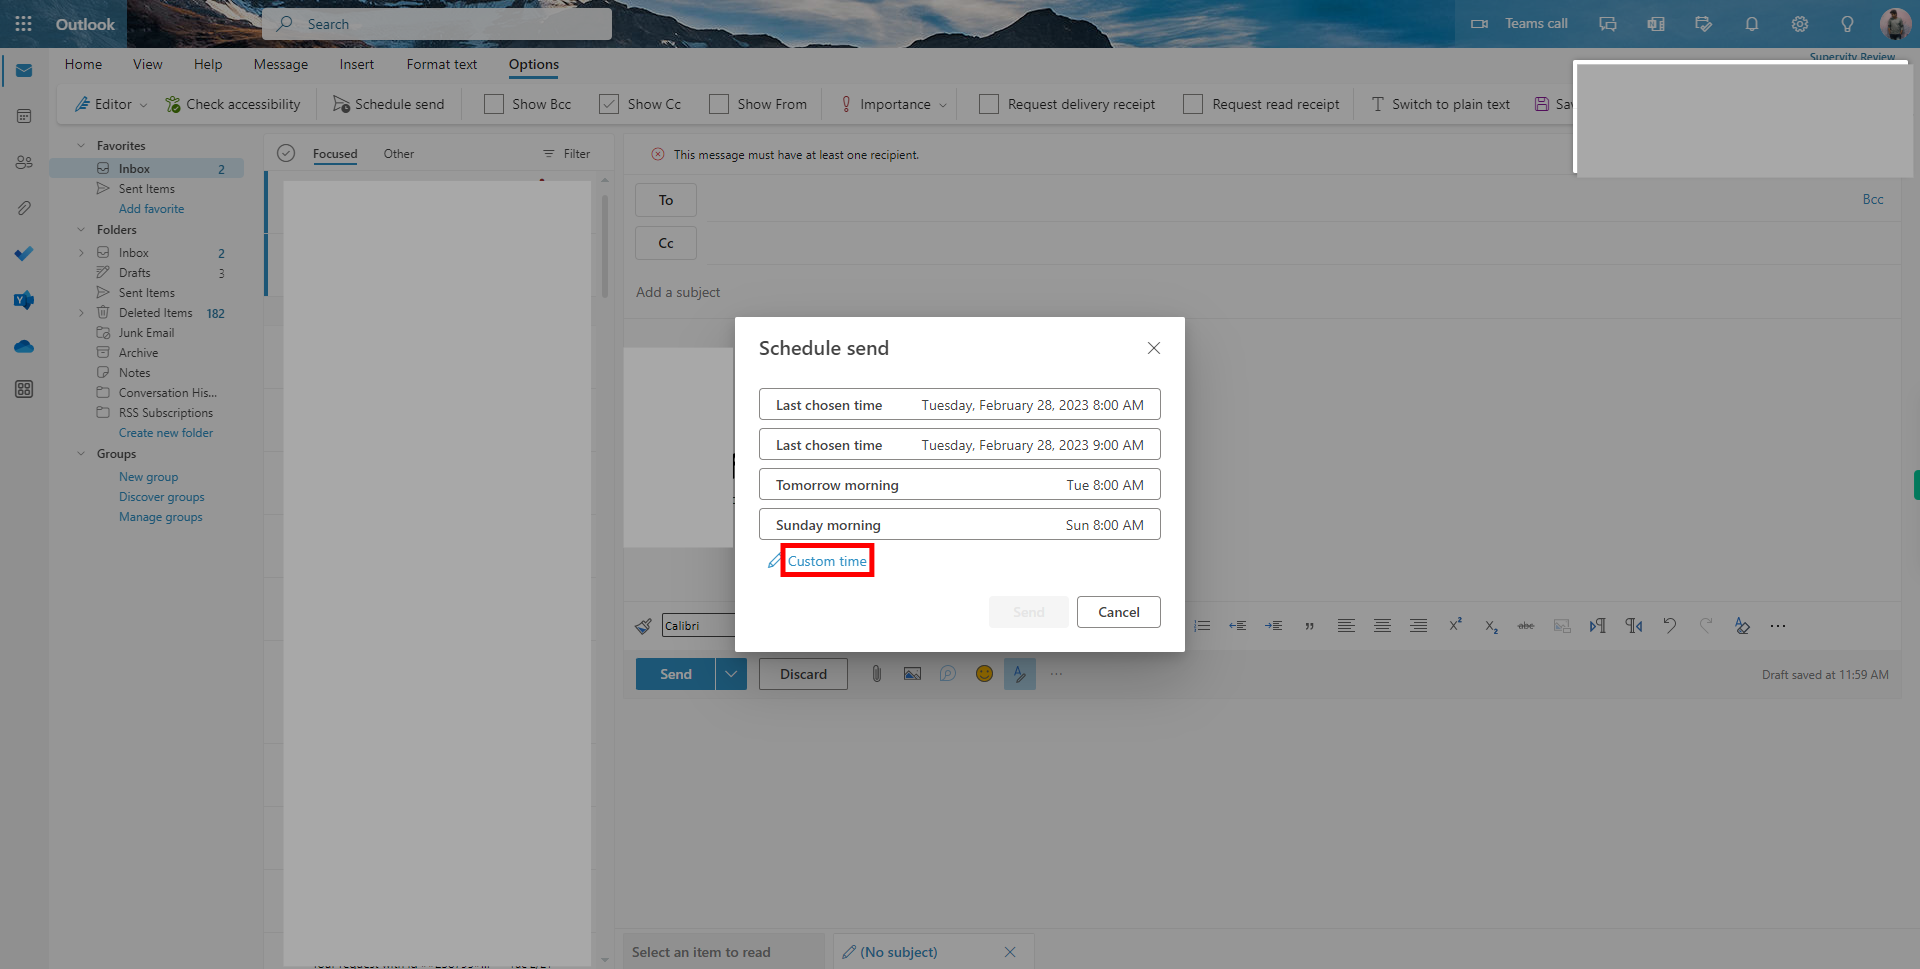
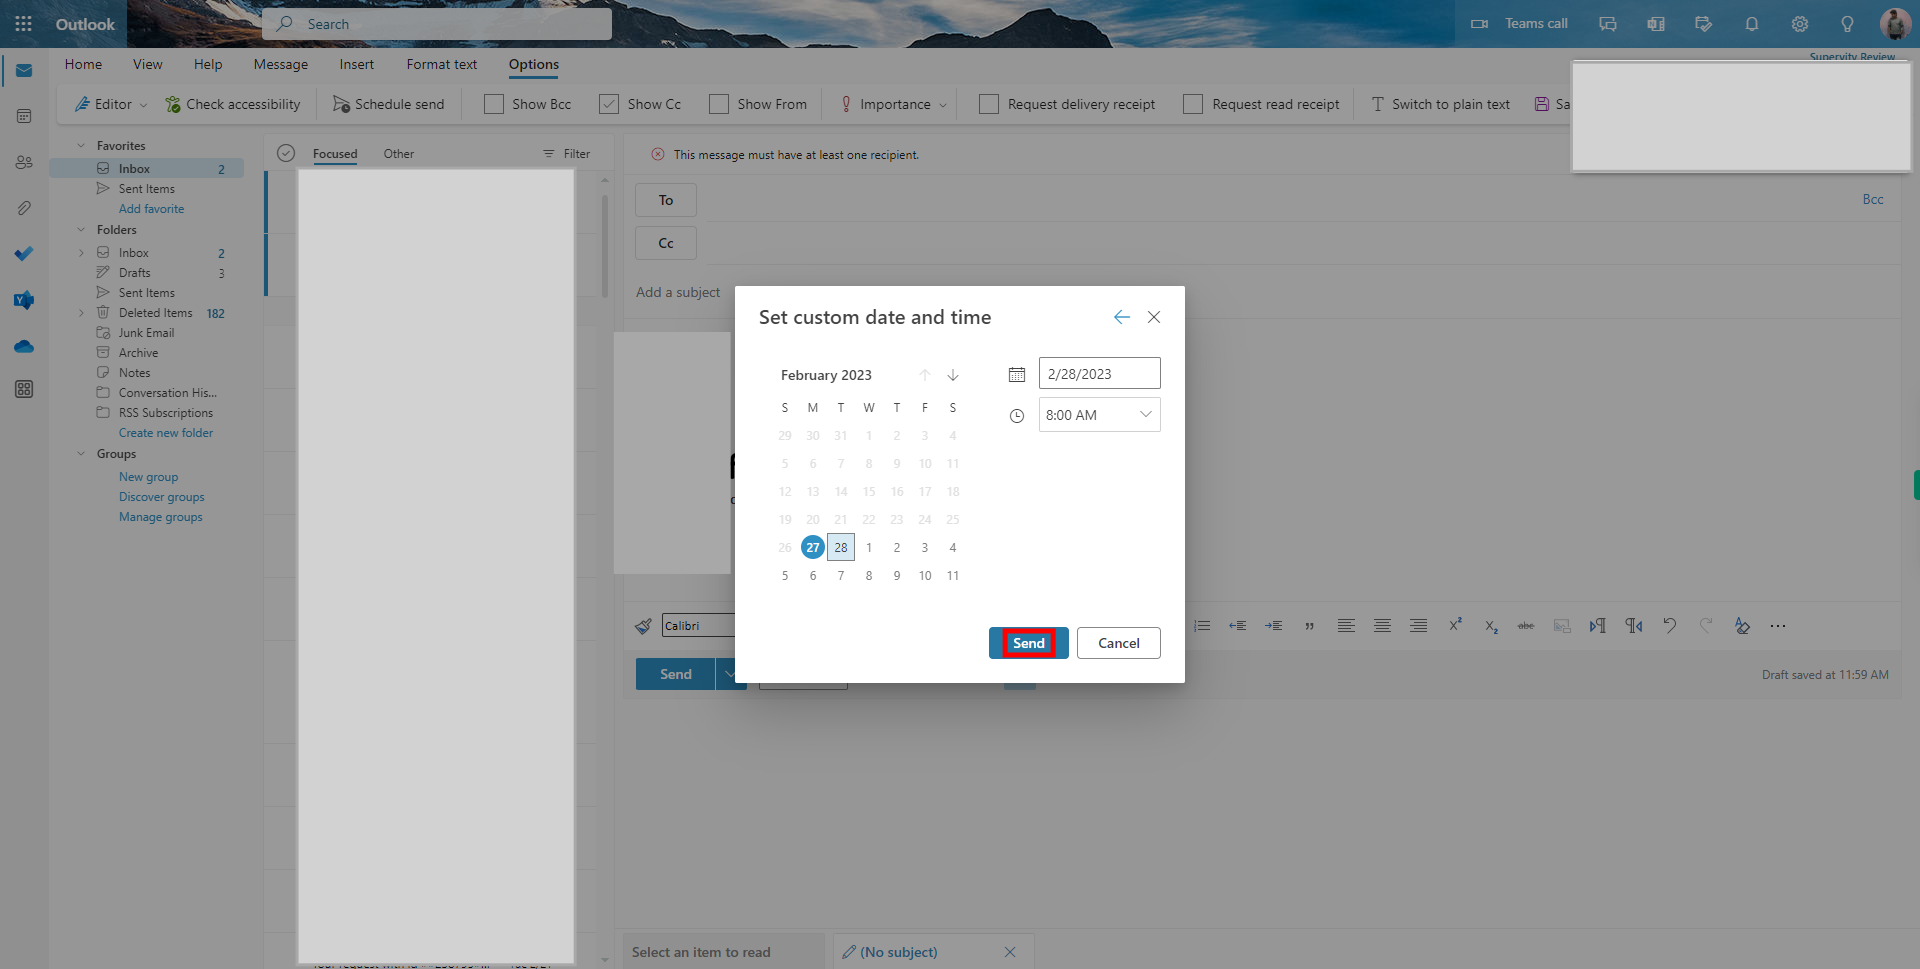
After accessing the scheduling settings for the email, look for the custom time link with the edit icon. Once you have selected the custom time, it will redirect to a custom setting window where you have a calendar to select the date and time options.
-
10.
Use the provided controls to select the desired date and time.Depending on the version of Outlook you are using, you may have different ways to select the date and time.It could be through drop-down menus, calendar interfaces, or text fields.If there is a drop-down menu, click on it and choose the desired date from the calendar. Then, select the desired time from the available options.If there are separate text fields for date and time, click inside each field and enter the desired date and time manually using the appropriate format.Double-check the selected date and time to ensure it matches your intended schedule. Please click on Close button in the Supervity widjet.


