Step by step process of How to Change the Timezones of a Meeting in your Outlook Calender NOTE: To run this skill User need to Login in Outlook Applications.
-
1.
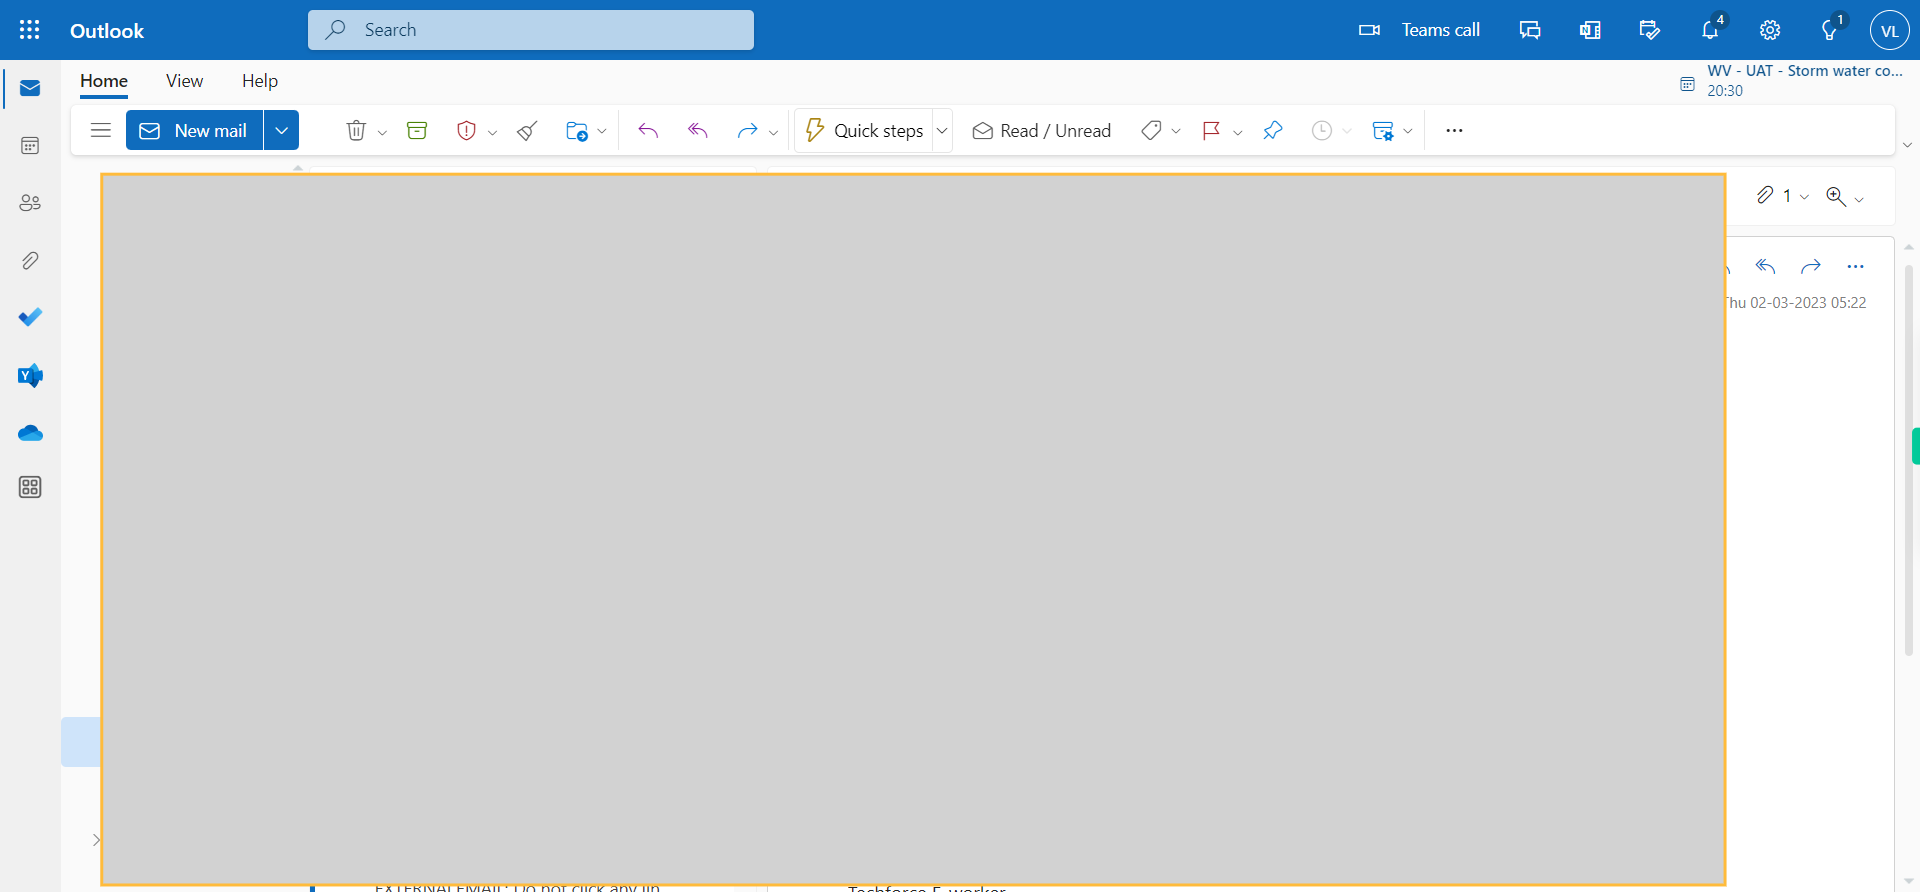
Open Outlook Calender on the Web.
-
2.
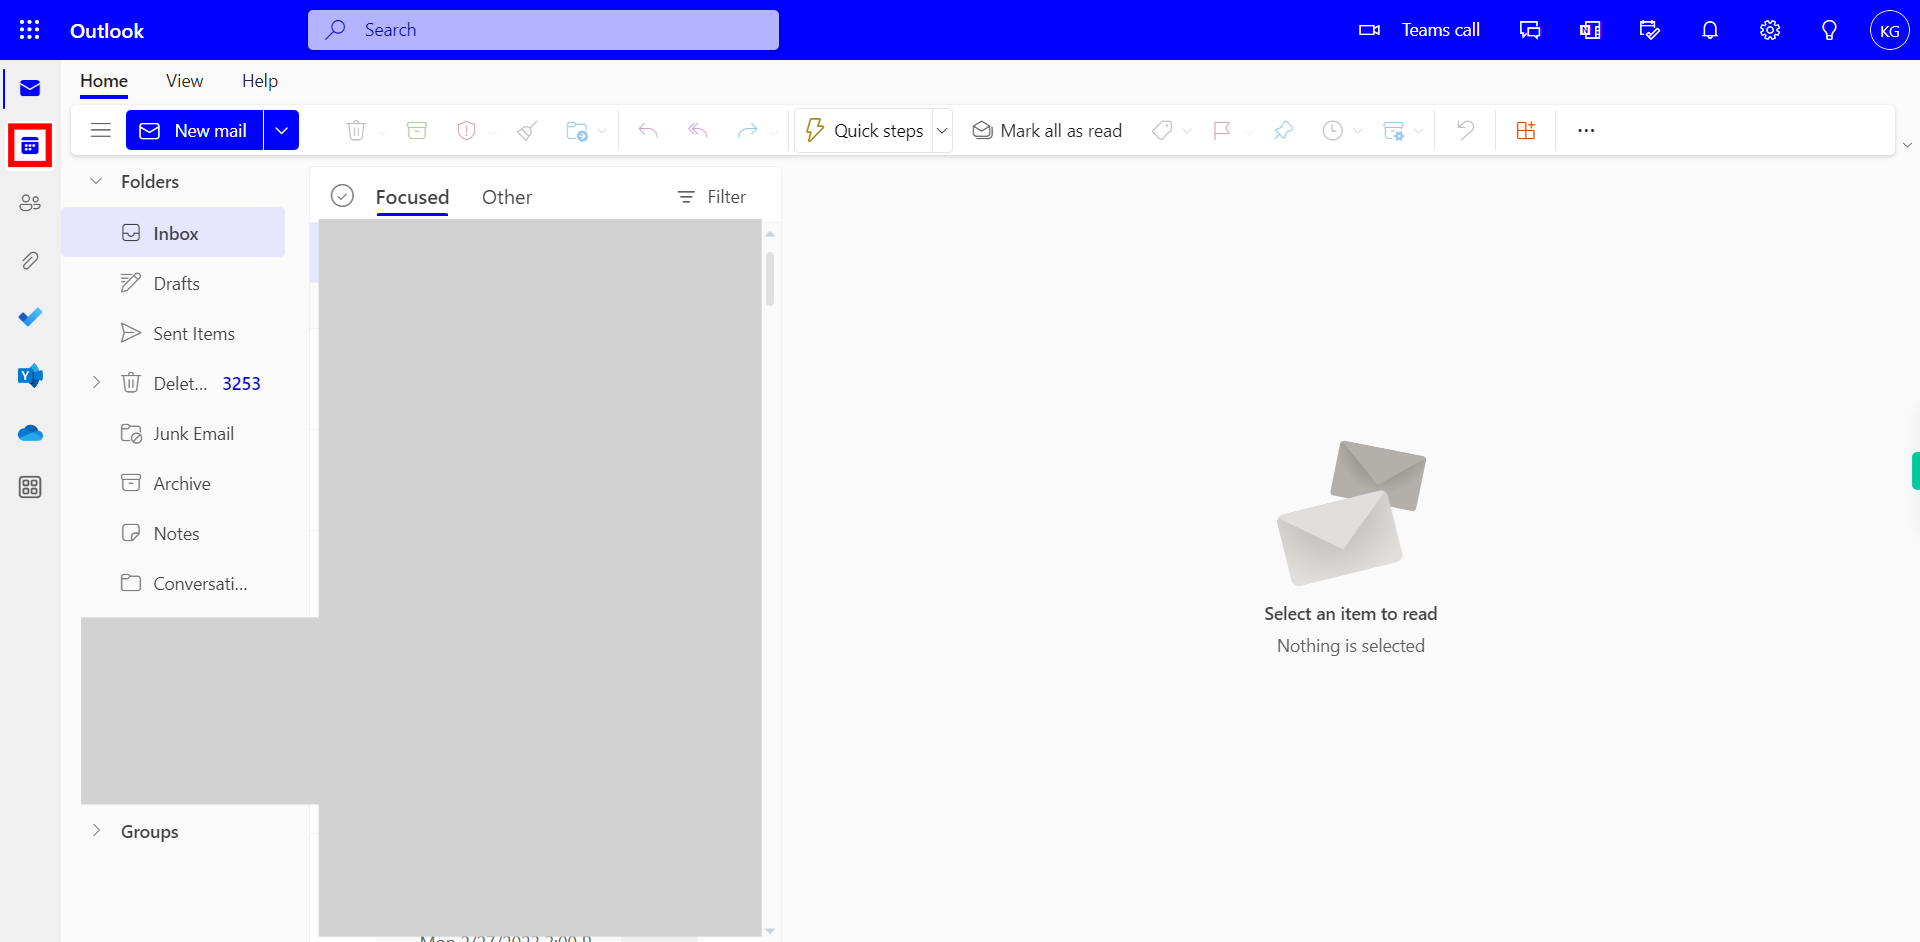
Click on the Calendar Icon on the Left Menu, Which will show the Group of Events that the User has in their calendar.
-
3.
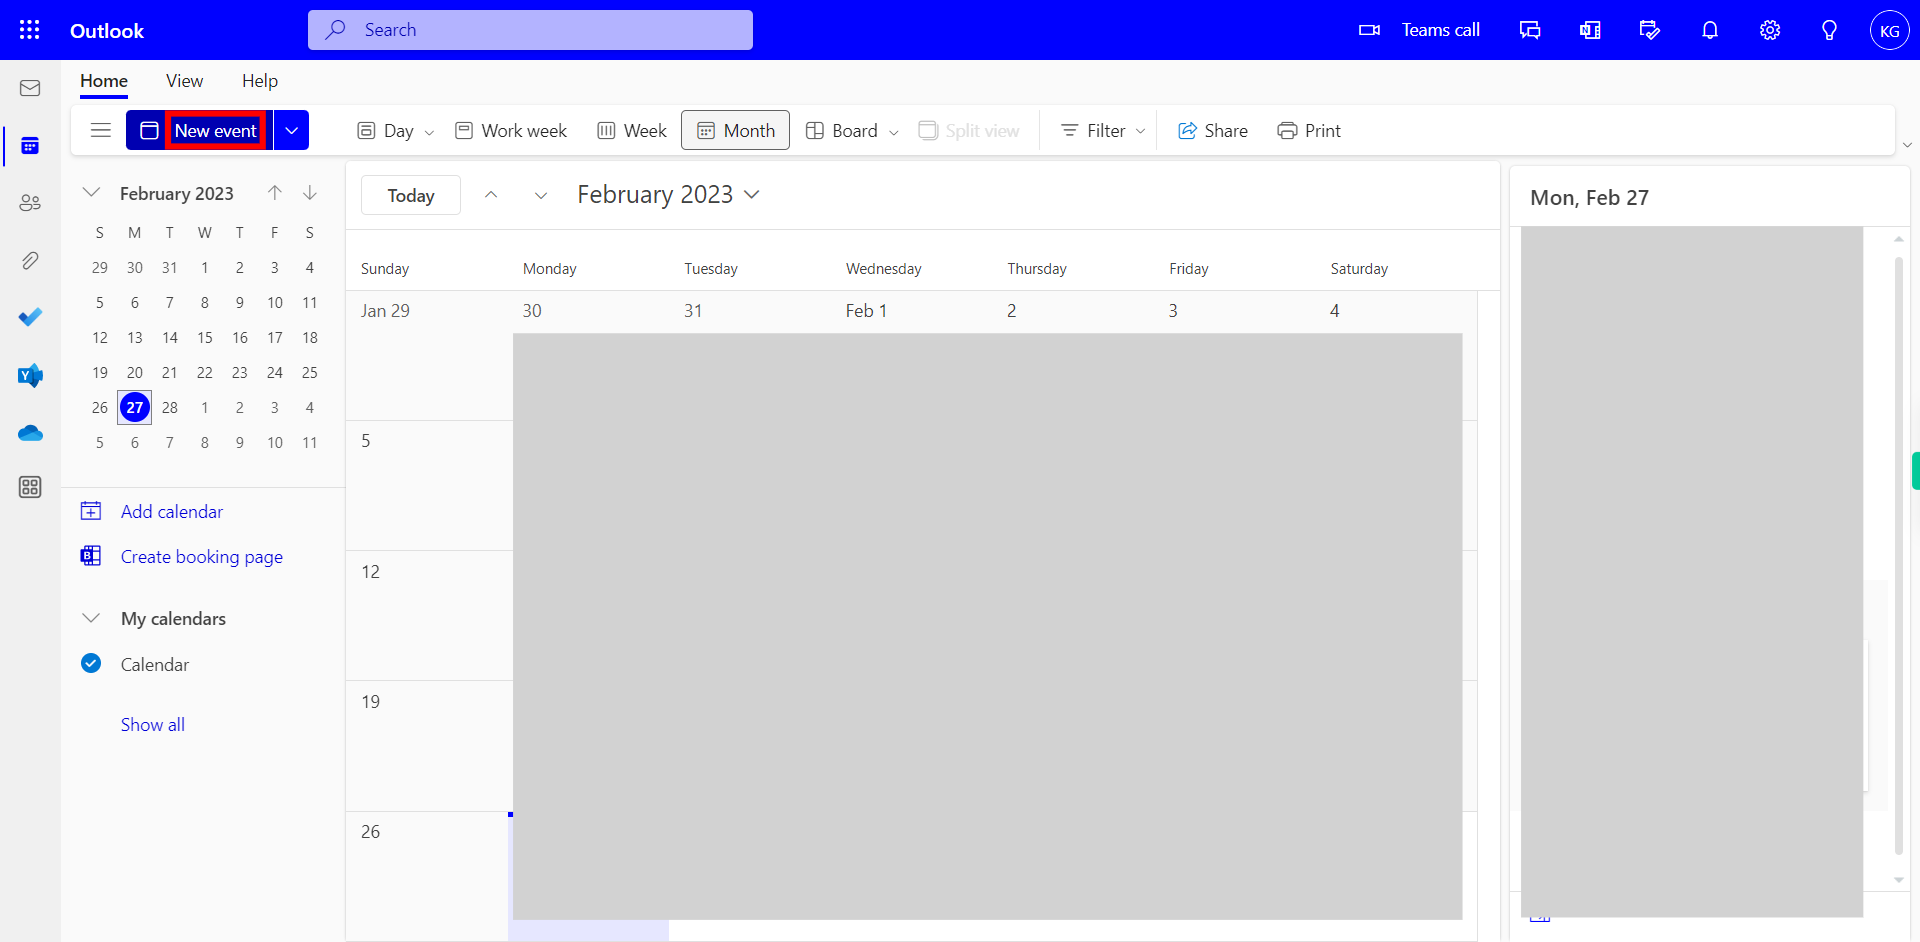
Click on the New Event Button, Which will create a New Event in your Calendar.
-
4.
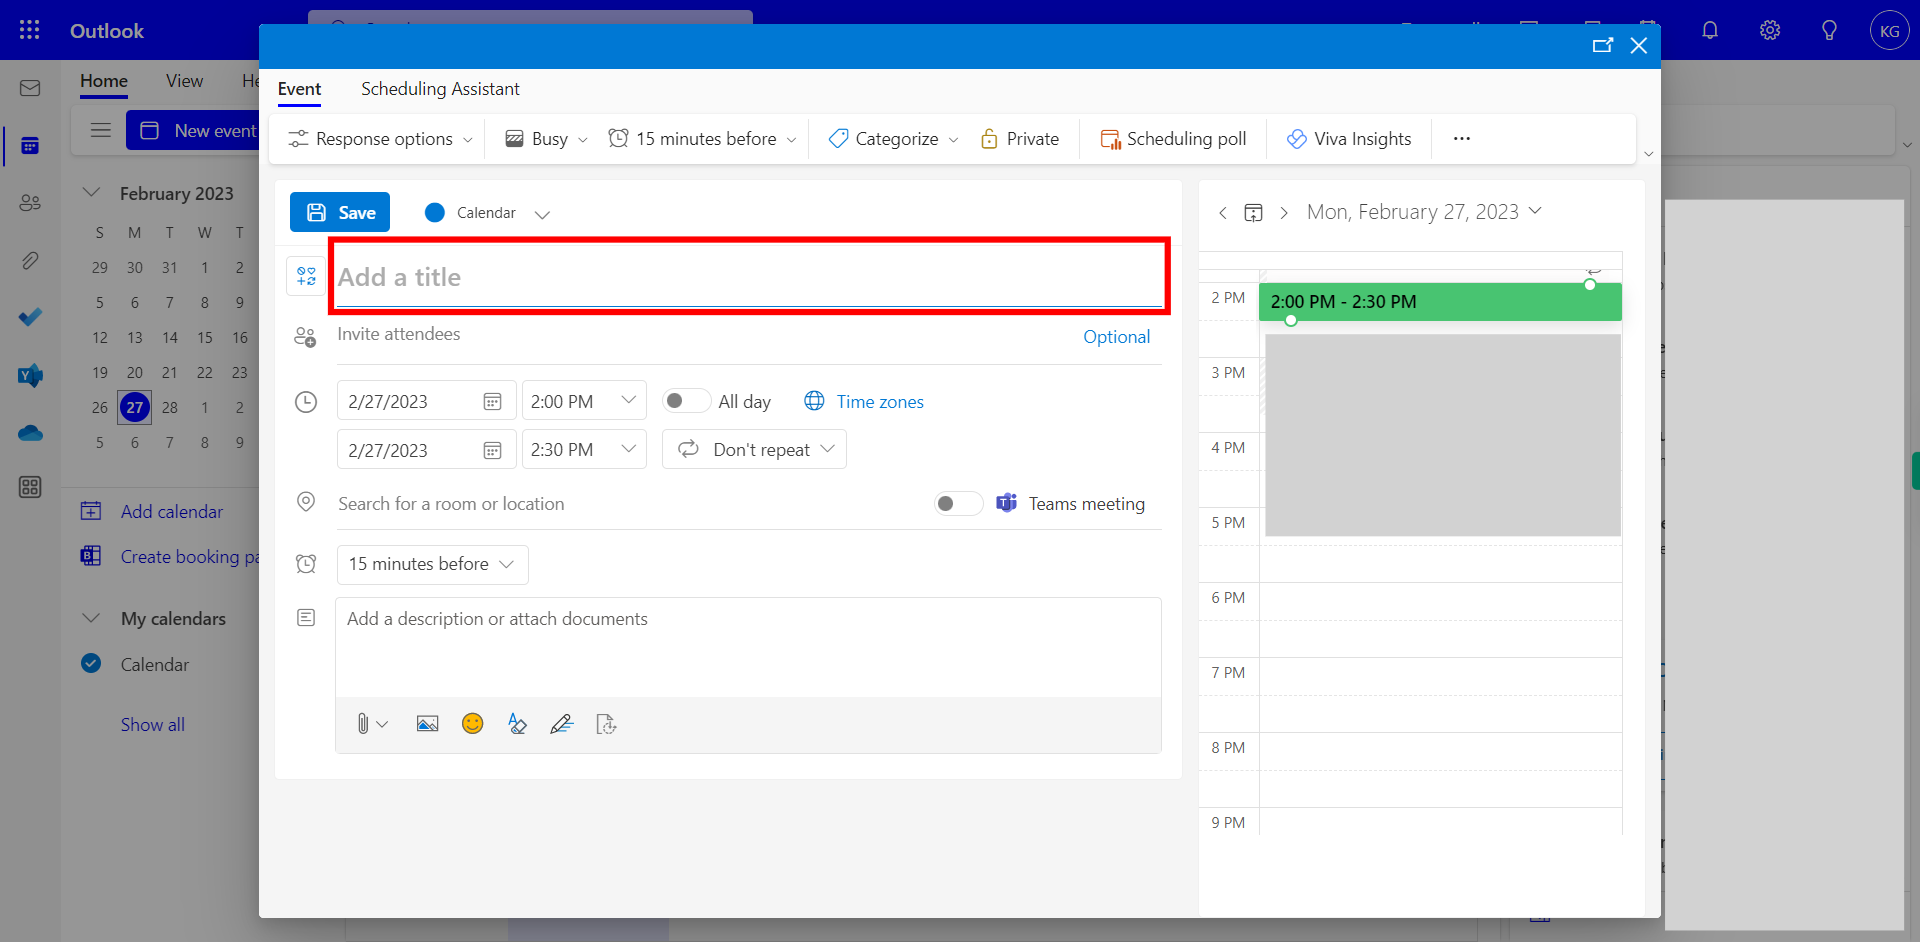
Click on Meeting Title, and Enter the Required Title for the meeting. Once done, click on the "Next" button on the Supervity instruction widget.
-
5.
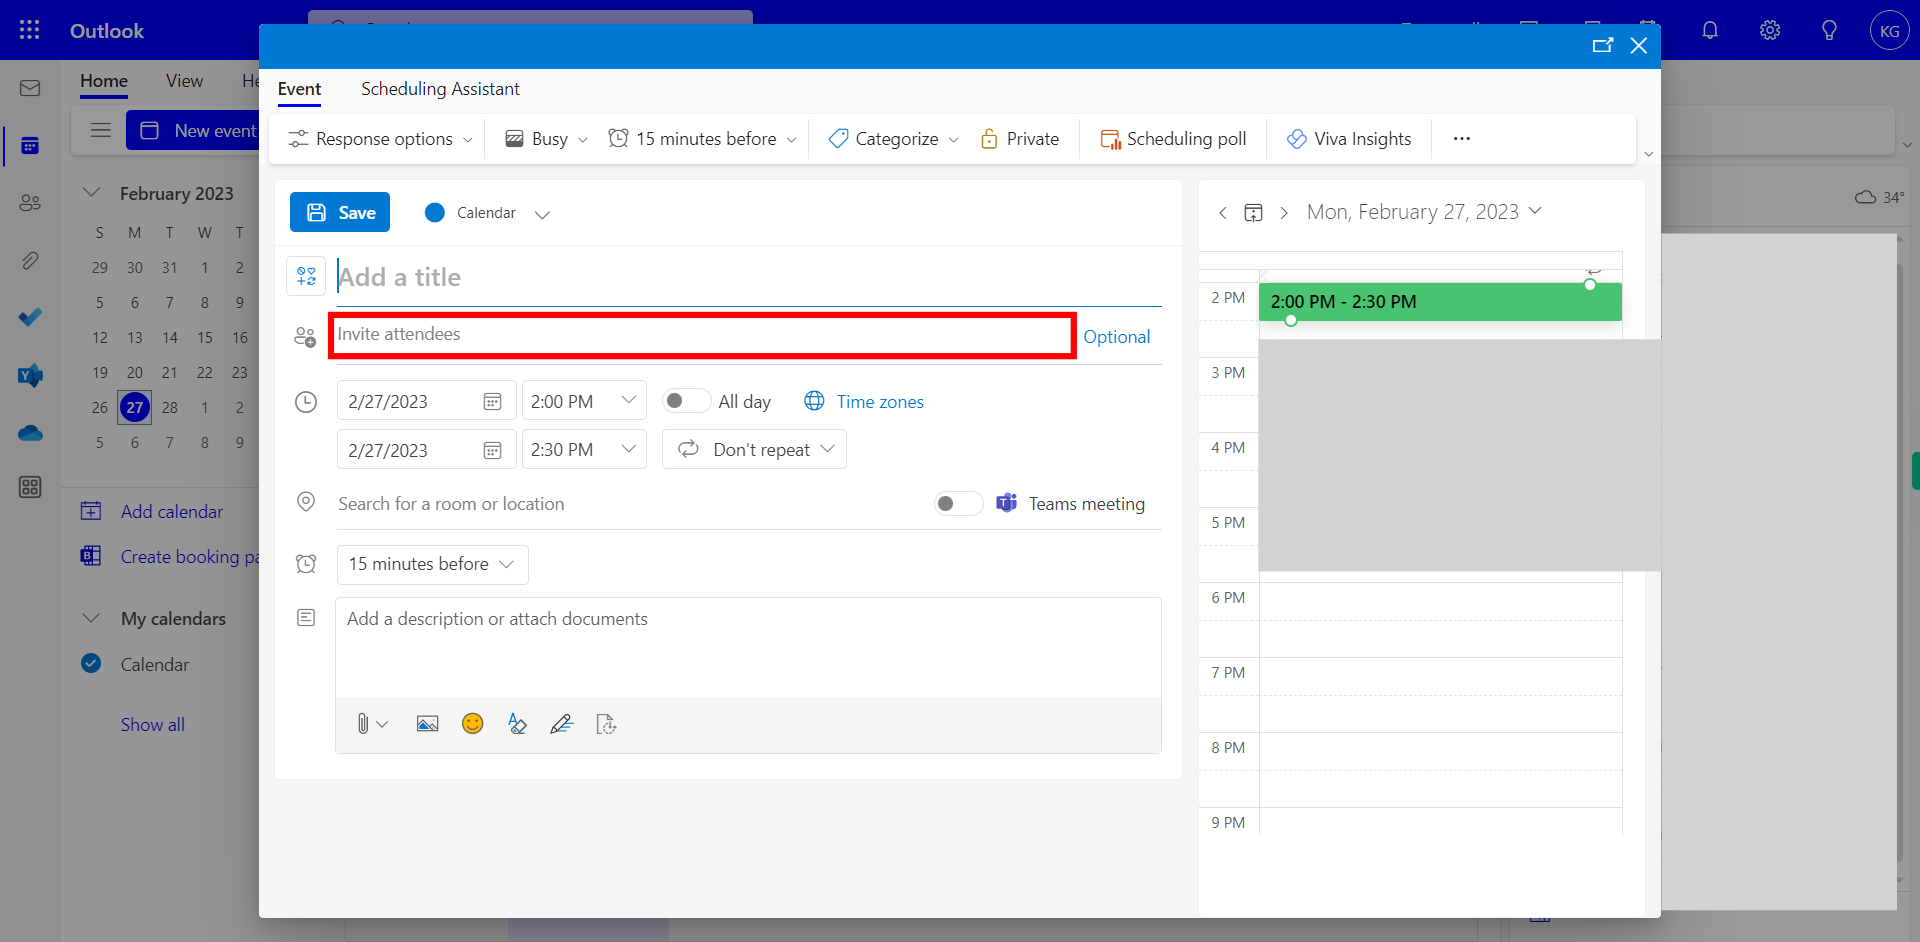
Click on Invite Attendees, Enter the required attendee email ids, which will show the Corresponding Emails that will be Suggested below, Select the Emails from below. Once done, click on the "Next" button on the Supervity instruction widget.
-
6.
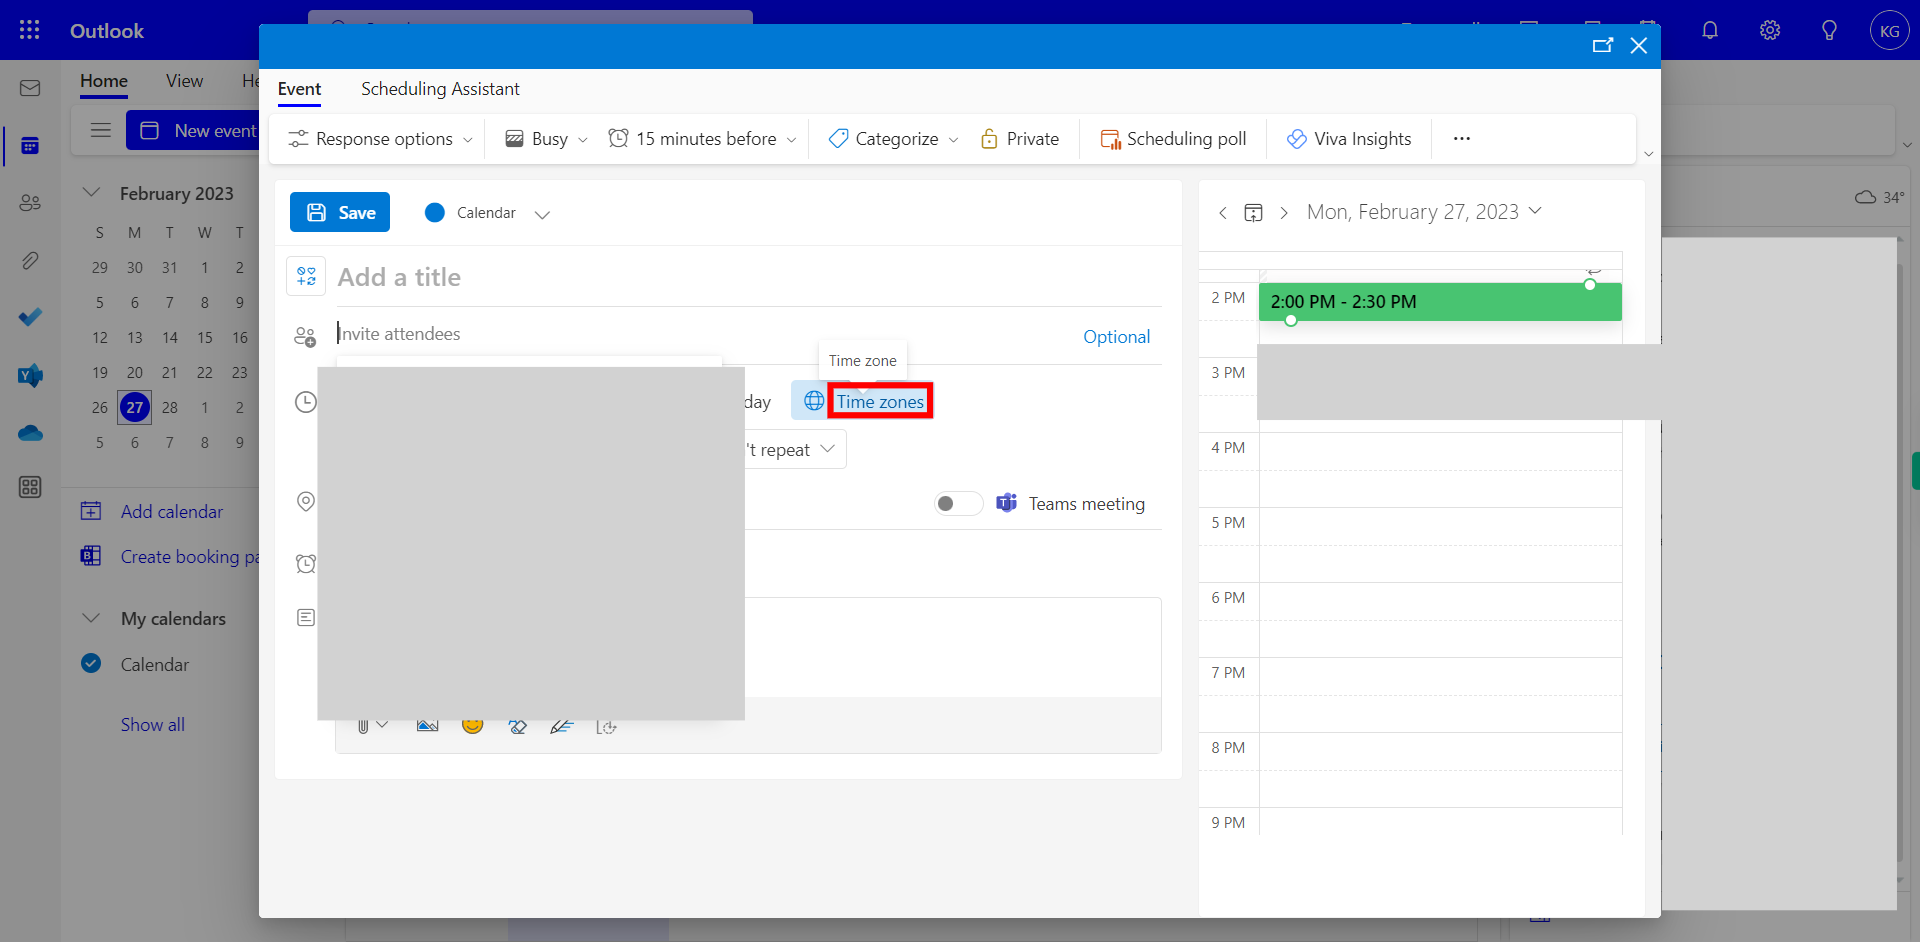
Click on the Time zones web icon, Which will enable the user to see the Default time zone for the meeting.
-
7.
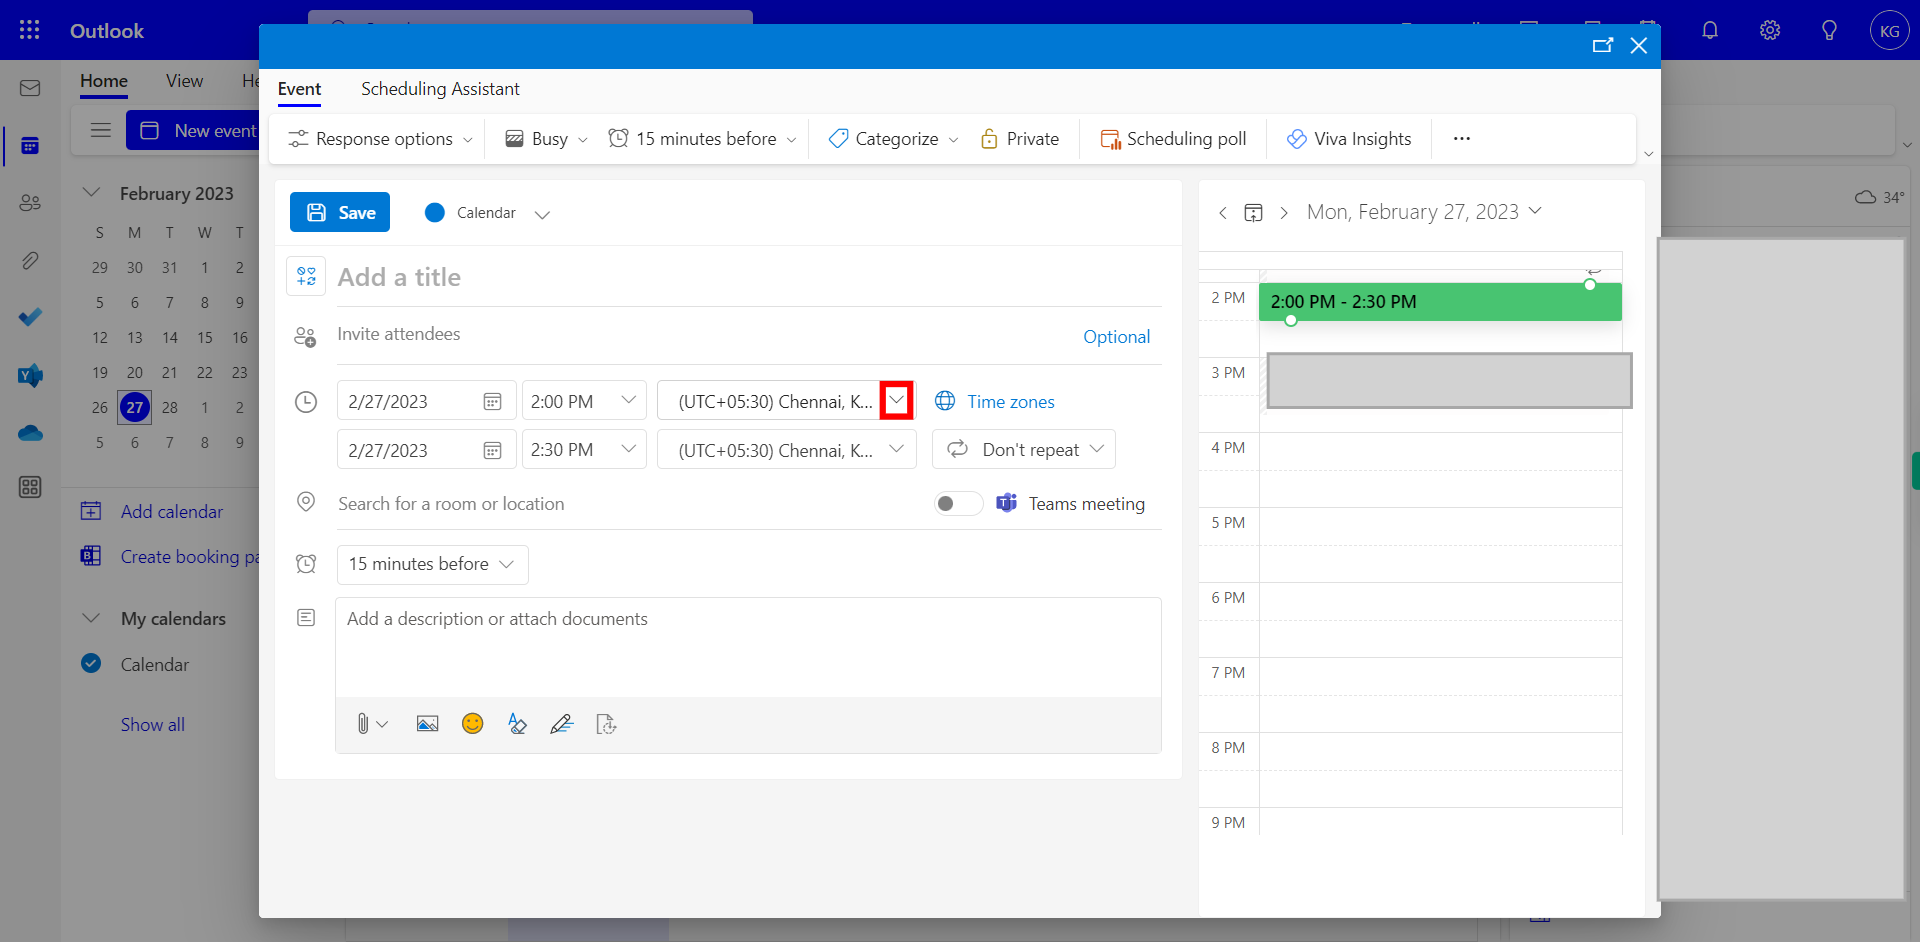
Click on the Default time zone Drop-down and Select the Time zone you want to select for the Meeting. Once done, click on the "Next" button on the Supervity instruction widget.
-
8.
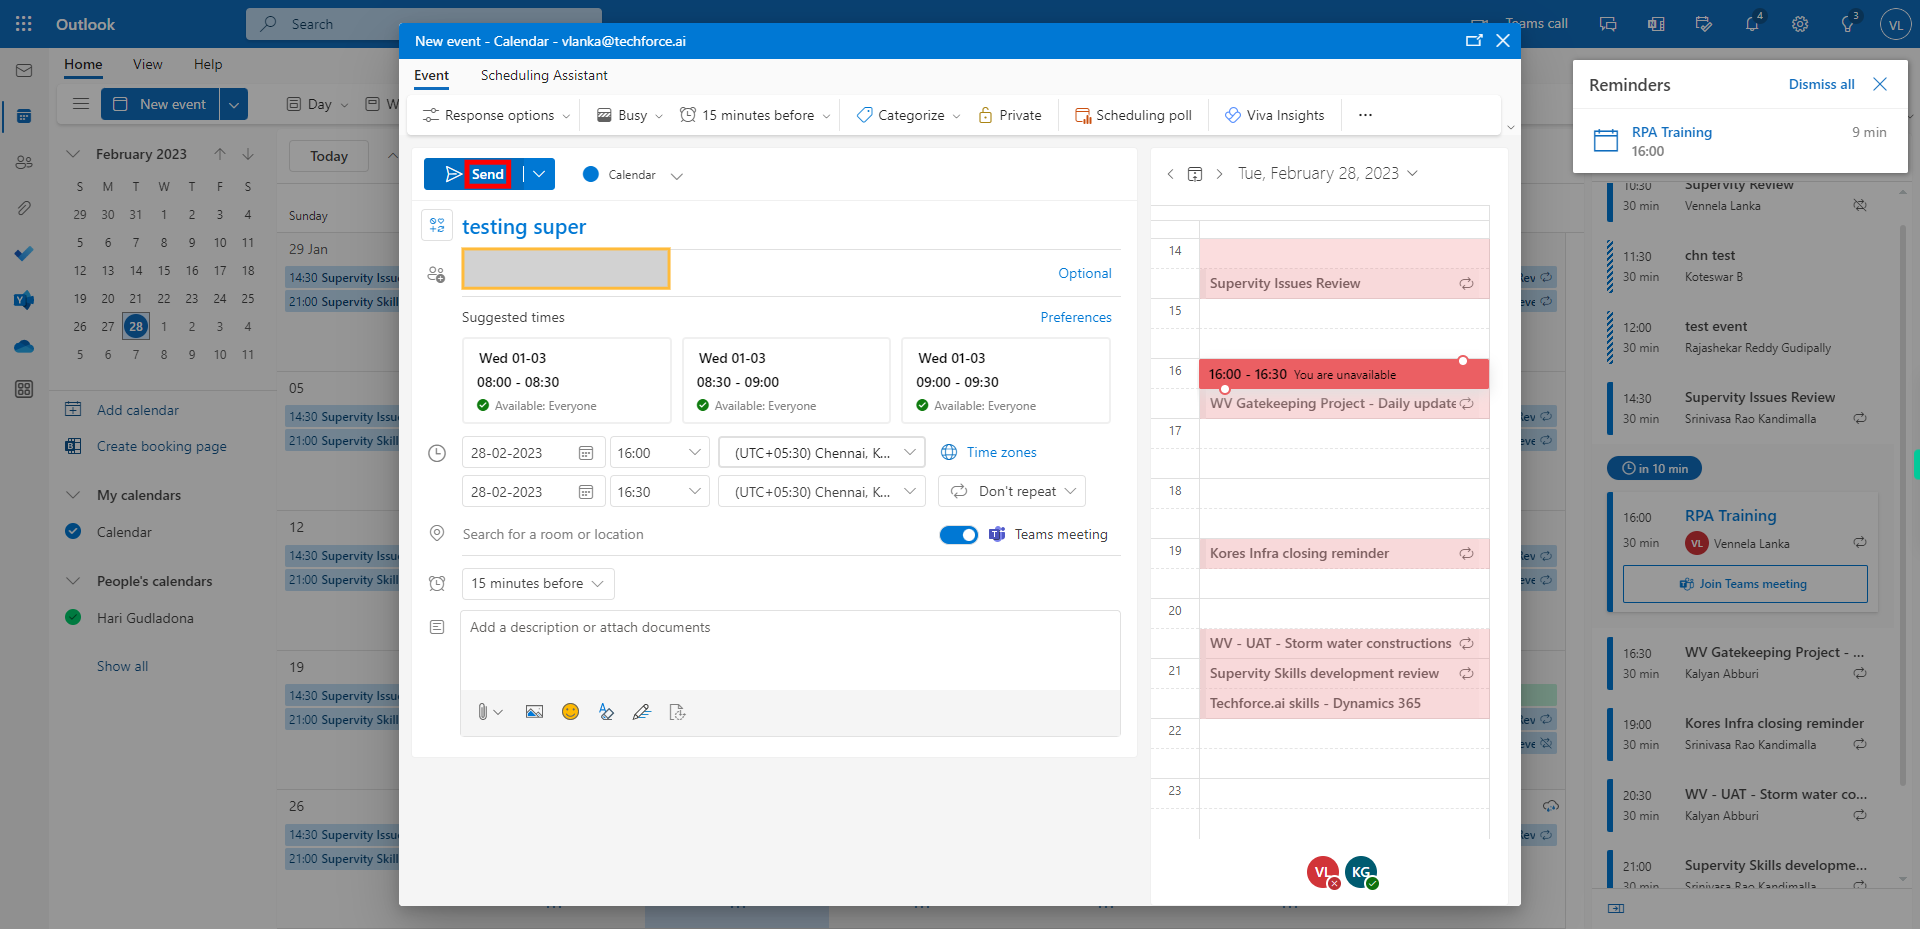
Click on the Send button to send the invite to the attendees Mentioned with all the other details of the Meeting.


