This skill helps to walk you through How to create a New Sales Dashboard in Hubspot.
Note:
Ensure you have access to a subscription in the Hubspot with sufficient privileges to perform skill successfully.
Ensure that you are already logged in into your Hubspot account
-
1.
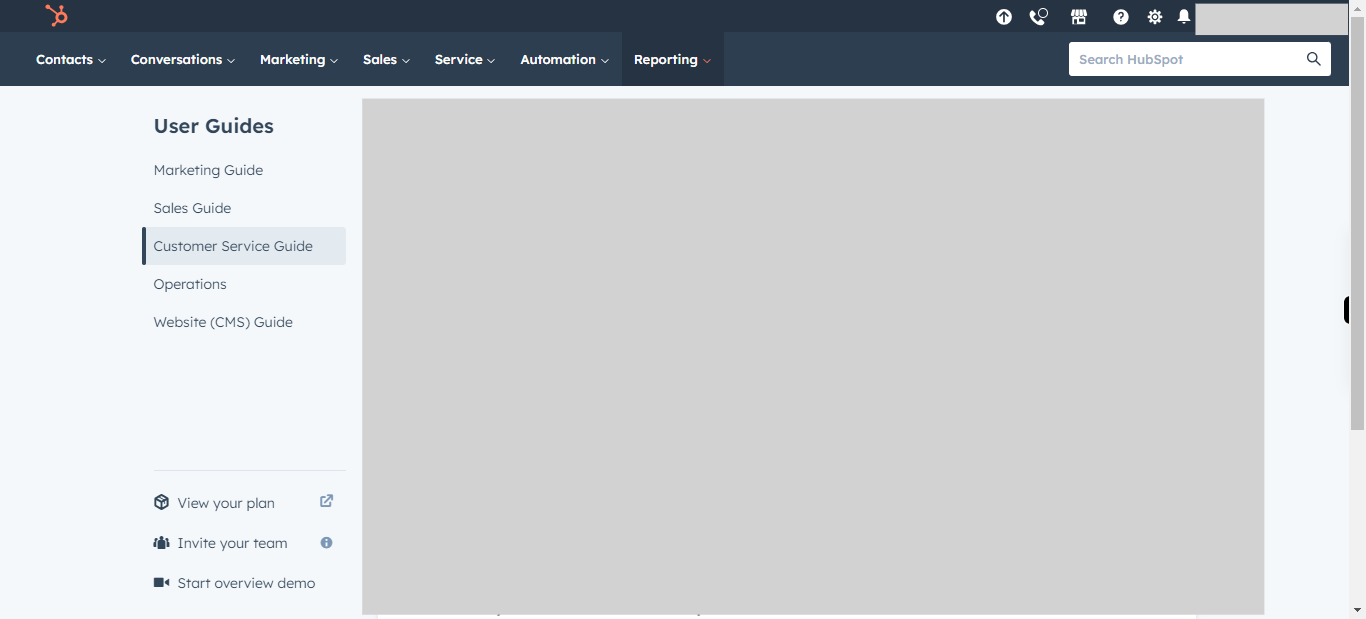
Open HubSpot on the Web.
-
2.
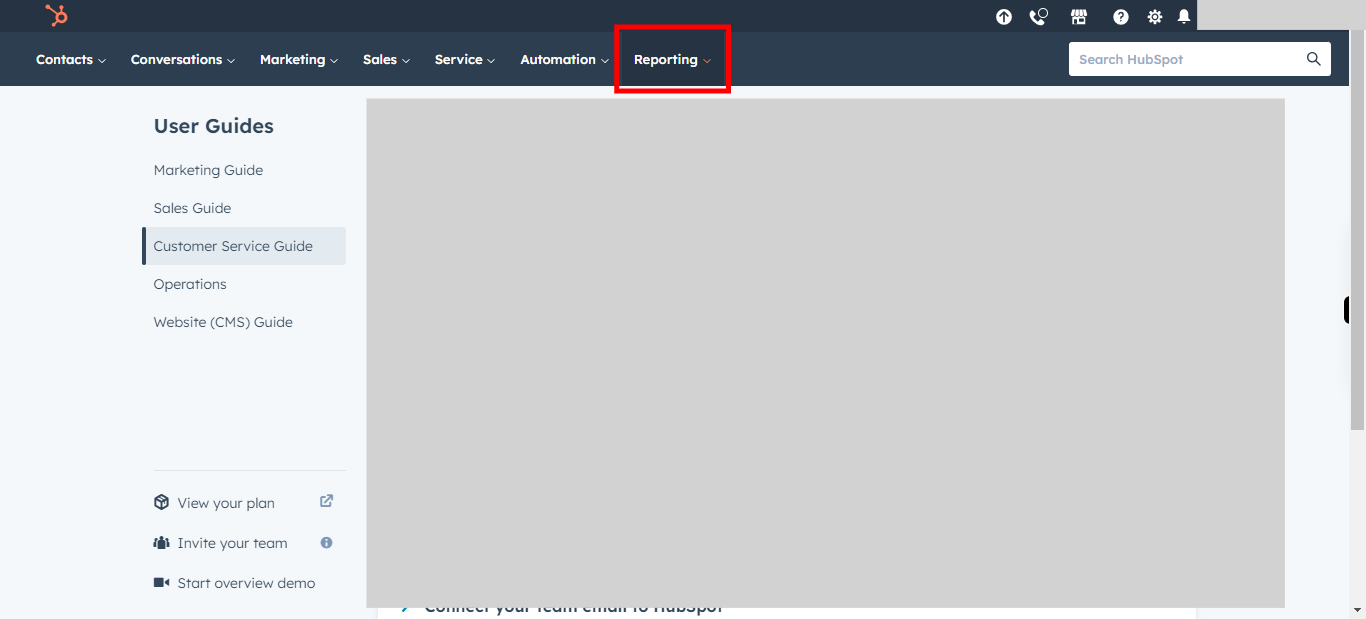
Click on Reporting.
-
3.
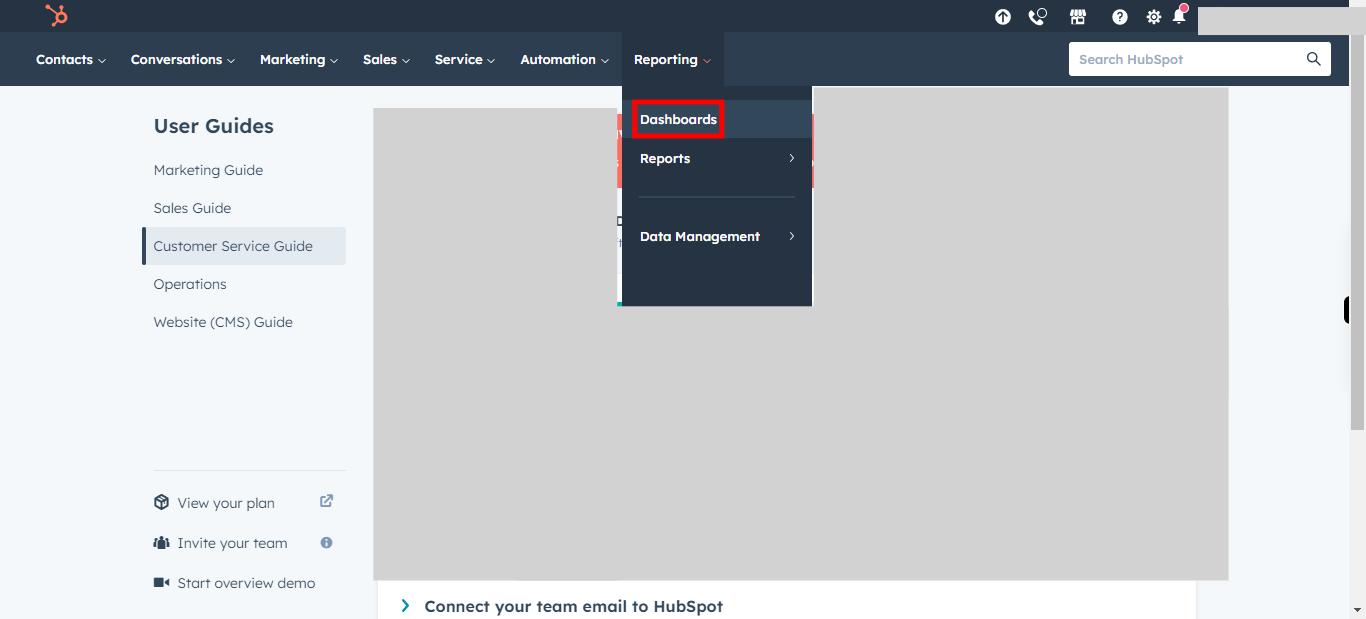
Click on Dashboards to Open the Existing Dashboards in your account
-
4.
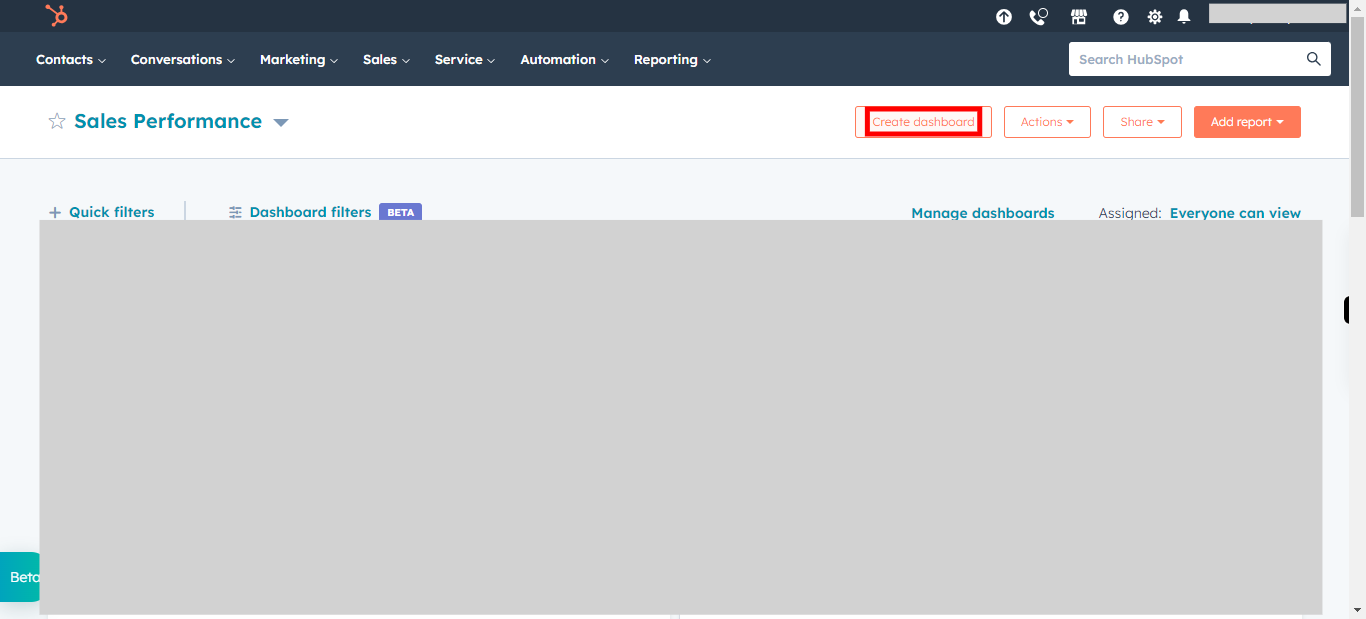
Click on Create dashboard to create a new dashboard
-
5.
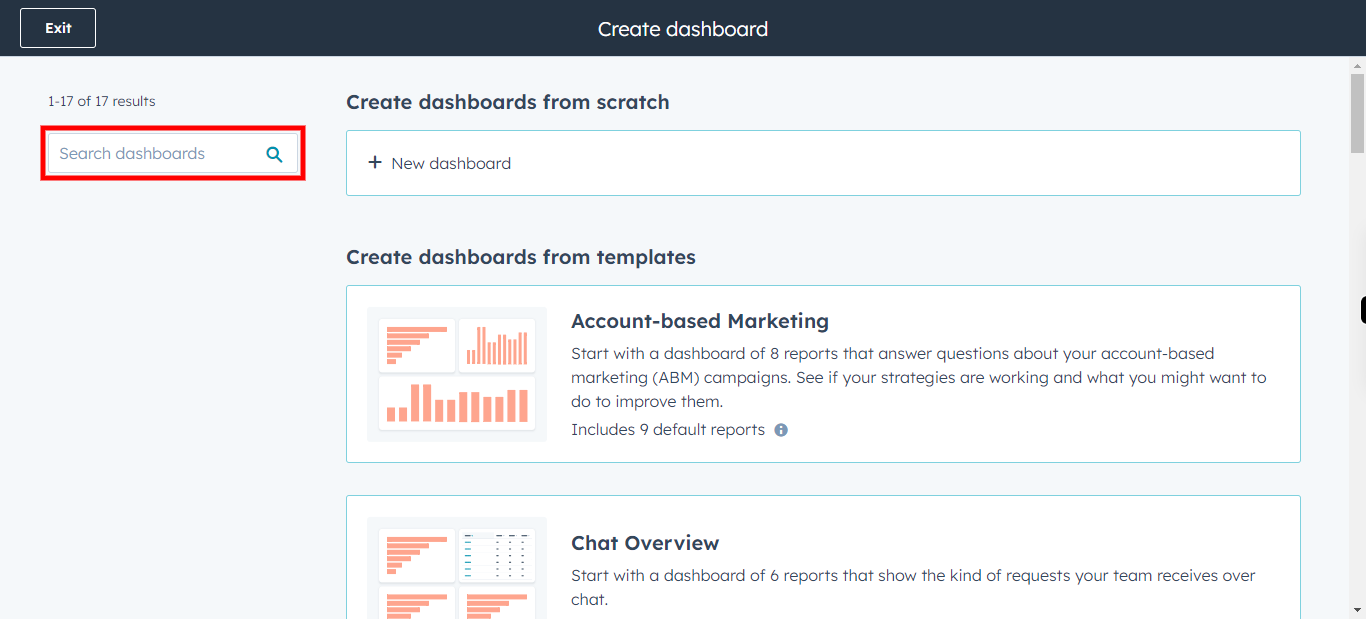
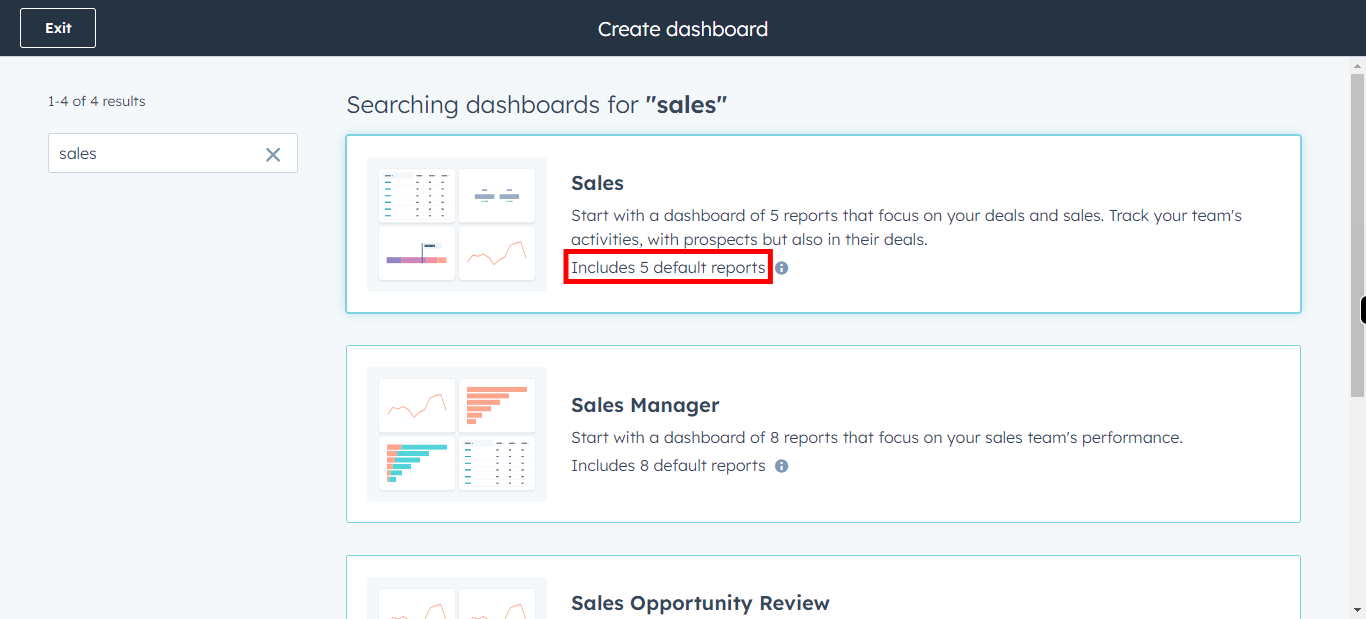
Click on Search and Type Sale in the search box. Once done, Click on the Next button in Supervity Widget.
-
6.
Select the First report in the Search list to continue.
-
7.
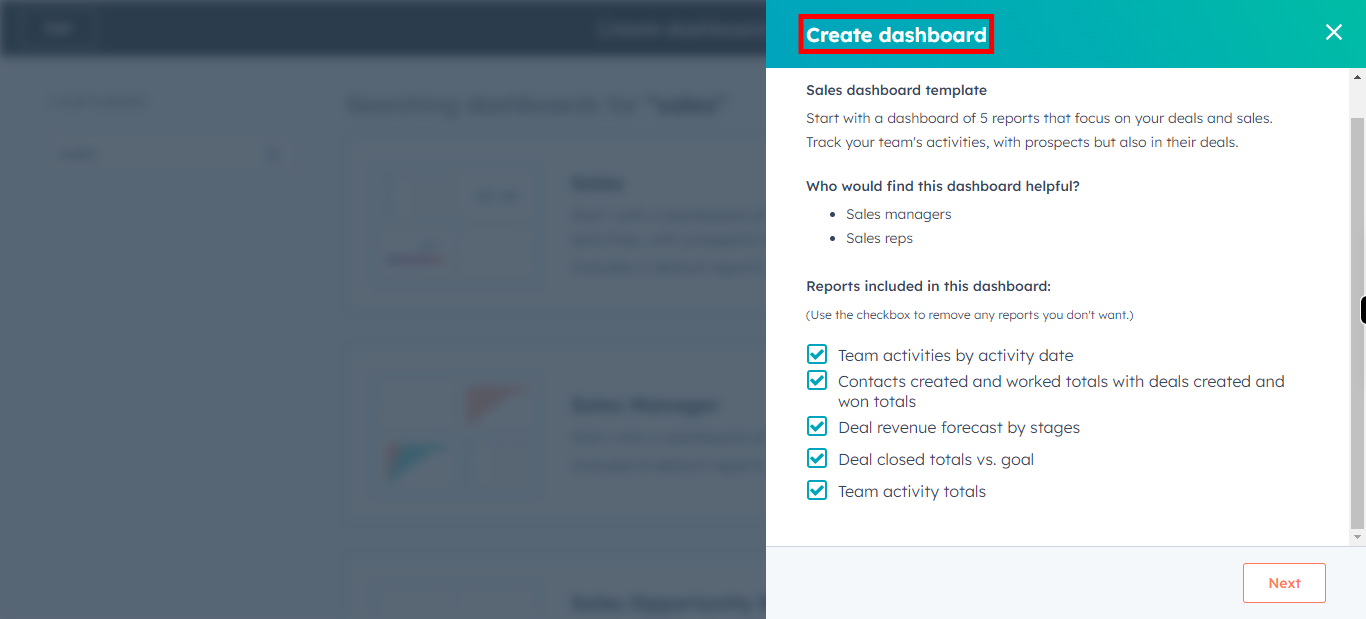
Please Check or Uncheck the options available for this dashbaord. Once done, Please click on Next Button in Supervity Widget.
-
8.
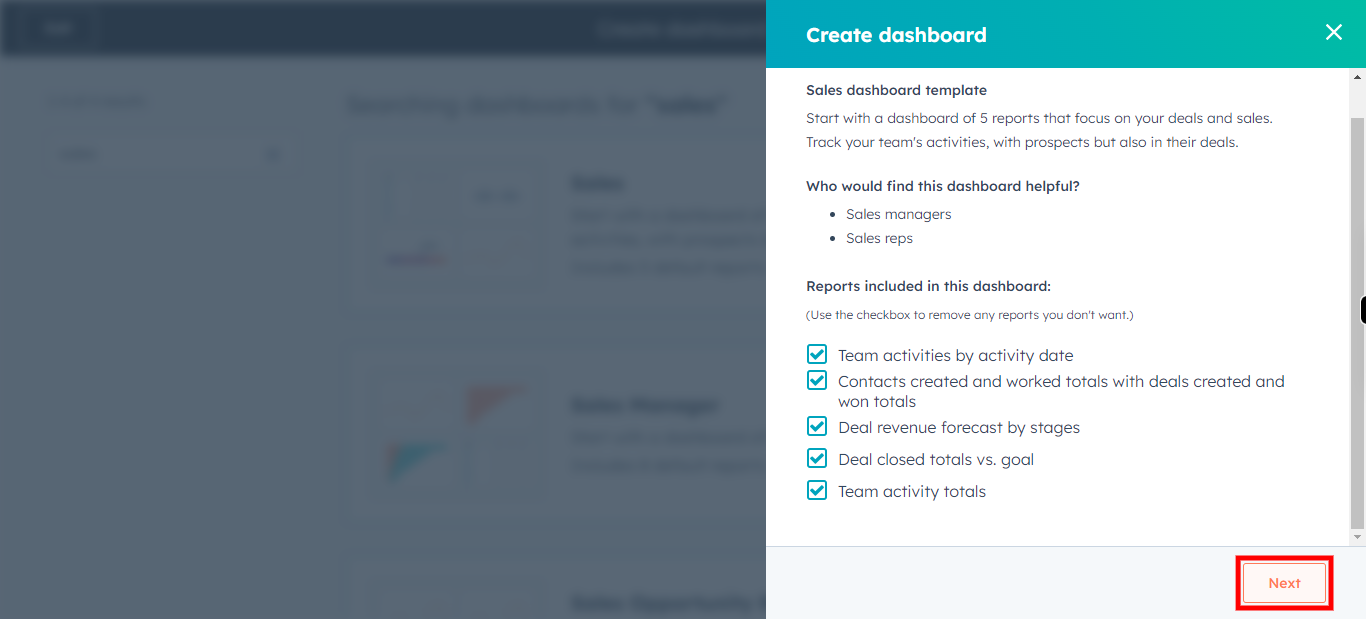
Click on Next to Continue.
-
9.
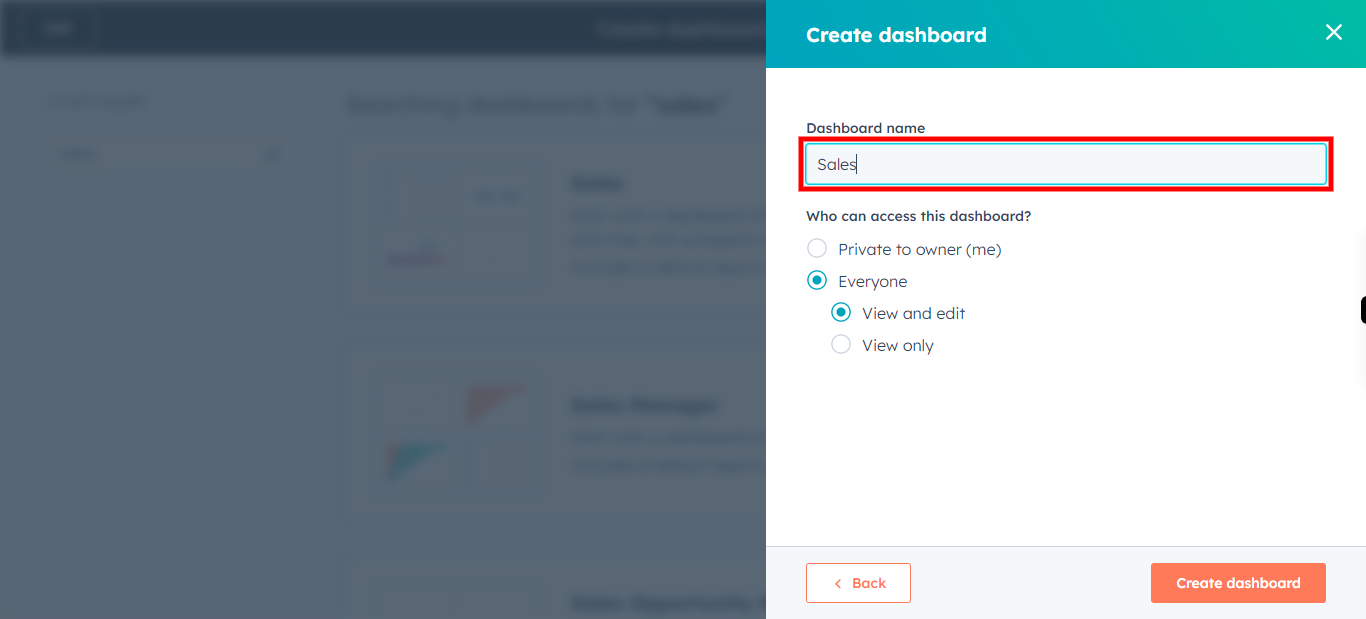
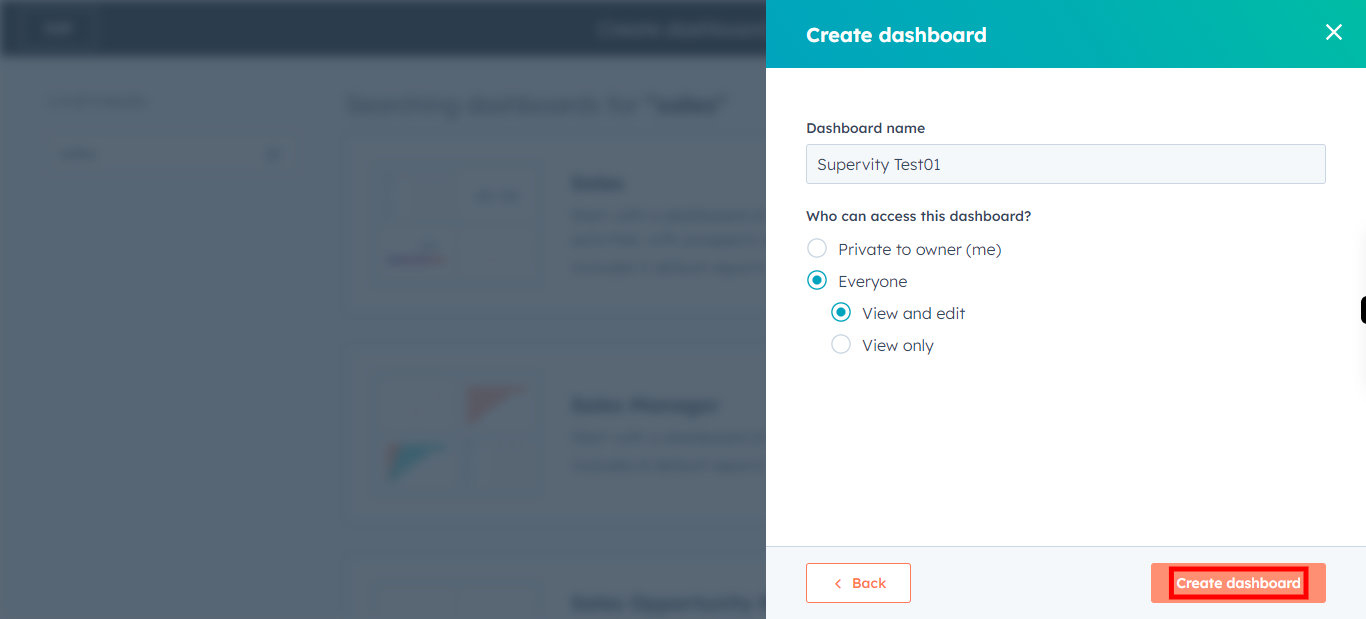
Click on the Title text field, Type the Name of the Dashboard. Once done, please click on Next Button in the Supervity widget.
-
10.
Click on Create dashboard to complete the process.
-
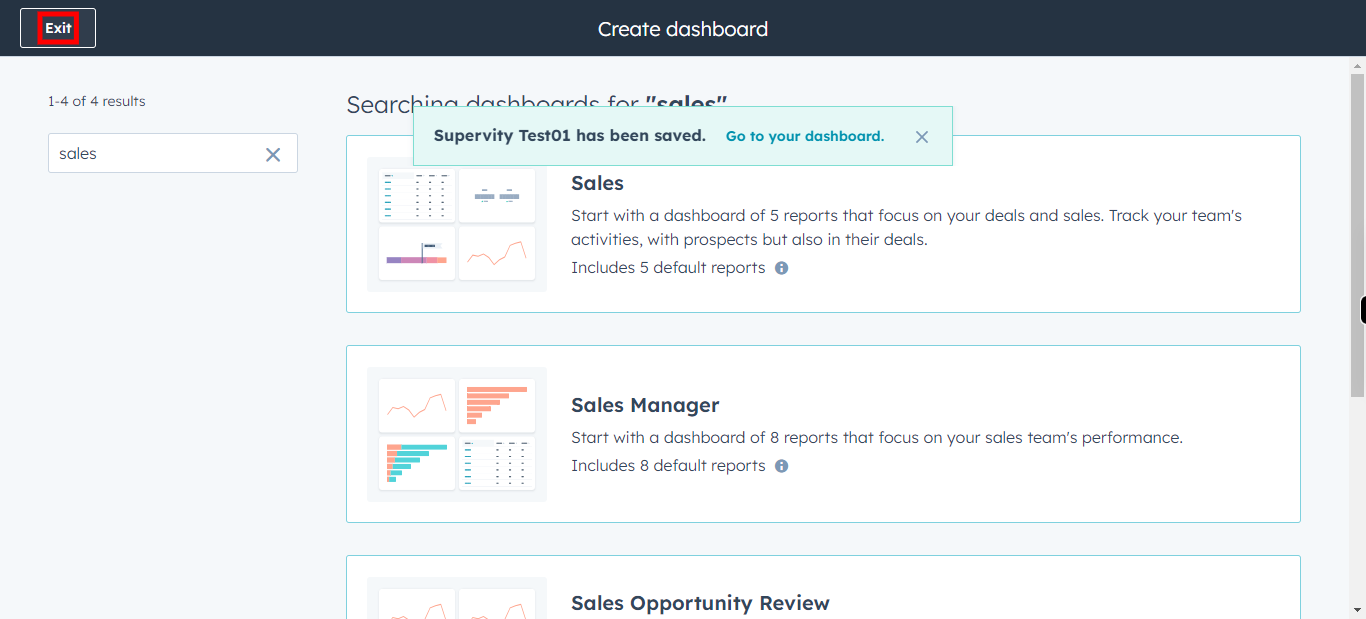
11.
Click on Exit to go back to main menu.
-
12.
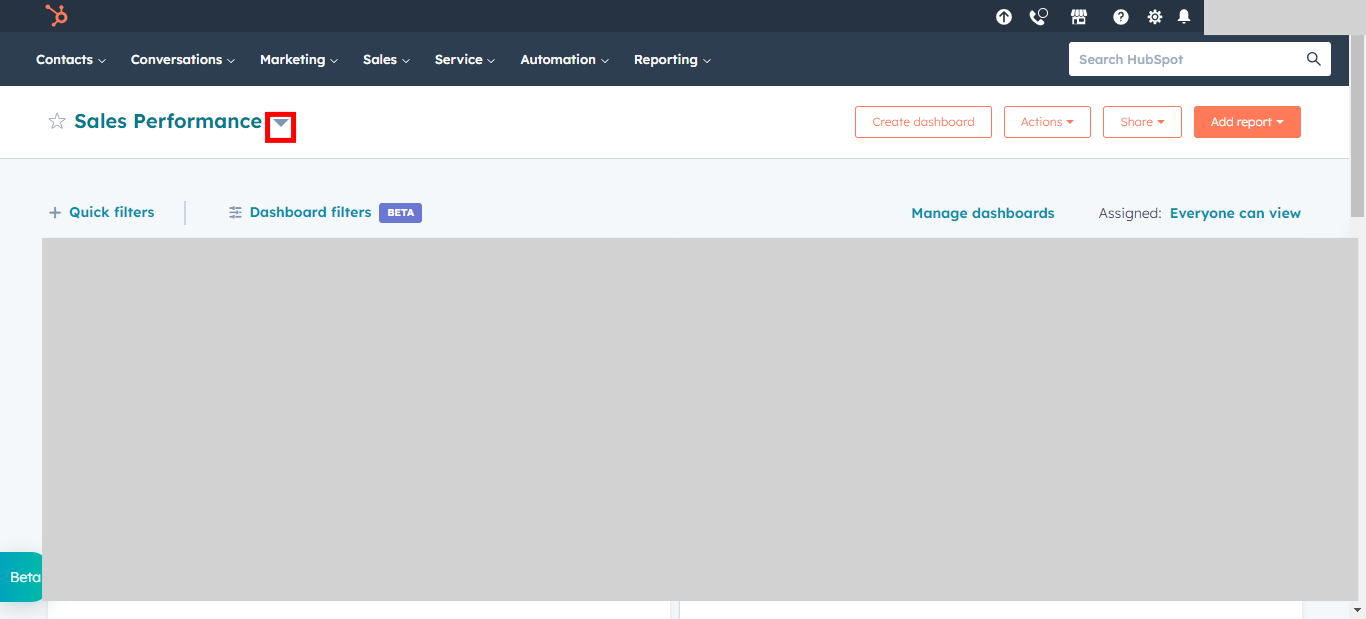
Click on Existing Dashboard drop-down to see the available dashboards in your account.
-
13.
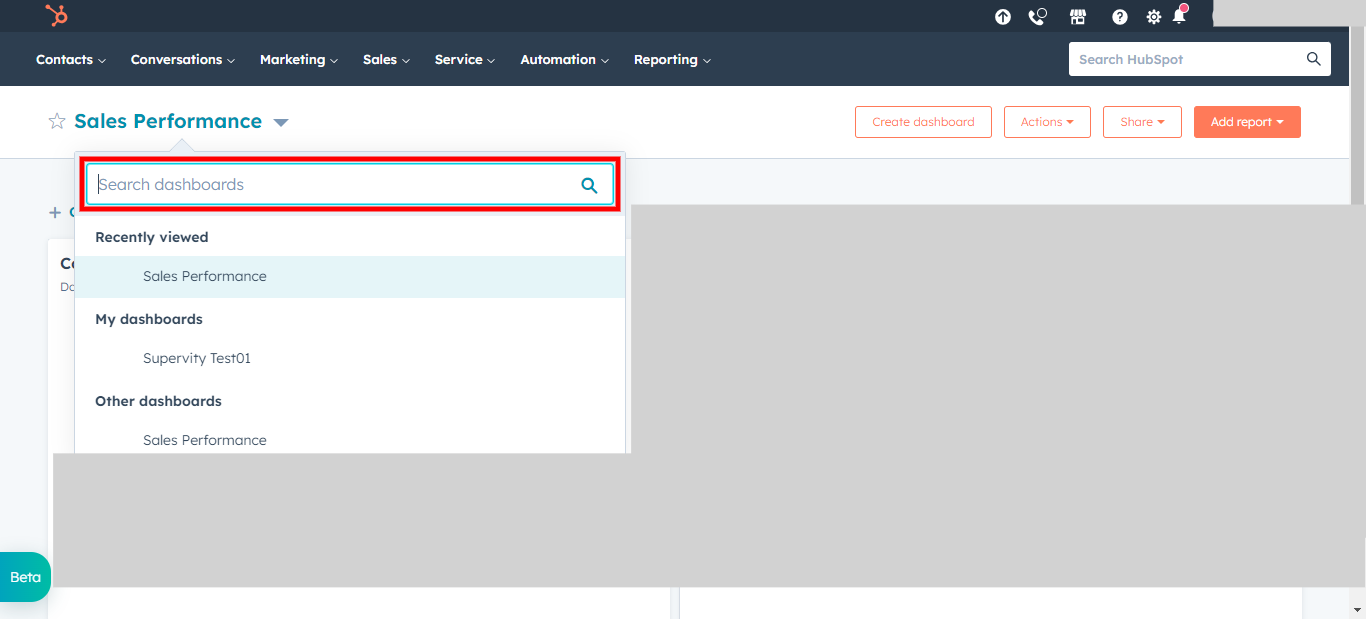
Click on Next button in Supervity widget. Click on Search and Type the Dashboard name you created.
-
14.
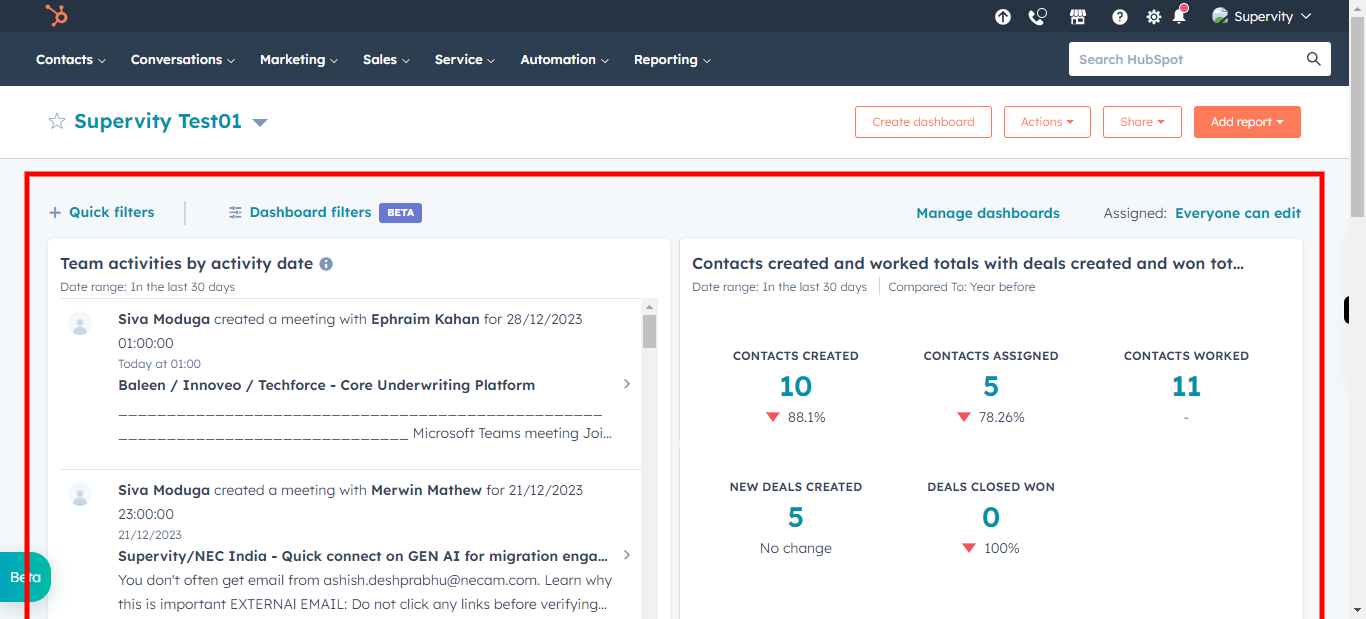
This is the New Dashboard you have created. Please click on Close in Supervity widget, and start adding your filter's or reports to your dasboard.
