This skill helps to walk you through in adding a contact list in Hubspot.
Note:
Ensure you have access to a subscription in Hubspot with sufficient privileges to perform the skill successfully.
Ensure that you are already logged in into your Hubspot account
-
1.
Open HubSpot on the Web.
-
2.
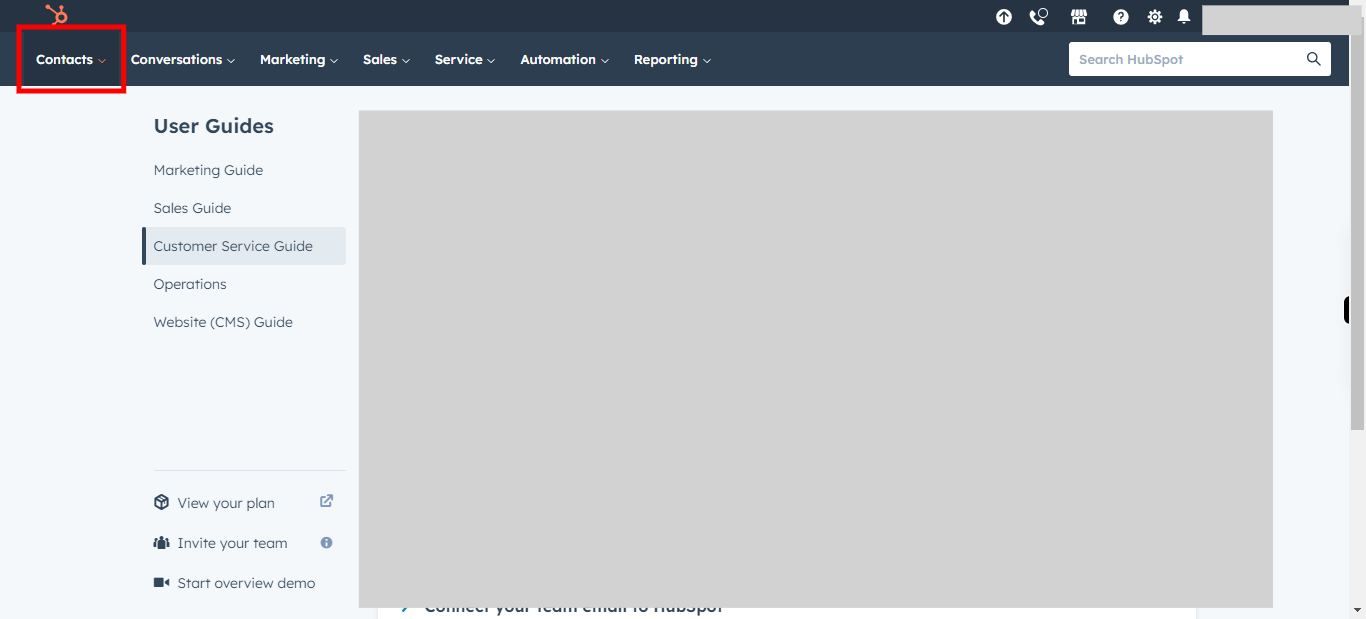
Click on the Contacts Drop-down to navigate to lists.
-
3.
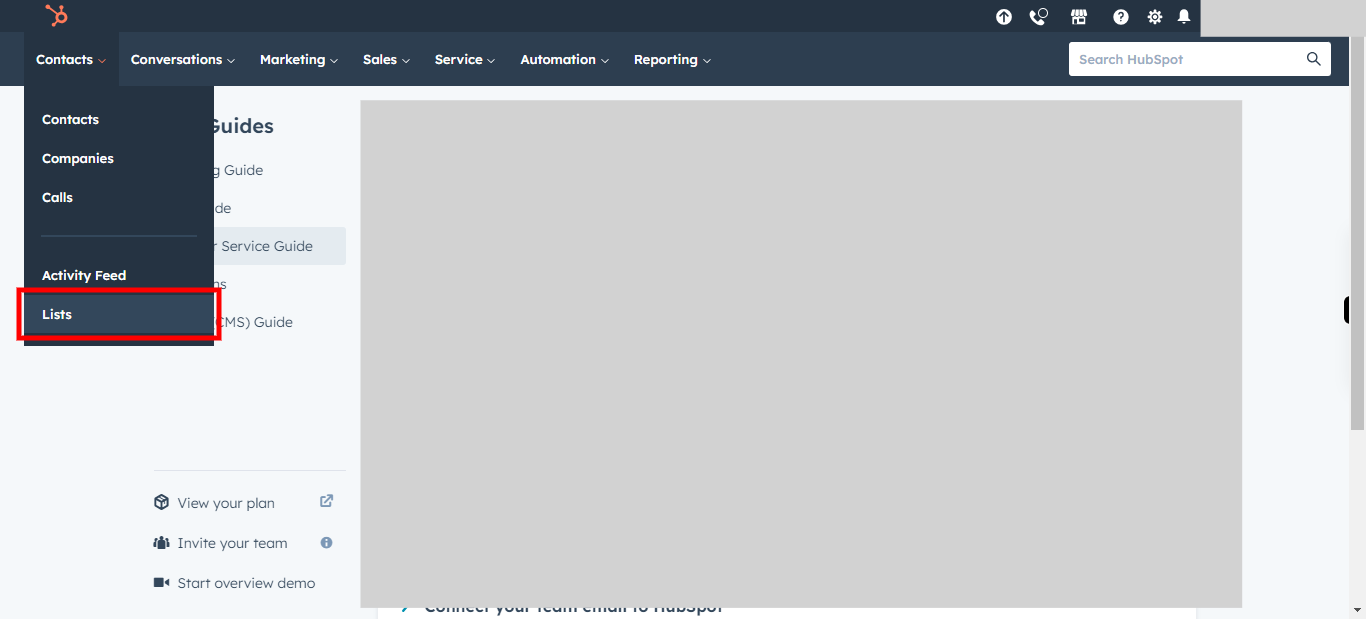
Click on Lists.
-
4.
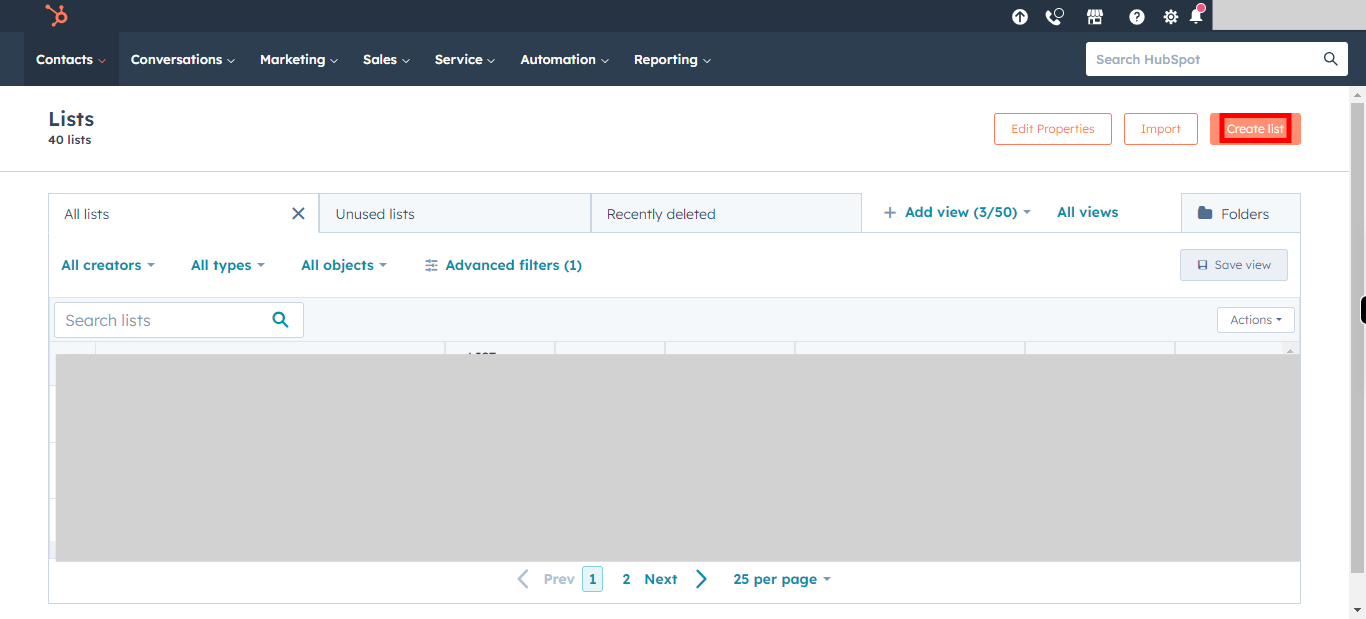
Click on Create list to create a new list.
-
5.
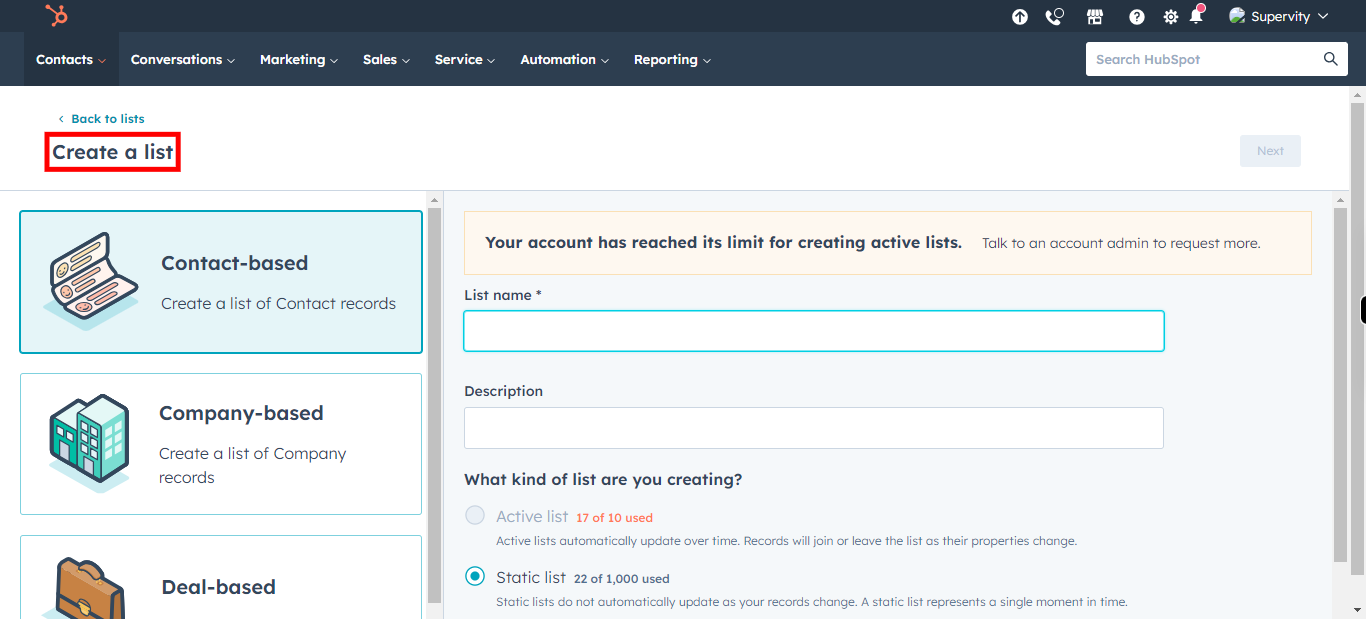
Select the Type of List you want to add, Once done click on Next button in Supervity Widjet.
-
6.
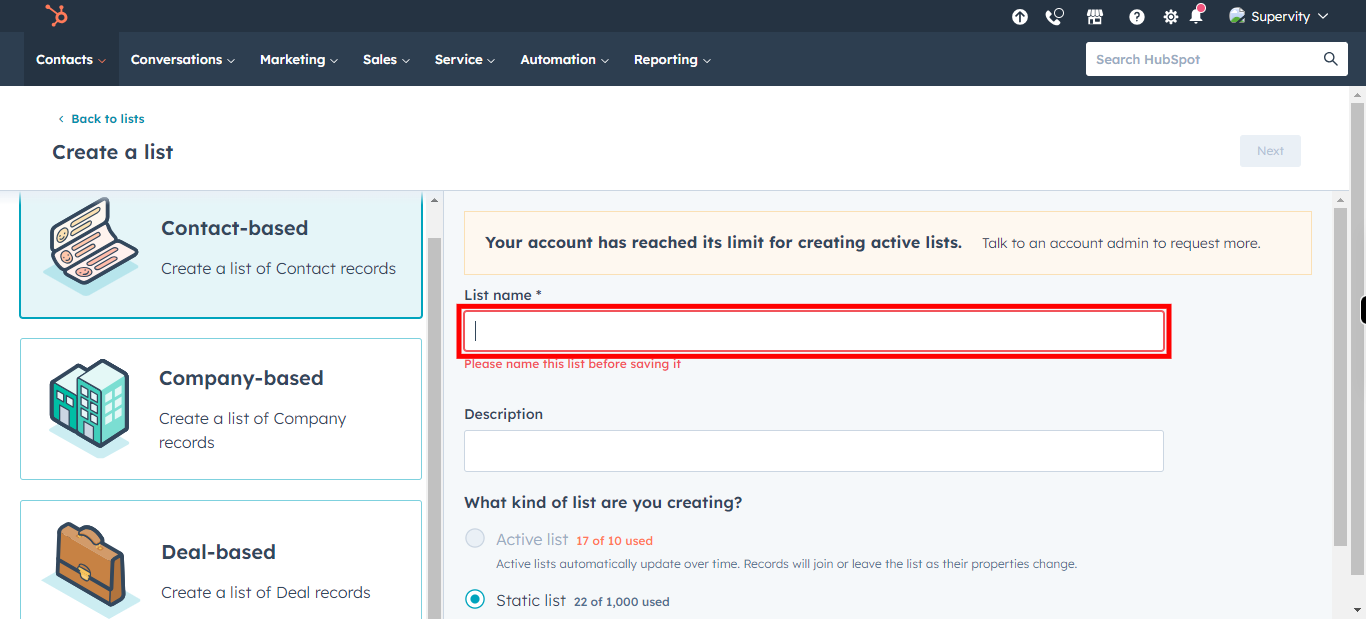
Click on List name and type the list name. Once done click on next button in supervity Widjet.
-
7.
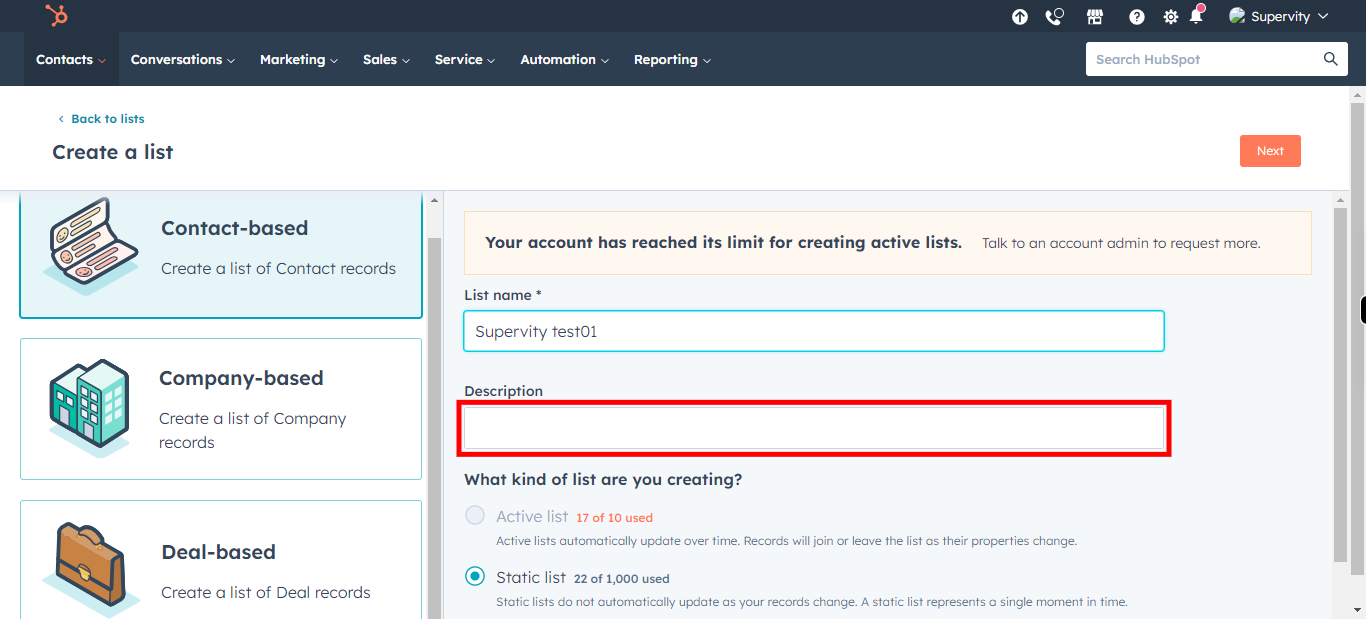
Click on Description and add Description for your list. Once done, click on Next button in Supervity Widjet.
-
8.
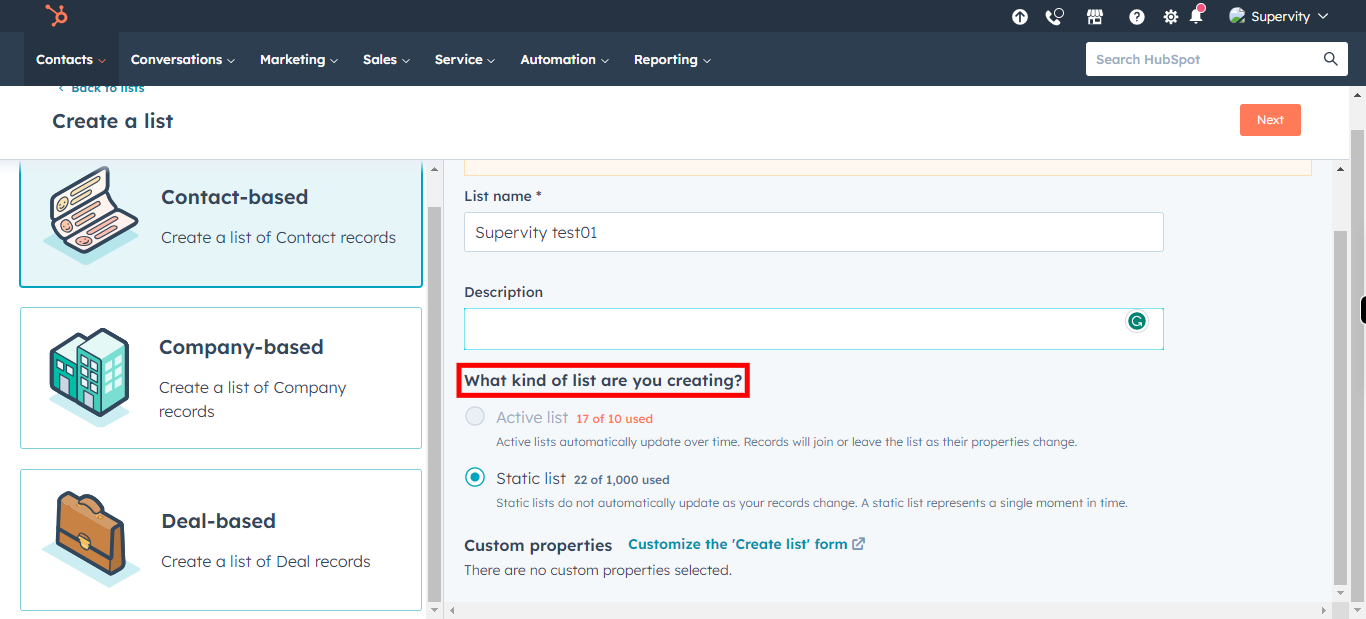
Select the List type from the Bottom Once done, Click on Next button from Supervity Widjet.
-
9.
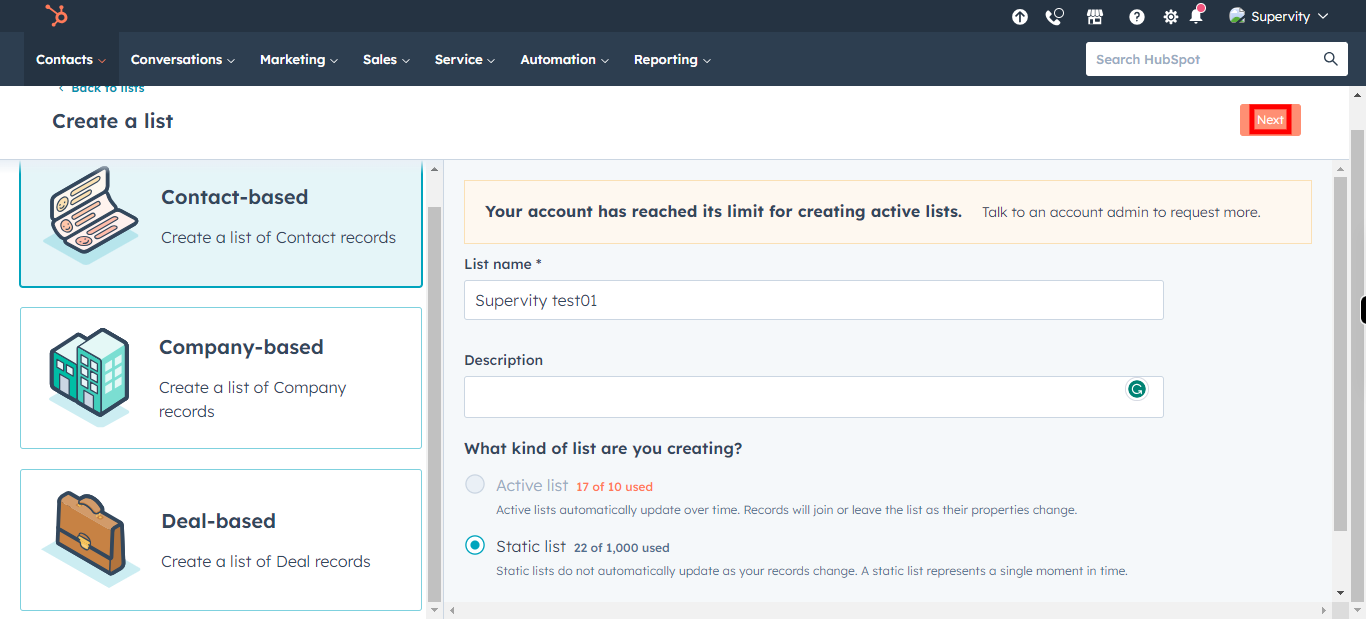
Click on Next to Continue.
-
10.
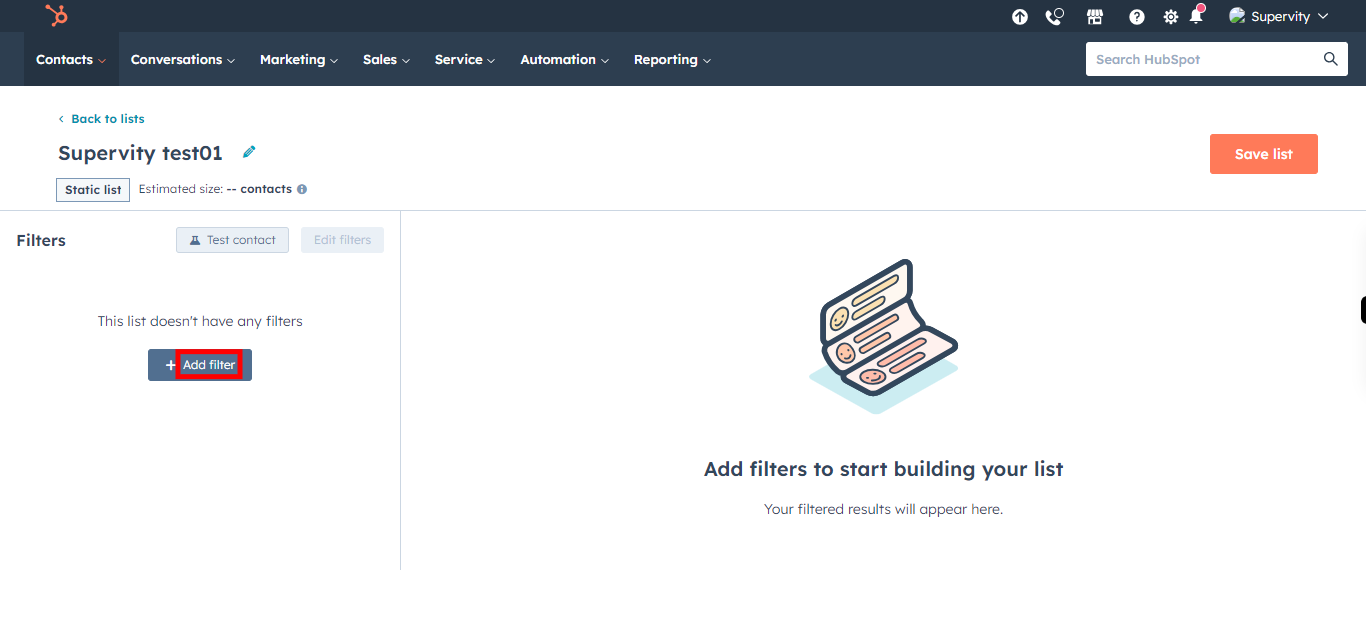
Click on Add filter to add filters to your list.
-
11.
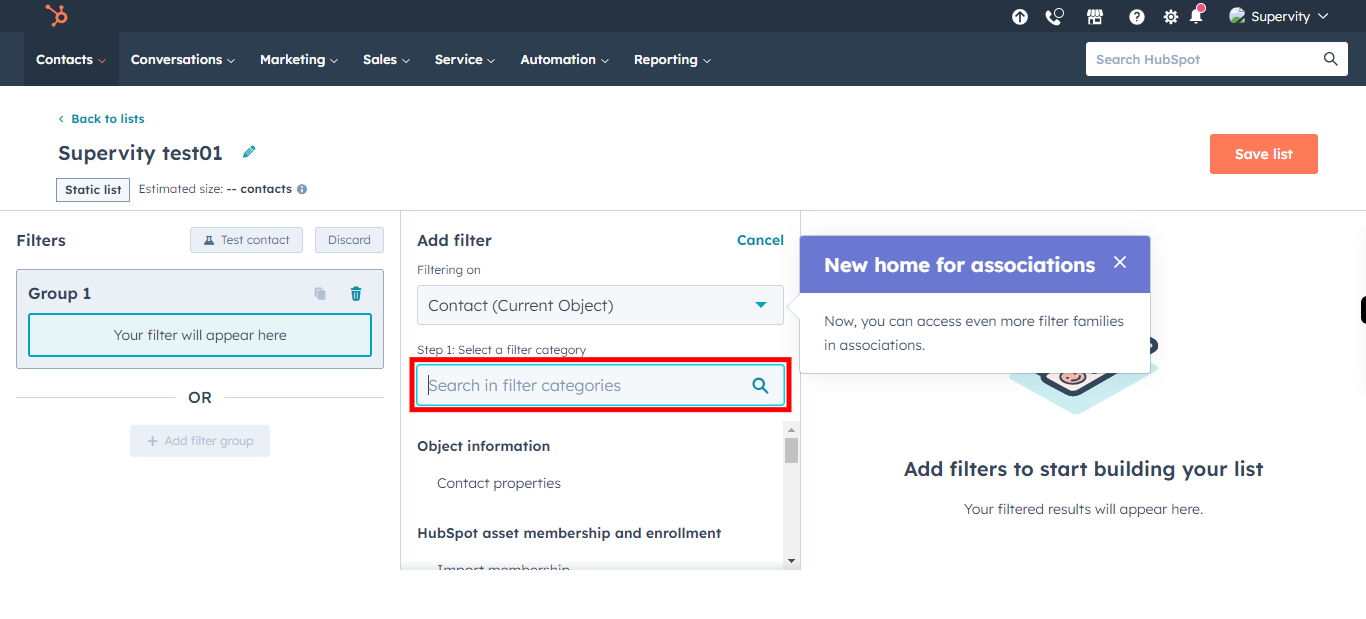
Click on the Next button in the Supervity Widjet. Click on Select a filter category and Search for a filter category that you want to apply to this list and select the filter.
-
12.
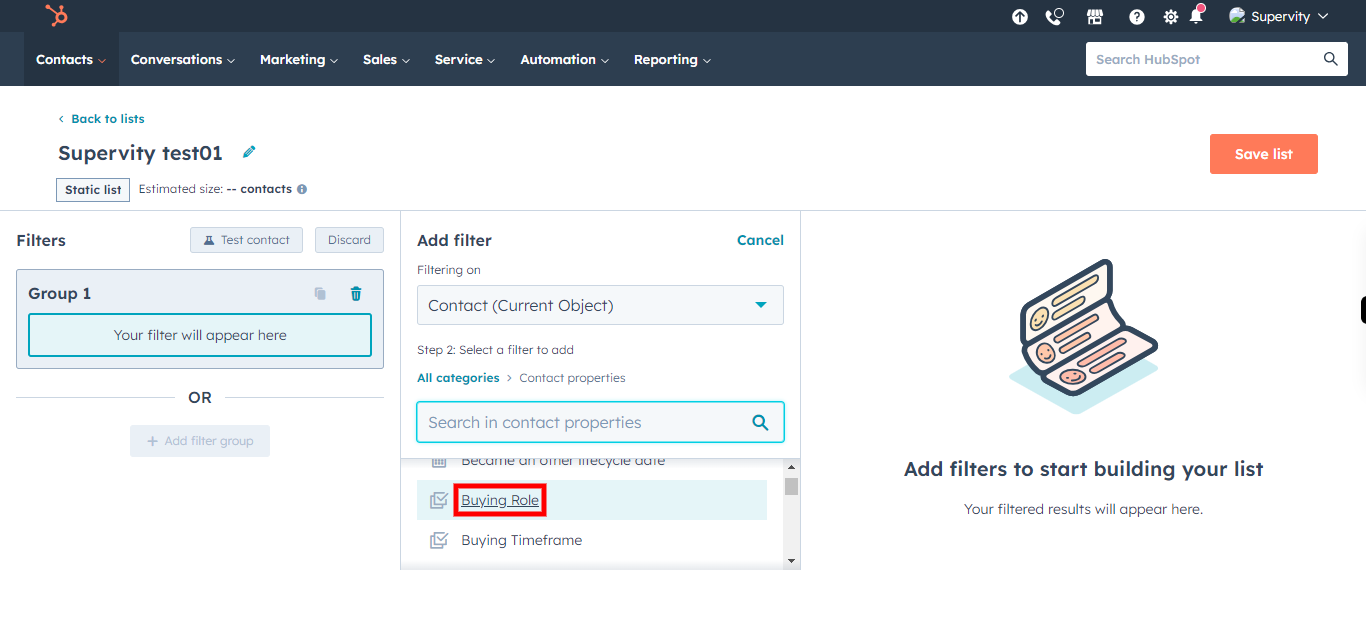
Click on the Next button in the Supervity Widjet. Select/ search for the contact properties from below.
-
13.
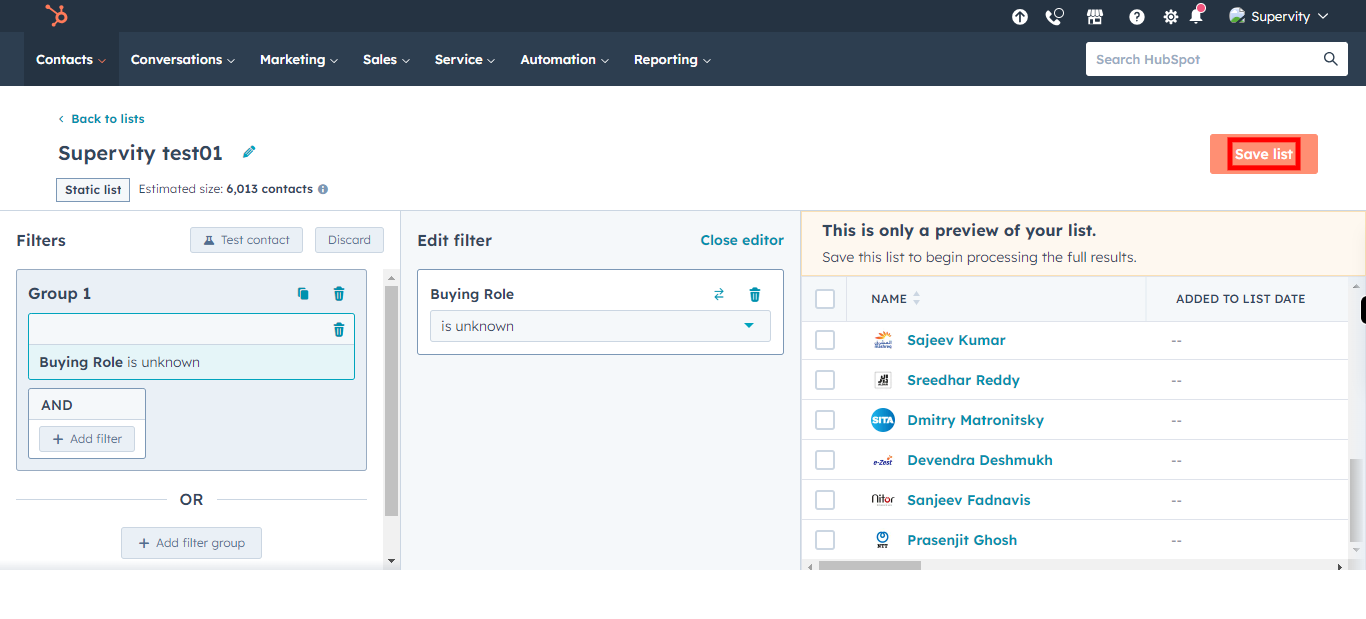
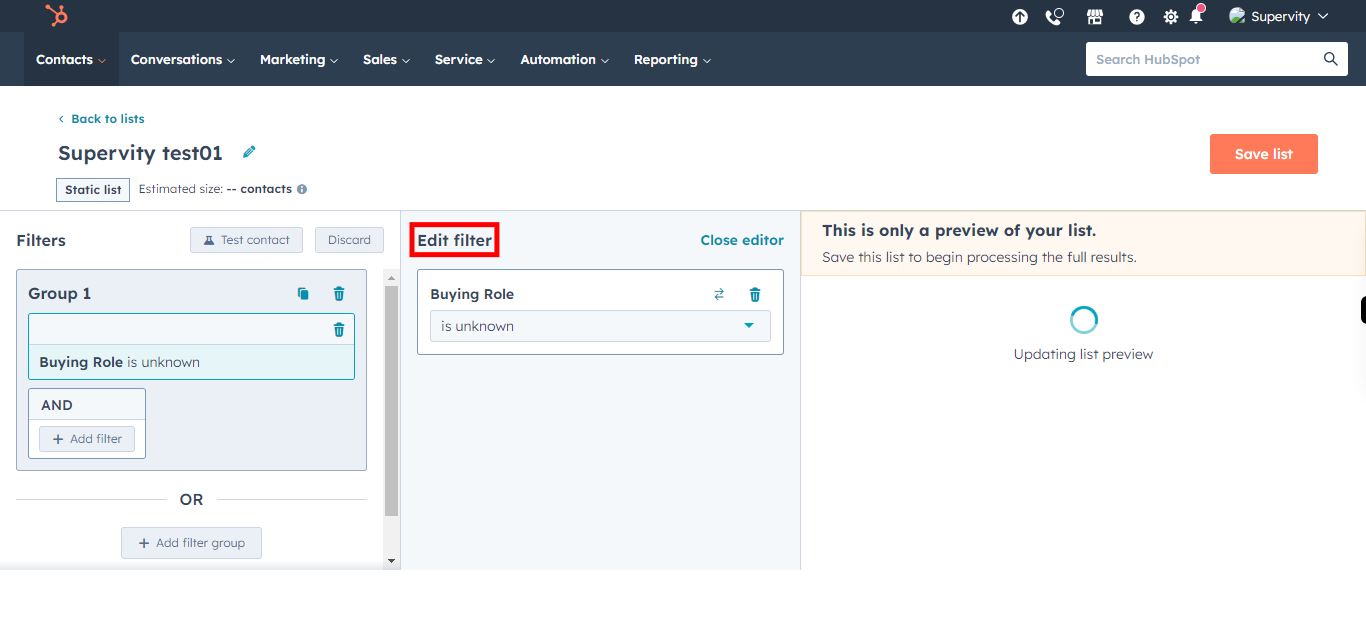
Under Buying a Role you will find one Condition drop-down and a one text box/dropdown. based on the type of filter you selected. After providing both conditions. Please wait for some time for Hubspot to show the list of contacts that will come under the conditions you have given above. Once done, Click on the Next button in the Supervity Widjet.
-
14.
Click on Save list to save the new list into your contact list.
