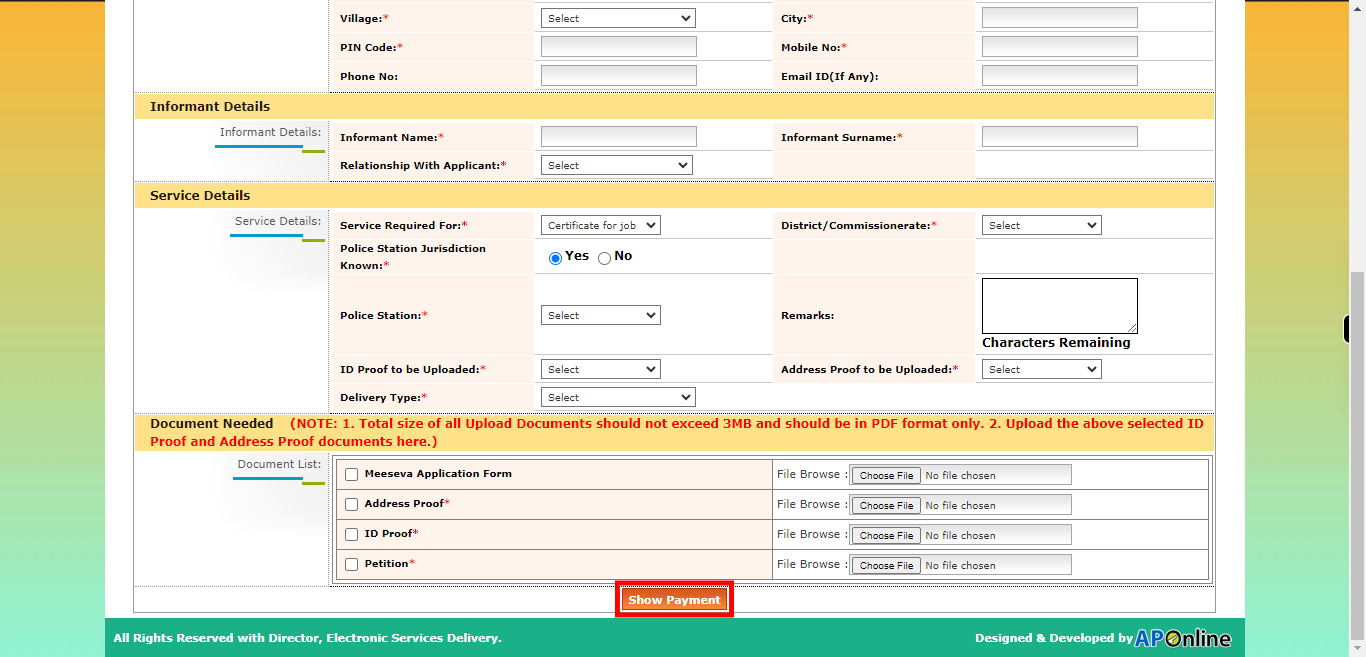
This skill shows the steps to be followed to apply Issuance Of Certificate. Prerequisites: ID proofs, municipal permission and all needed documents.[NOTE: Please make sure that log in to the AP Meeseva website before playing the skill].
-
1.
open :: Meeseva - Online Login Form ::
-
2.
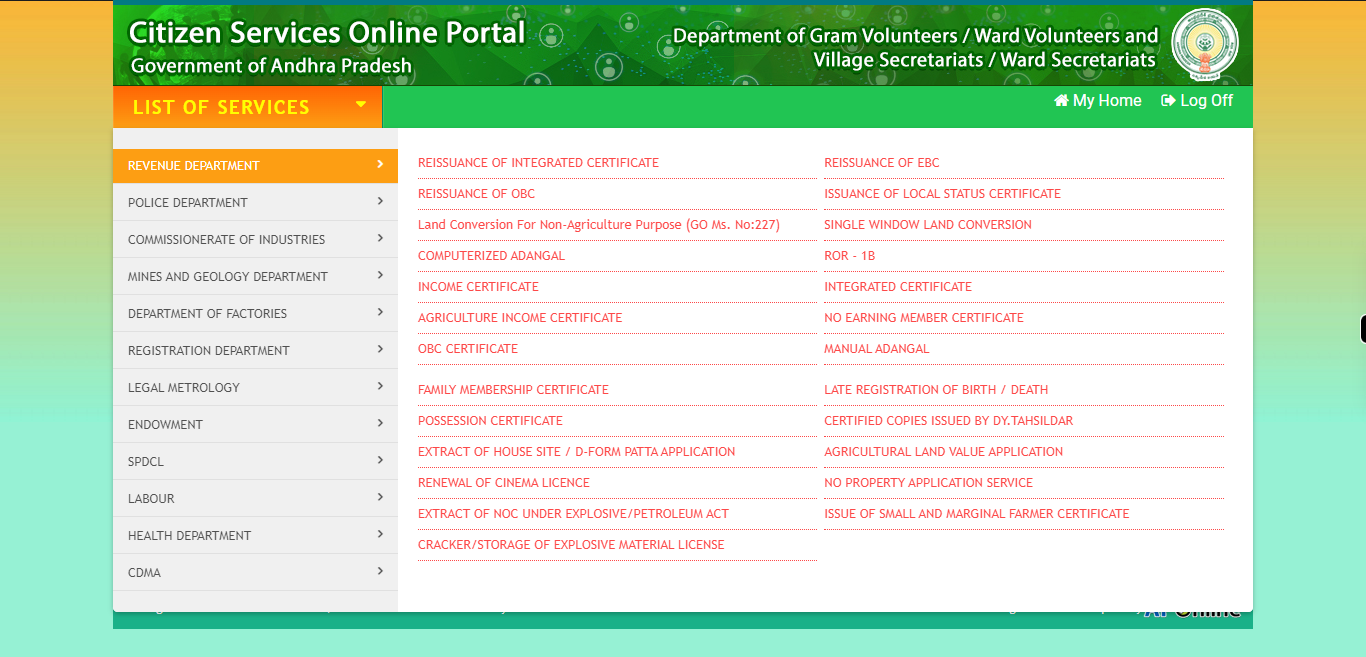
Click on the "List of services" button to access the available services in AP meesava website.
-
3.
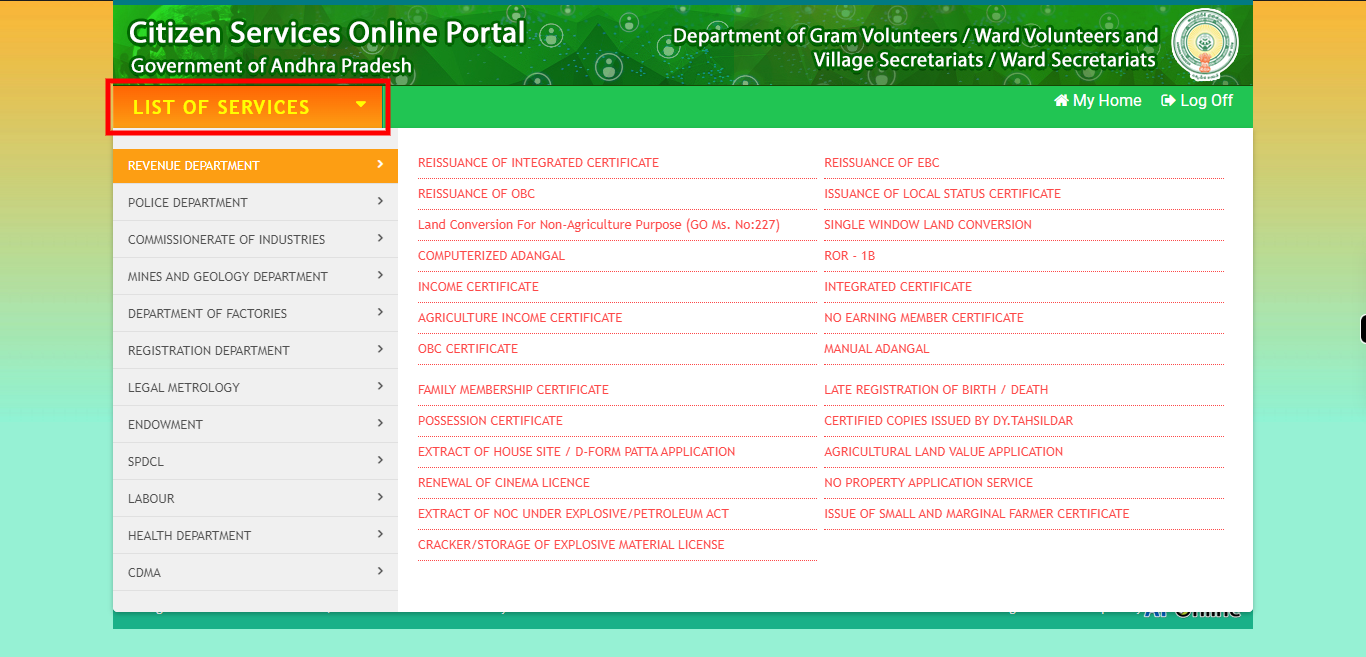
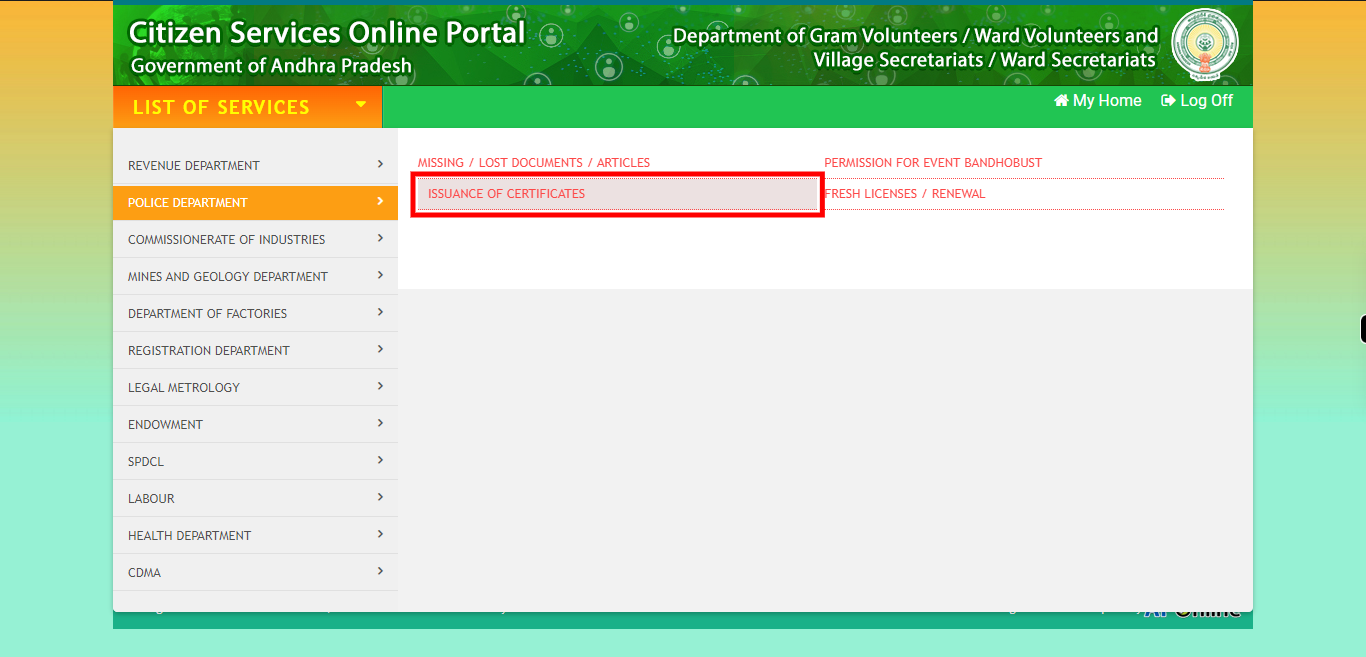
Click on the "POLICE DEPARTMENT" service
-
4.
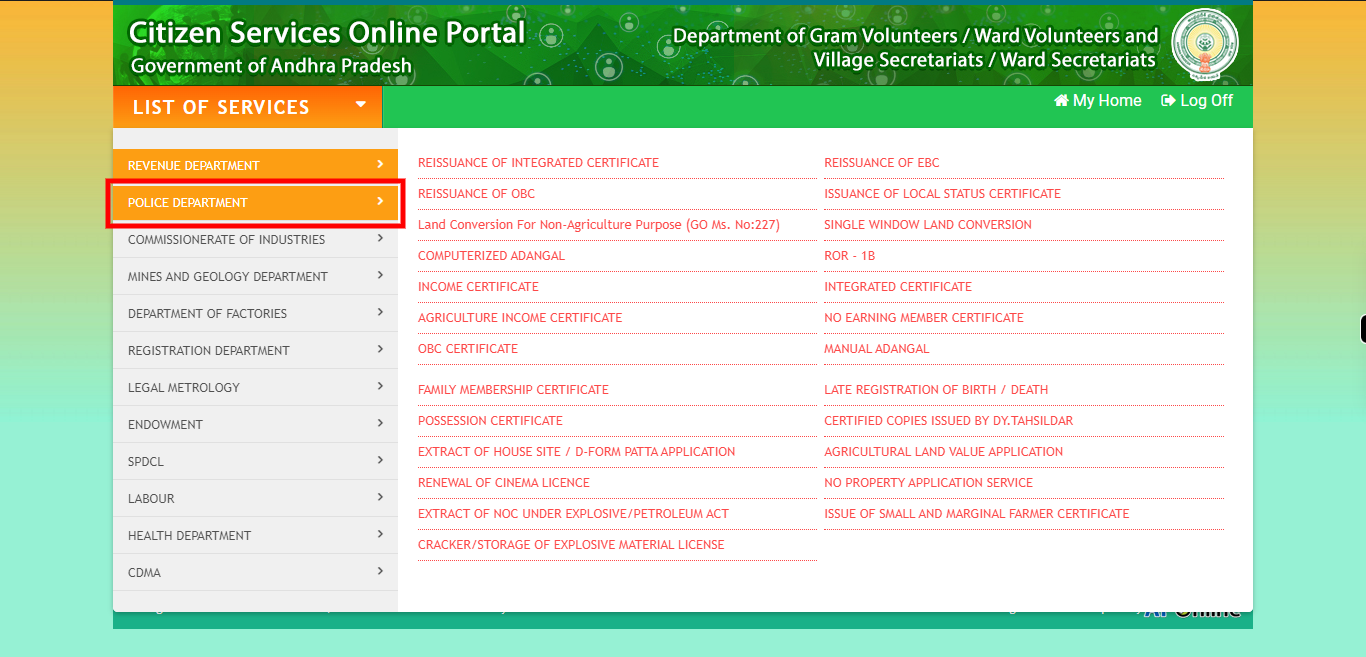
Click on the "ISSUANCE OF CERTIFICATES" option.
-
5.
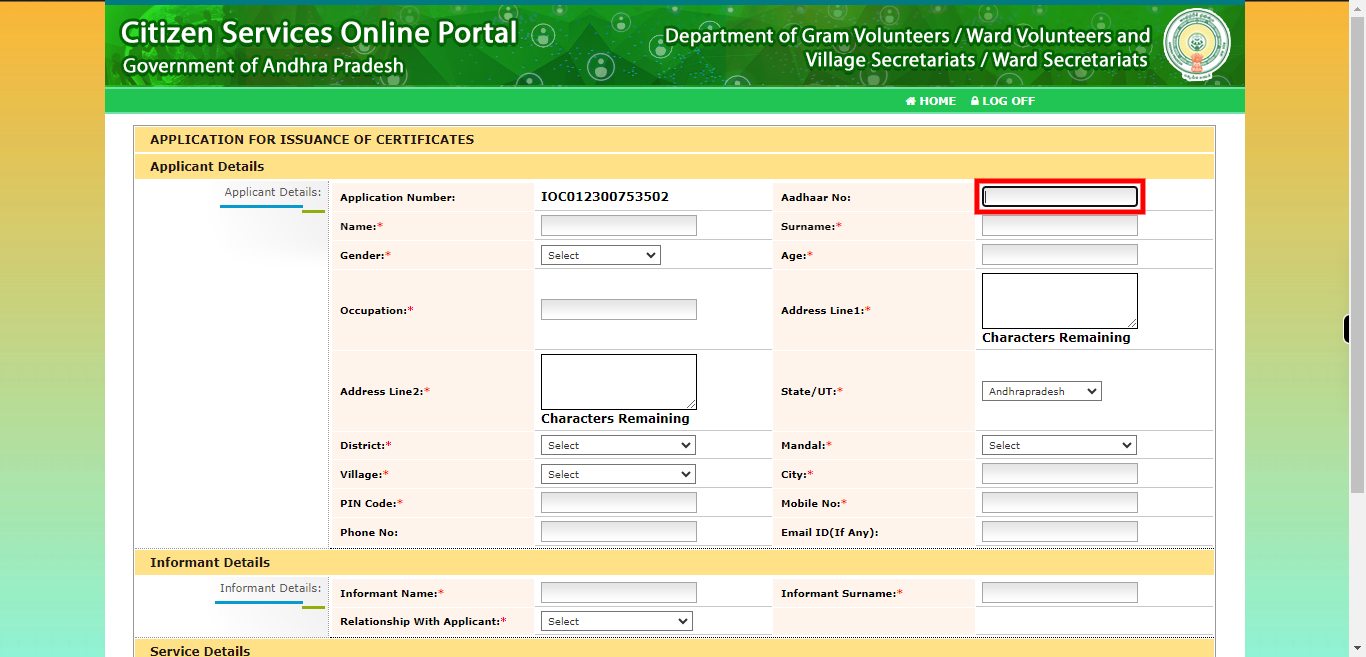
Enter the Aadhar number which contains 12 digit. Click on the "Next" button on the Supervity instruction widget.
-
6.
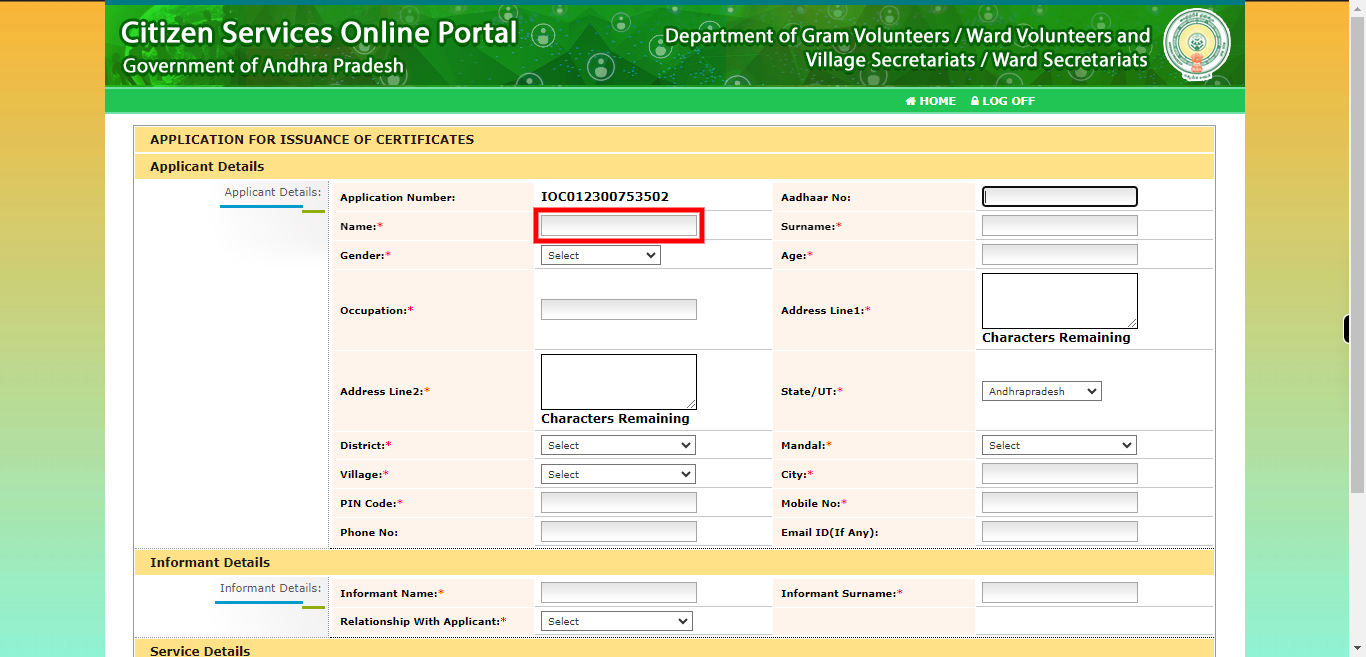
Enter the full name of the Applicant in the designated field. Make sure to provide the name exactly as it should appear on the document or certificate. Click on the "Next" button on the Supervity instruction widget.
-
7.
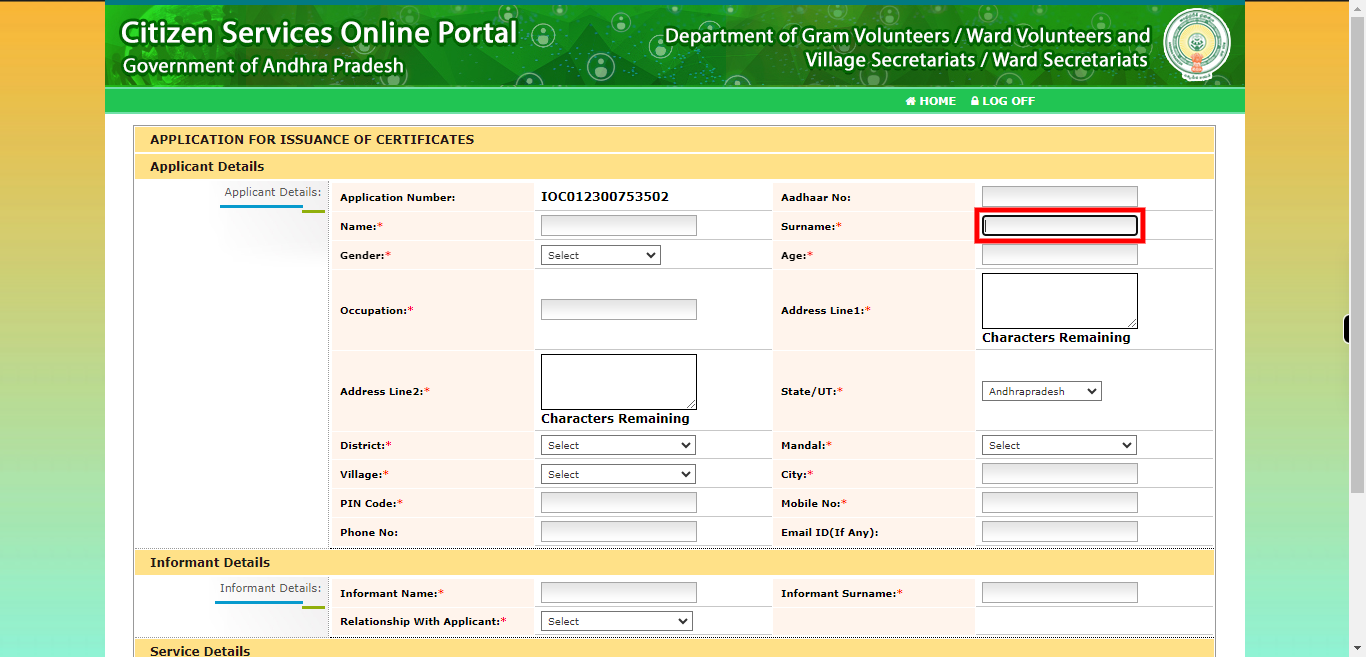
Enter the surname or family name of the Applicant in the designated field. The surname represents the common name shared by family members and is typically passed down from generation to generation. Click on the "Next" button on the Supervity instruction widget.
-
8.
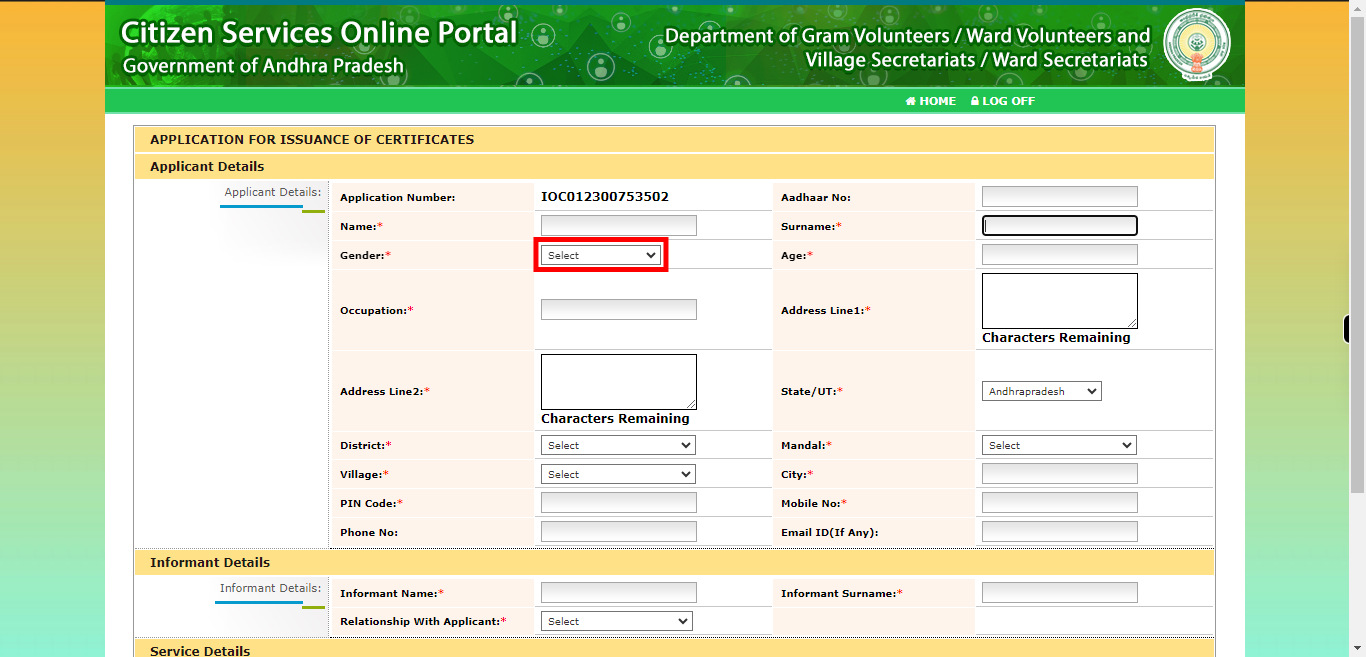
Please select your gender from the available options. Click on the "Next" button on the Supervity instruction widget.
-
9.
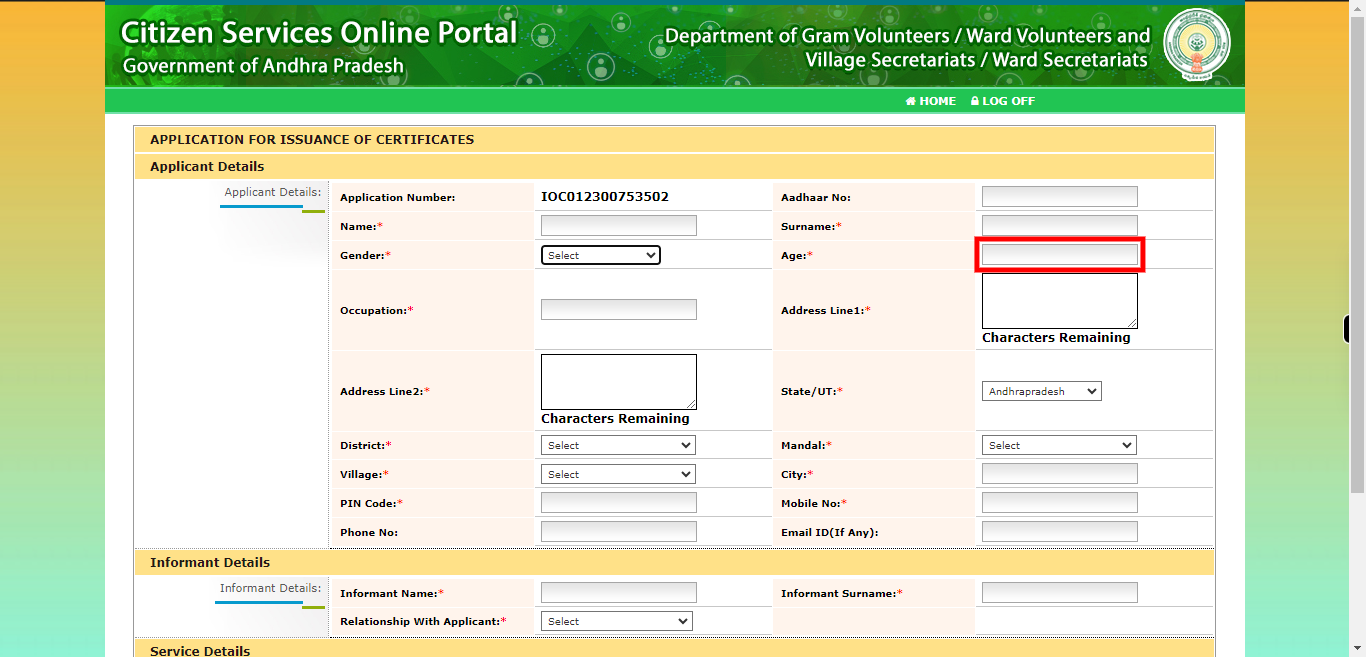
Please enter the age of the applicant in the designated field. Specify the applicant's age in years. Click on the "Next" button on the Supervity instruction widget.
-
10.
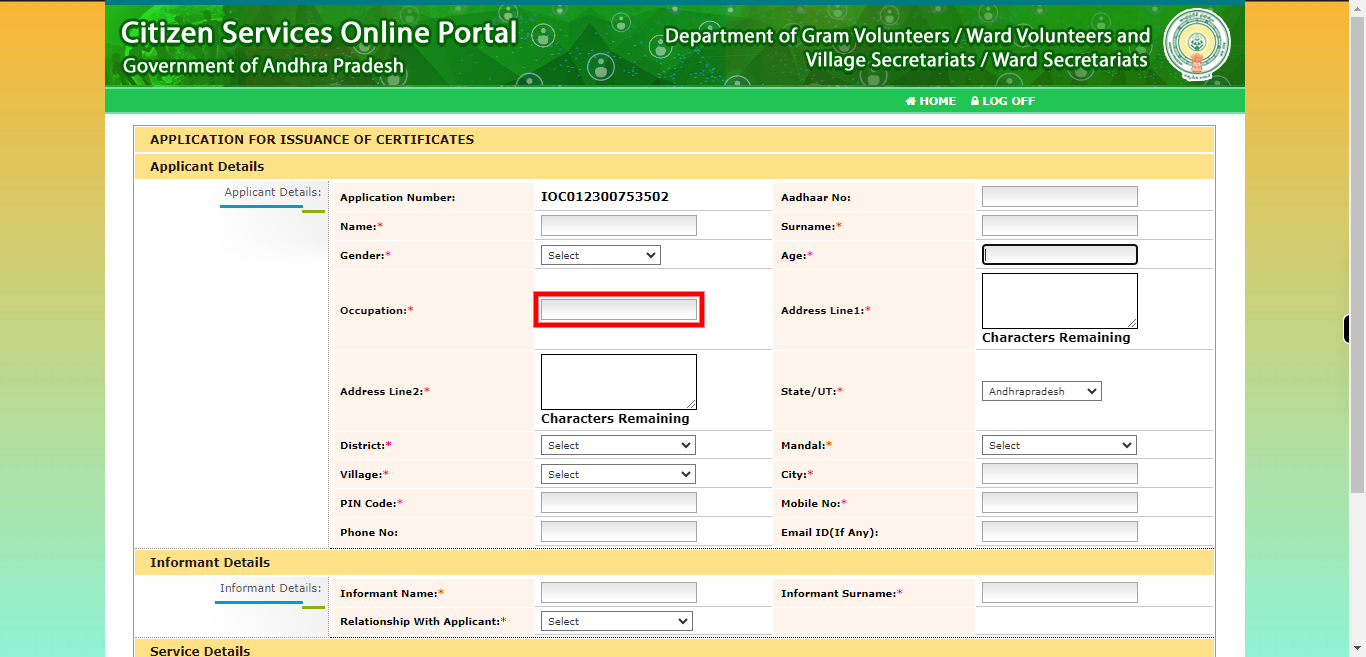
Please enter the occupation of the applicant in the designated field. The occupation refers to the type of work or profession in which the applicant is engaged or employed. Provide the applicant's occupation or job title accurately and specifically. Click on the "Next" button on the Supervity instruction widget.
-
11.
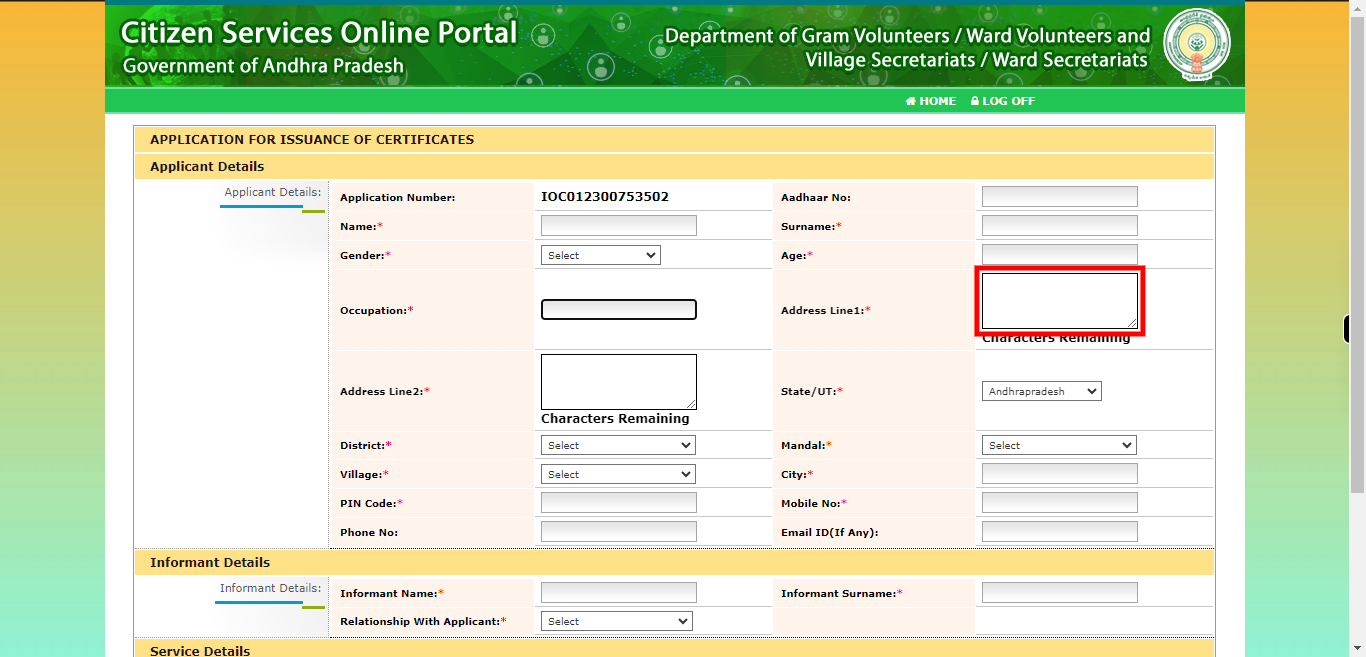
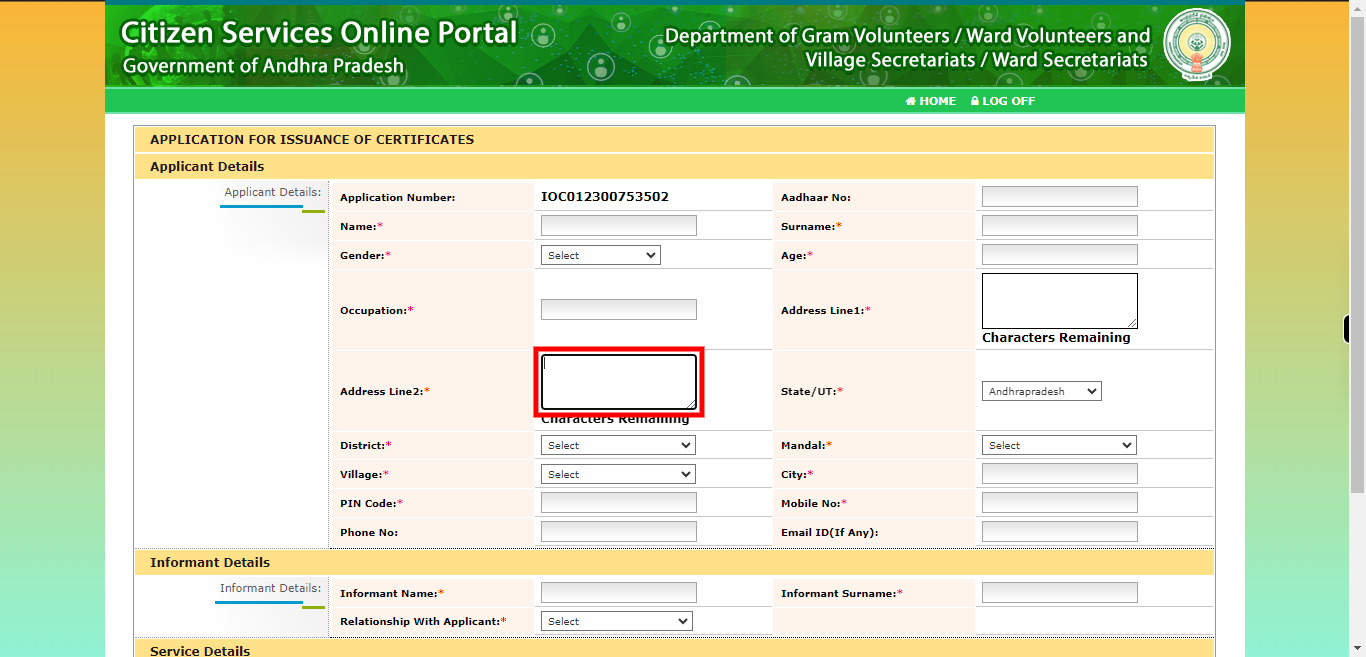
To provide the address, please enter the complete residential address of the applicant in the designated field. This includes the house or building number, street name, locality, city or town, state, and postal code. Ensure that all necessary details are provided accurately to facilitate proper identification and communication. Click on the "Next" button on the Supervity instruction widget.
-
12.
To provide the address, please enter the complete residential address of the applicant in the designated field. This includes the house or building number, street name, locality, city or town, state, and postal code. Ensure that all necessary details are provided accurately to facilitate proper identification and communication. Click on the "Next" button on the Supervity instruction widget.
-
13.
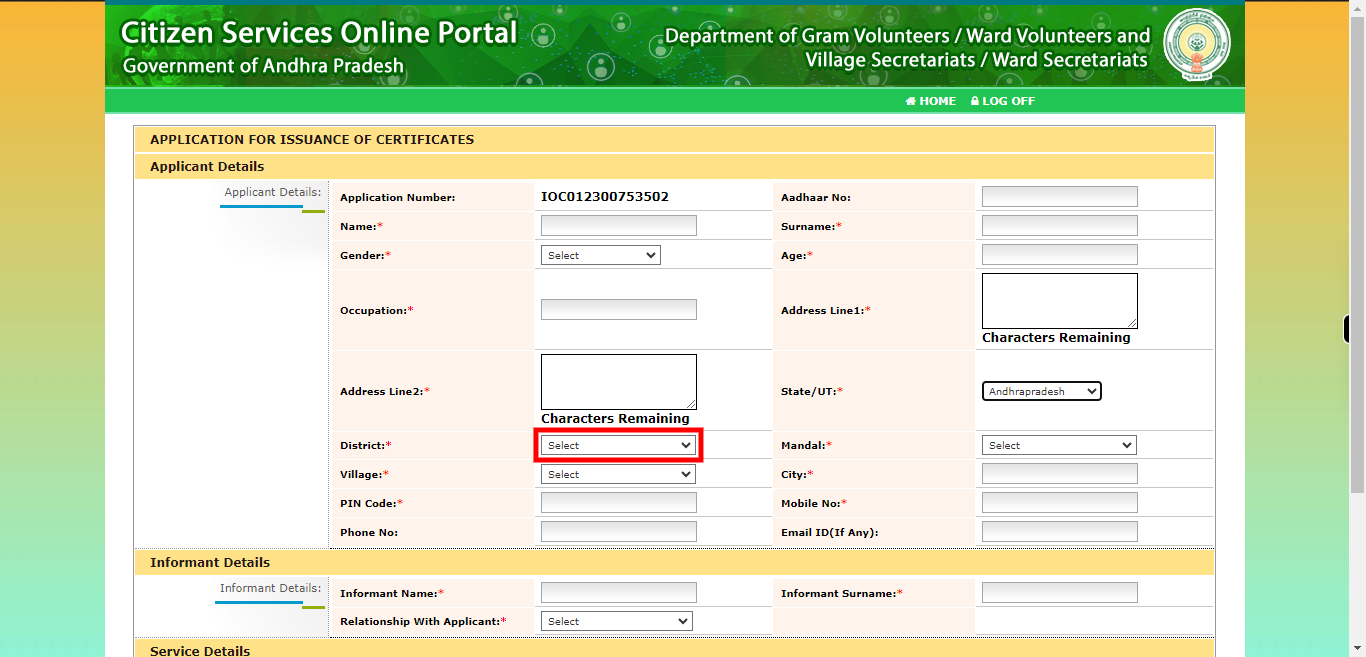
To proceed, please select the appropriate state from the available options provided in the drop-down menu. The state refers to the administrative division within a country or region. Choose the state that corresponds to the applicant's residential address or the state of their current location. Click on the "Next" button on the Supervity instruction widget.
-
14.
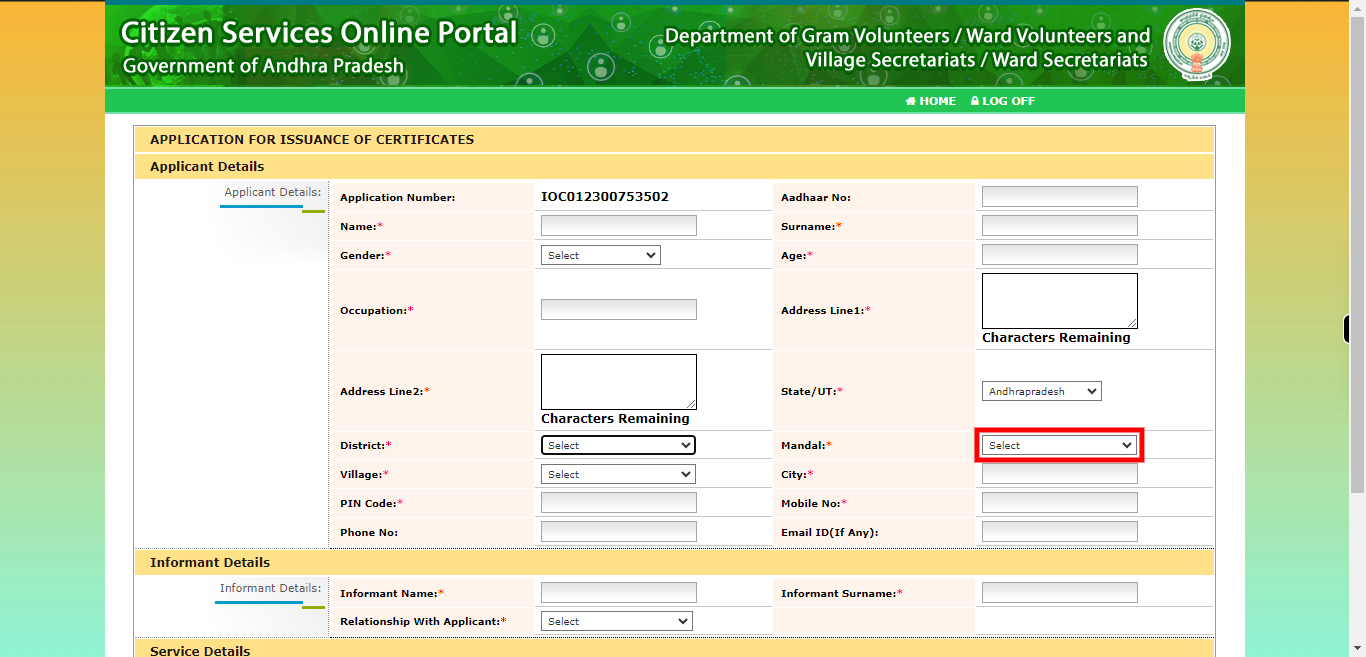
Select the mandal from the available options provided for your residential address. A mandal is an administrative division within a district in some regions. Click on the "Next" button on the Supervity instruction widget.
-
15.
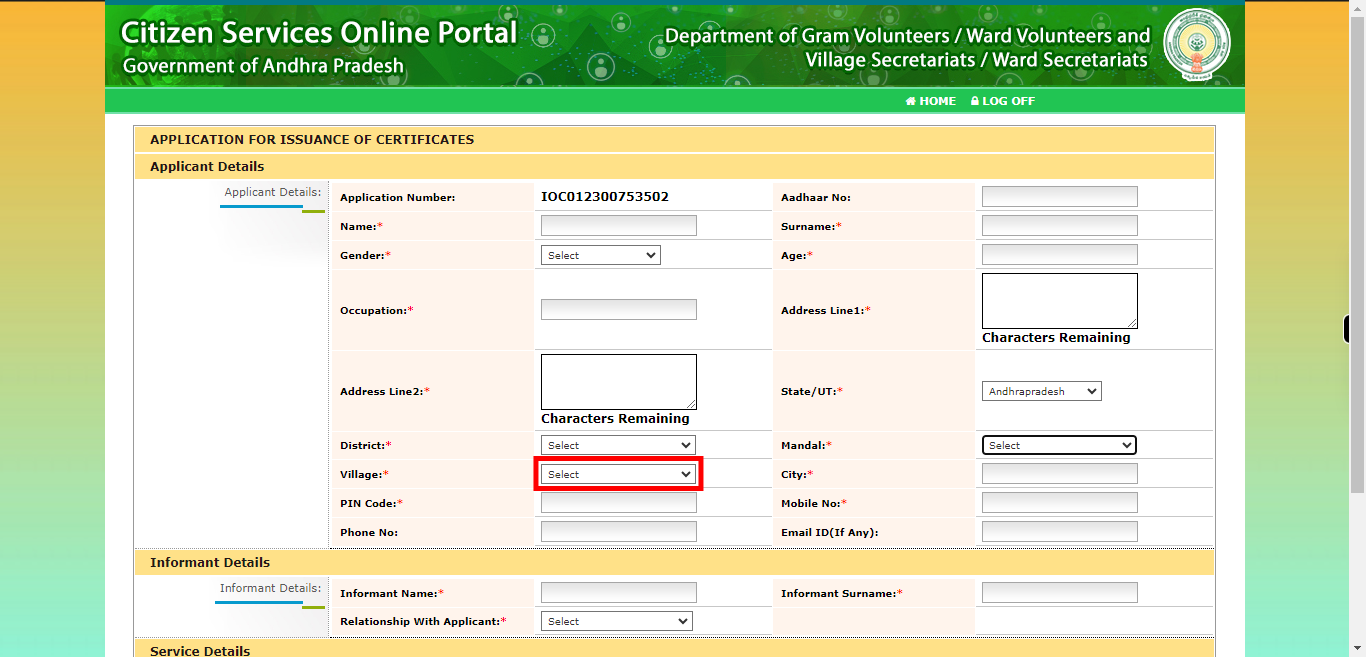
Select the village from the available options provided for your residential address. The village represents a small community or settlement within a specific mandal or district. Click on the "Next" button on the Supervity instruction widget.
-
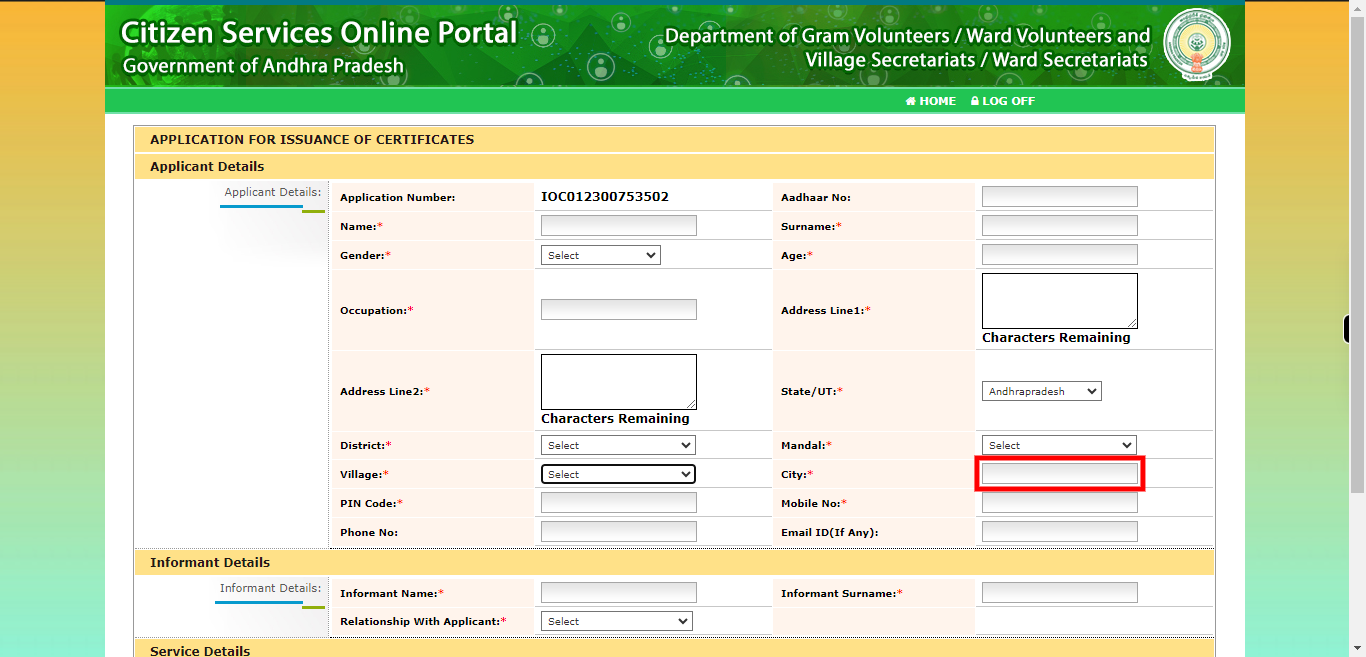
16.
Please enter the name of the city in the designated field. The city refers to the urban area or municipality where the applicant resides or is located. Click on the "Next" button on the Supervity instruction widget.
-
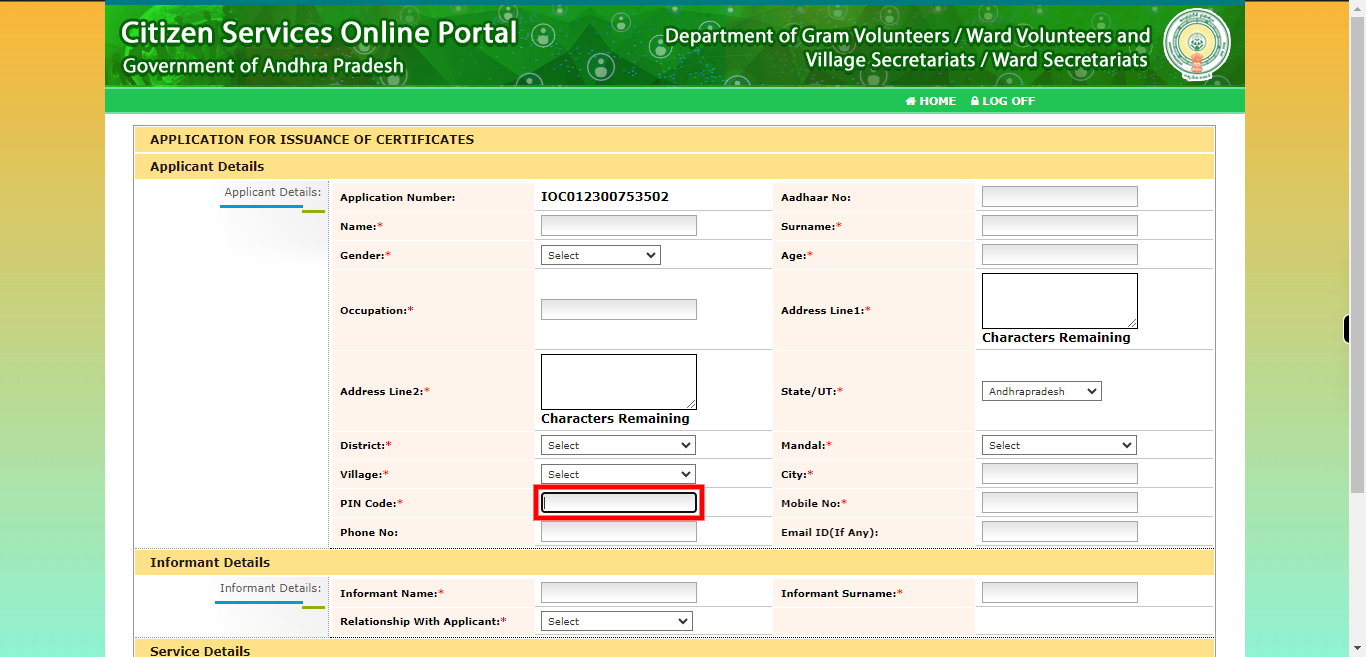
17.
Enter the PIN code or postal code associated with your residential address in the designated field. Click on the "Next" button on the Supervity instruction widget.
-
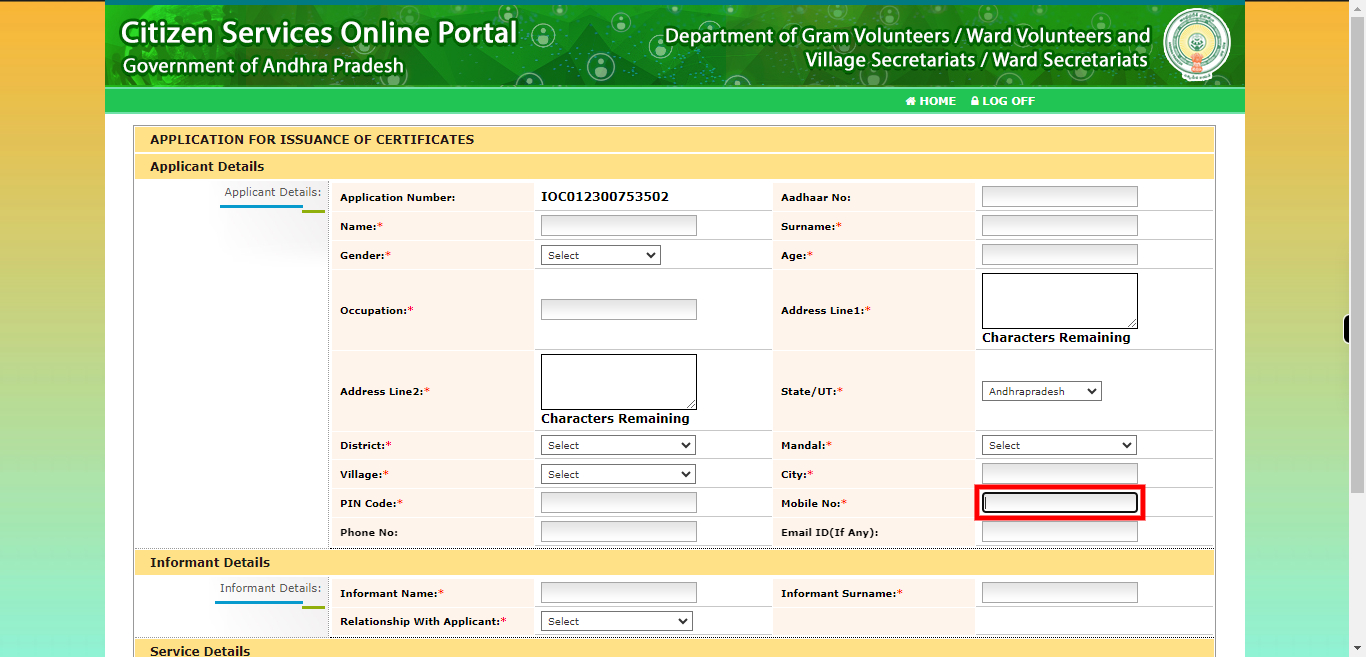
18.
Enter the mobile number of the applicant in the designated field. Provide the mobile number in the format commonly used in your region, including the appropriate country code if necessary. Click on the "Next" button on the Supervity instruction widget.
-
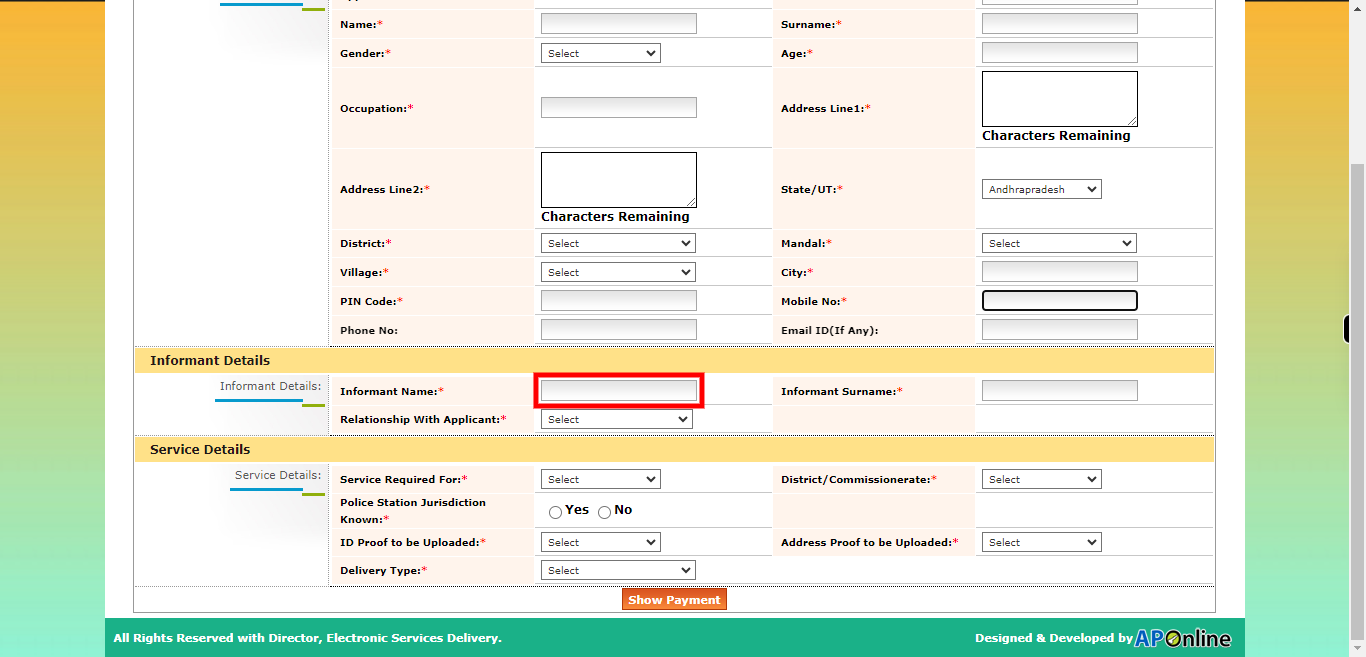
19.
Enter the full name of the Informant in the designated field. Make sure to provide the Informant's name exactly as it appears on their identification documents or official records. Click on the "Next" button on the Supervity instruction widget.
-
20.
Enter the surname or family name of the Informant in the designated field. The surname represents the common name shared by family members and is typically passed down from generation to generation. Click on the "Next" button on the Supervity instruction widget.
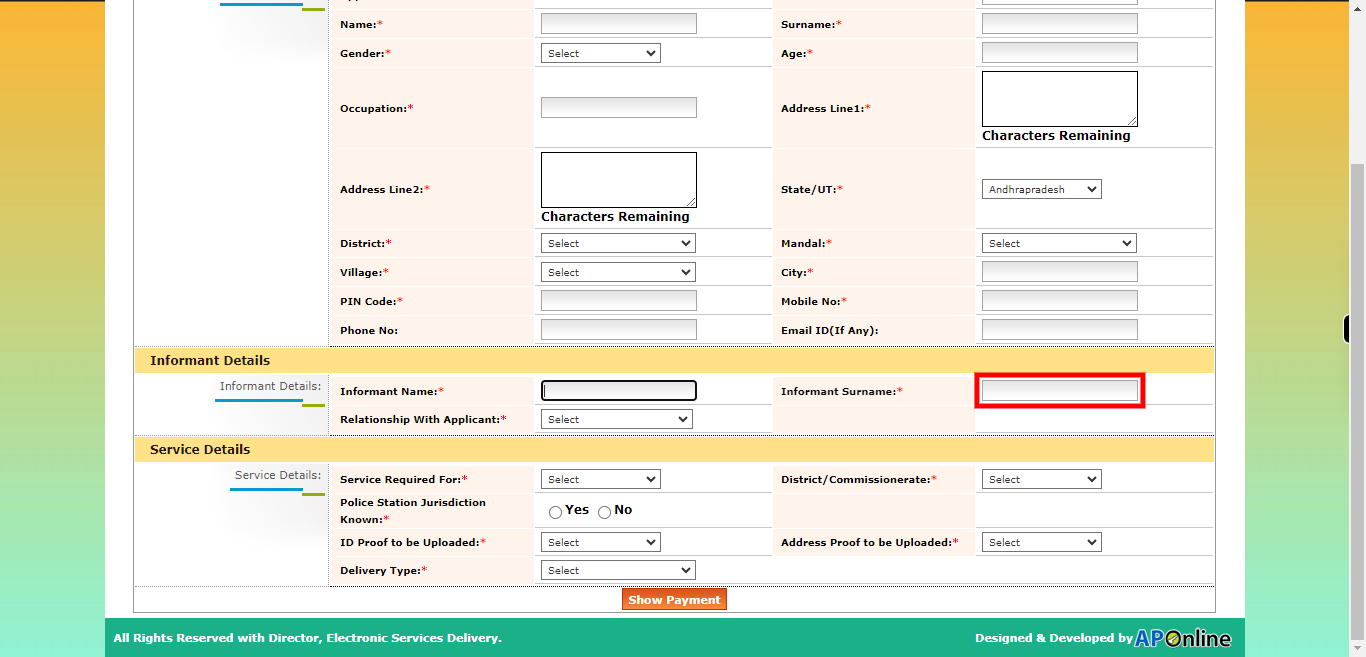
-
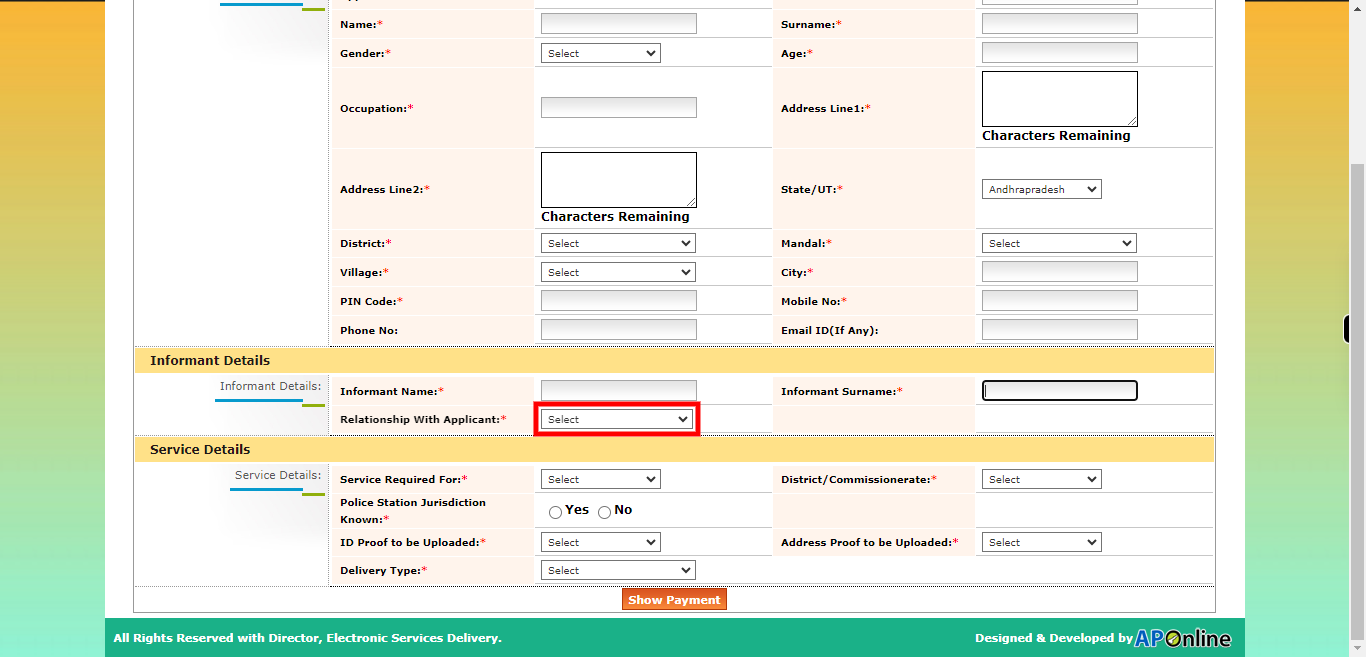
21.
To proceed, please select the appropriate relation from the available dropdown options. The dropdown will provide a list of relations or relationships that you can choose from. Select the option that accurately represents the applicant's relationship with the person mentioned in the form. Enter the name you chose from the drop-down in the above step. Click on the "Next" button on the Supervity instruction widget.
-
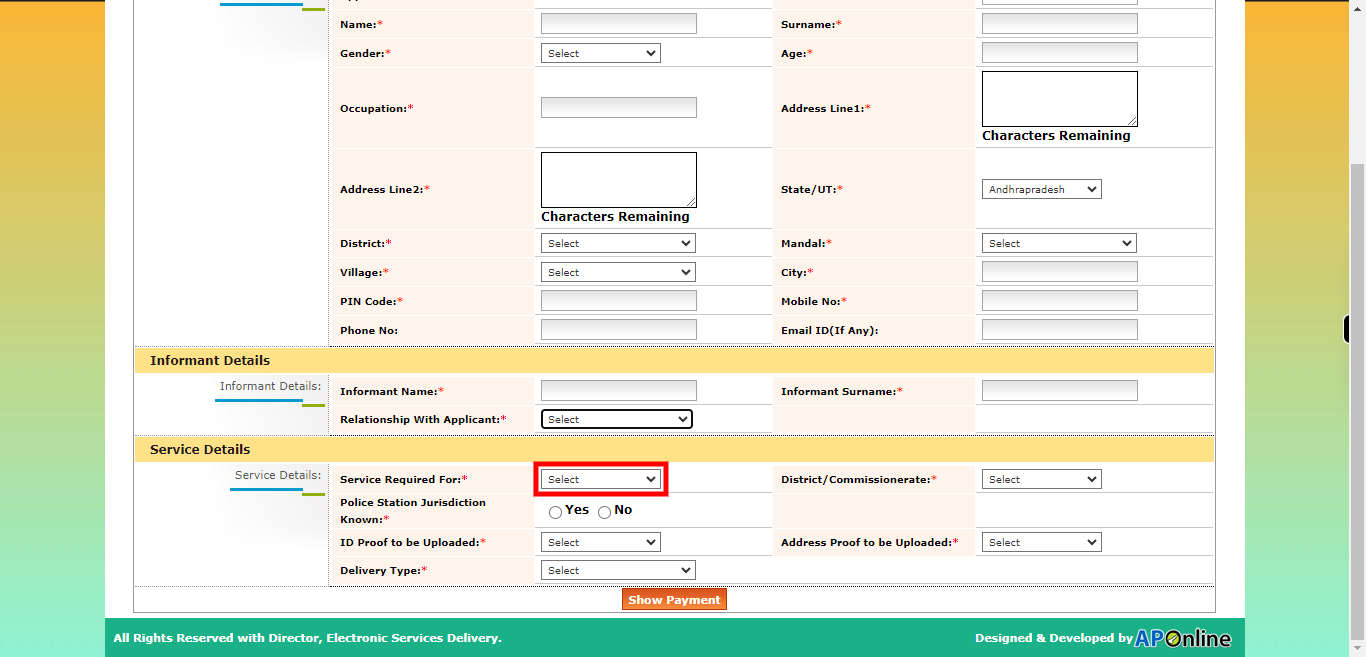
22.
Select the appropriate service option from the provided list. Choose the service option that accurately represents the type of establishment or service you are referring to. Click on the "Next" button on the Supervity instruction widget.
-
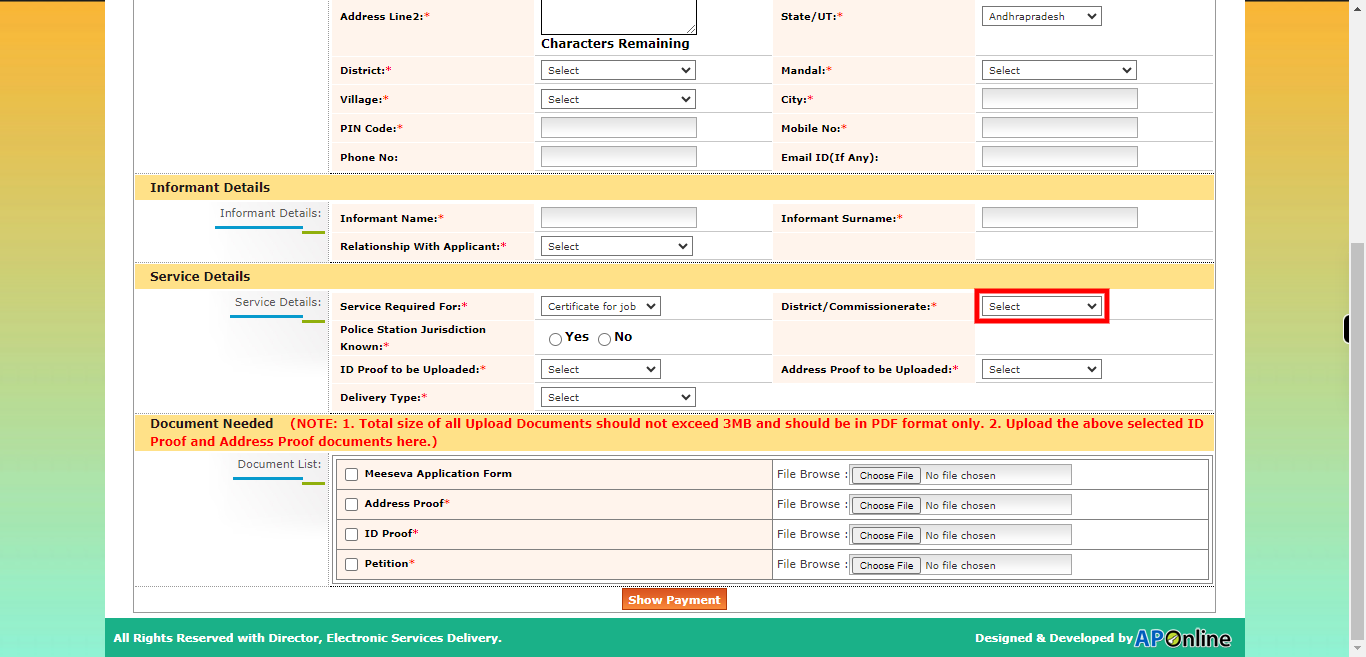
23.
To proceed, please select the state located in the designated field. Click on the "Next" button on the Supervity instruction widget.
-
24.
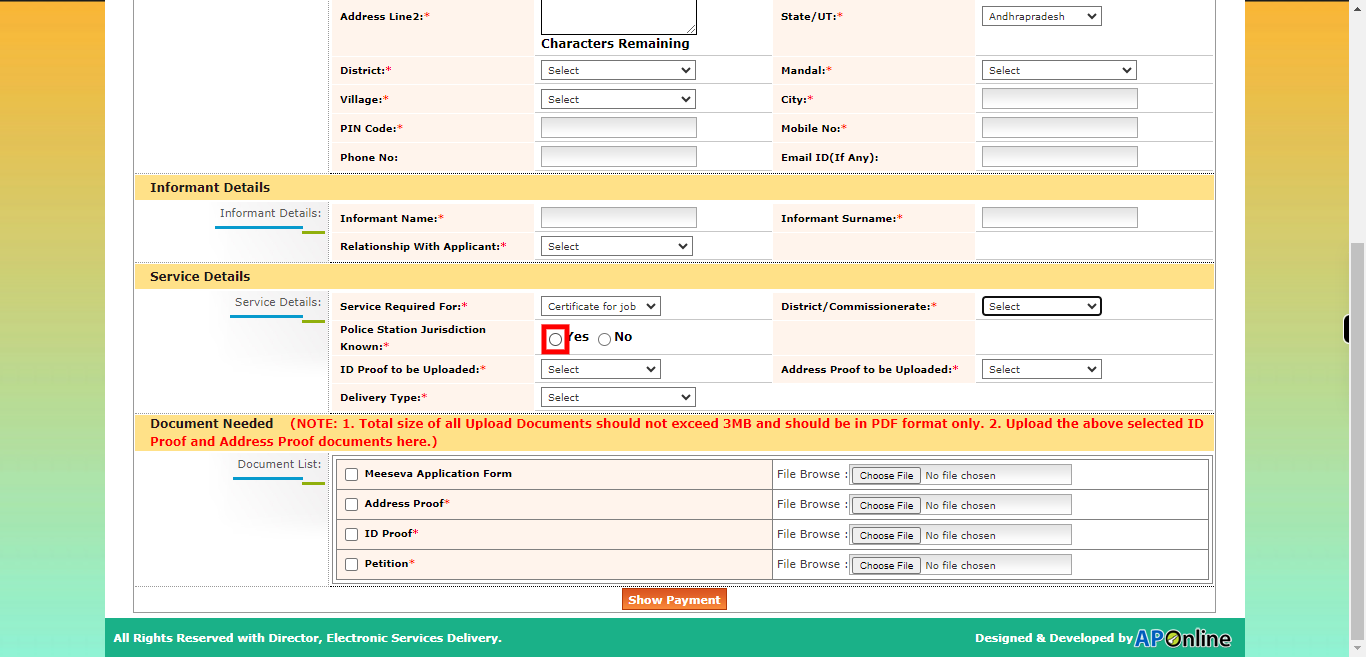
If you have a police jurisdiction for your business establishment, please select "Yes" to indicate that you have a police jurisdiction. However, if you do not have police jurisdiction for your business establishment, please select "No" to indicate that you do not have police jurisdiction. Fill all the Reaming fields. Click on the "Next" button on the Supervity instruction widget.
-
25.
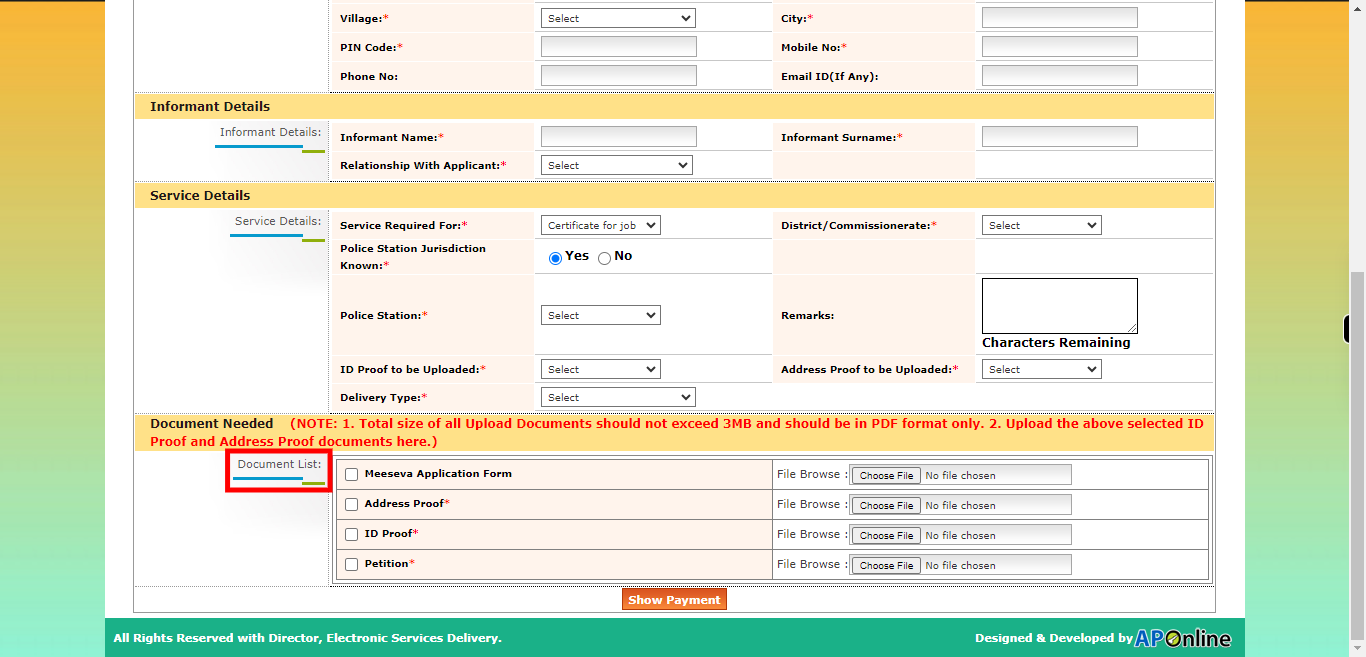
upload the all mandatory documents then Click on the "Next" button on the Supervity instruction widget.
-
26.
Click on the "Show Payment" button for the Application Process completed.
