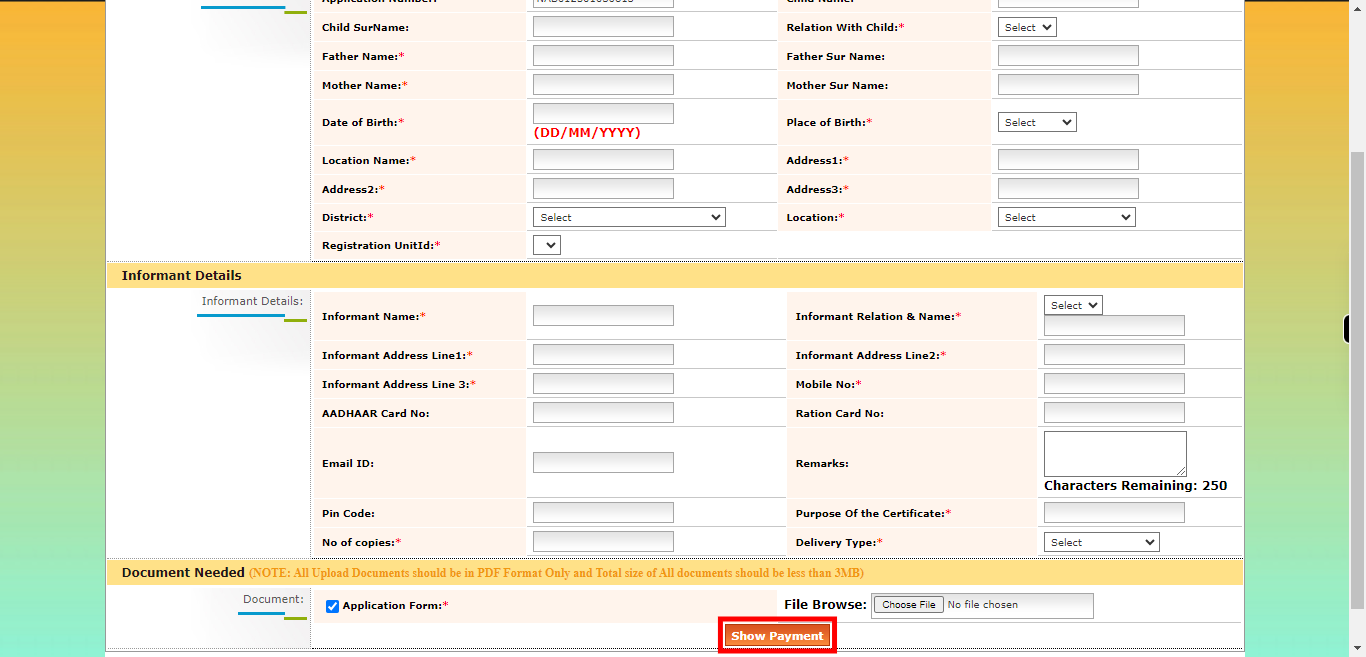
This skill shows the steps to be followed to apply for the online Non-availability of the certificate. Prerequisites: Certificate Application form to be filled and scanned. [NOTE: Please make sure that log in to the AP Meeseva website before playing the skill].
-
1.
Open :: Meeseva - Online Login Form.
-
2.
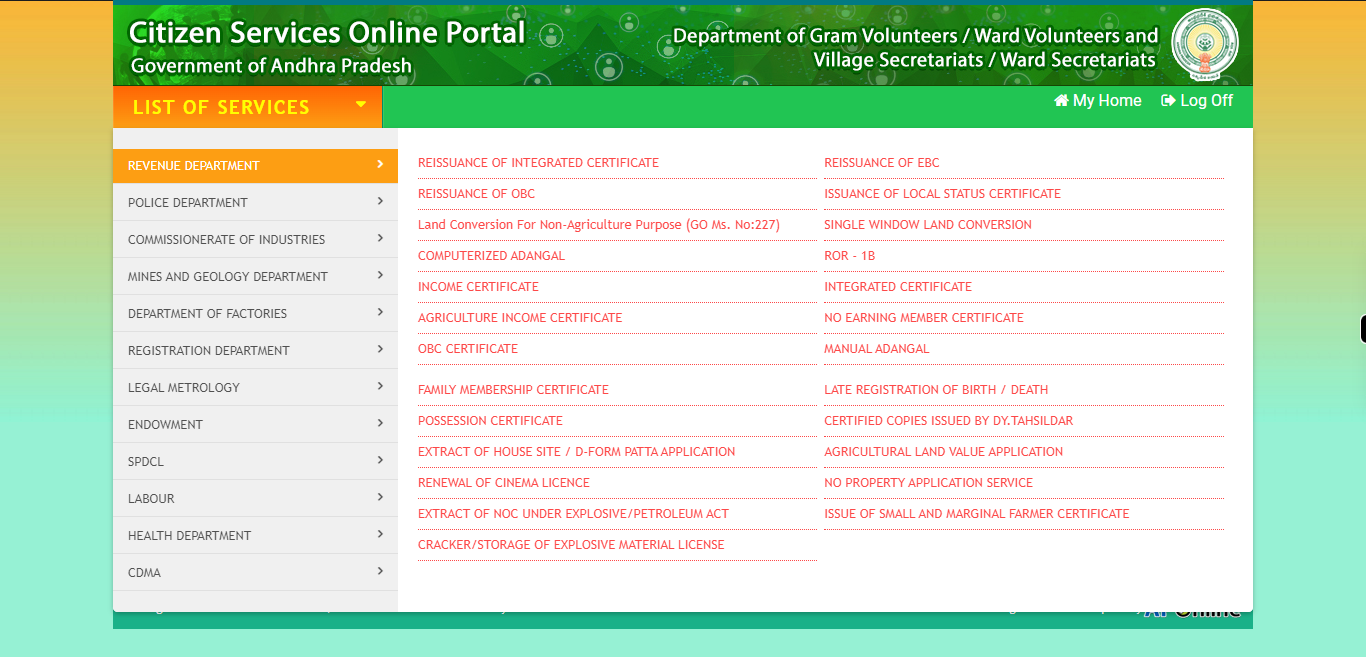
Click on the "List of services" button to access the available services in AP meesava website.
-
3.
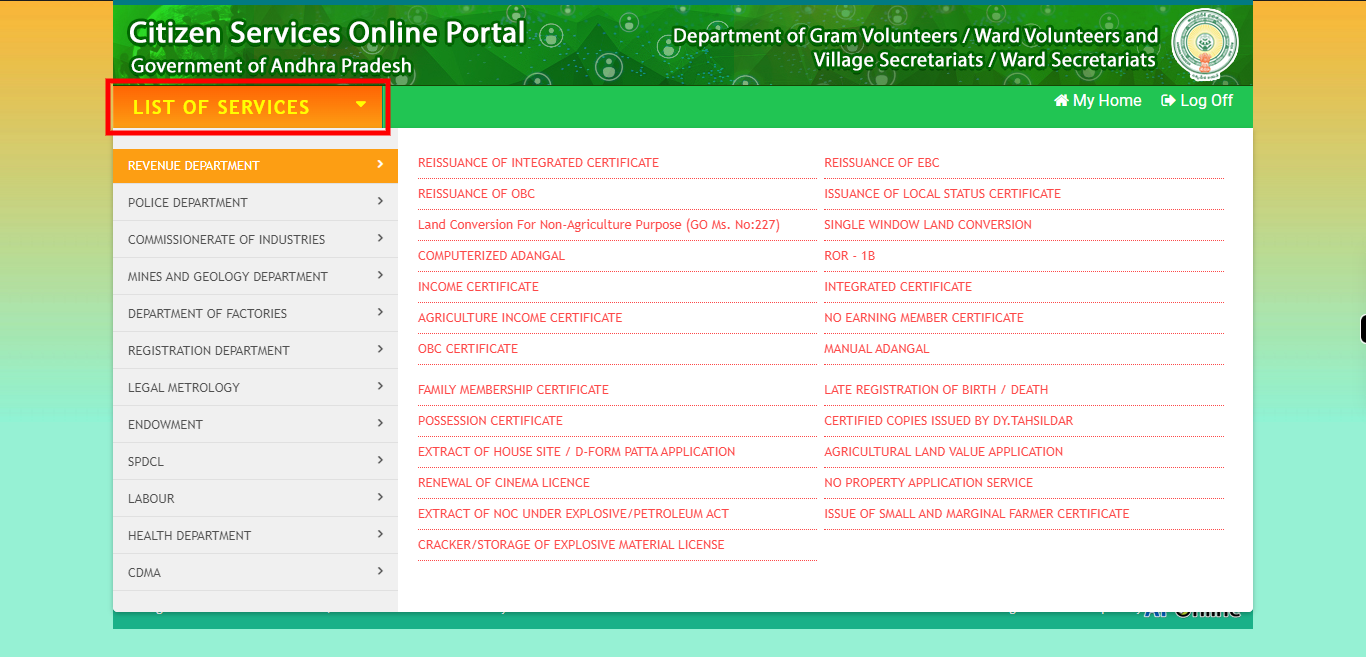
Click on the "CDMA(Commissioner and Director of Municipal Administration.) option to apply to get the numbers.
-
4.
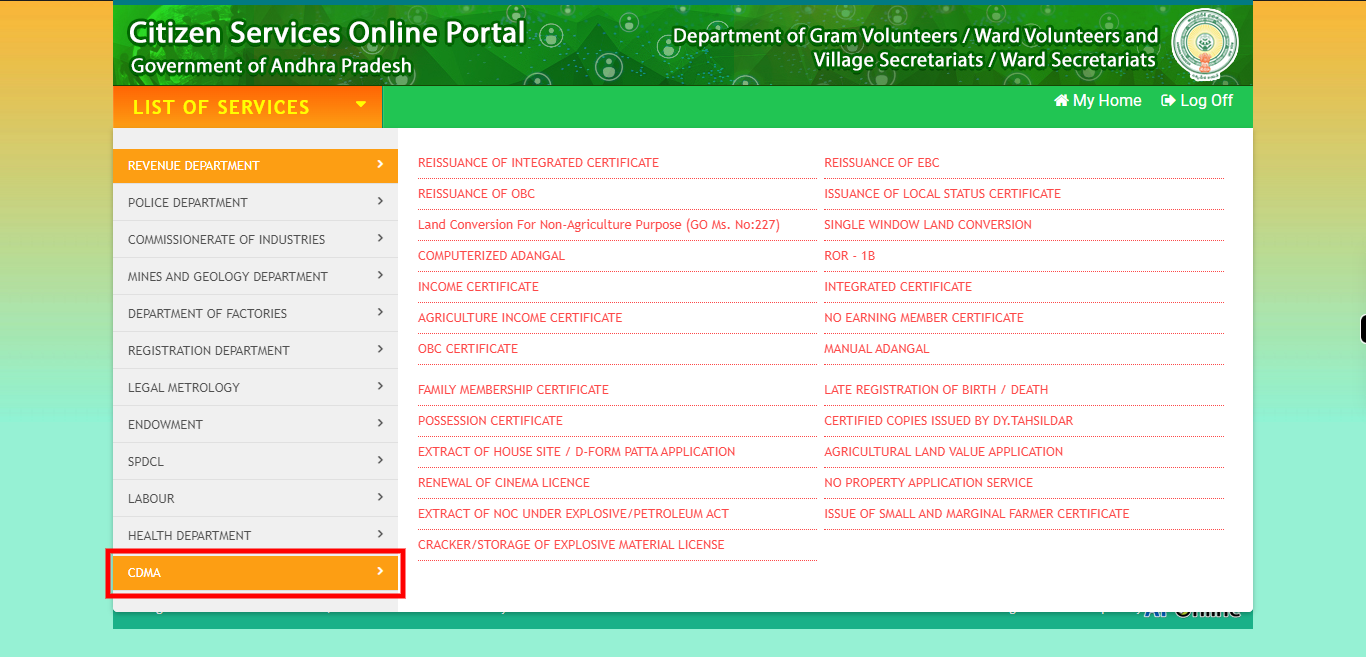
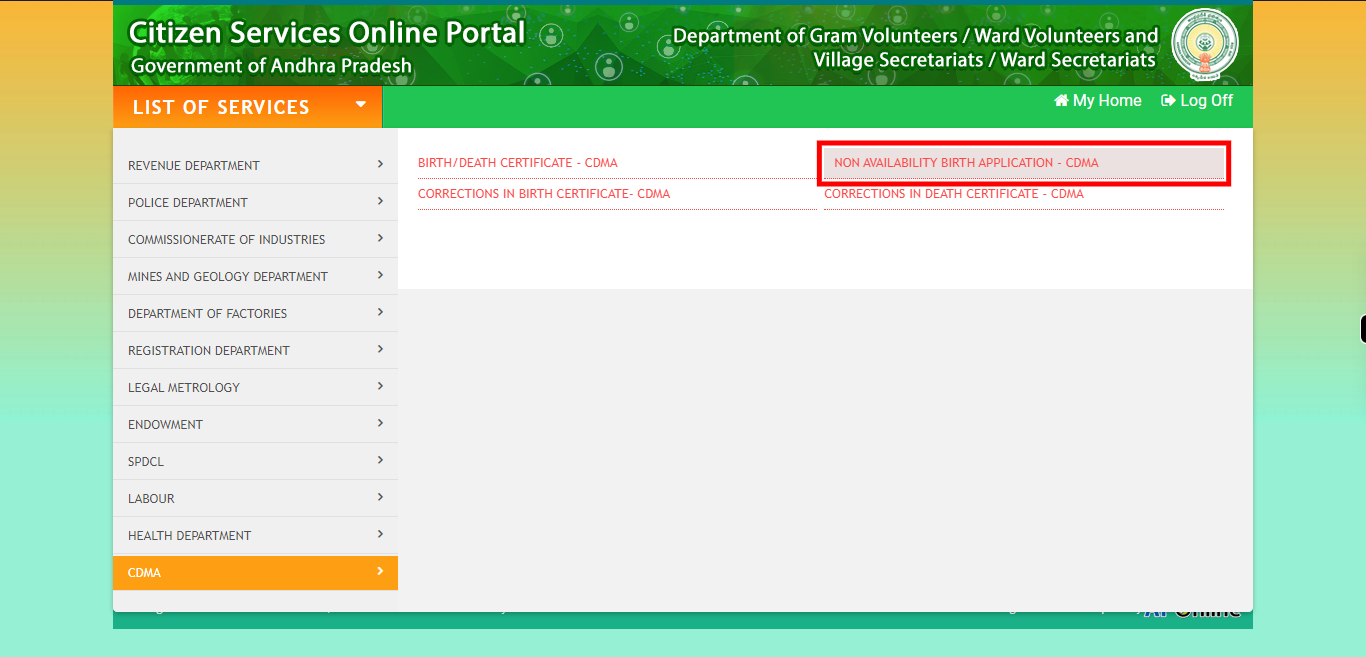
Click on the "NON AVAILABILITY BIRTH APPLICATION - CDMA" option from the list of available options.
-
5.
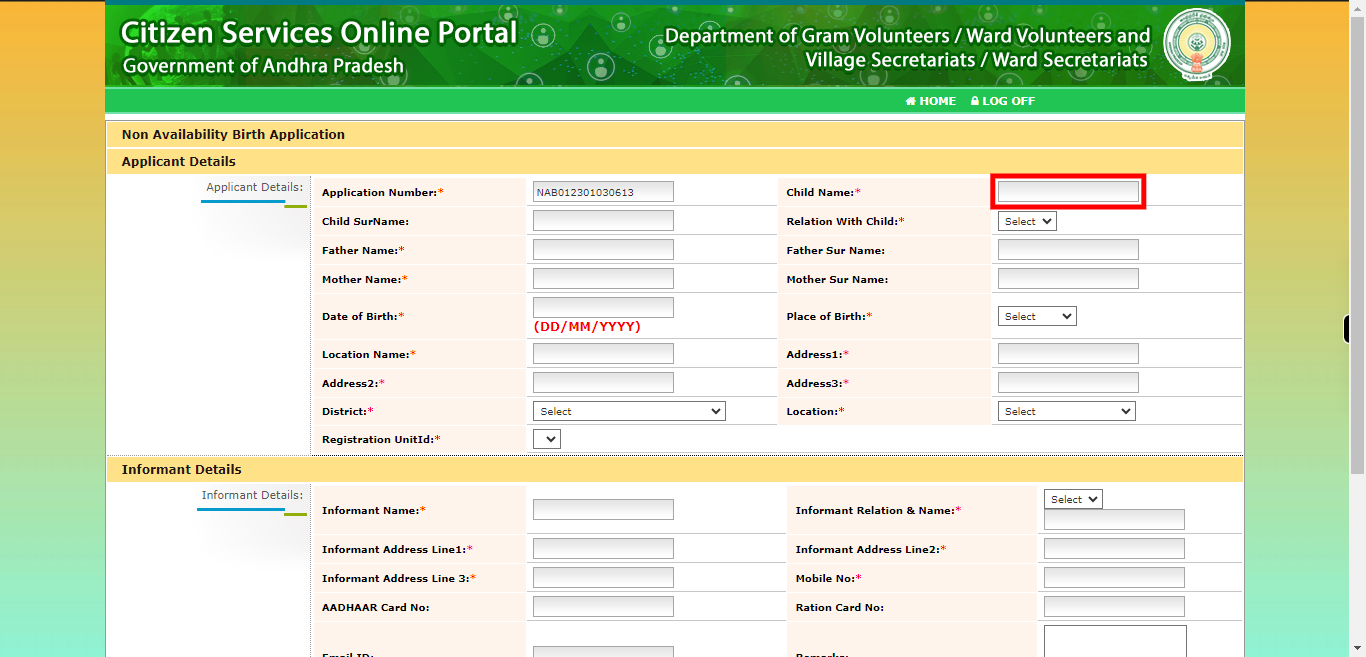
Enter the full name of the child in the designated field. Make sure to provide the child's name exactly as it should appear on the document or certificate. Click on the "Next" button on the Supervity instruction widget.
-
6.
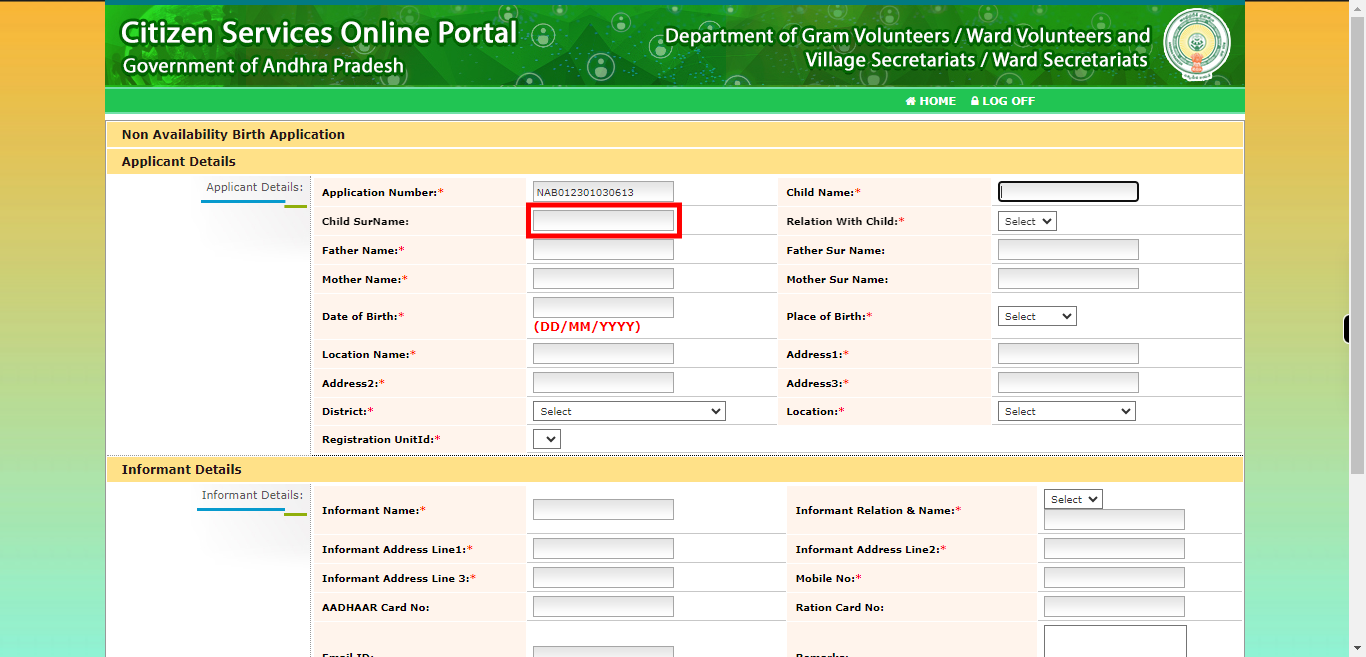
Enter the surname or family name of the child in the designated field. The surname represents the common name shared by family members and is typically passed down from generation to generation. Click on the "Next" button on the Supervity instruction widget.
-
7.
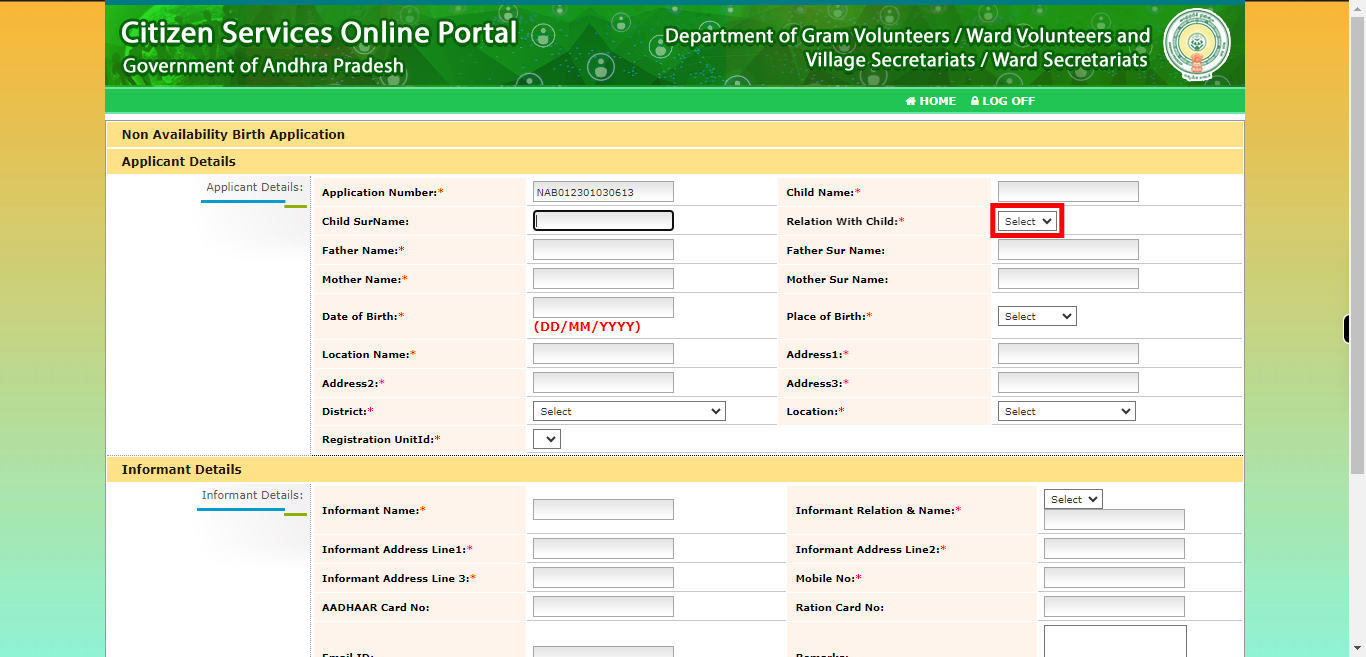
Select the appropriate relation with the informant from the available options. Click on the "Next" button on the Supervity instruction widget.
-
8.
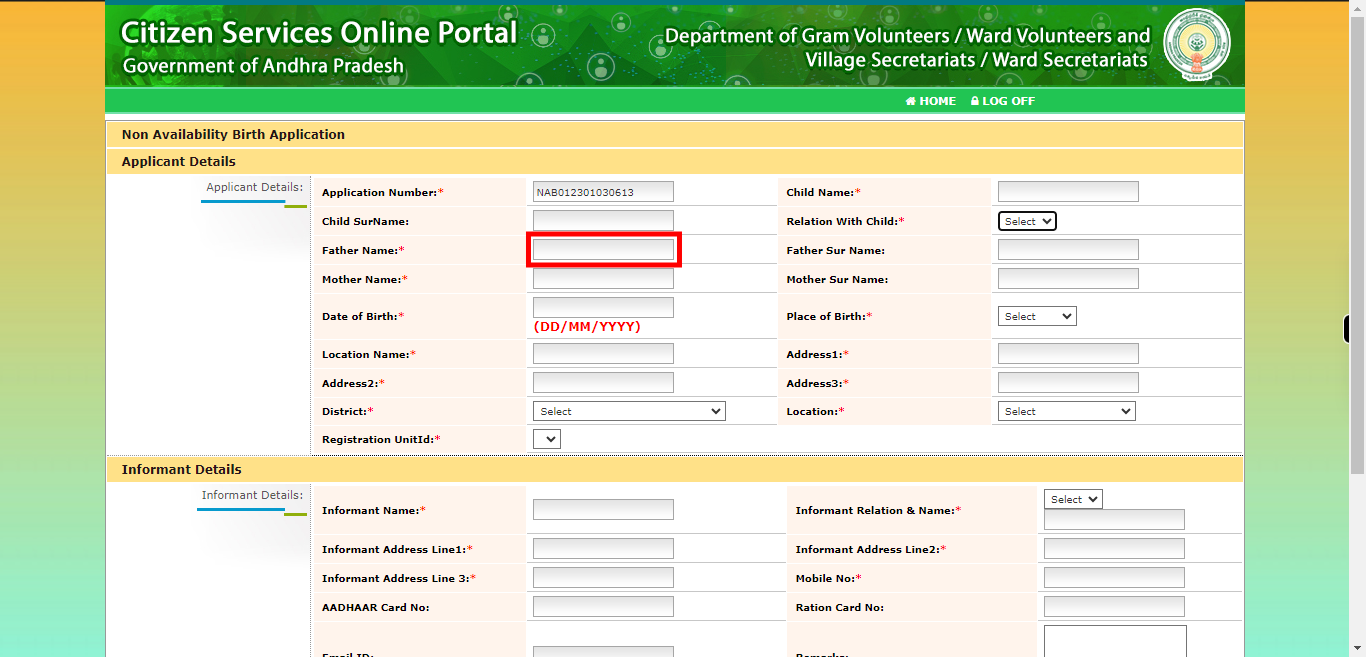
Enter the full name of the child's father in the designated field. Make sure to provide the father's name exactly as it should appear on the document or certificate. Click on the "Next" button on the Supervity instruction widget.
-
9.
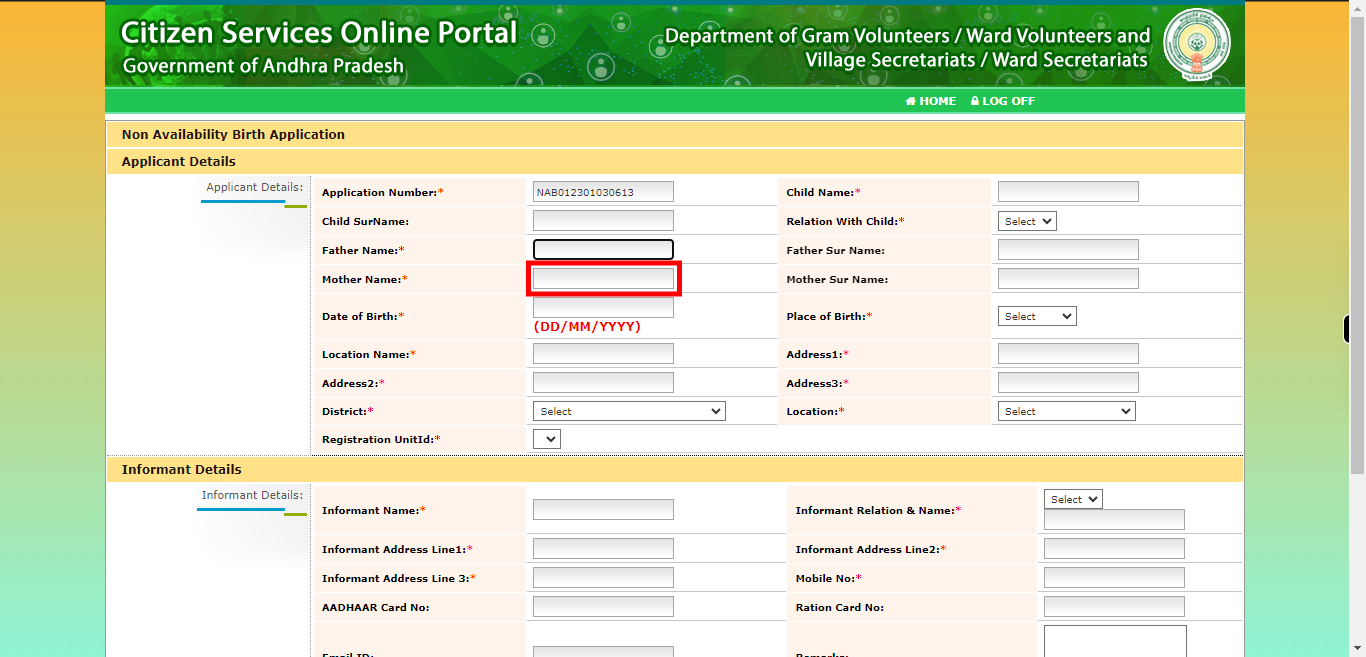
Enter the full name of the child's Mother in the designated field. Make sure to provide the Mother's name exactly as it should appear on the document or certificate. Click on the "Next" button on the Supervity instruction widget.
-
10.
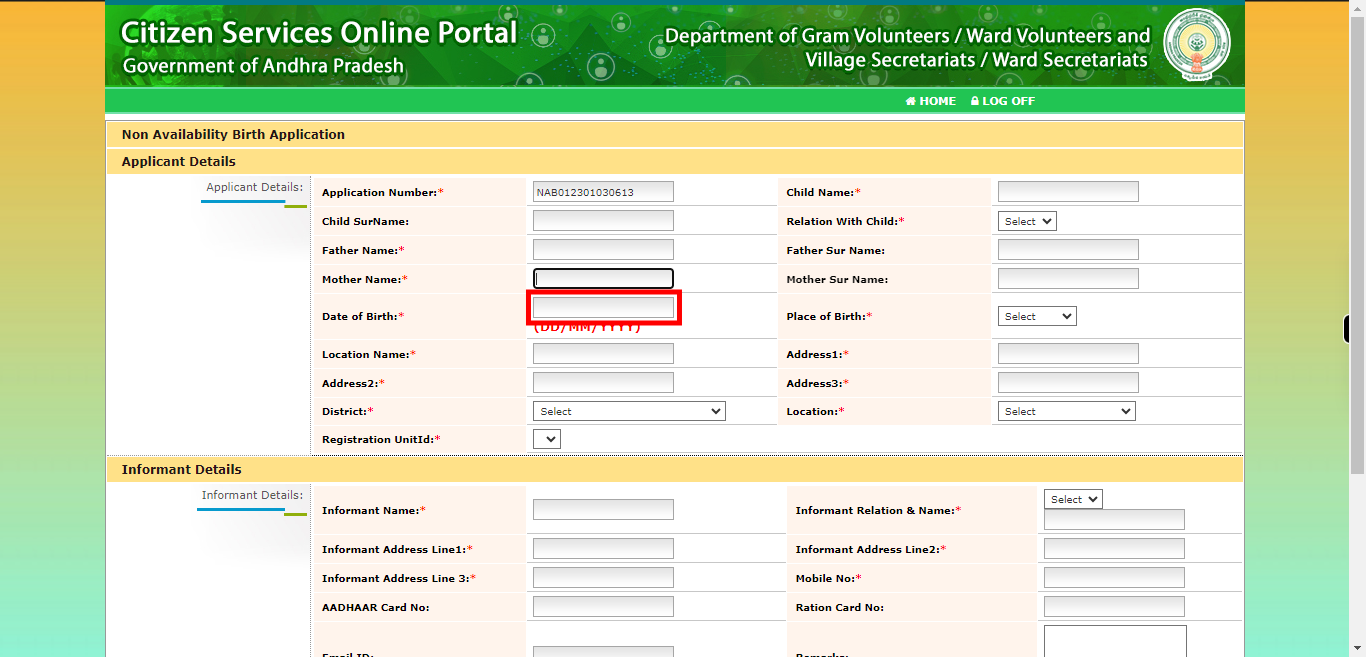
Specify the exact date of birth of the child in the format DD/MM/YYYY. Click on the "Next" button on the Supervity instruction widget.
-
11.
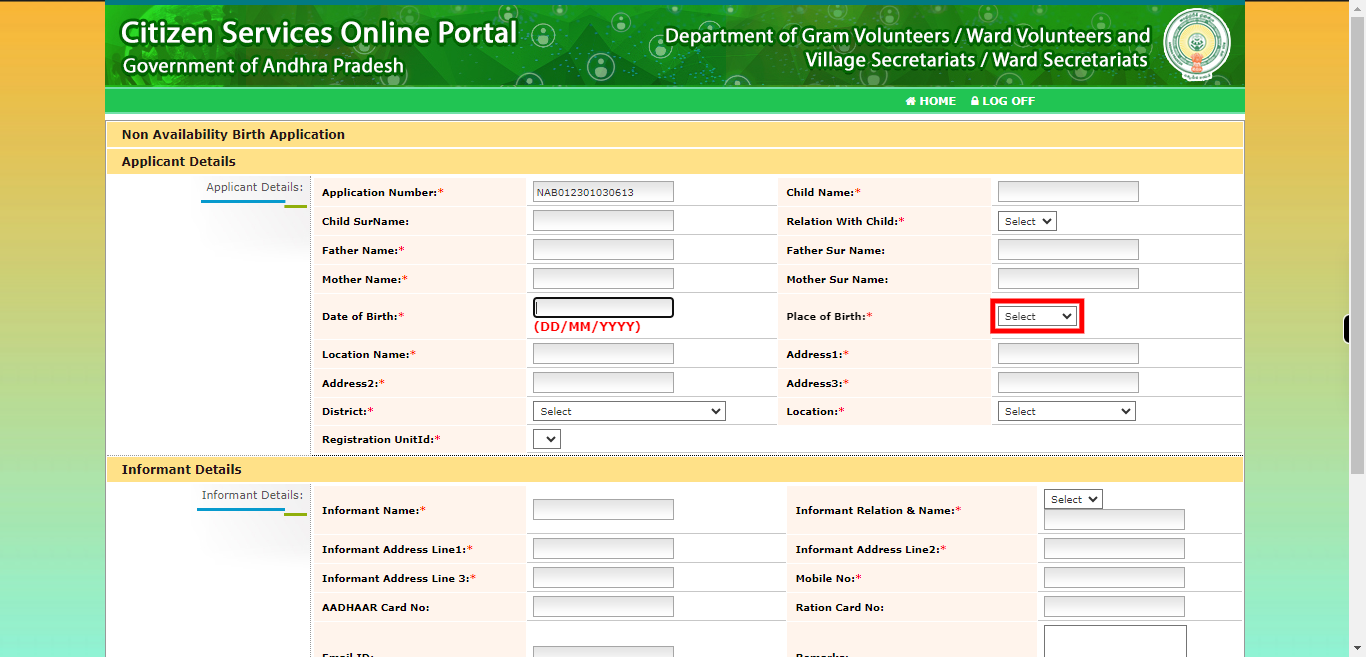
To proceed, please select the appropriate option for the place of birth from the available choices. The options typically include Hospital, Residence, or Other. Choose the option that accurately represents the actual place of birth of the child. Click on the "Next" button on the Supervity instruction widget.
-
12.
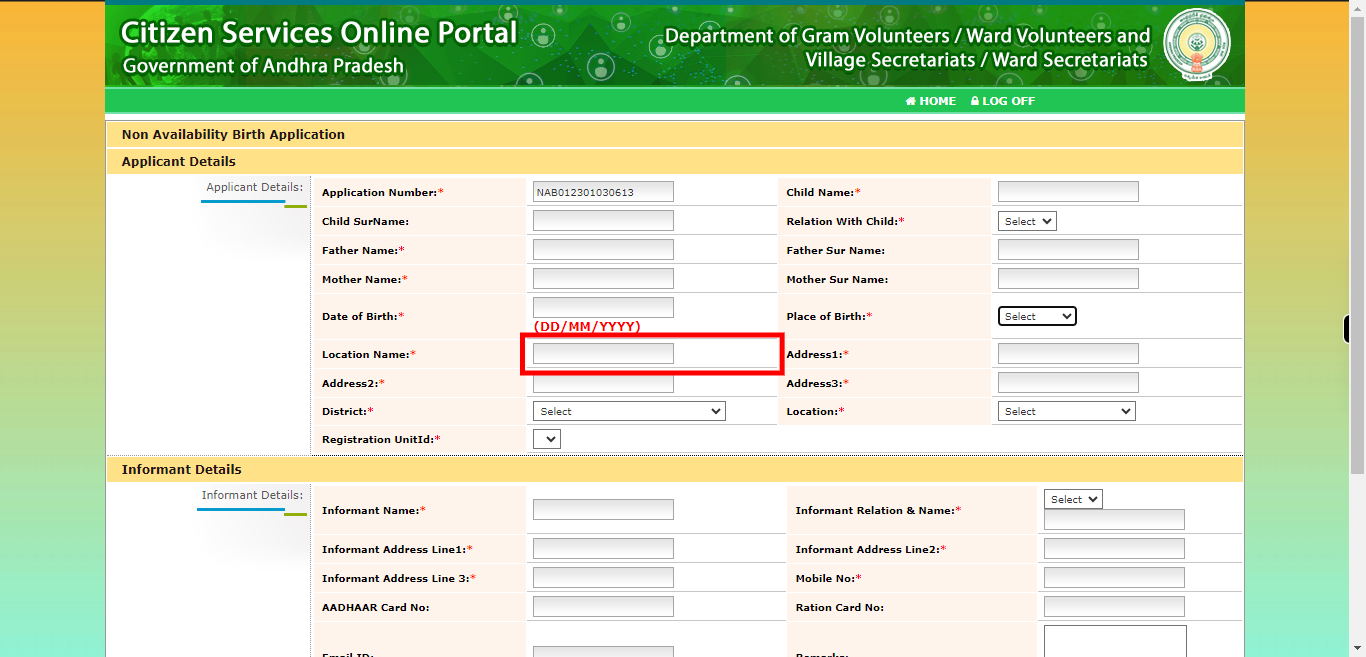
If you have selected "Hospital" as the place of birth, please enter the name of the hospital in the designated field. This is the hospital where the child was born. However, if you have selected a different option or if the place of birth is not a hospital, please enter the specific location or place of birth in the designated field. Click on the "Next" button on the Supervity instruction widget.
-
13.
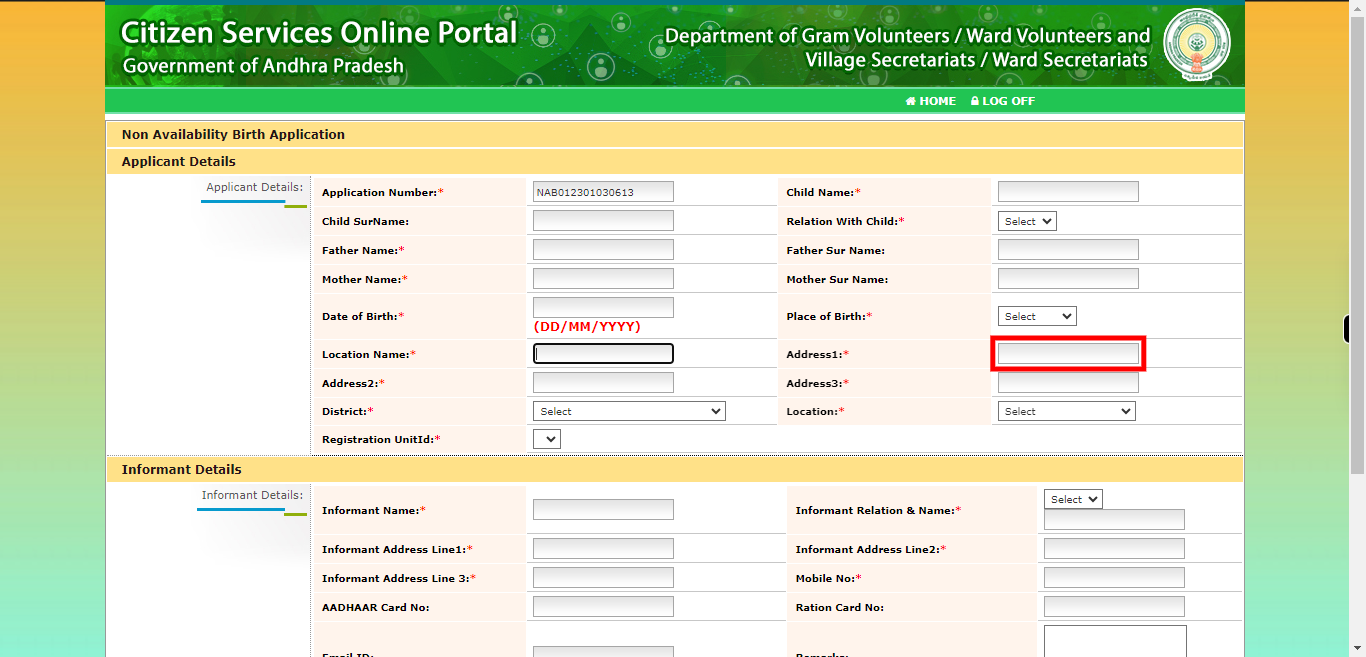
Enter the Hospital's address and are provided with three address input fields, it means that you need to provide the informant's address using those three separate fields. Typically, these address input fields are designed to capture different components of the address, such as street name and number, city or town, state or province, postal code, and country. Example: Address Field 1: Street and landmark. Address Field 2:city or town name. Address Field 3:state or province, postal code, and country. Click on the "Next" button on the Supervity instruction widget.
-
14.
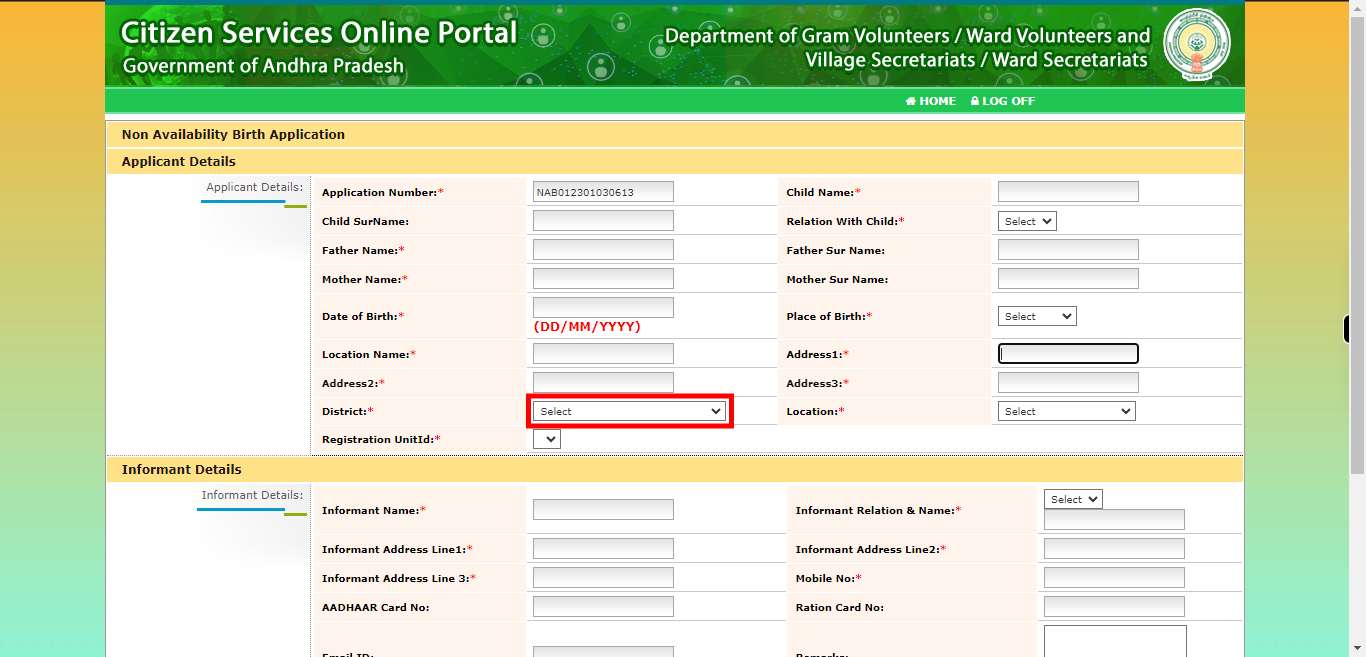
To proceed, please select the district from the available options provided in the drop-down menu. The district represents the administrative division within a larger geographical area. Choose the district that corresponds to the location of the child's birth. Click on the "Next" button on the Supervity instruction widget.
-
15.
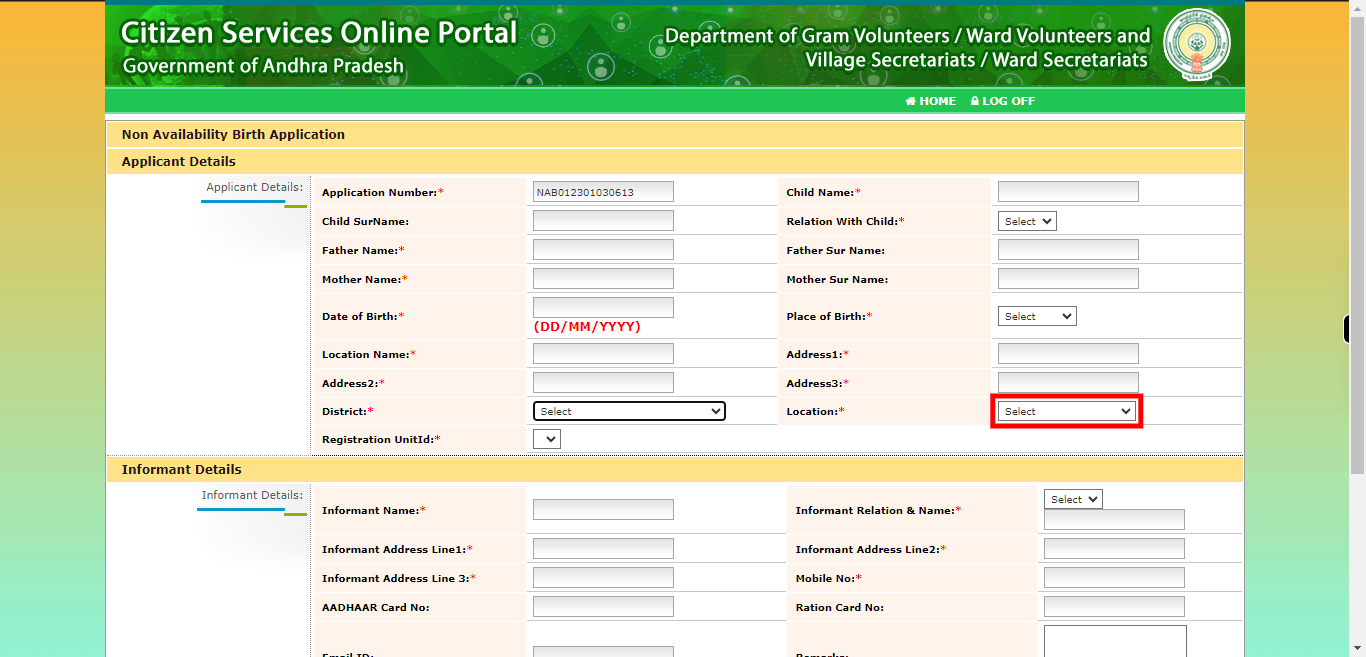
please select the appropriate option from the given list based on the type of local governance in the area of the child's birth: If the place of birth is in a larger urban area with higher administrative authority, select "Municipal Corporation" or "Greater Municipality" from the options. If the place of birth is in a smaller urban area, select "Municipality" from the options. If the place of birth is in a rural area, select "Gram Panchayat" from the options. Click on the "Next" button on the Supervity instruction widget.
-
16.
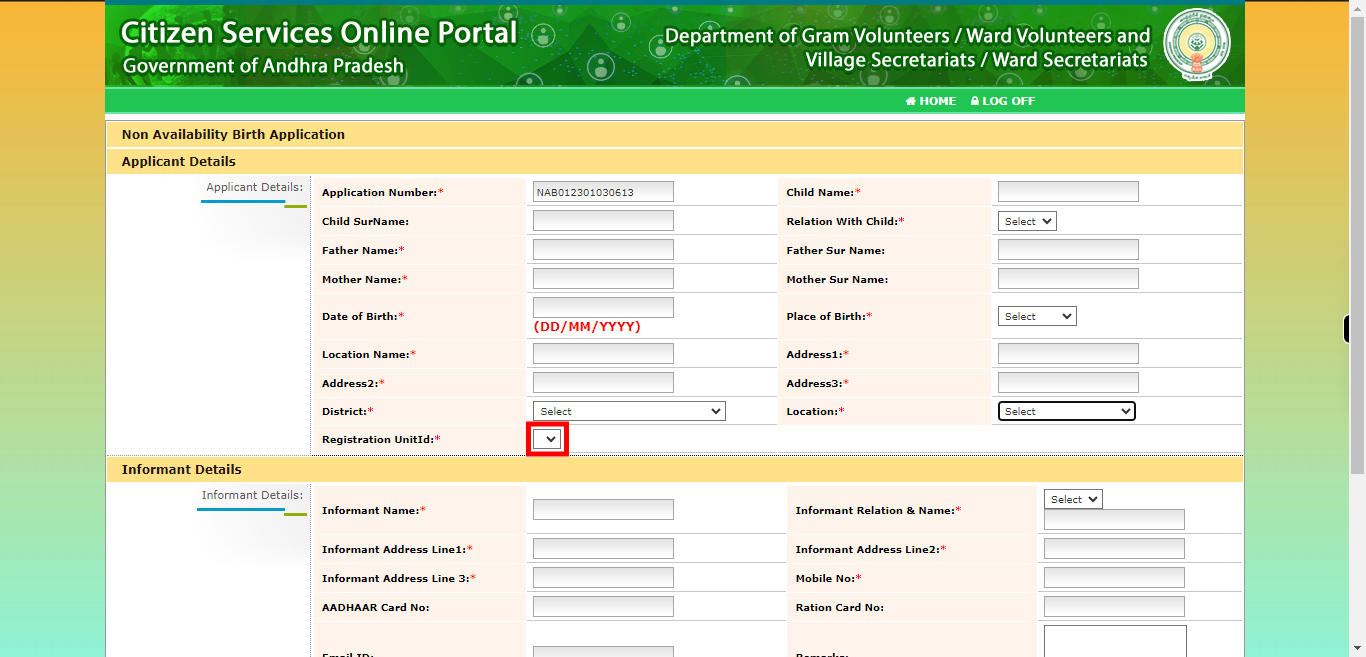
Select your "registration UNIT ID".This ID is typically associated with your birth record or certificate, an official document verifying your birth. Click on the "Next" button on the Supervity instruction widget.
-
17.
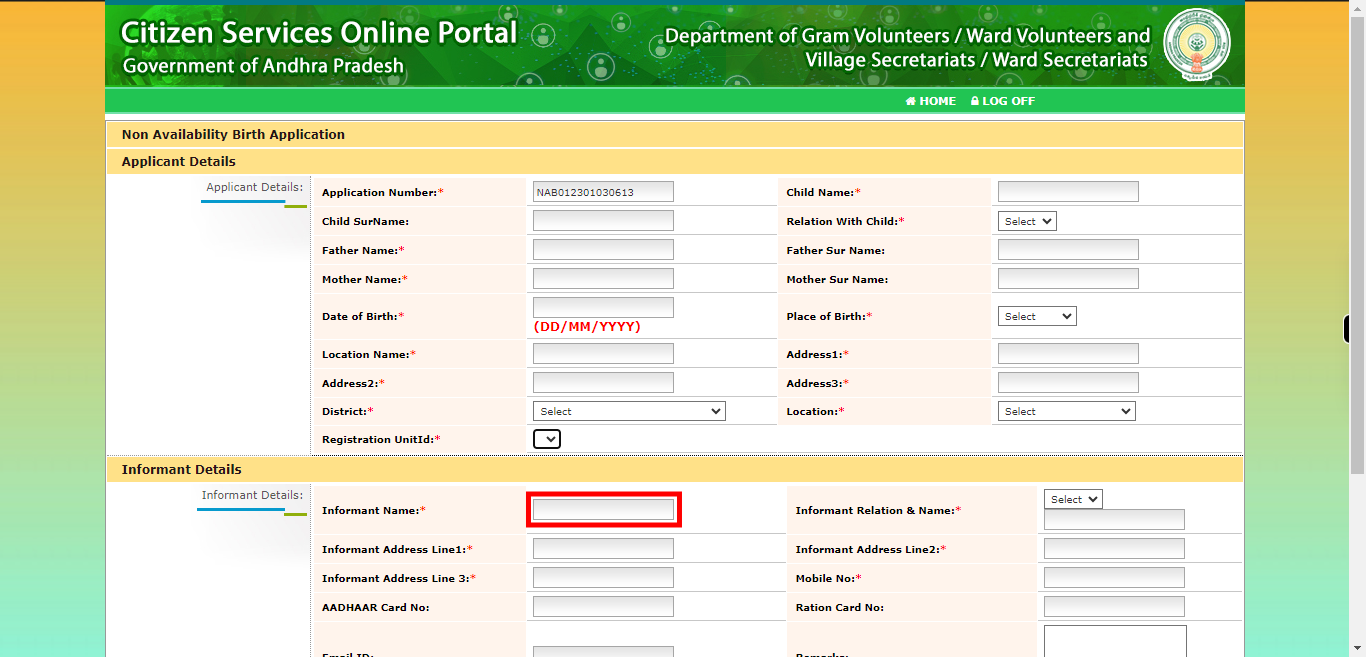
Enter the "informant name," which means that you are being asked to provide the name of the person who is providing information or acting as a source of information. Click on the "Next" button on the Supervity instruction widget.
-
18.
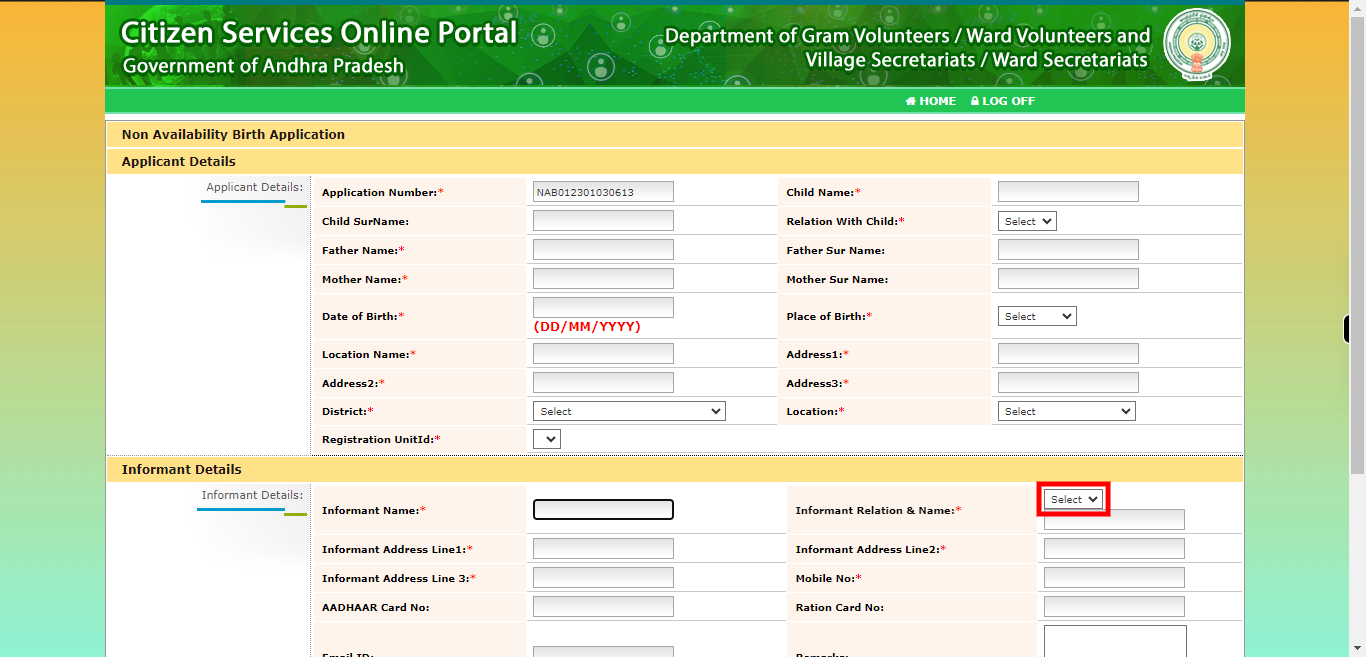
Select the appropriate relation with the informant from the available options. Click on the "Next" button on the Supervity instruction widget.
-
19.
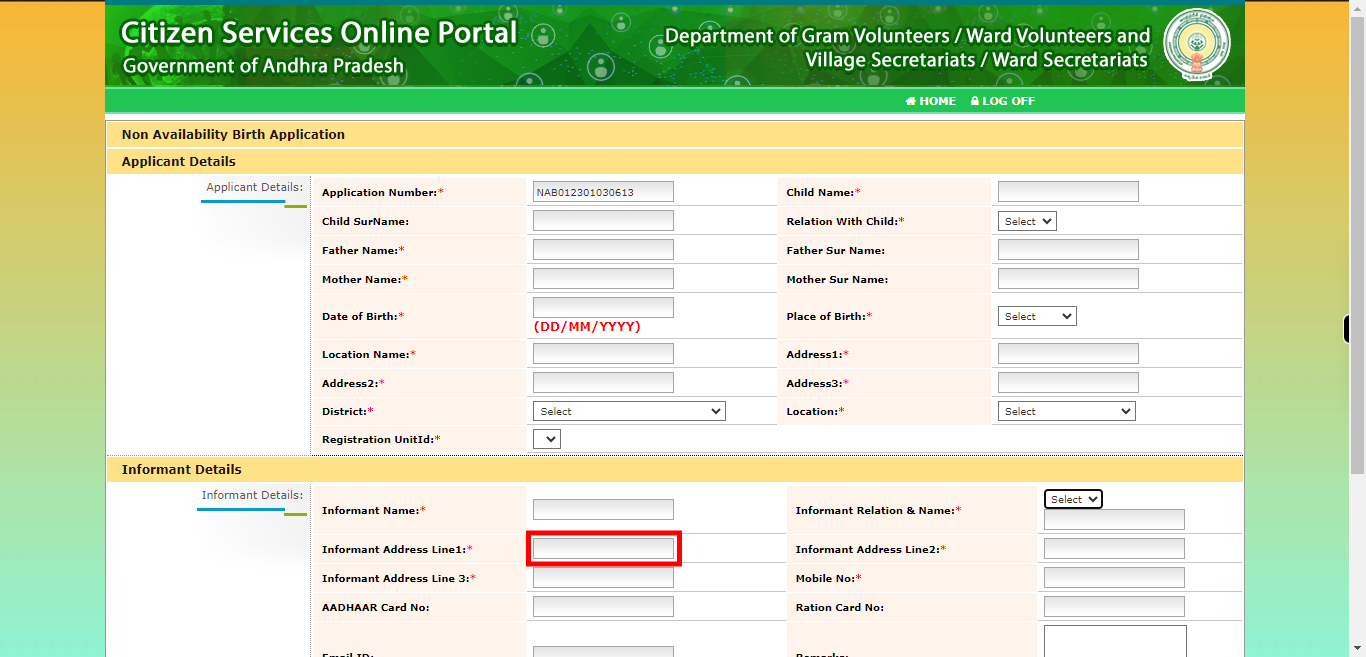
Enter the informant's address and are provided with three address input fields, it means that you need to provide the informant's address using those three separate fields. Typically, these address input fields are designed to capture different components of the address, such as street name and number, city or town, state or province, postal code, and country. Example: Address Field 1: Street and landmark. Address Field 2:city or town name. Address Field 3:state or province, postal code, and country. Click on the "Next" button on the Supervity instruction widget.
-
20.
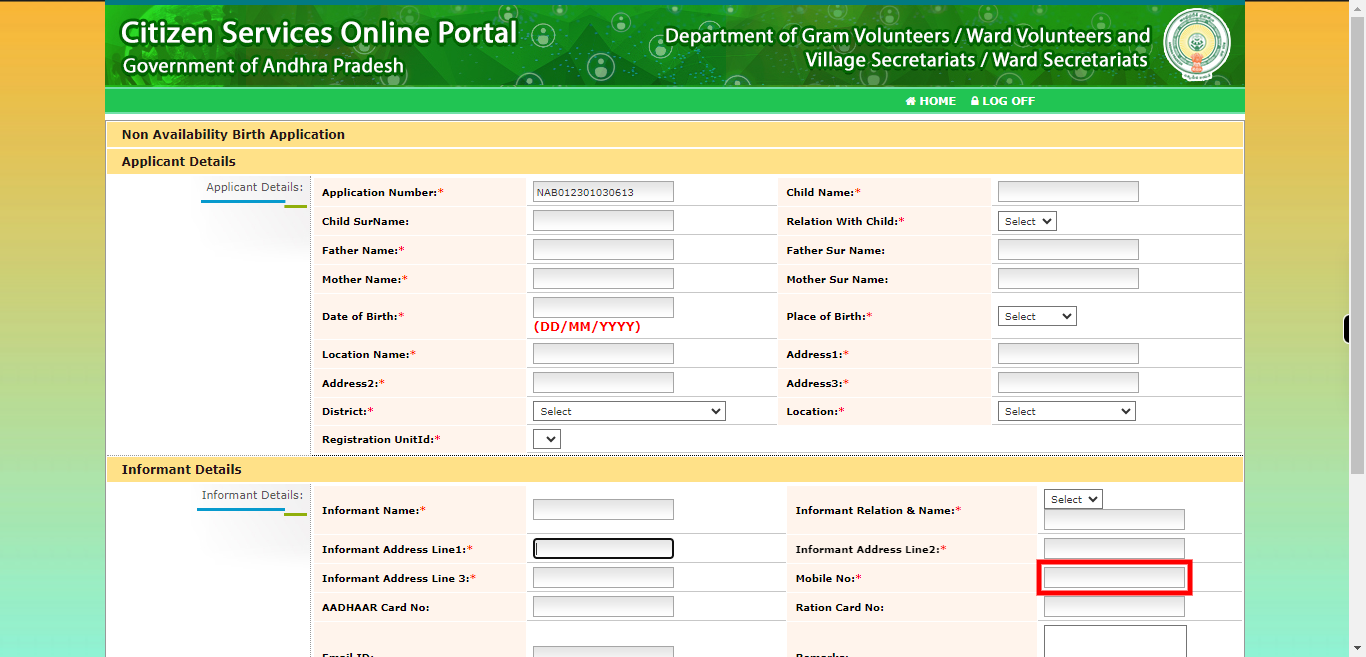
Enter your mobile number in a designated field, it means that you need to provide your personal phone number in a specific format. Click on the "Next" button on the Supervity instruction widget.
-
21.
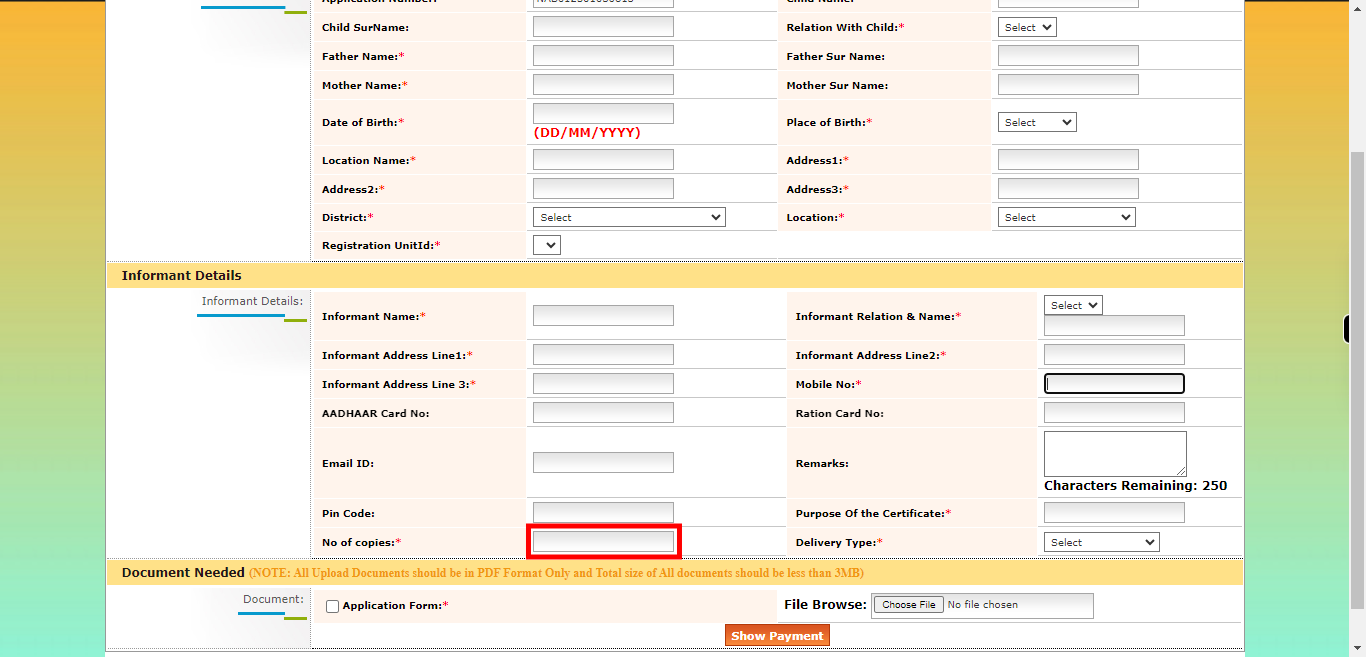
Enter the number of copies you would like, and based on the count, the cost will be displayed. Click on the "Next" button on the Supervity instruction widget.
-
22.
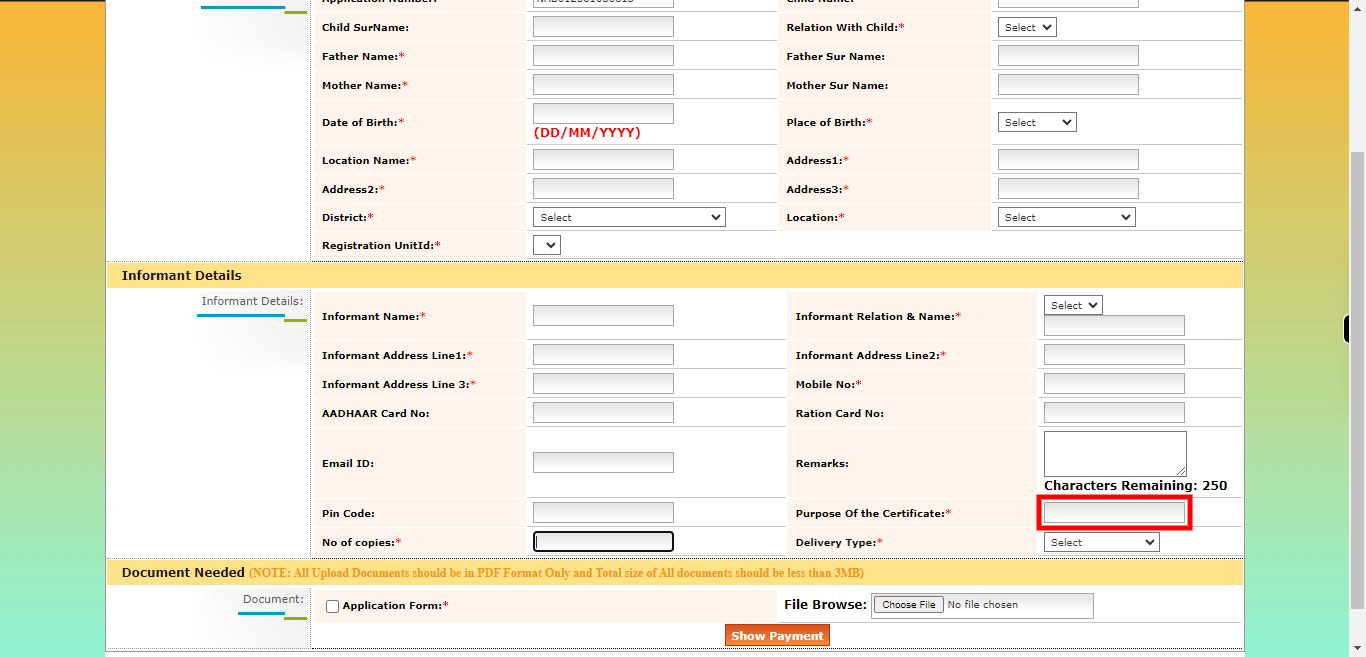
Enter the purpose of issuing a certificate, it refers to the specific reason or objective for which the certificate is being requested or generated. Click on the "Next" button on the Supervity instruction widget.
-
23.
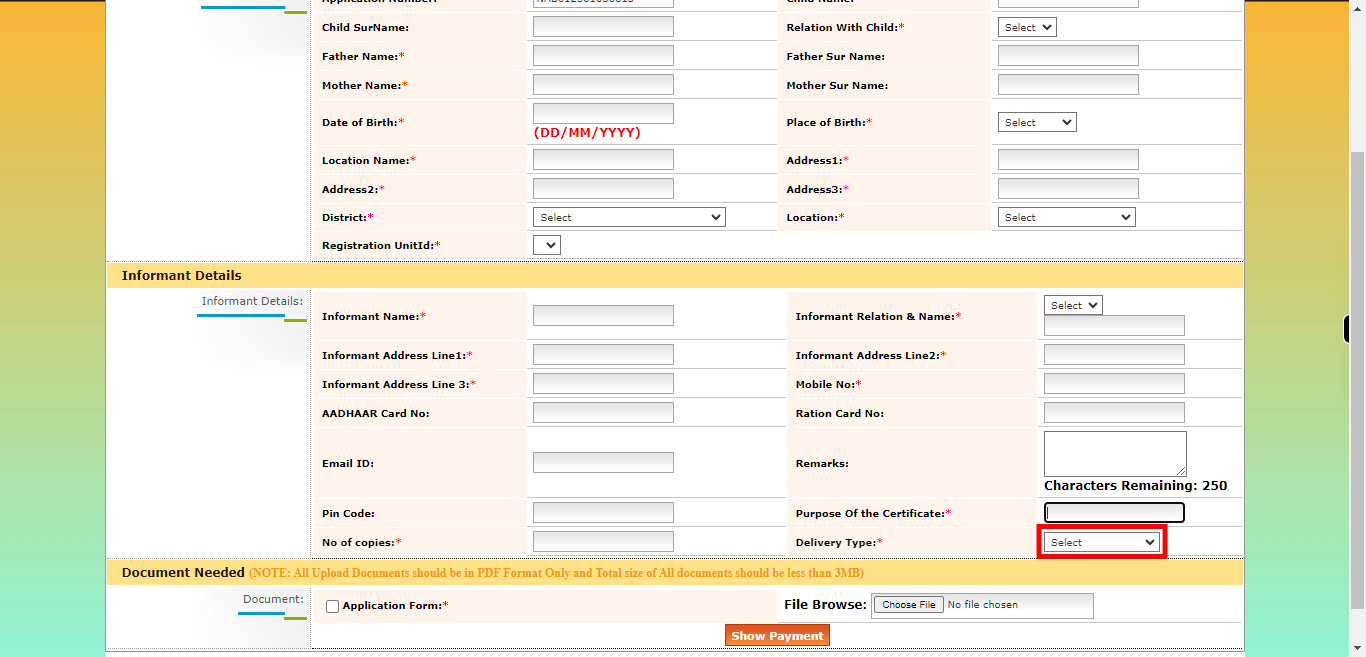
Please select one option from the following: Certificate from the Postal Service Certificate from the Person If you choose the postal option, please provide the address details where the certificate should be sent. Click on the "Next" button on the Supervity instruction widget.
-
24.
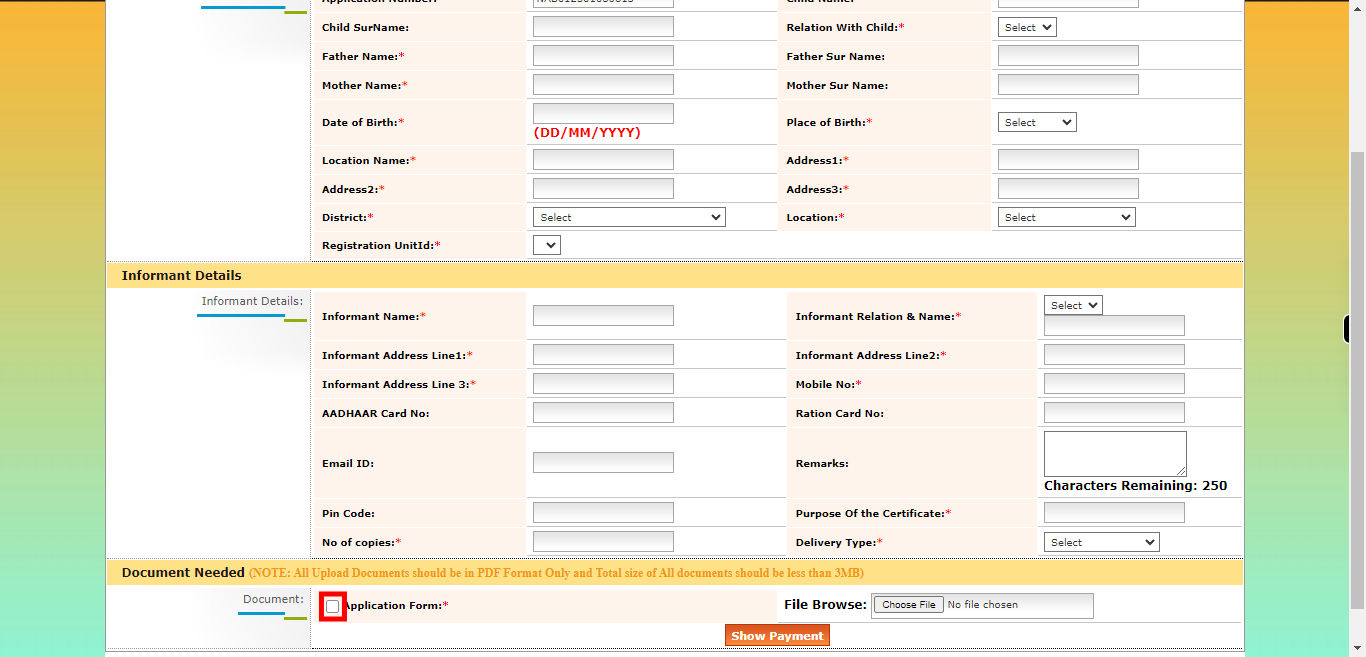
Click on the checkbox "Certificate Application" to select it as the desired form. Fill in the necessary data and details in the application form. After filling in the application form, Scan the filled application form using a scanner or a scanning app on your device. Save the scanned application form to your local store. Click on the "Next" button on the Supervity instruction widget.
-
25.
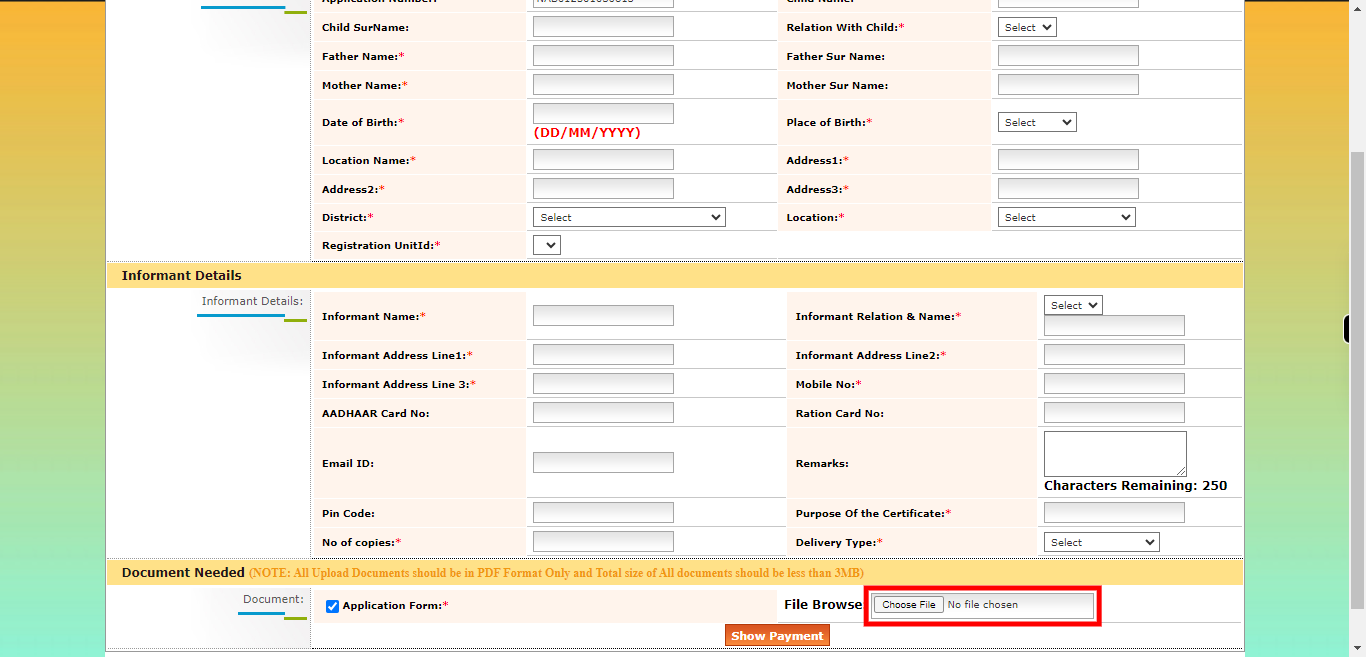
Click on the "Choose File" option. This will open a file browser window or dialog box on your device. Navigate to the location where you have saved the scanned application form. Select the scanned application form file by clicking on it. Click on the "Next" button on the Supervity instruction widget.
-
26.
Click on the "Show Payment" button. This will be redirected to the payment page once done will receive the certificate.
