This skill helps to walk you through the Creation of AWS Security Group (a virtual firewall for your EC2 instances that control incoming and outgoing traffic. It contains a set of rules that filter traffic coming into and out of an EC2 instance) by step by step assistance.
Prerequisites:
- An active AWS account
- Sufficient privileges to create Security Group
Note:
Login to AWS Management Console beforehand.
-
1.
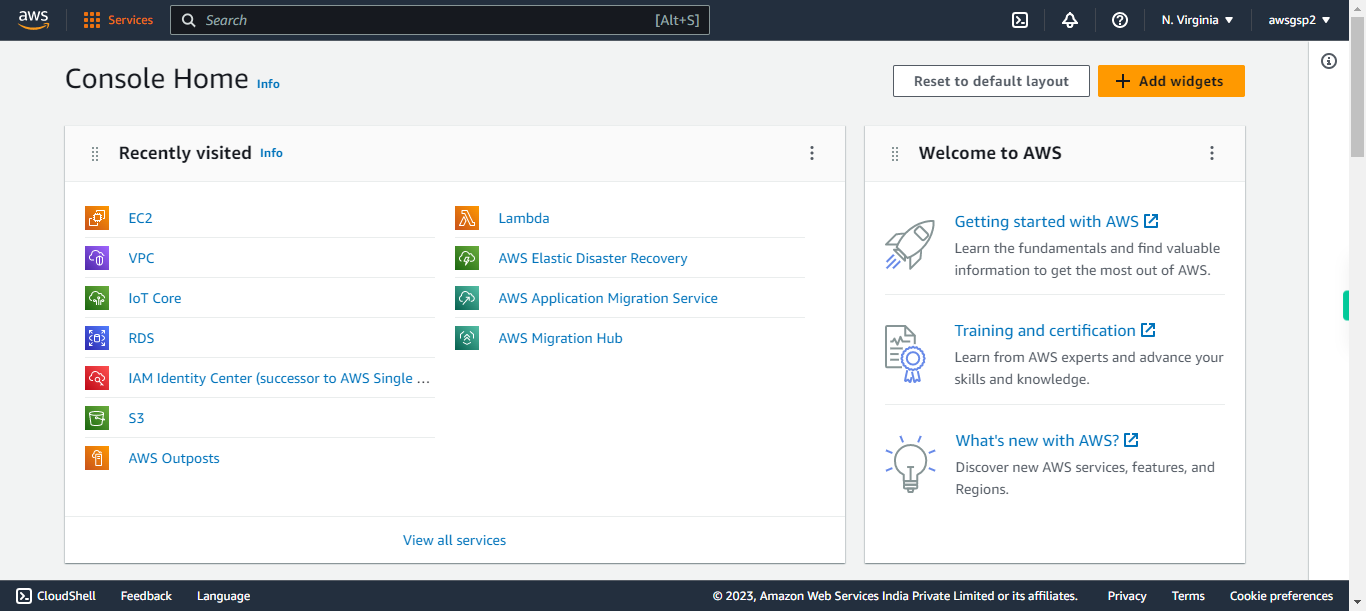
open AWS Management Console
-
2.
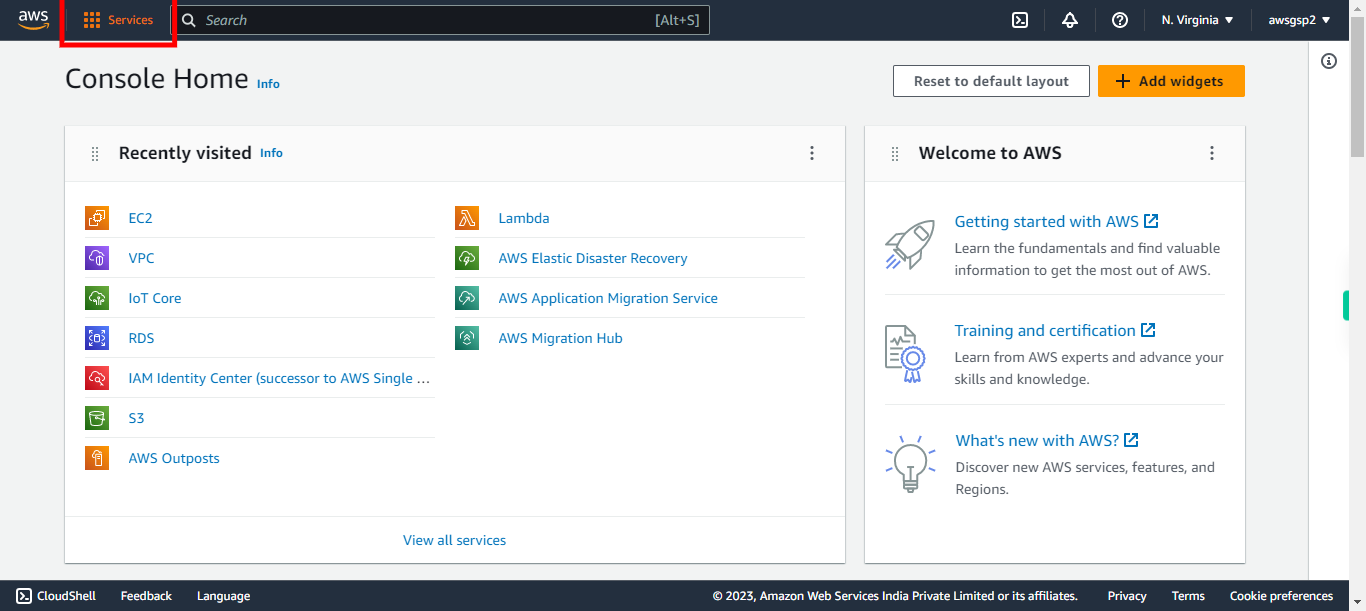
Click Services
-
3.
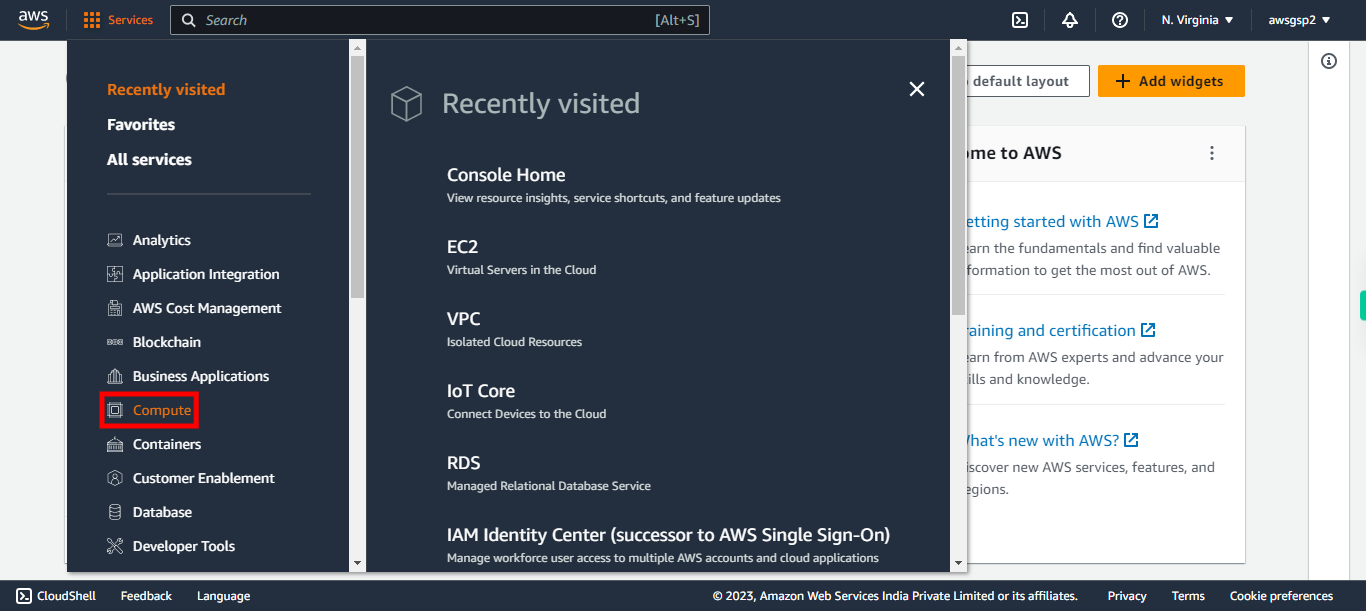
Click Compute
-
4.
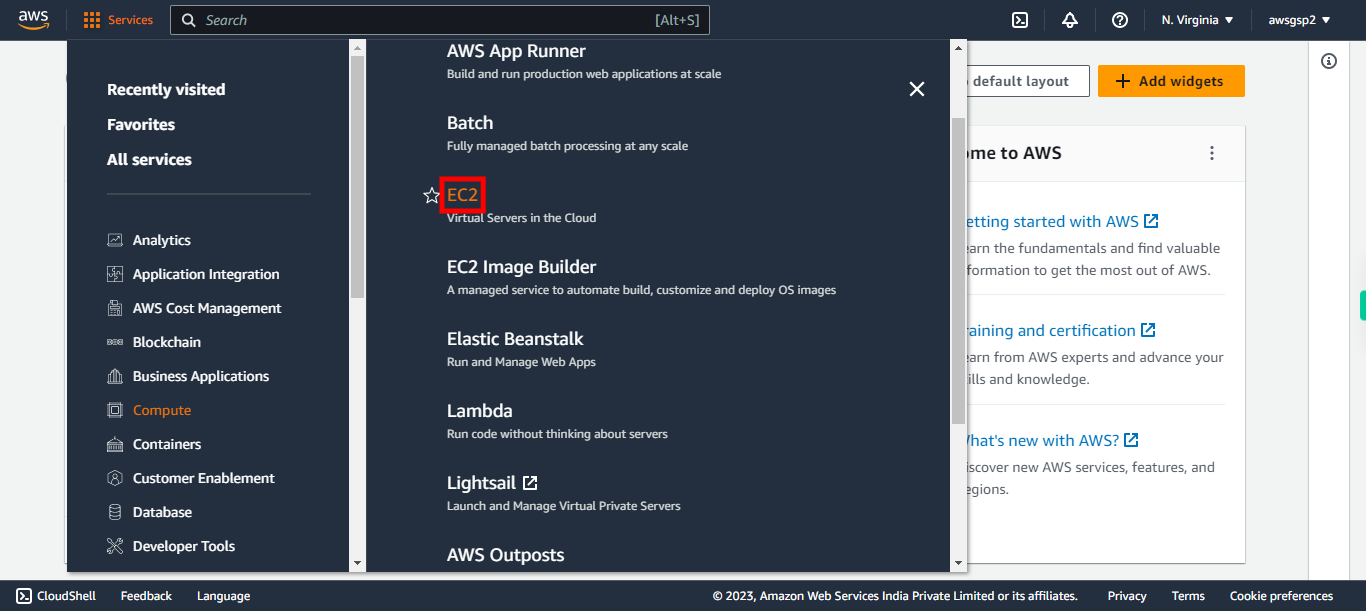
Click EC2
-
5.
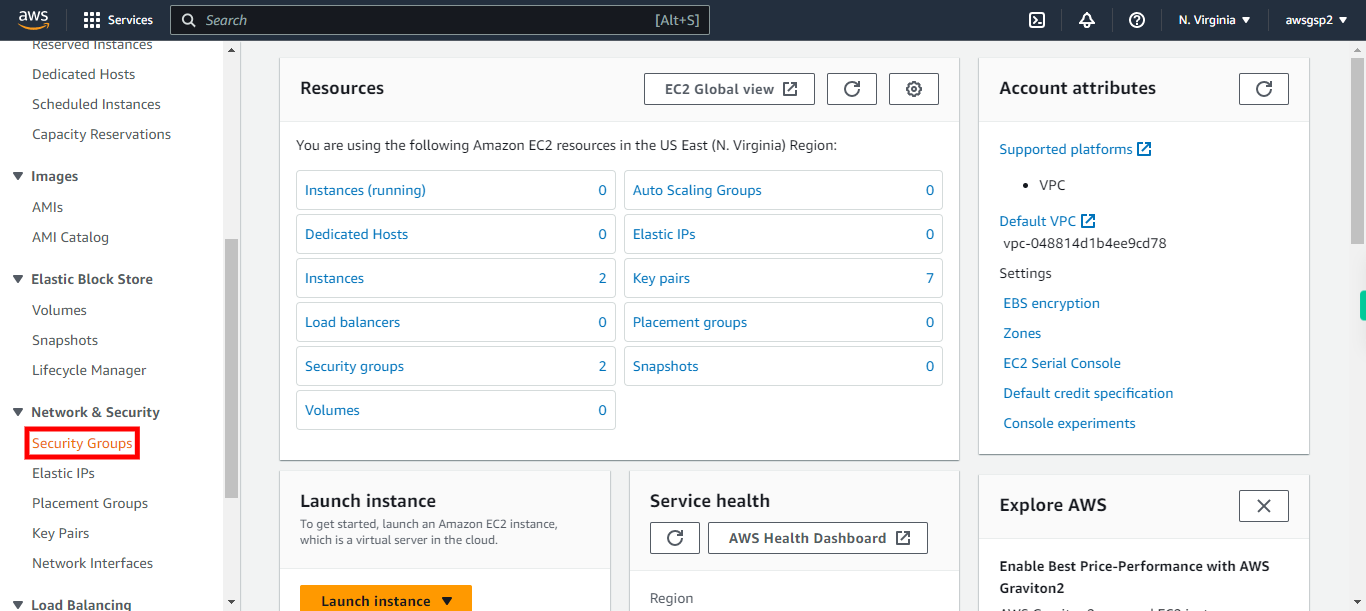
Click Security Groups
-
6.
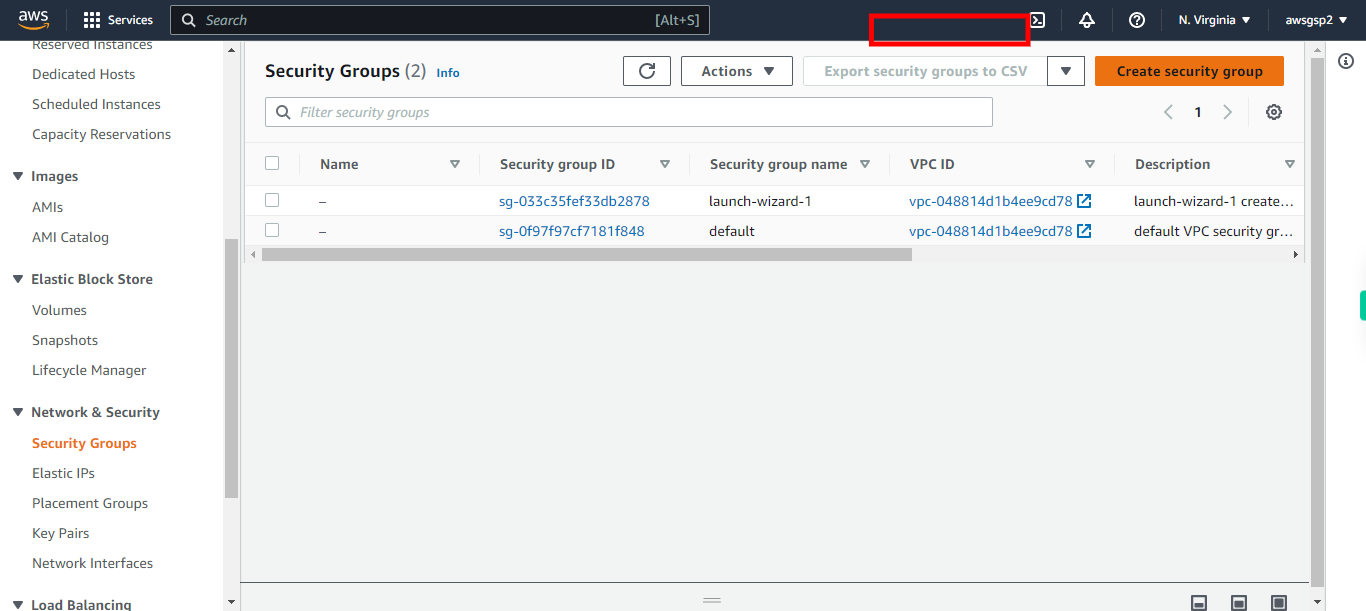
Click Create security group
-
7.
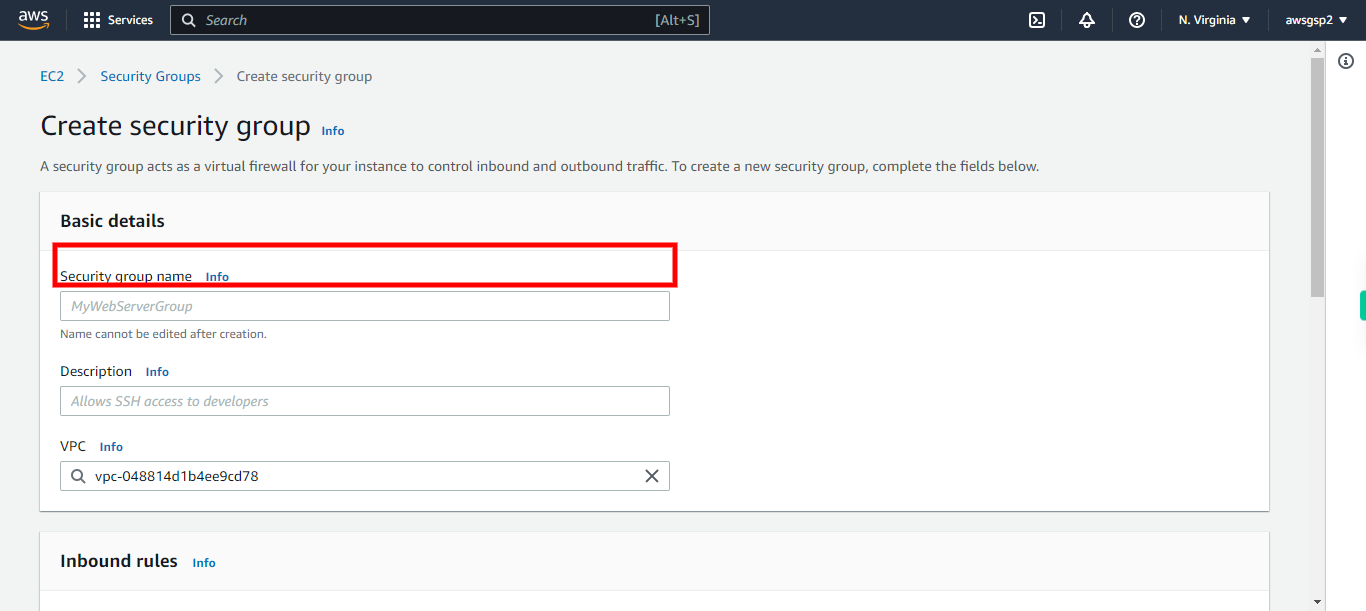
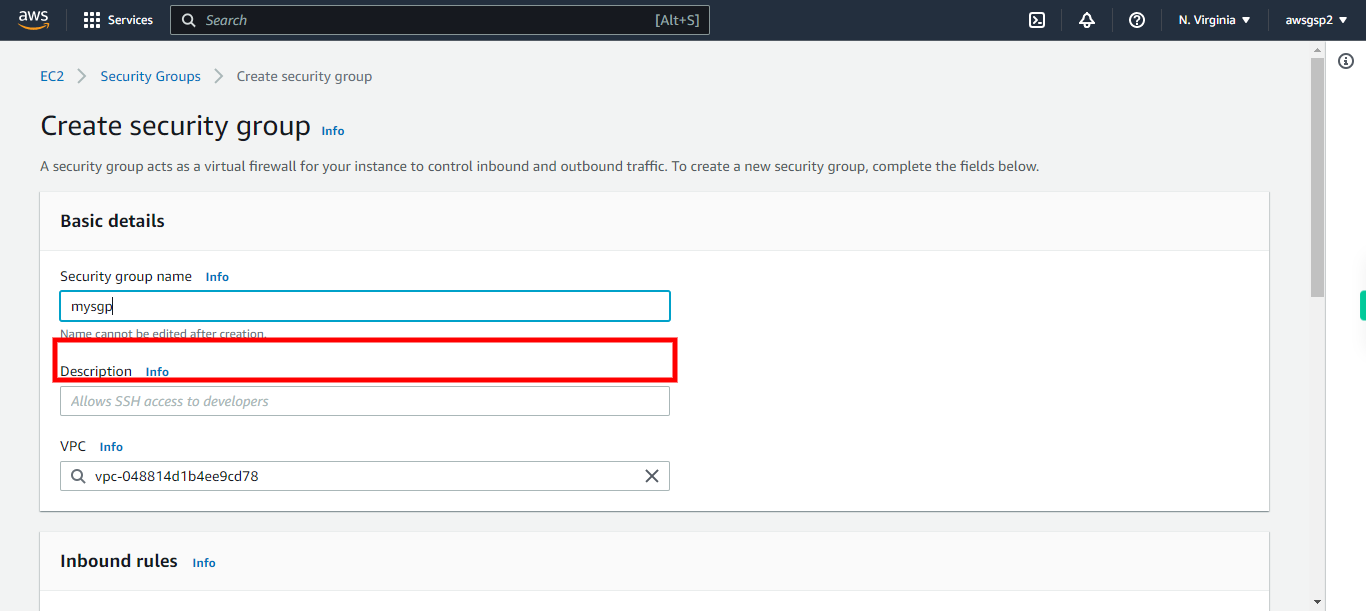
Give a name to your security group and click Next to continue.
-
8.
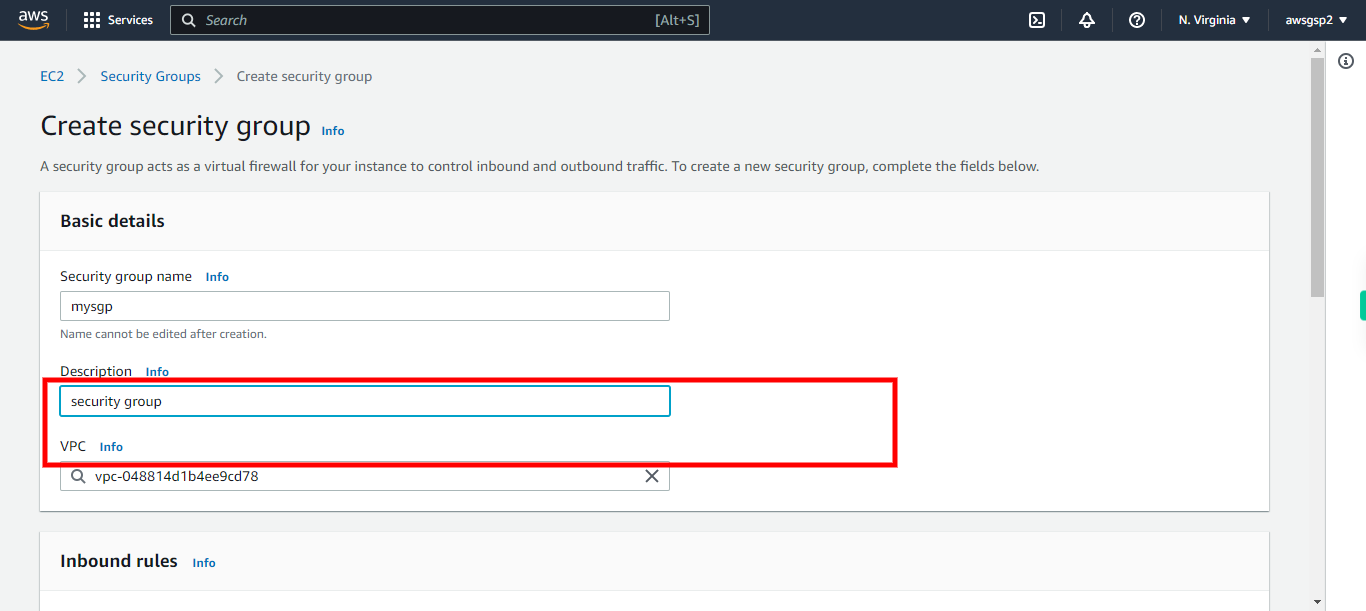
Give a description to your security group and click Next to continue. Description indecates the use of secuitry group created
-
9.
Select your VPC for the security group and click Next to continue.
-
10.
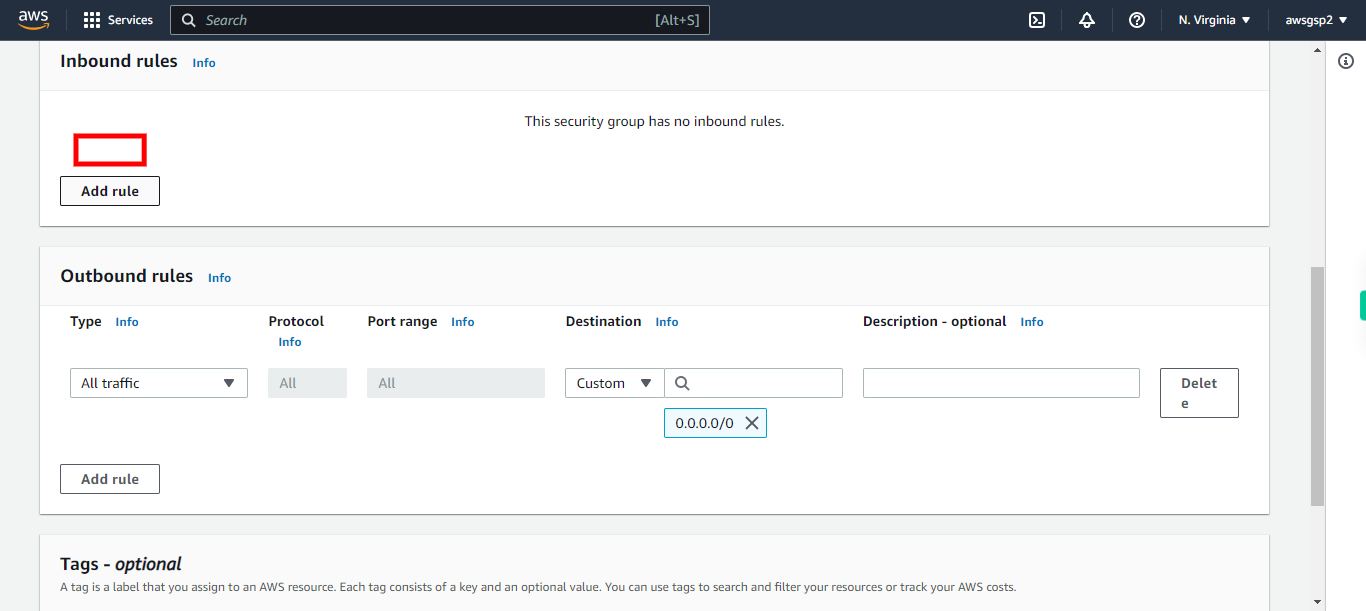
Click "Add rule" to add protocols to access/deny the services
-
11.
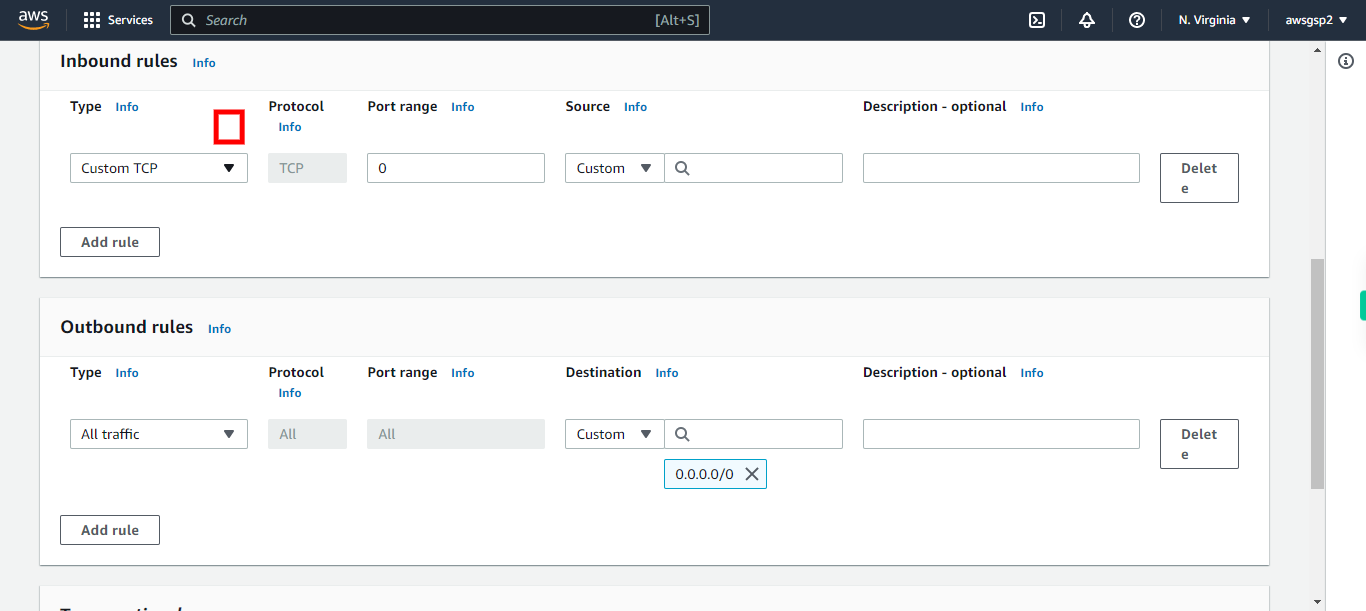
Choose required protocol and click Next to continue. Example SSH for remote access to Linux System, RDP for windows system.
-
12.
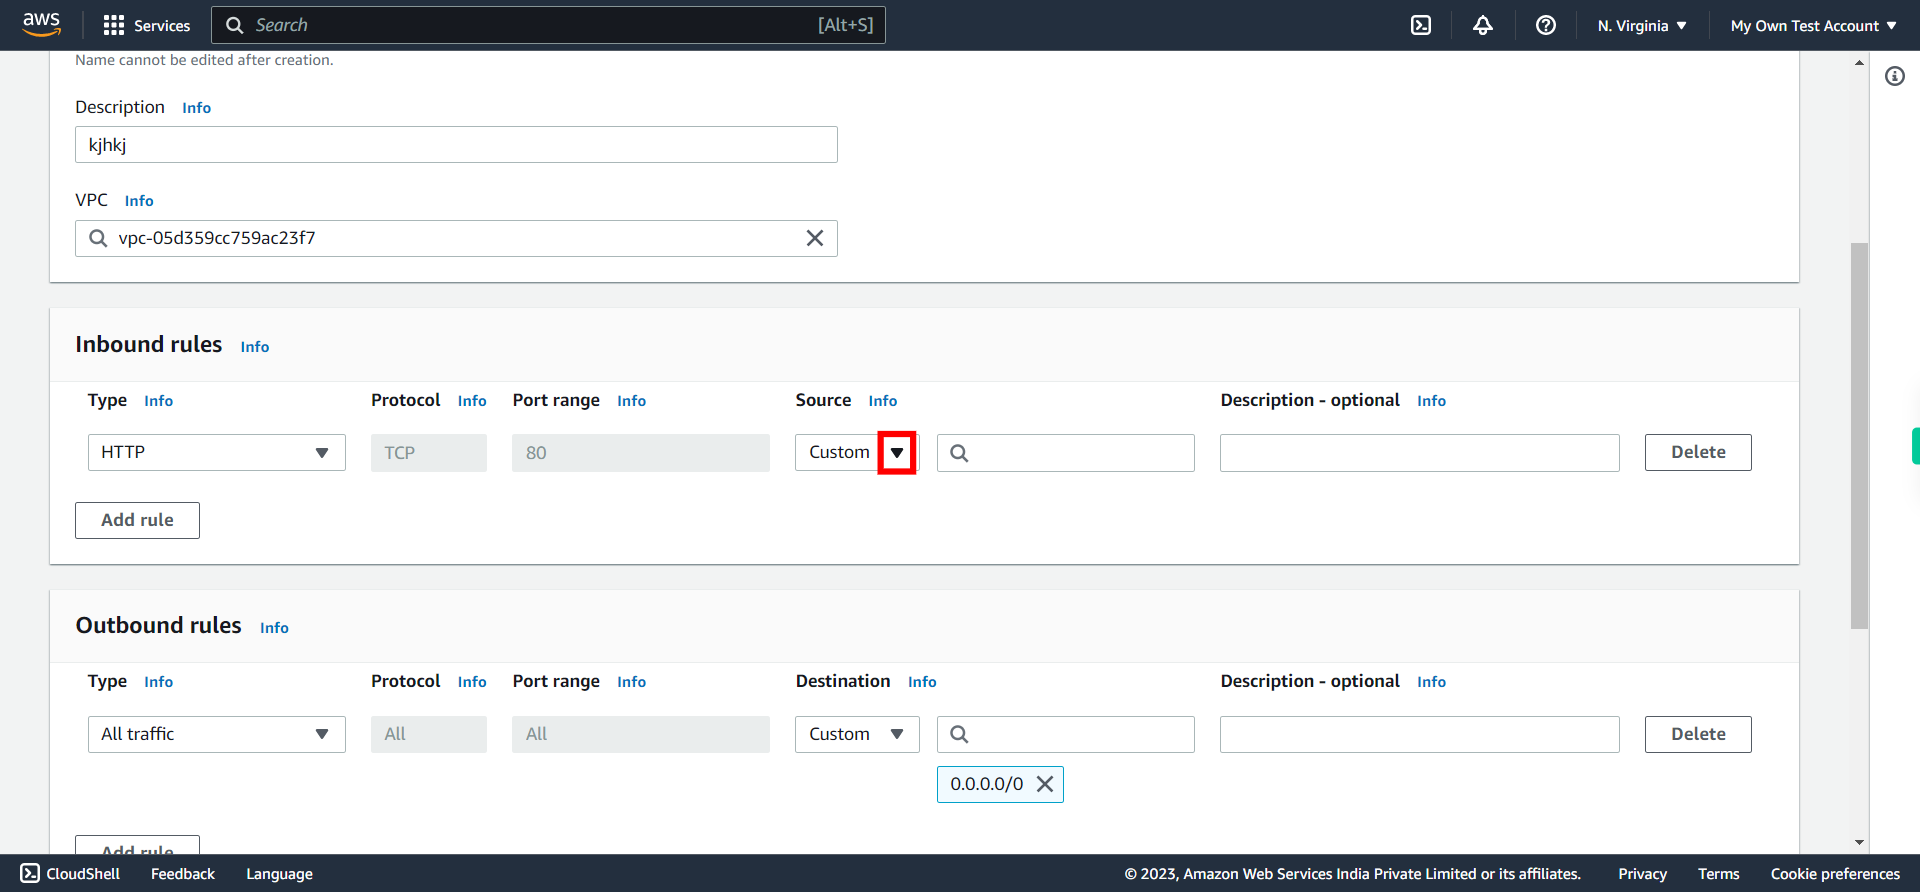
In "source" add required type , Example "Any Where from IPV4" Or select "Custom" for accessing from specific network . Click Next to continue.
-
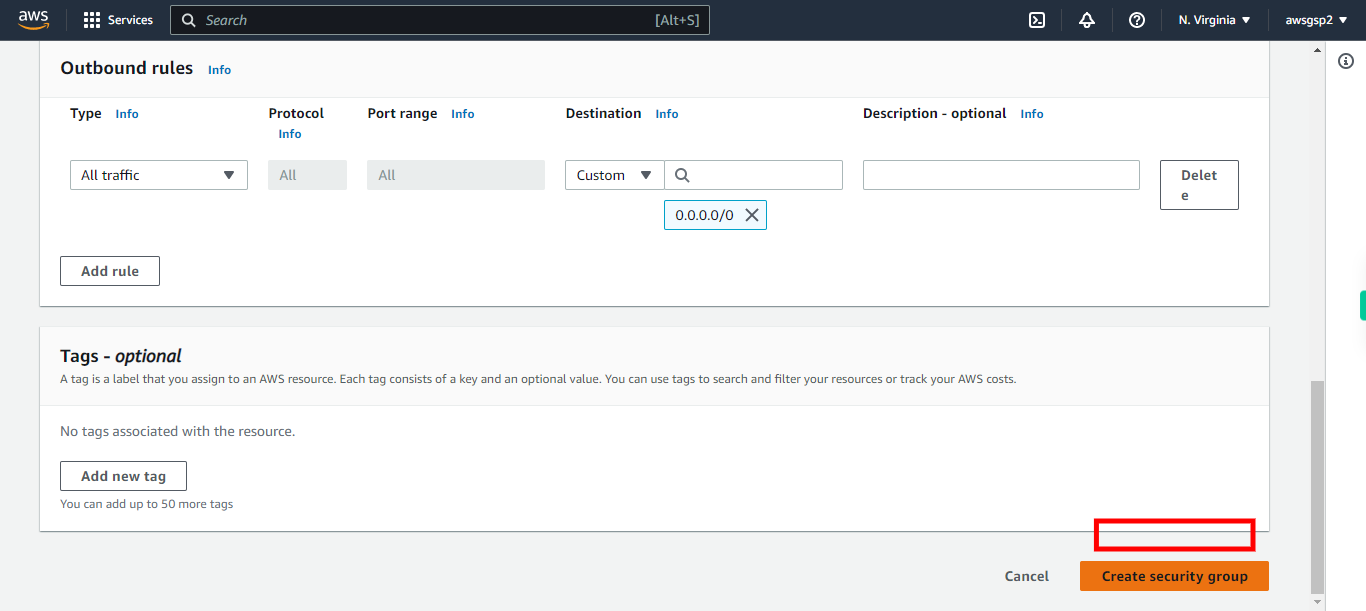
13.
Click Create security group
