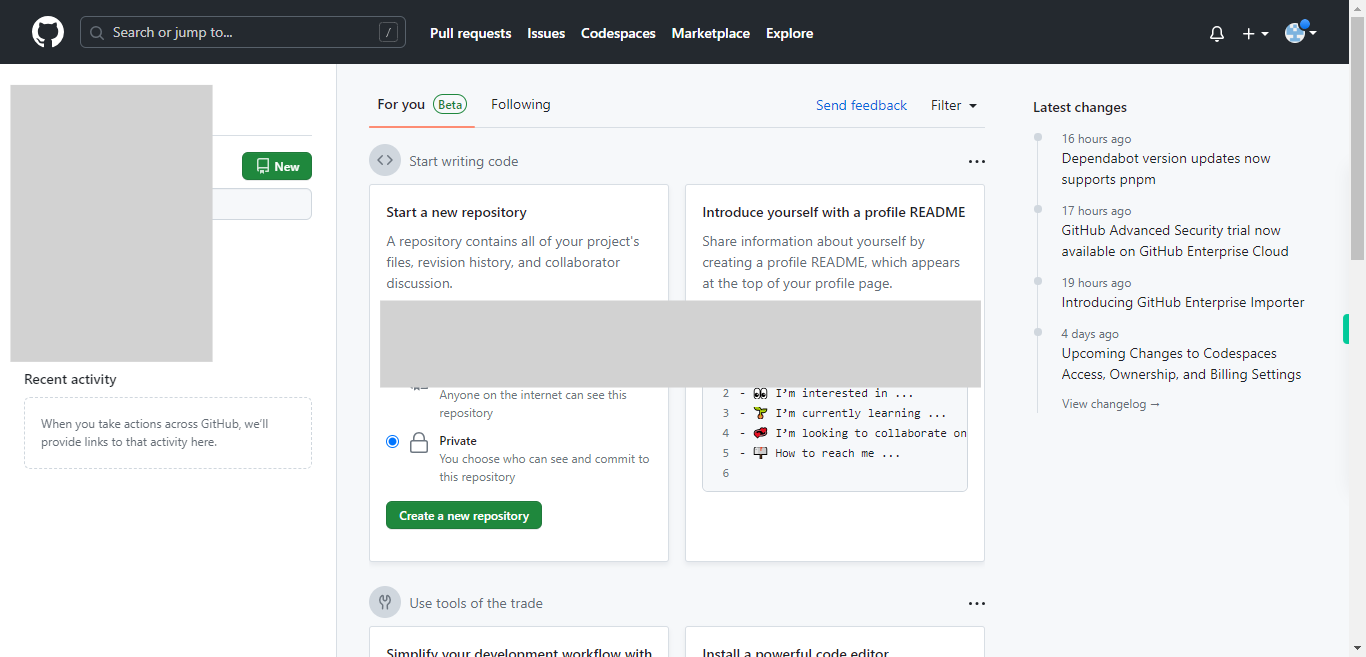
This skill helps you to create folders and files within the GitHub repository. Pre-Requisites: Ensure that you had a valid GitHub account, and also make sure that you have a repository. NOTE: Please sign in to your GitHub account and then execute this skill.
-
1.
Open GitHub on the web.
-
2.
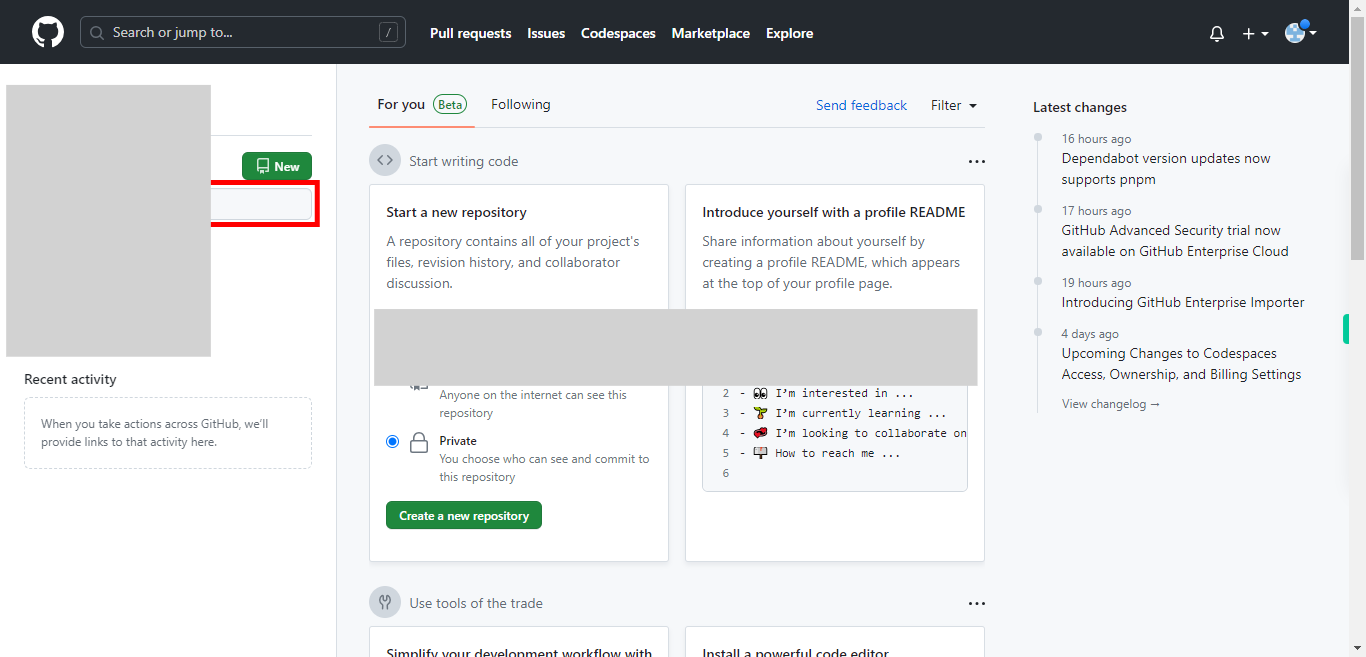
Navigate to the repository where you want to create the new folder and file. Type in the repository name in the "Find a repository..." tab and then the matched repository will be shown. Then click on the "Next" button in the Supervity instruction widget. Select the displayed Repository.
-
3.
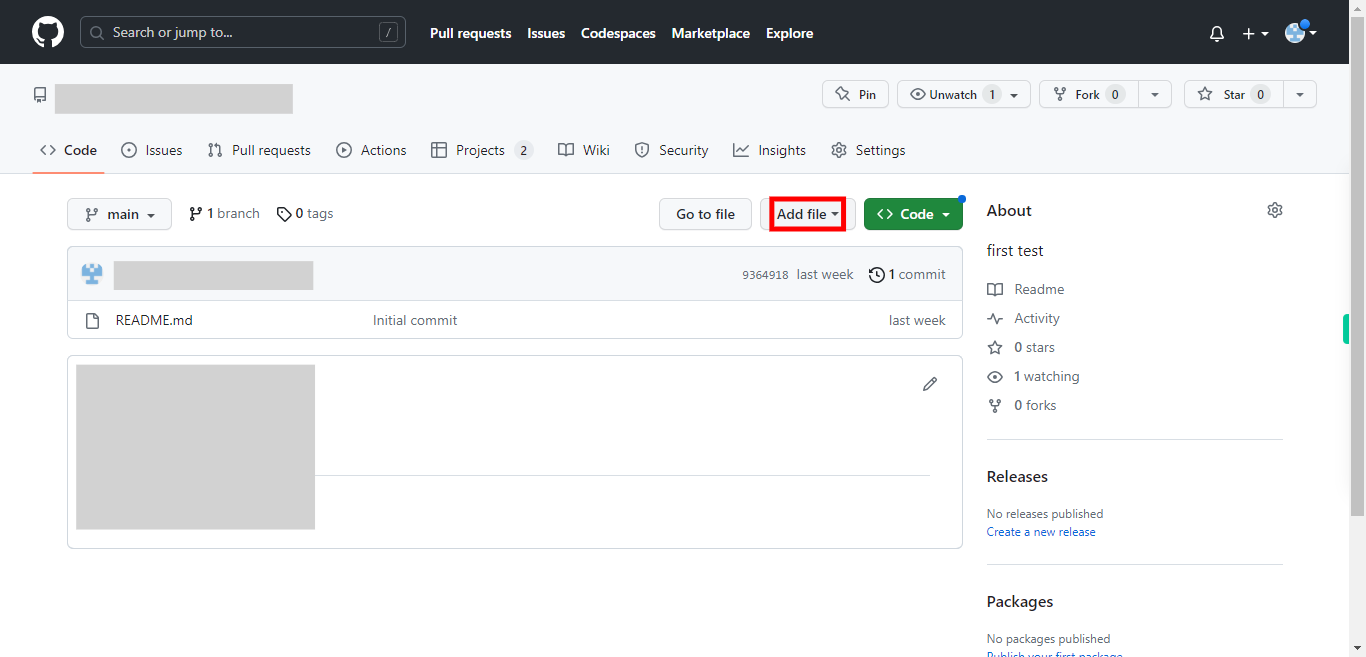
Once you're in the repository, click on the "Add file" button located near the top-right corner of the file list.
-
4.
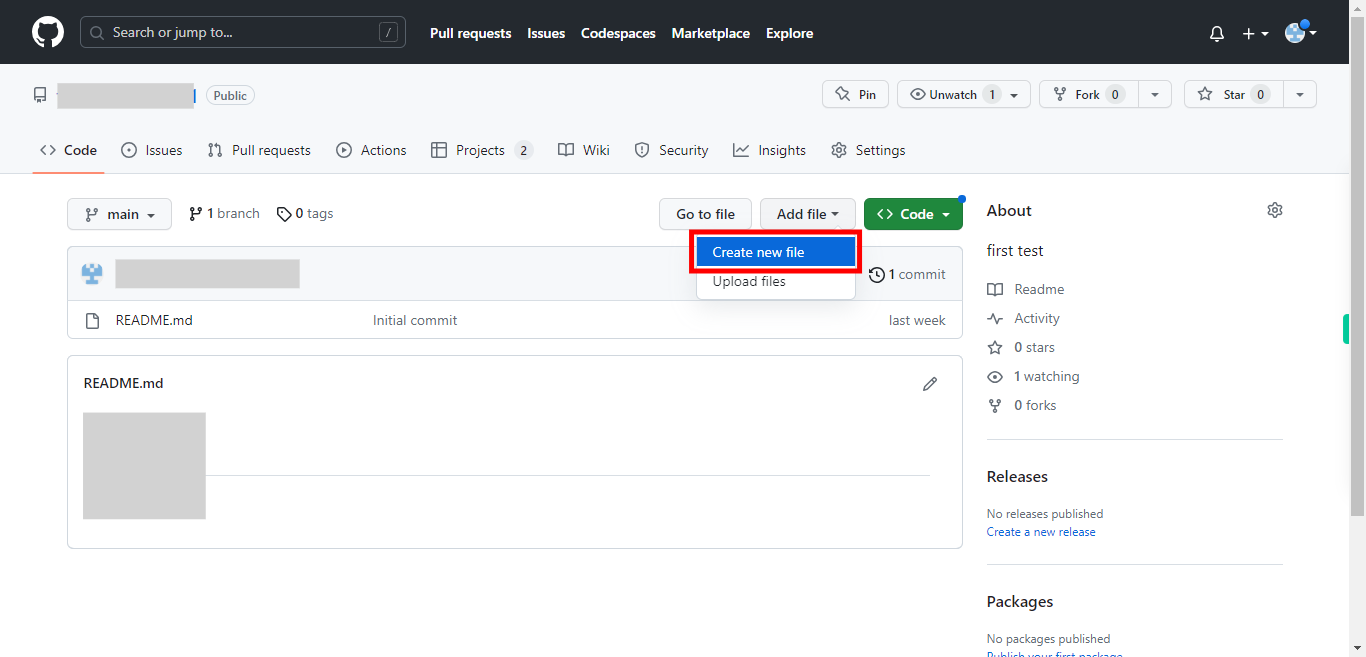
From the dropdown menu that appears, select "Create new file".
-
5.
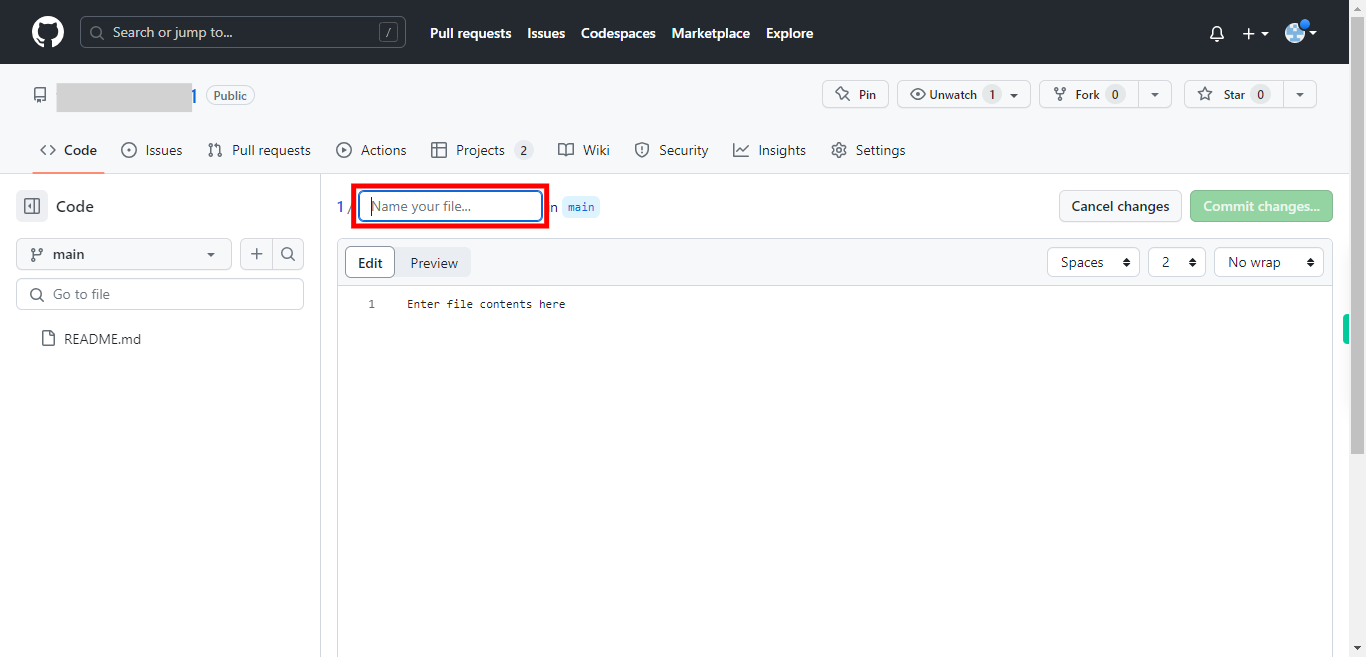
In the "Name your file..." input field, enter the "folder name", followed by a forward slash ("/"), and then the file name. For example, if you want to create a folder named "docs" type docs/ Then click on the "Next" button in the Supervity instruction widget.
-
6.
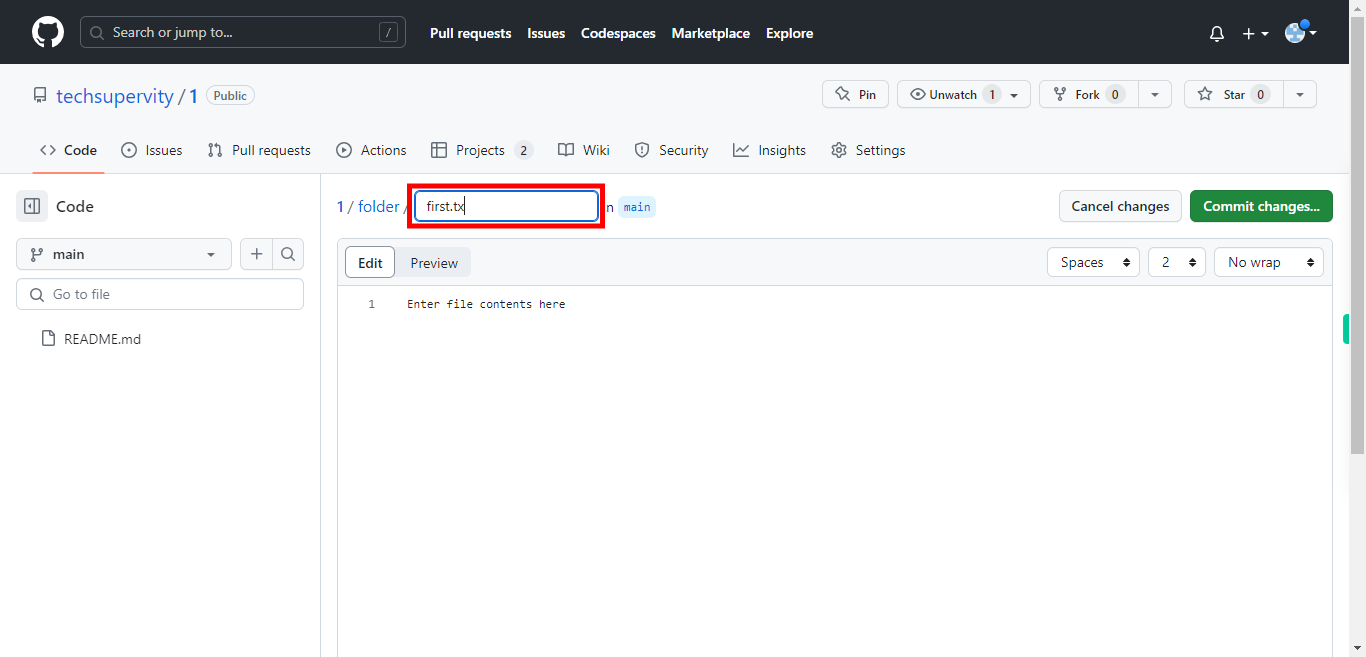
Once the folder got added, type in the file name along with the extension. (file.txt) Then click on the "Next" button in the Supervity instruction widget.
-
7.
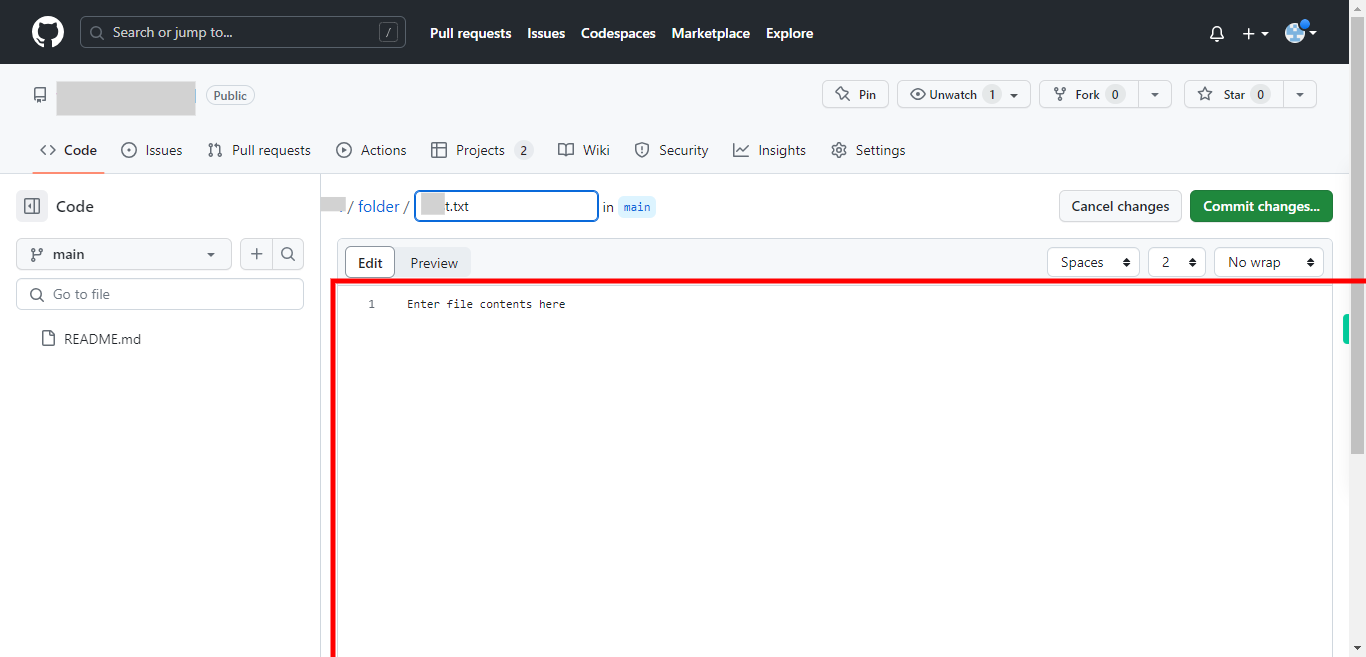
First, click on the "Next" button in the Supervity instruction widget. Add the content for the file in the text editor provided. You can write or paste your content directly into the editor.
-
8.
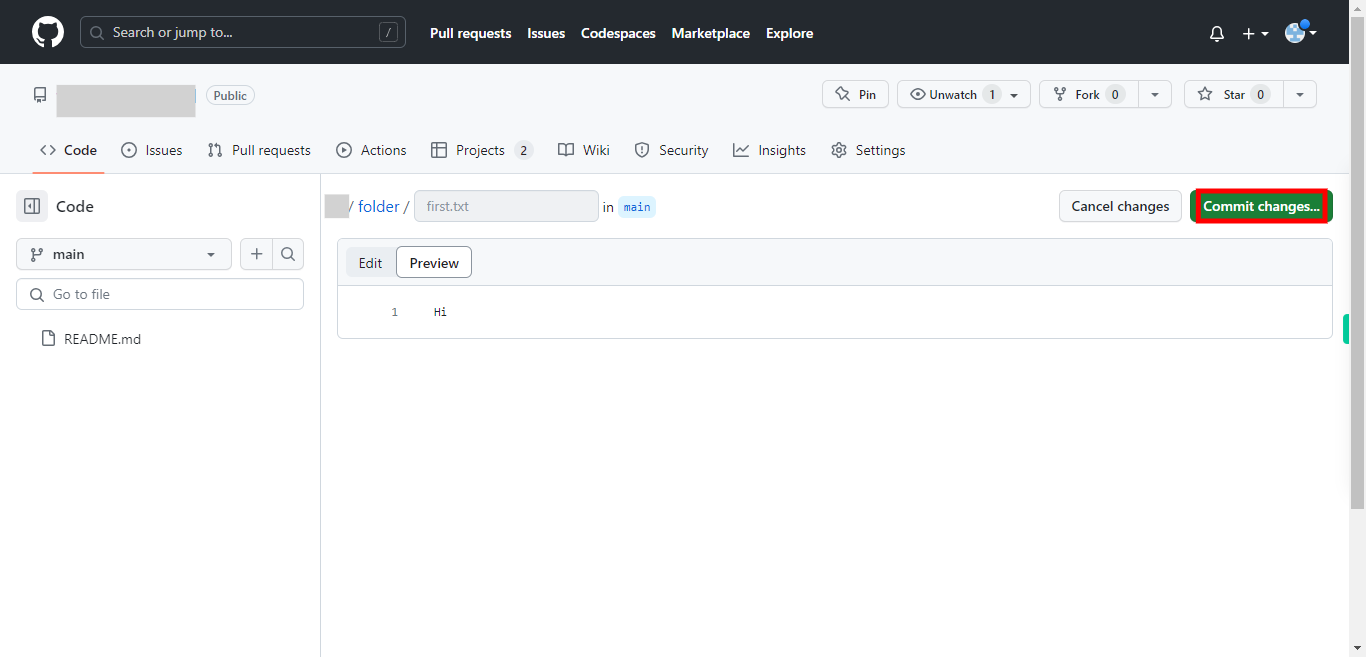
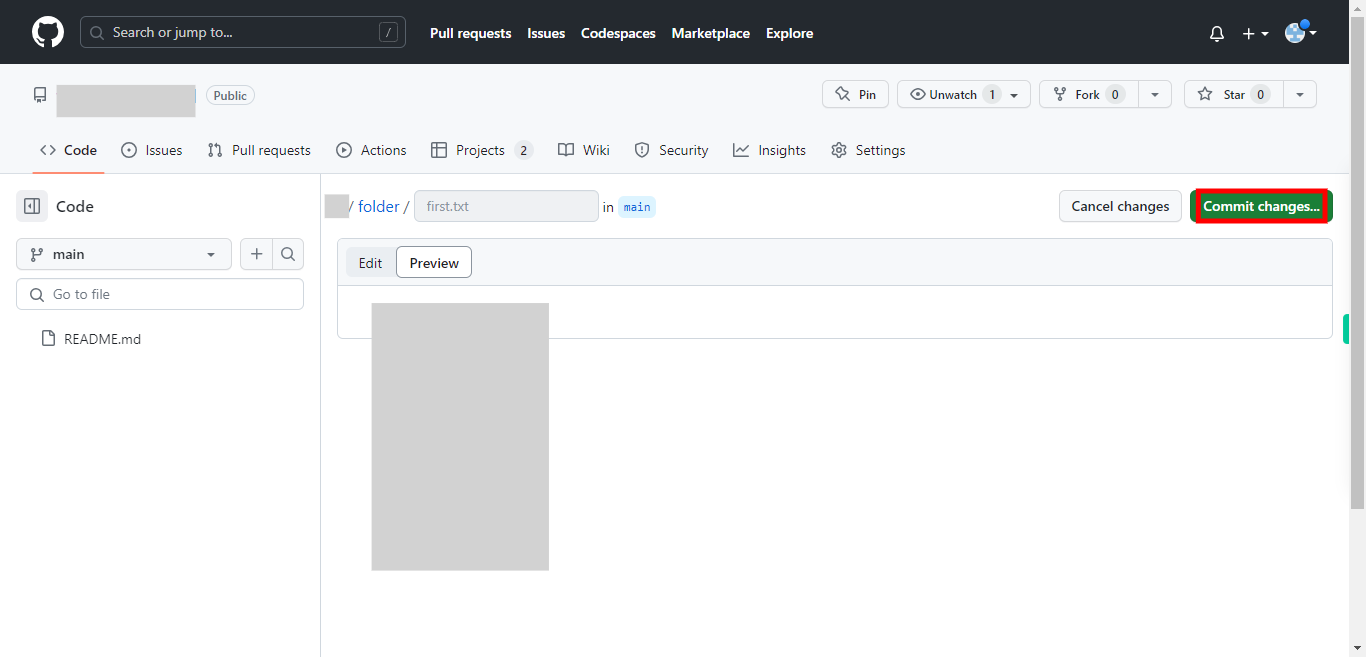
You can preview the file once after adding the content. Click on the "Next" button in the Supervity instruction widget. Now click on the Preview button available beside the "Edit". If you want to ignore this preview, skip by clicking on the "Next" button in the Supervity instruction widget directly.
-
9.
Once done with adding the content. Click on the "Next" button in the Supervity instruction widget. Click on the "Commit changes..." button
-
10.
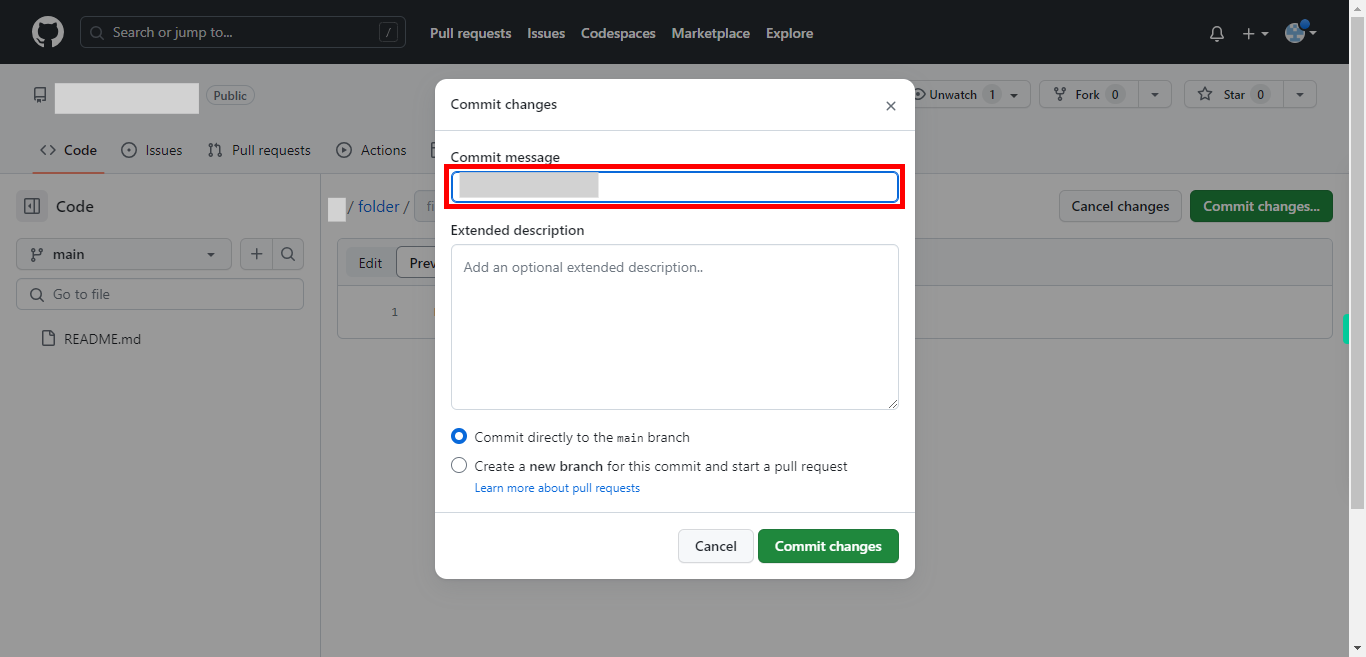
The commit changes pop-up window will open. you can choose to add a commit message in the "Commit message" section. This message should briefly describe the changes you made to the repository. Then click on the "Next" button in the Supervity instruction widget.
-
11.
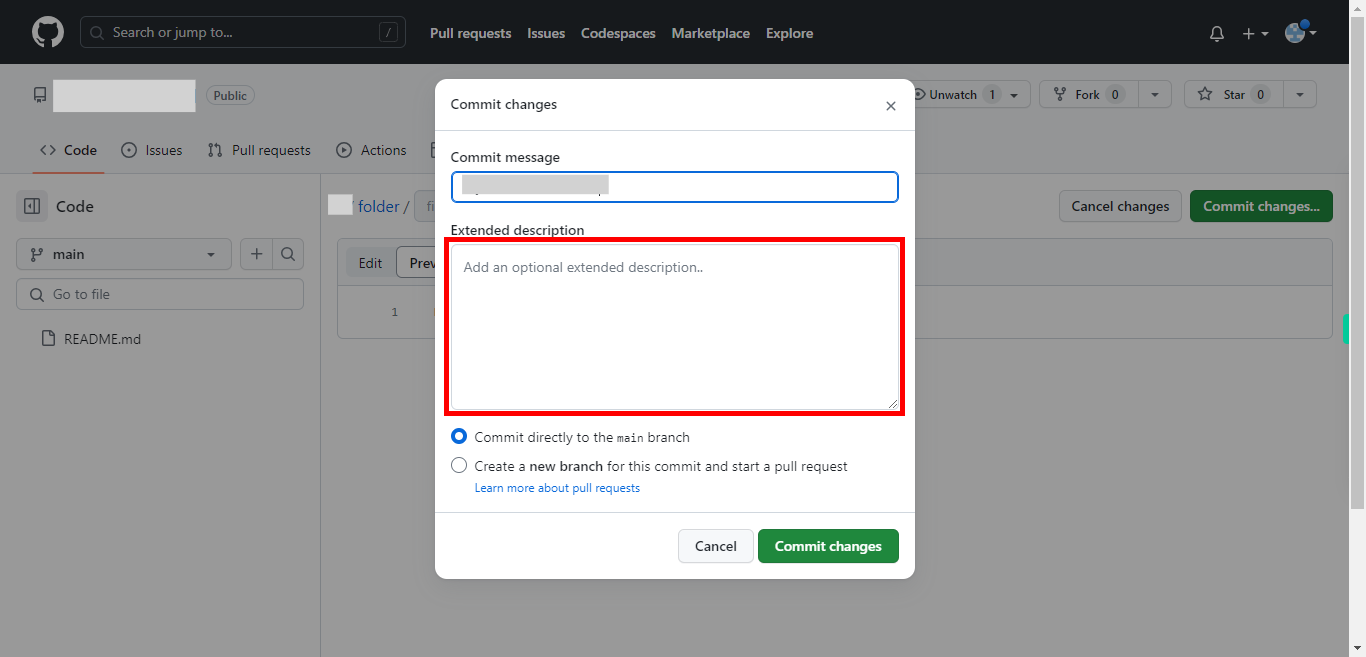
Here you can provide the description of your commit under the "Extended description" tab. Then click on the "Next " button in the Supervity instruction widget.
-
12.
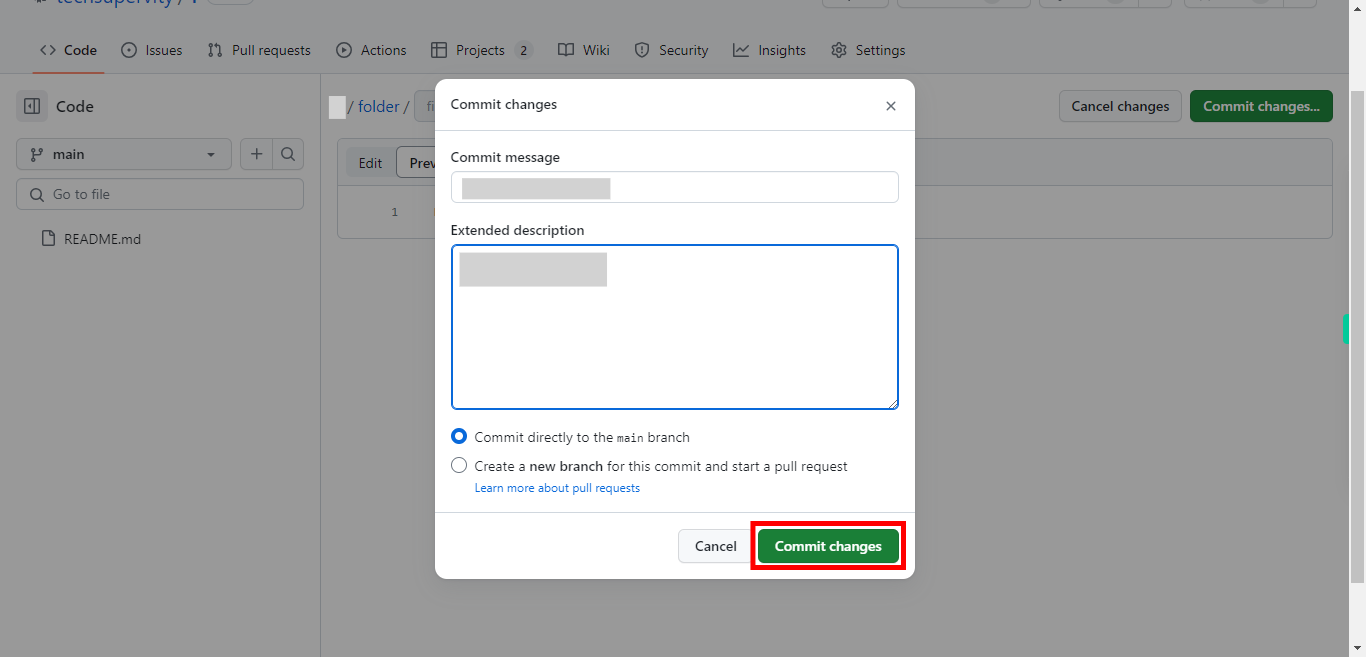
Once after adding all the required information, Click on the "Commit changes" button to save the new folder and file to the repository. GitHub will create the new folder and file within the repository, and you will be redirected to the file's page. NOTE: You cannot create only a folder without a file in it.


