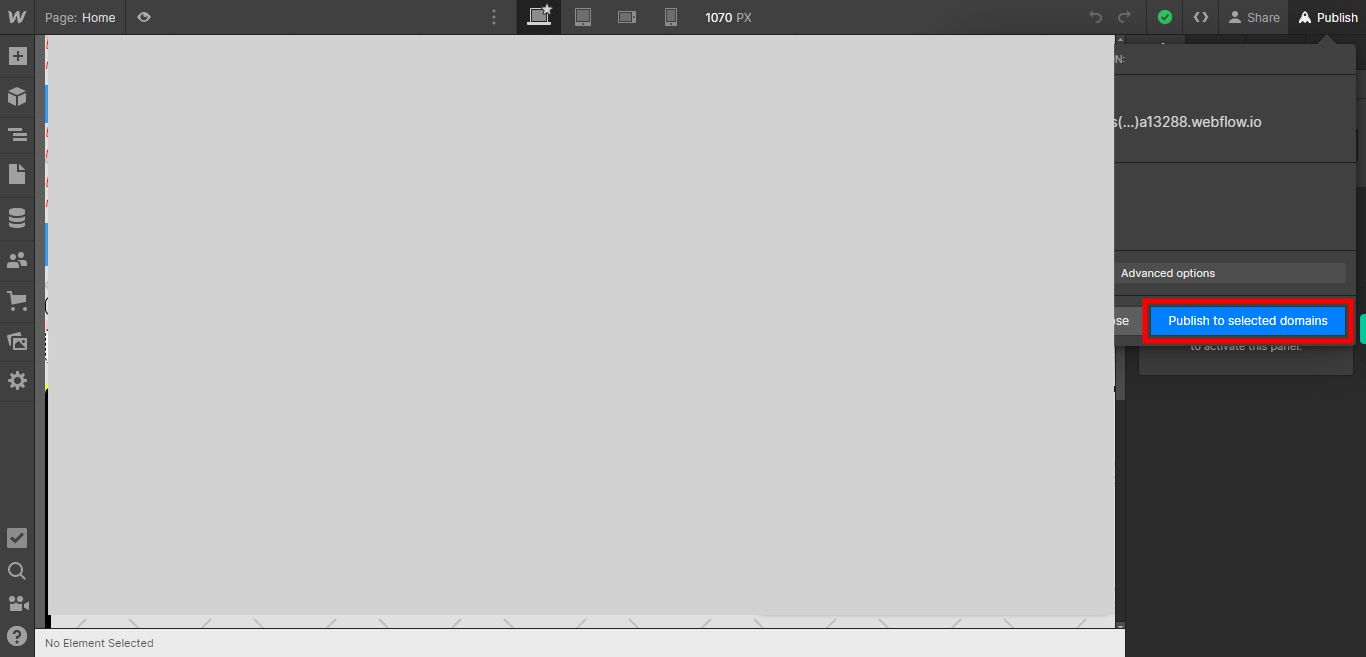
This skill shows the steps to be followed to the publishing process, whether you are using a Webflow subdomain or a custom domain. published website make it accessible to the public.Prerequisites:To ensure that you have at least one project available in the Webflow dashboard.[NOTE: 1. In this skill, we are showing the webflow subdomain if is for free. 2.Please make sure that log in to Webflow website before playing the skill]
-
1.
Open Webflow.
-
2.
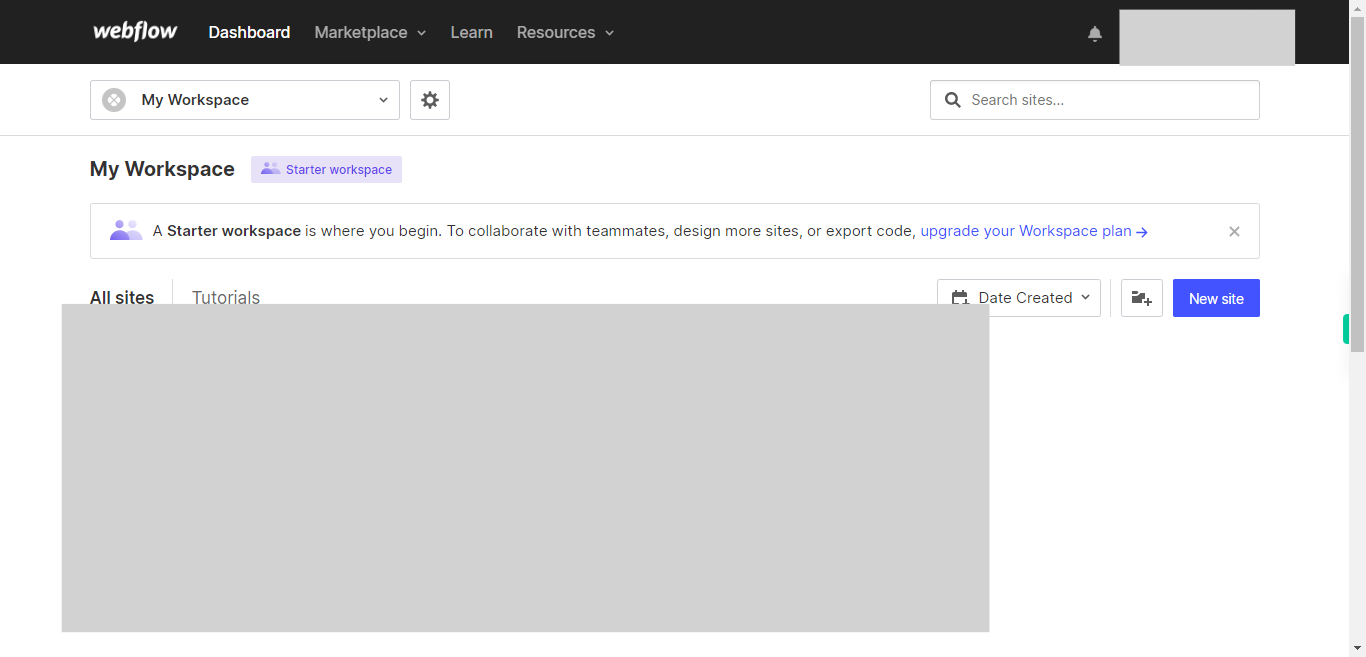
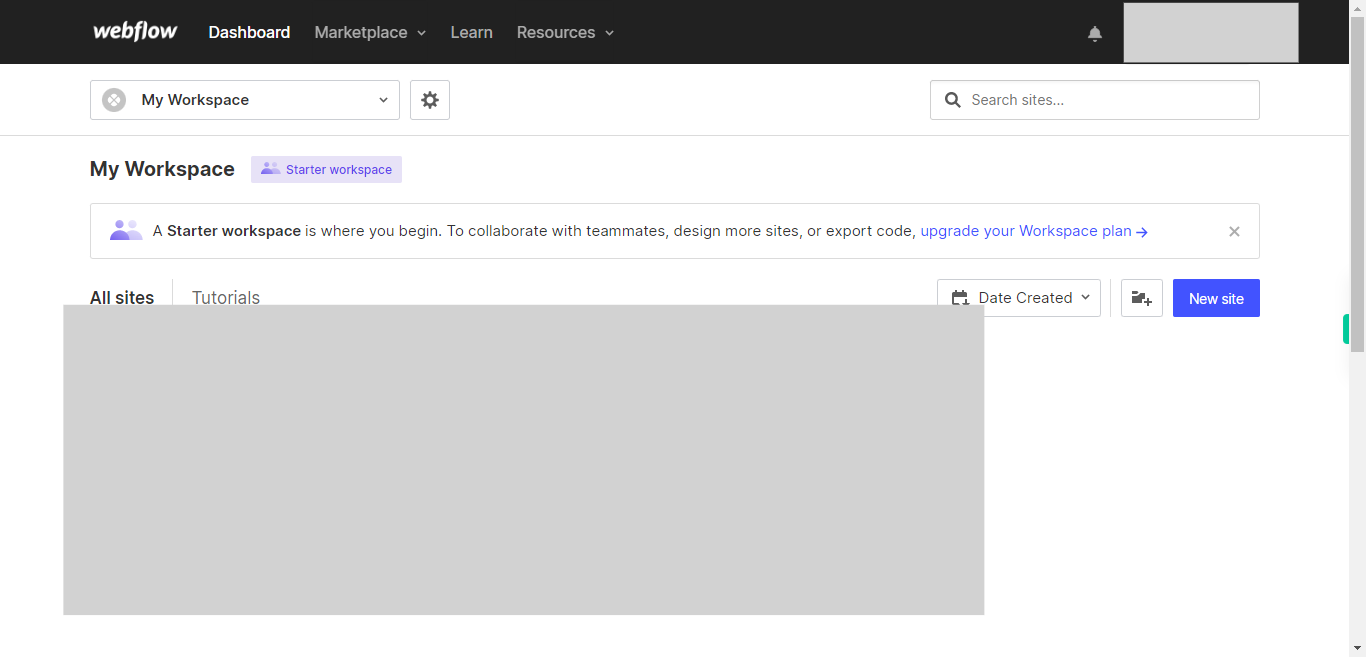
Click on the Next button in the Supervity instruction widget. you will see a list of your projects. By selecting the specific project you want to work on, you can access its editing interface.
-
3.
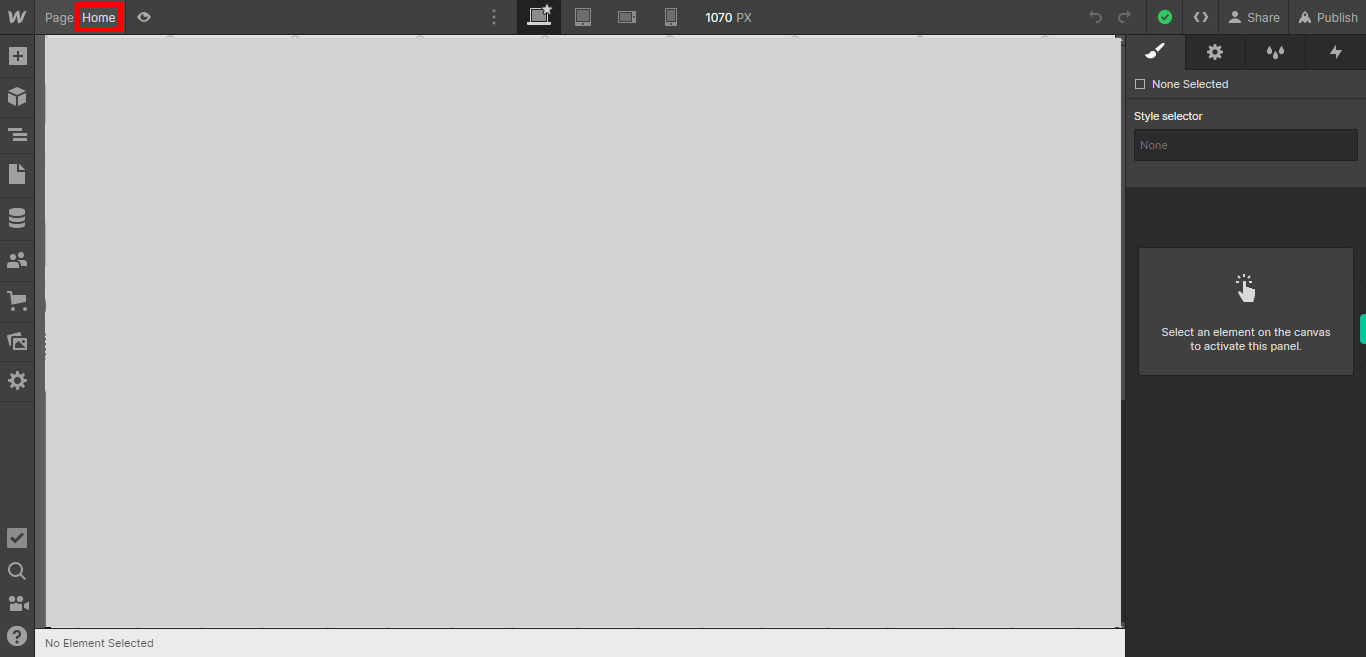
If you're unable to find the "+" icon to edit a web page in Webflow, there is an alternative method to access the design controls. First, click on the "Edit" button, usually located at the top right corner of the page or within the editor toolbar. This will open the editing options. Follow the below steps select design control->design here->OK. Click on the Next button in the Supervity instruction widget.
-
4.
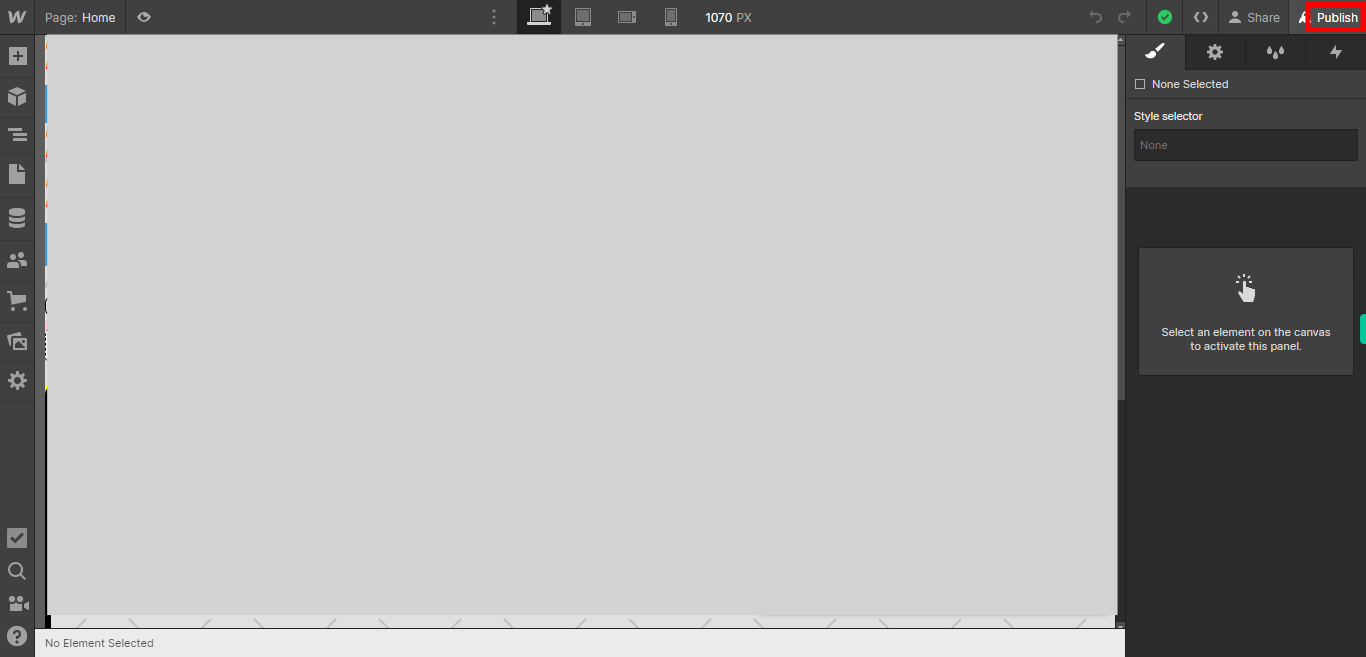
To make your website live and accessible to the public, click on the "Publish" button. This action will initiate the process of publishing your web project, making it available for viewing on the internet. It will ensure that your website is deployed and accessible to visitors, allowing them to interact with the content and navigate through the pages.
-
5.
By clicking on the "Publish" button, you will be prompted to select the domain for your website, ensuring its successful publication. This step allows you to choose the specific domain or subdomain where your website will be hosted and accessed by visitors.


