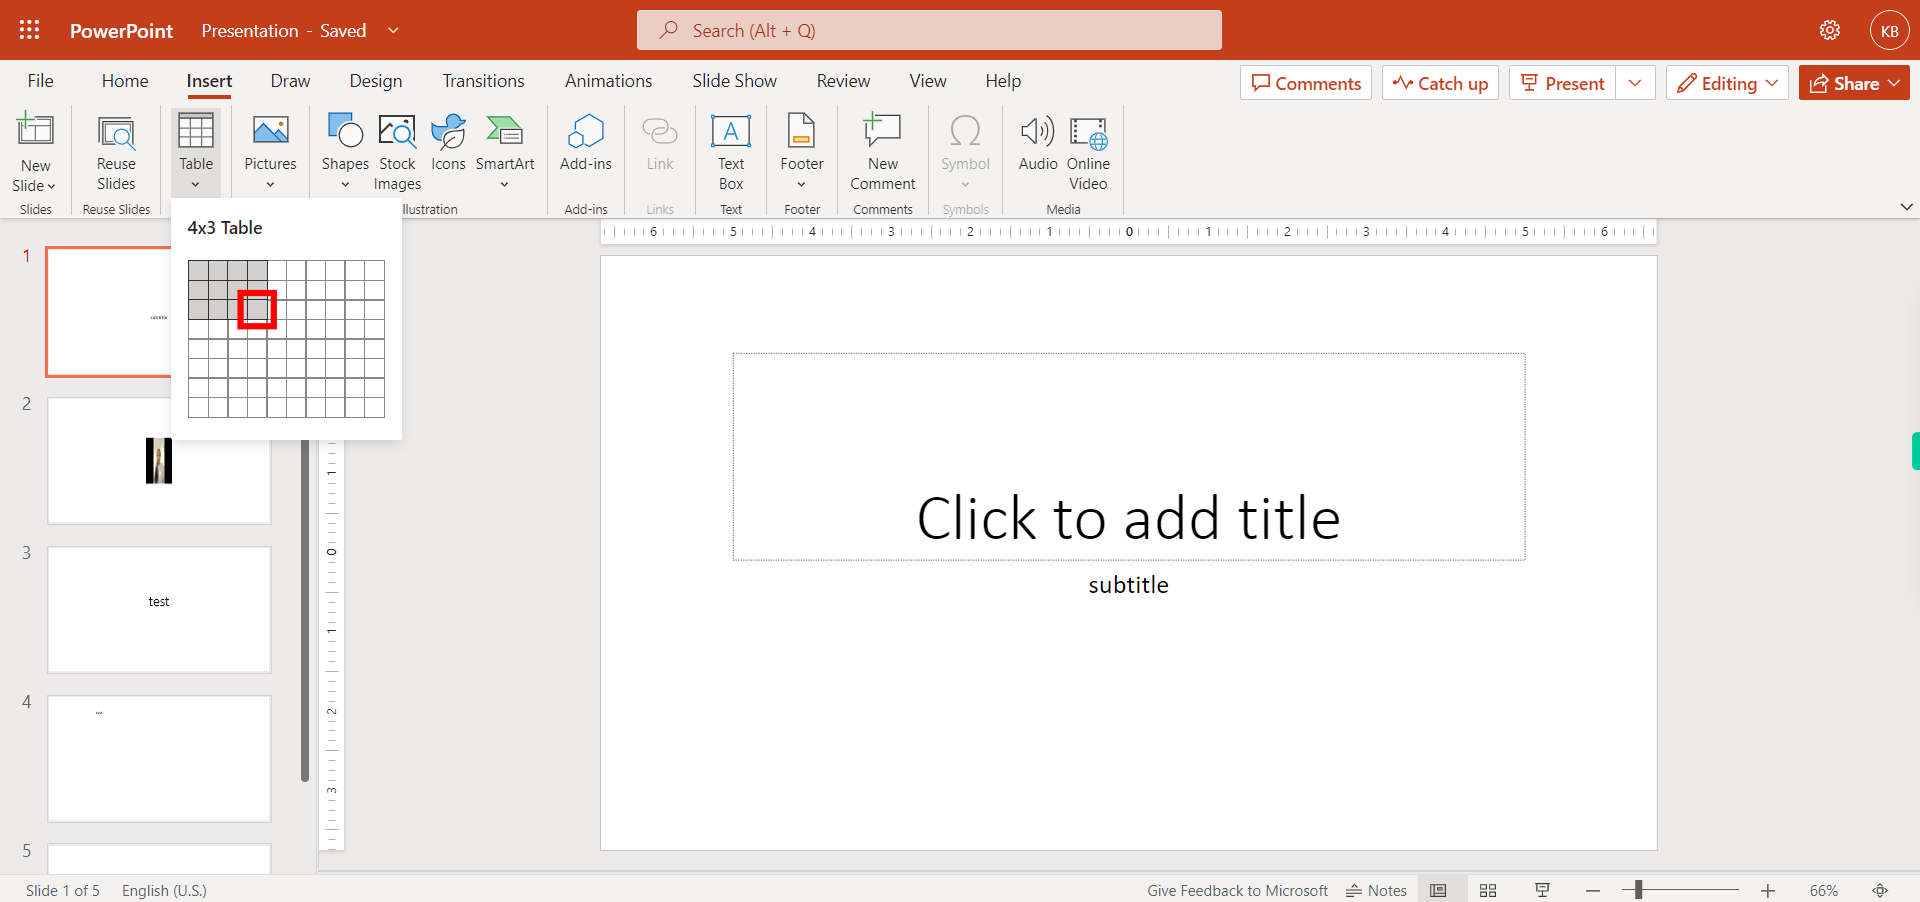
This skill navigates the process of adding a table to a slide. NOTE: Make sure that you have logged into Outlook account before playing the skill.
-
1.
Open Outlook PowerPoint application in browser
-
2.
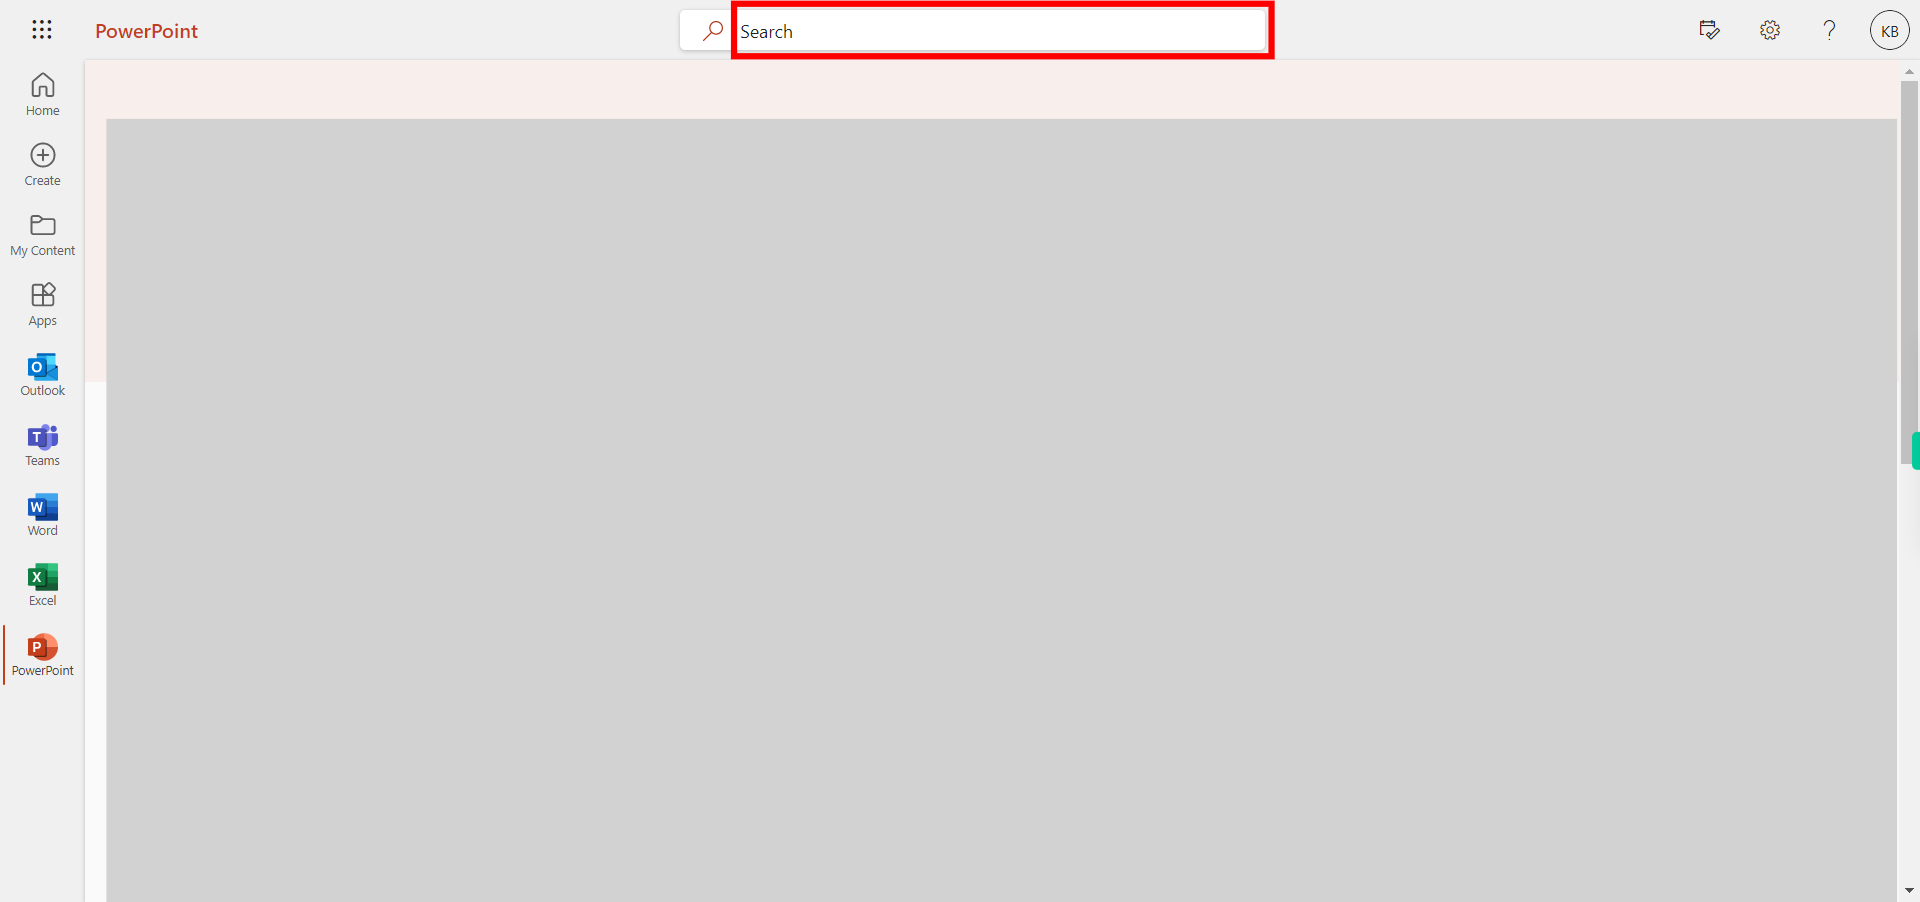
Click on the search box and search for the file you want to a table then press enter and then click on the Next button in the Supervity instruction widget and open the file.
-
3.
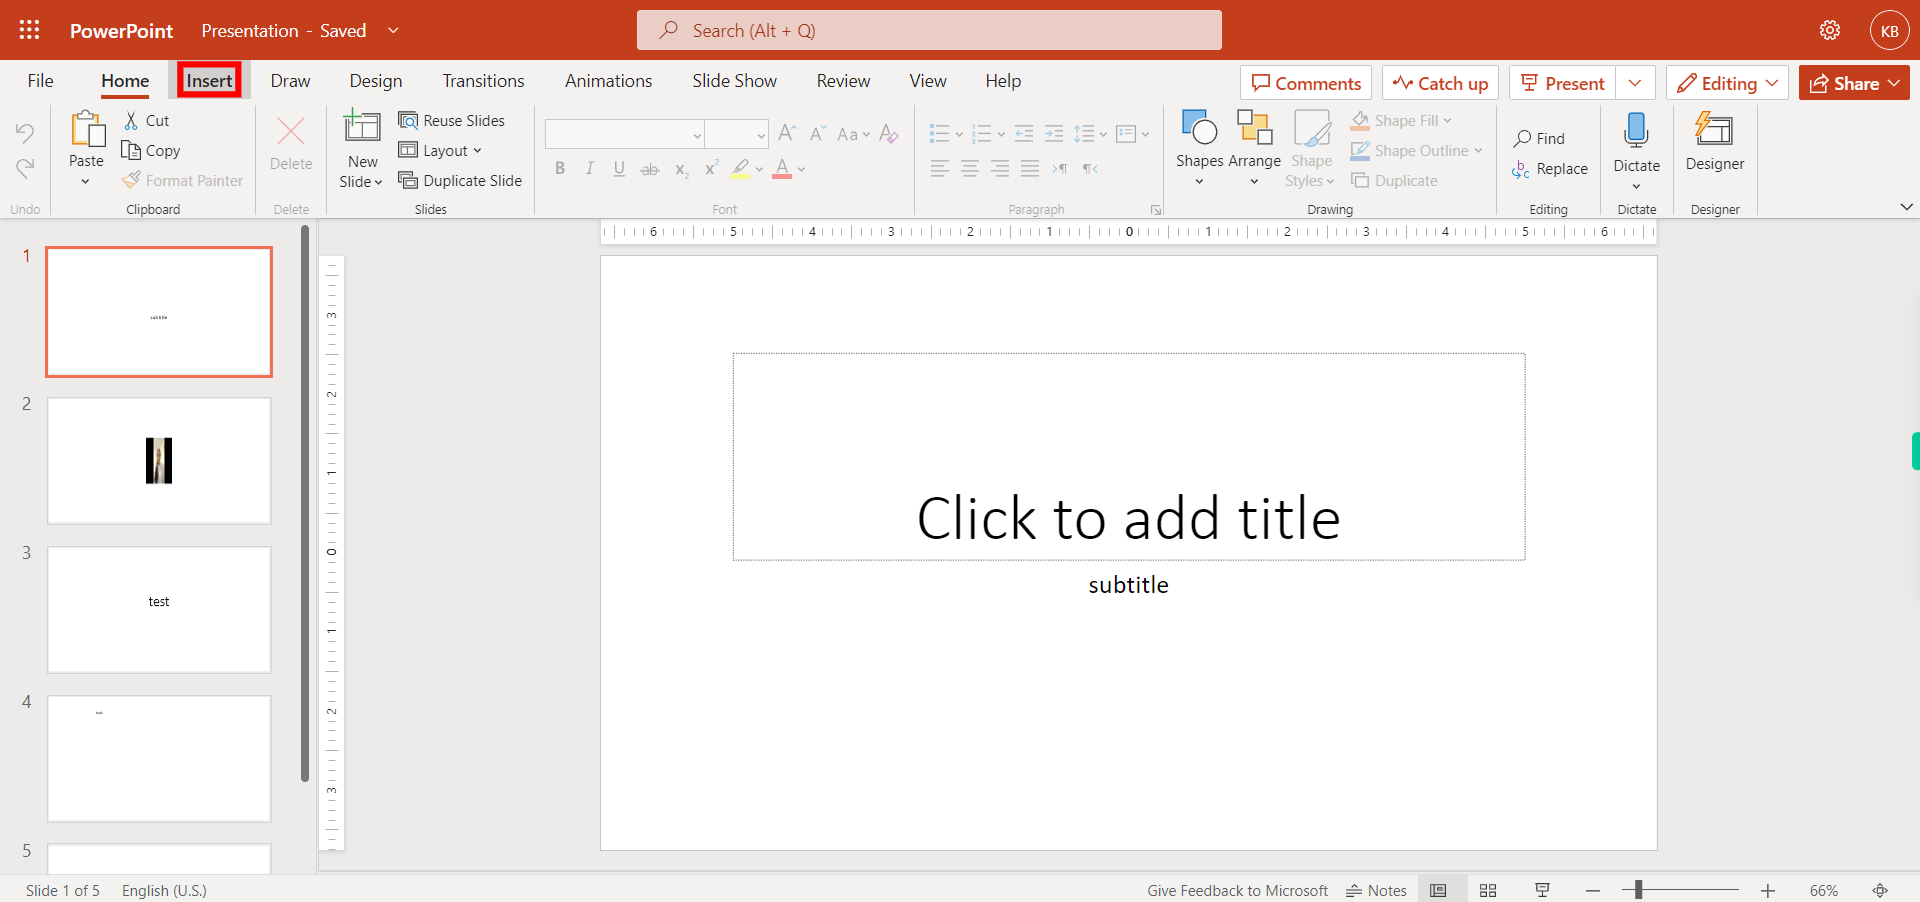
Click on the "Insert" tab at the top of the PowerPoint window.
-
4.
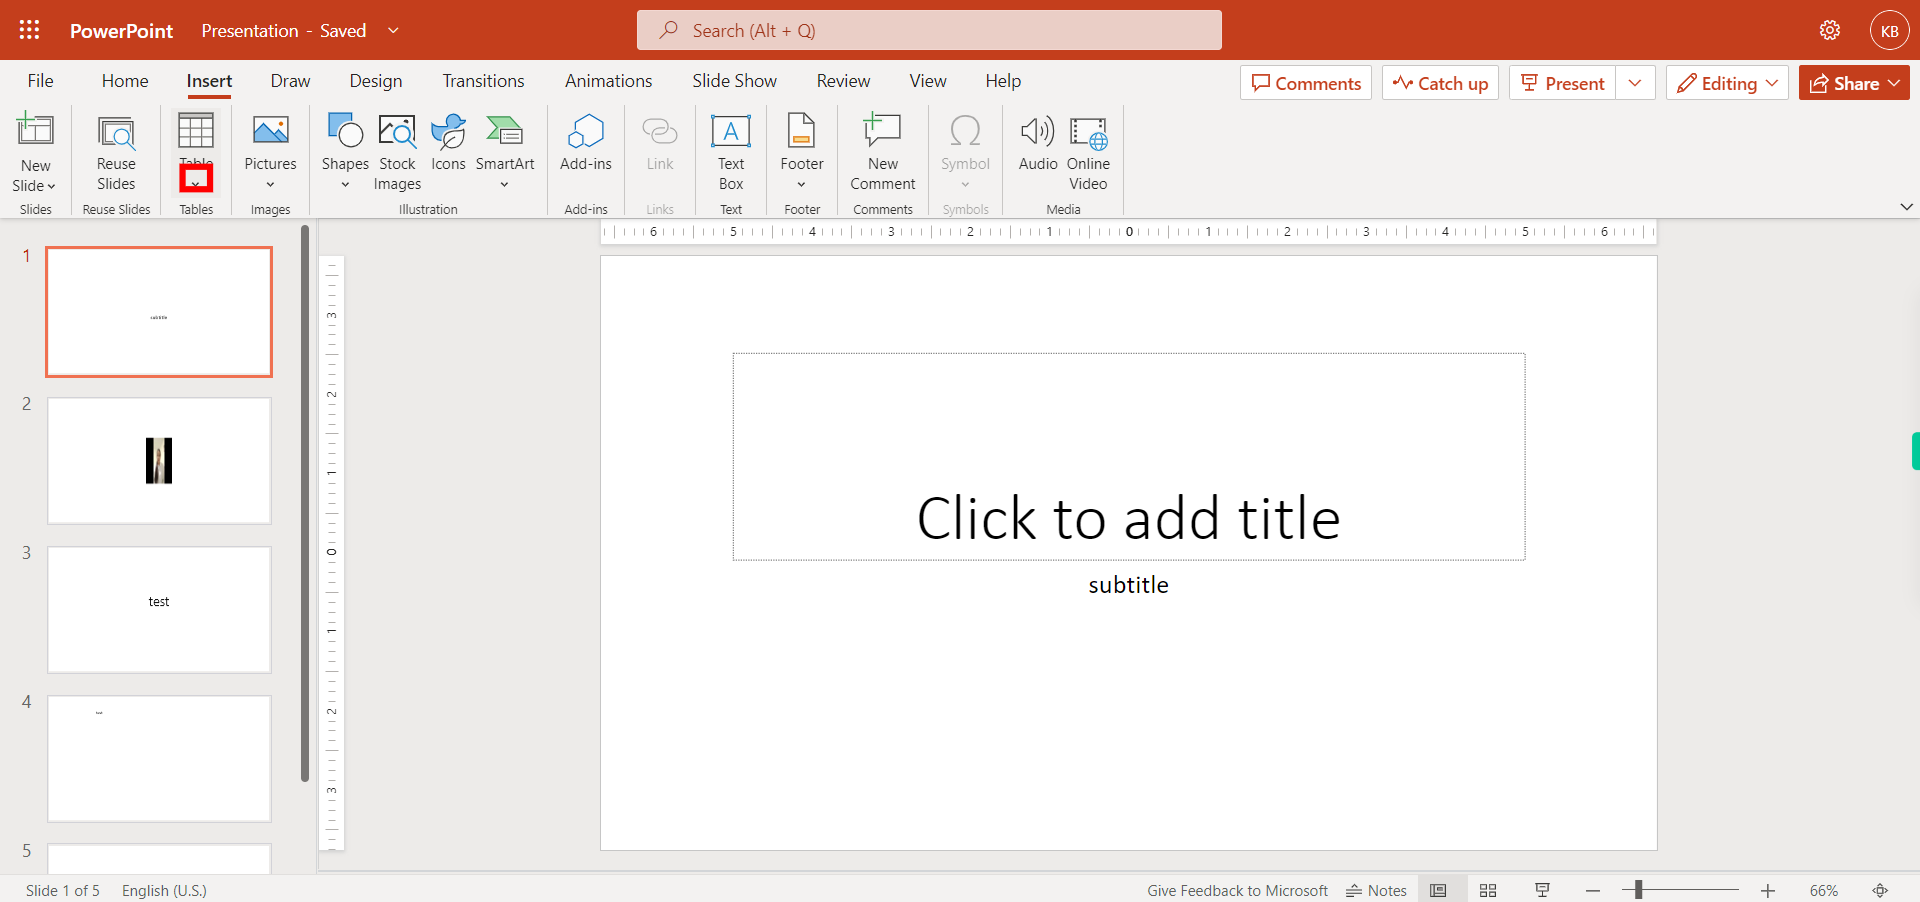
In the "Tables" group, click on the "Table" button.
-
5.
Click on the Close button in the Supervity instruction widget. A grid will appear with a highlighted number of rows and columns. Move your mouse over the grid and select the number of rows and columns you want for your table. Click to insert the table. Once you have added and customized the table, remember to save your presentation. Click on the "File" tab and select "Save" or "Save As" to choose the location and name for your presentation file.
