Step by step Process of Applying Filter and Find and Replace the text in Outlook Excel NOTE: TO use this skill User need to login to Microsoft Apllications.
-
1.
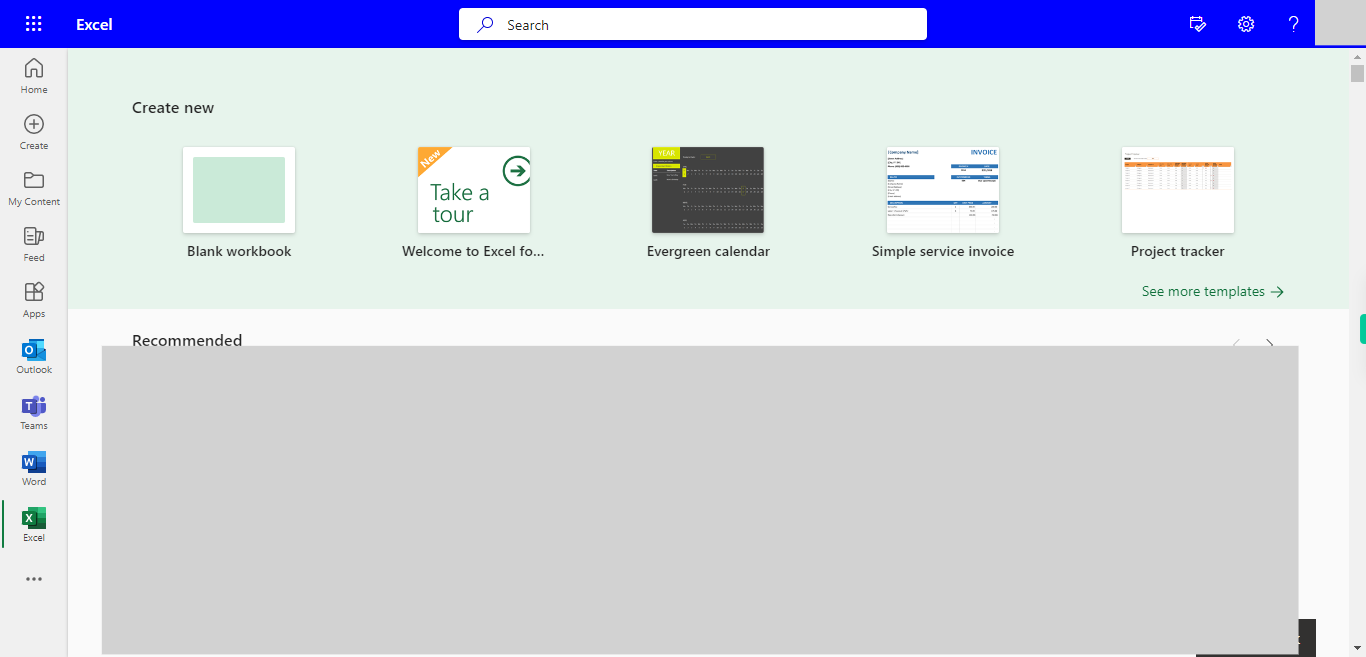
Open Microsoft Excel on the Web.
-
2.
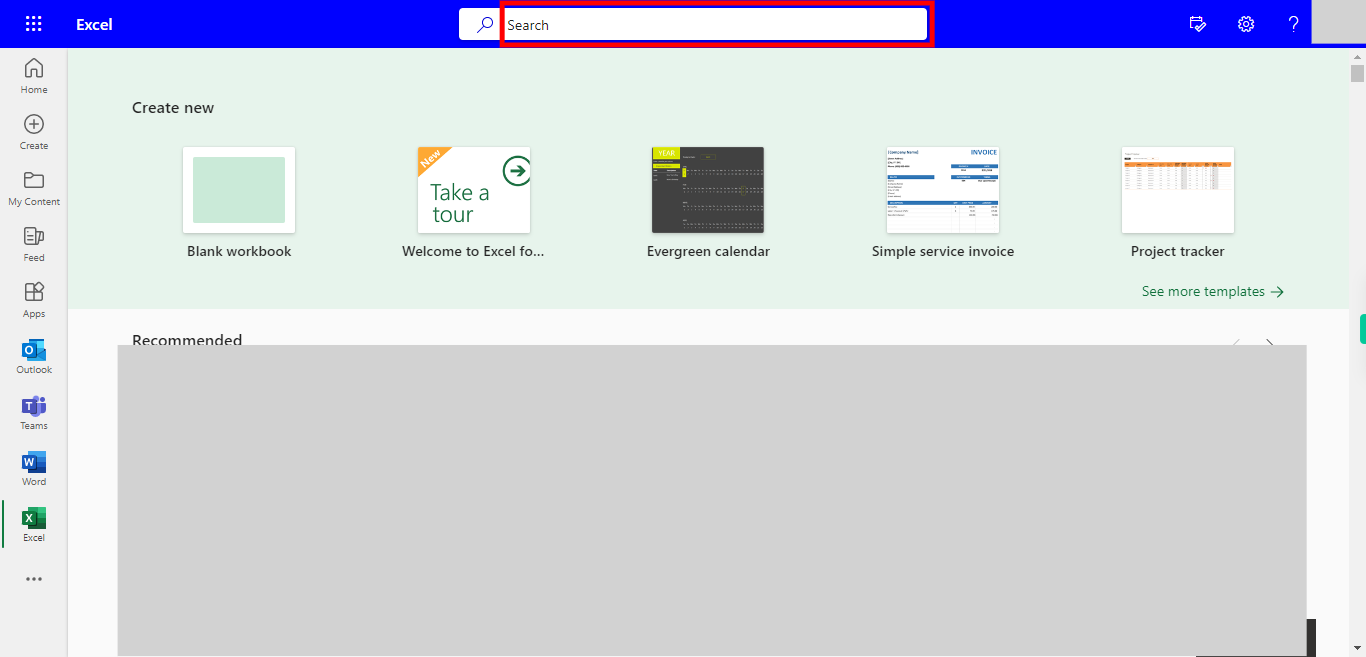
Click on the Search Bar on the Top of the screen, Which Enables the user to find the files located in the Various folders of Outlook Excel. Type the File name in the Search bar, the Recently used files will be displayed under the Search bar. Click on the "Next" button on the Supervity instruction widget. Open the file under Suggested files.
-
3.
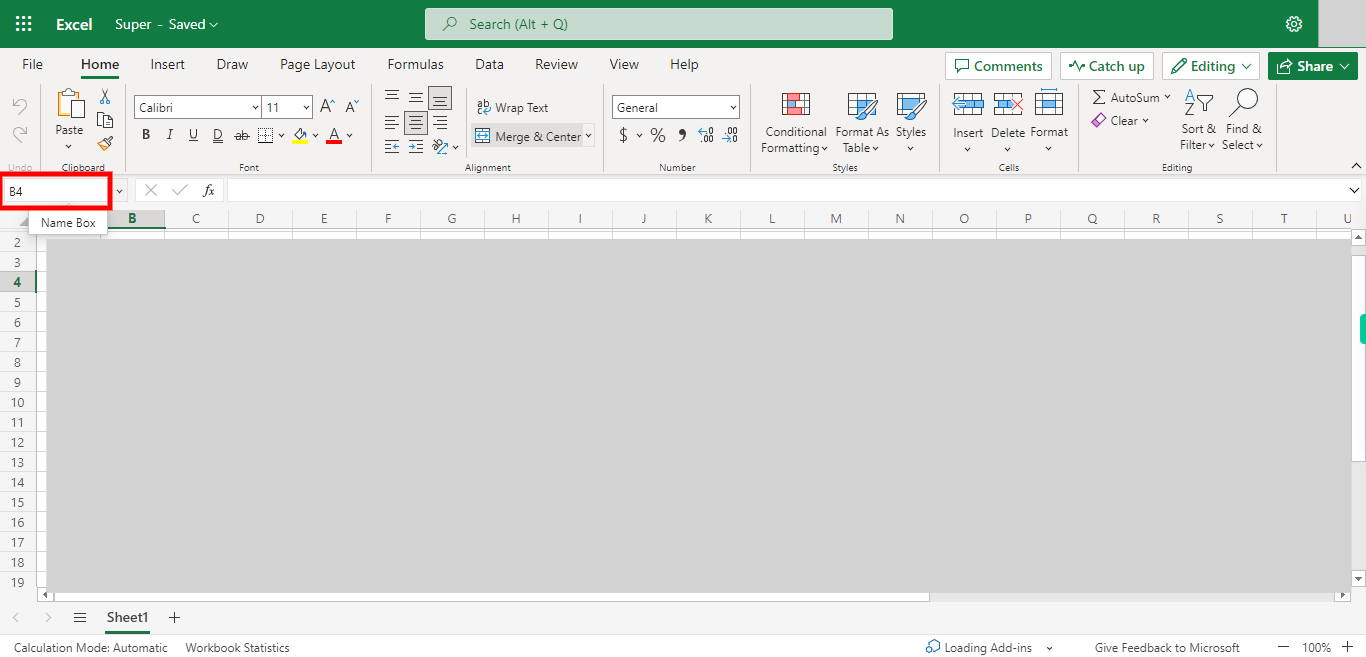
Click on the Name box and enter the Cell address for which you want to apply the filter. Once done, click on the "Next" button on the Supervity instruction widget.
-
4.
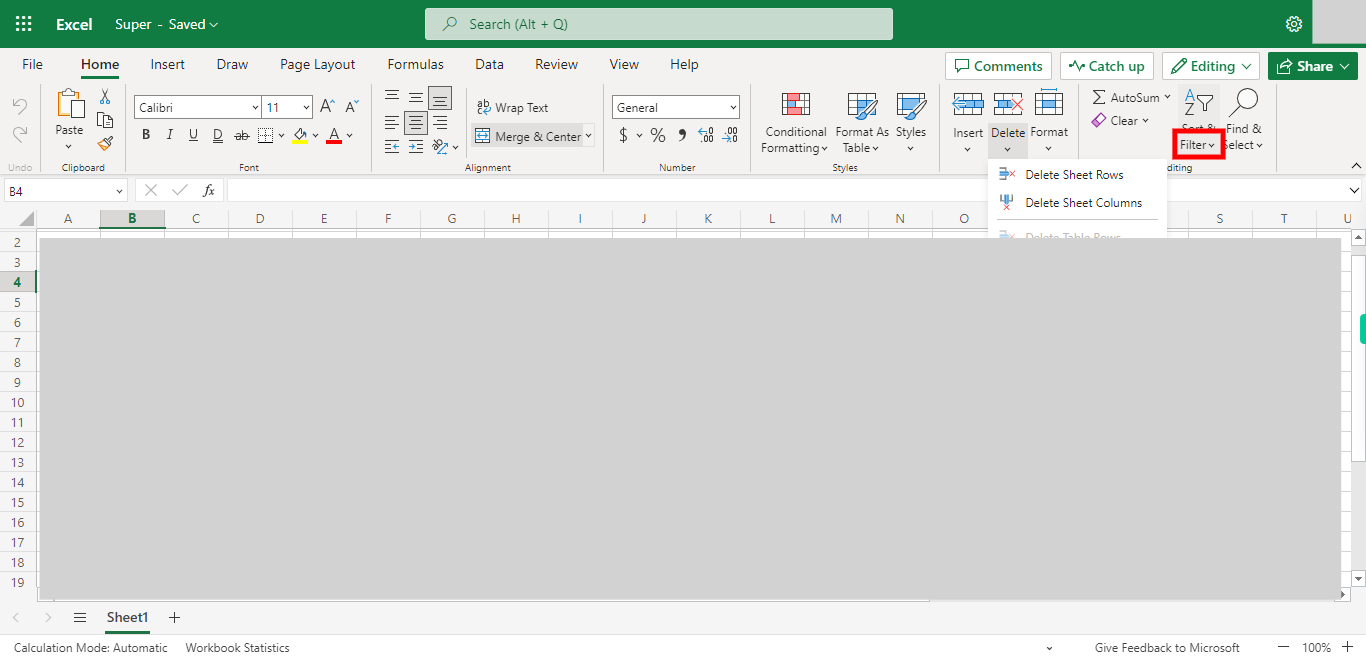
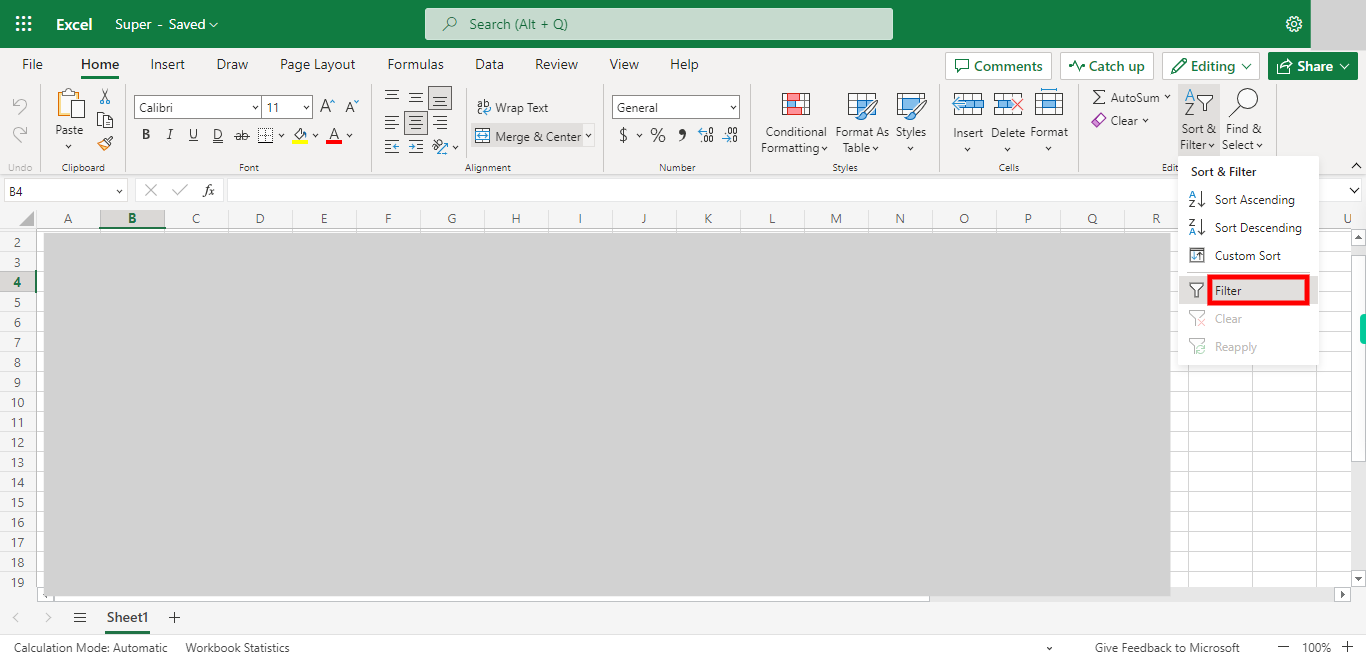
Click on Sort & Filter Drop-down.
-
5.
Click on Filter, Which will apply the filter option for the Selected Cell. We can also apply a Filter for the Whole row by Selecting the whole row before applying the filter.
-
6.
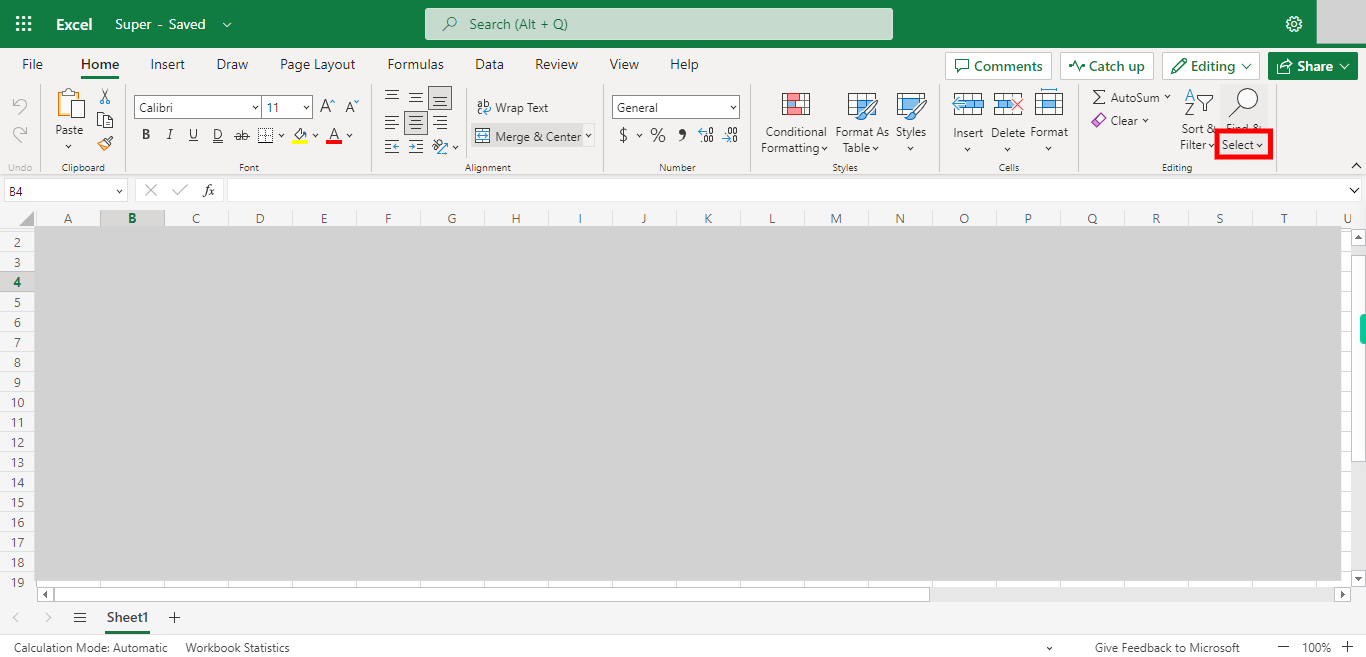
Click on Find & Select Drop-down.
-
7.
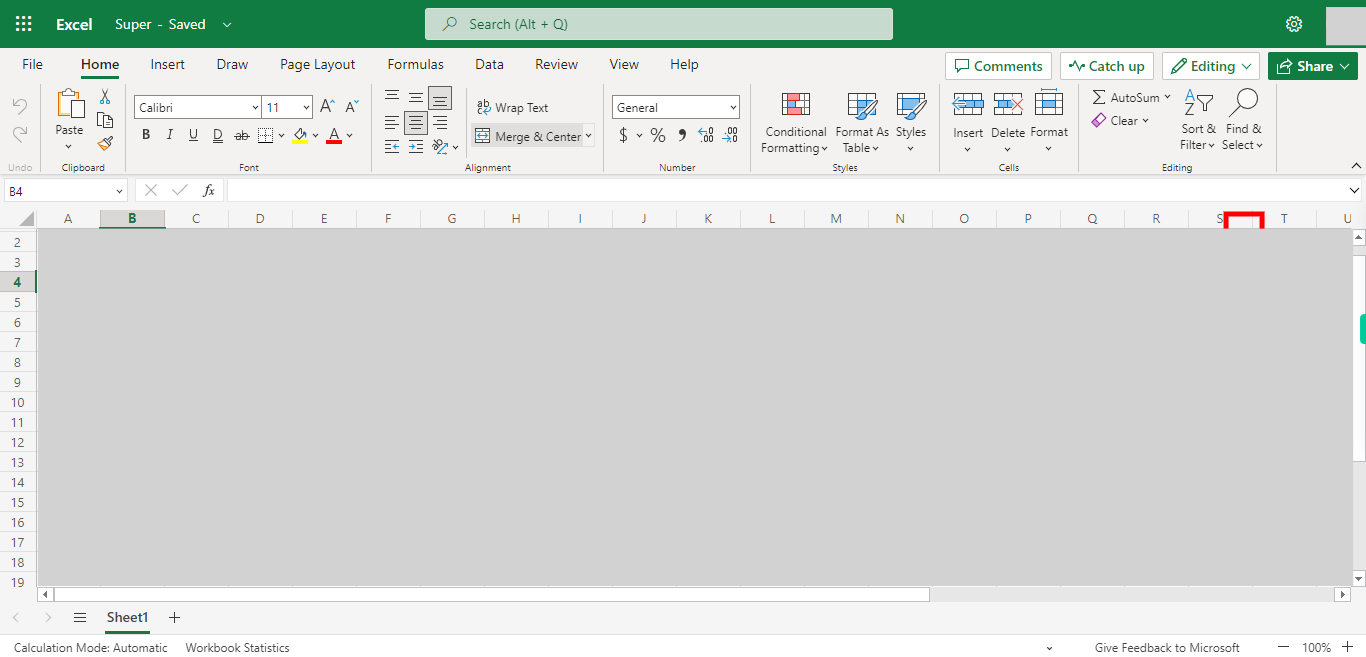
Click on Replace to open the pop-up for replacing texts.
-
8.
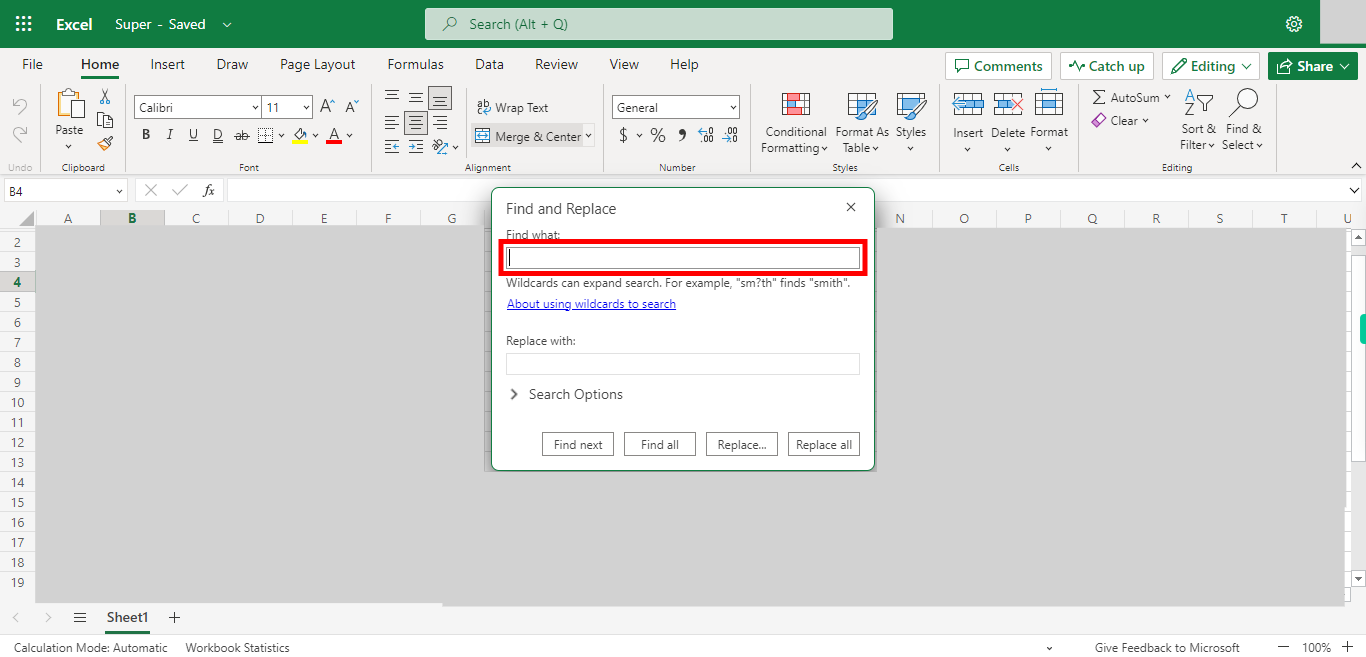
Click on the Text field under Find what, Enter the Source text in the given area. Once done, click on the "Next" button on the Supervity instruction widget.
-
9.
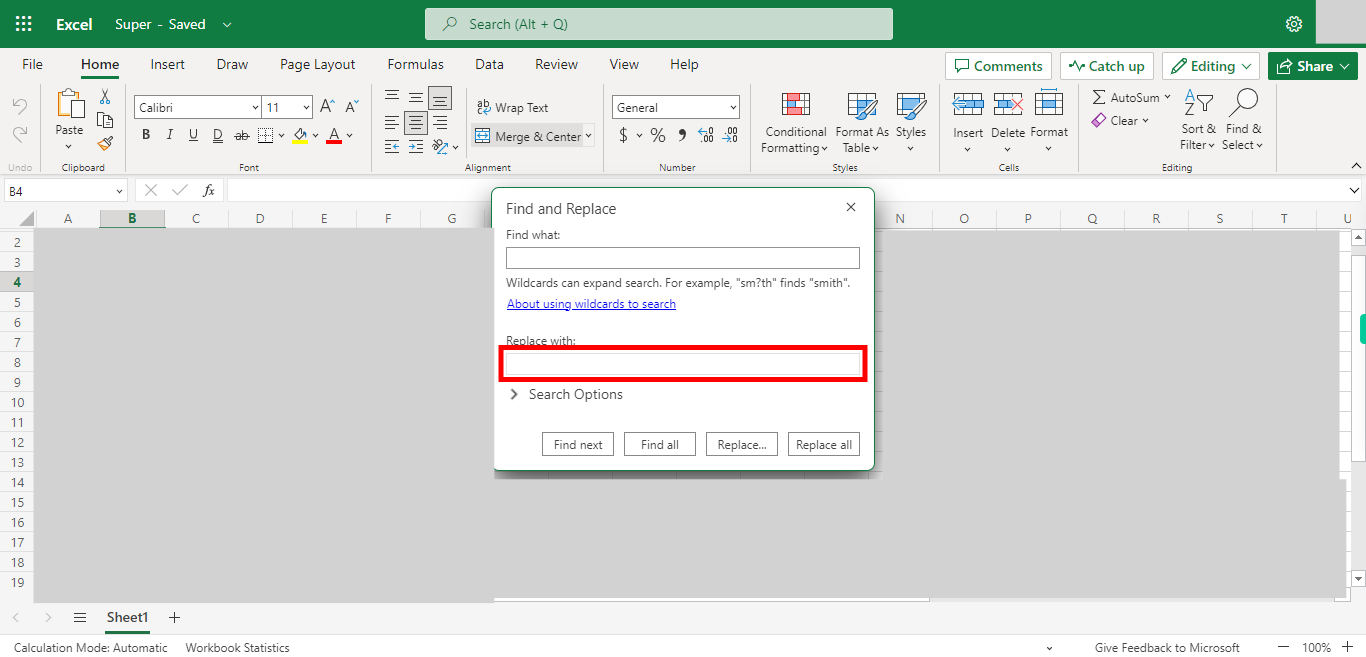
Click in the Text box under Replace with, Enter the Teaget text to replace the above-mentioned text. Once done, click on the "Next" button on the Supervity instruction widget.
-
10.
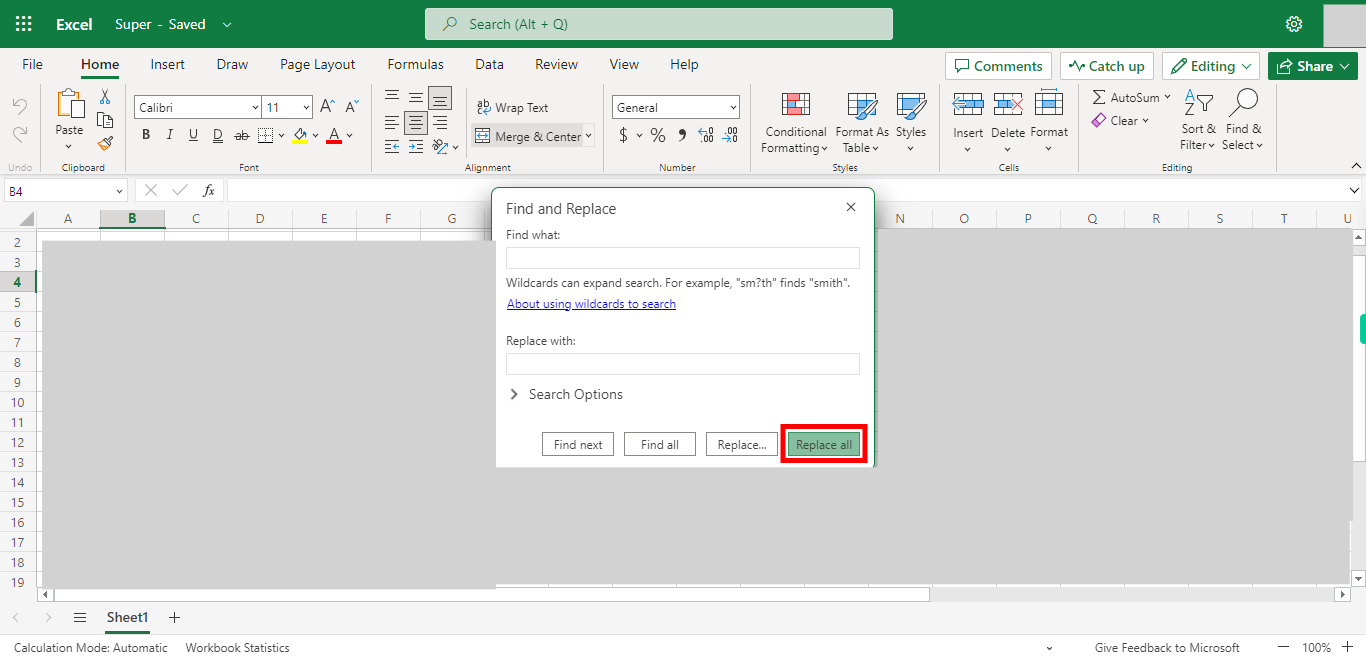
Click on Replace All, This will replace all the text inside the Excel.


