Step by step process of Creating Notes on Evernote application on web. Evernote is an application that helps you stay organized by allowing you to create and store various types of digital notes. These notes can include text, images, audio recordings, and even attachments. Note: Please ensure that you are already logged into the Evernote application on the web before executing this skill.
-
1.
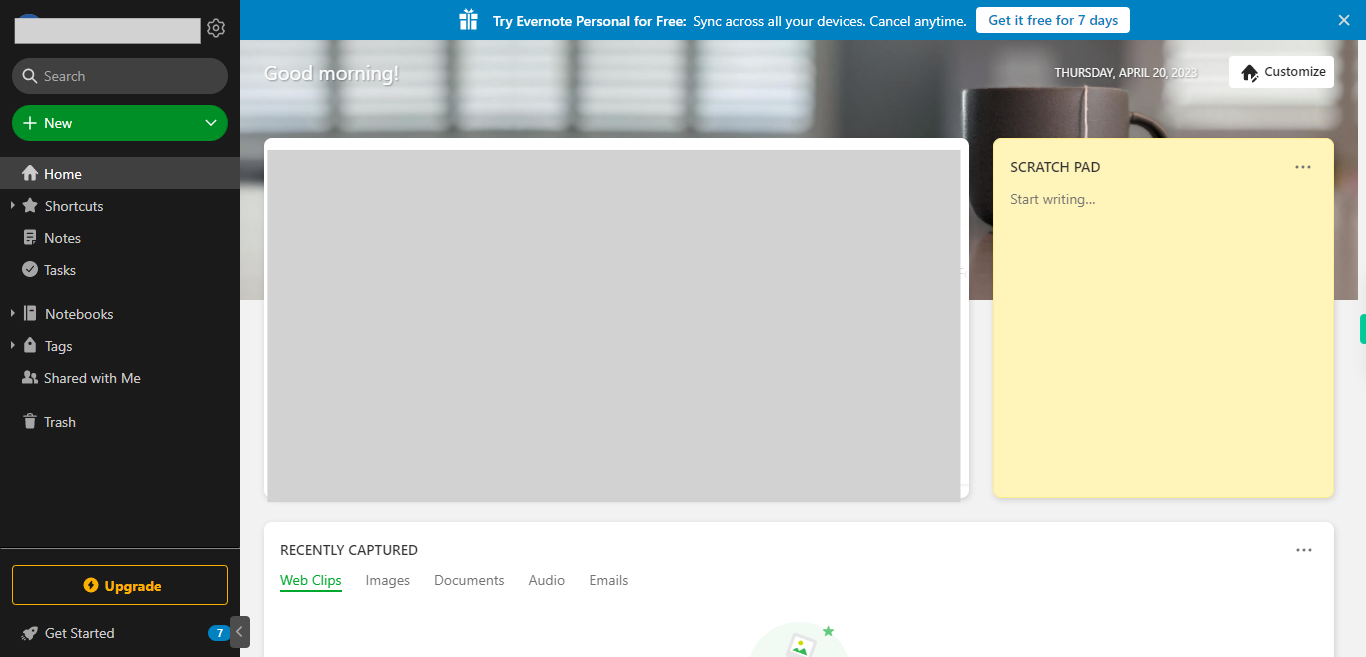
Open Evernote web application.
-
2.
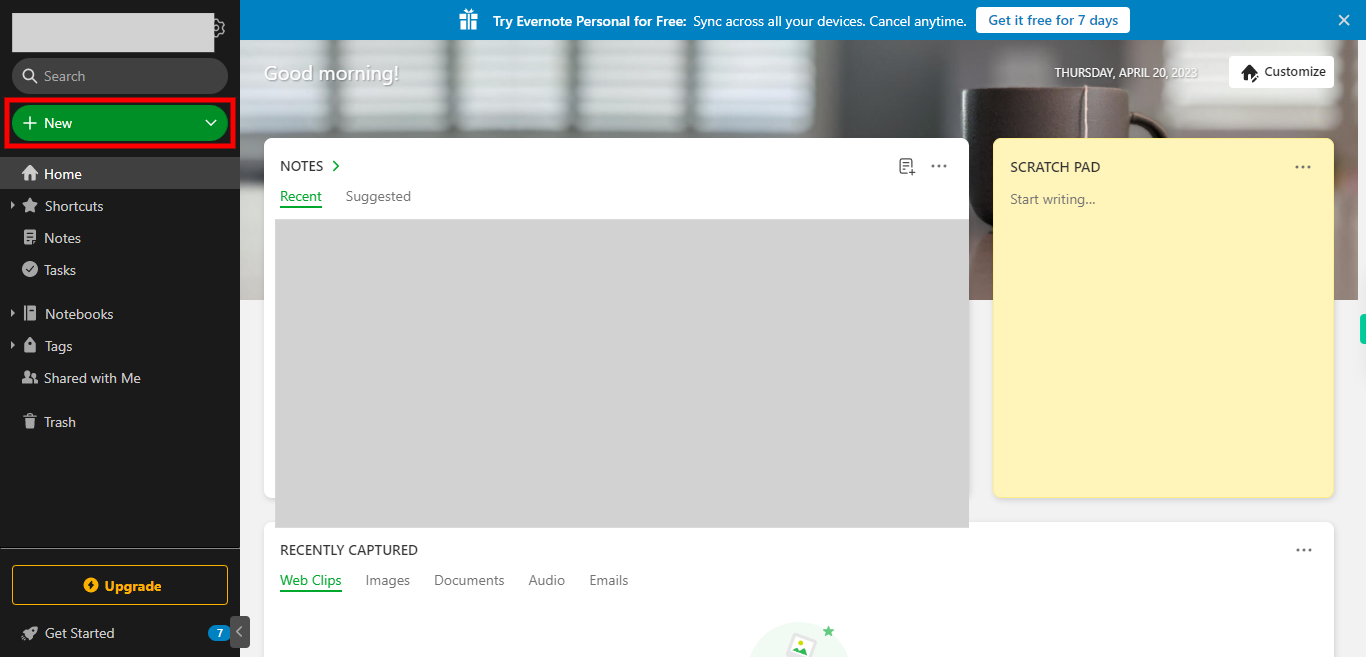
Click on the "+ New" icon located on the left-hand side of the webpage to access a dropdown menu with various options.
-
3.
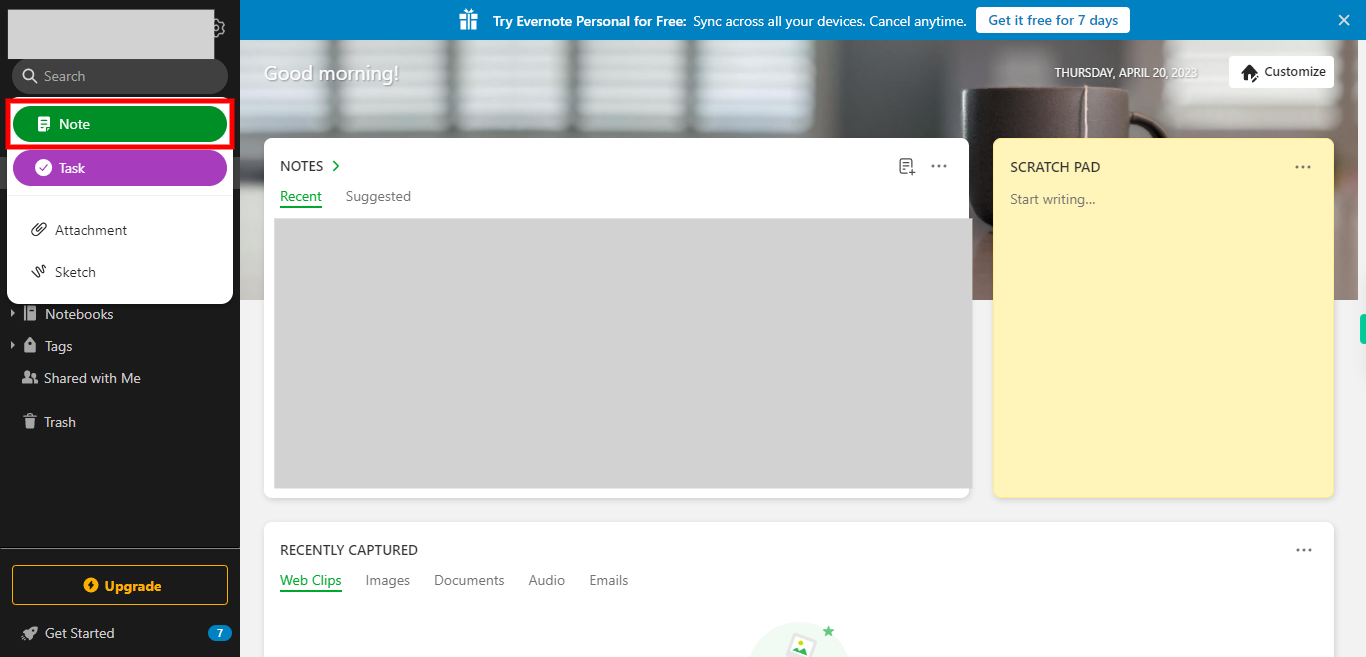
From the dropdown menu, select the "Note" icon to begin creating a new note. This action will open a window on the right side where you can create the notes.
-
4.
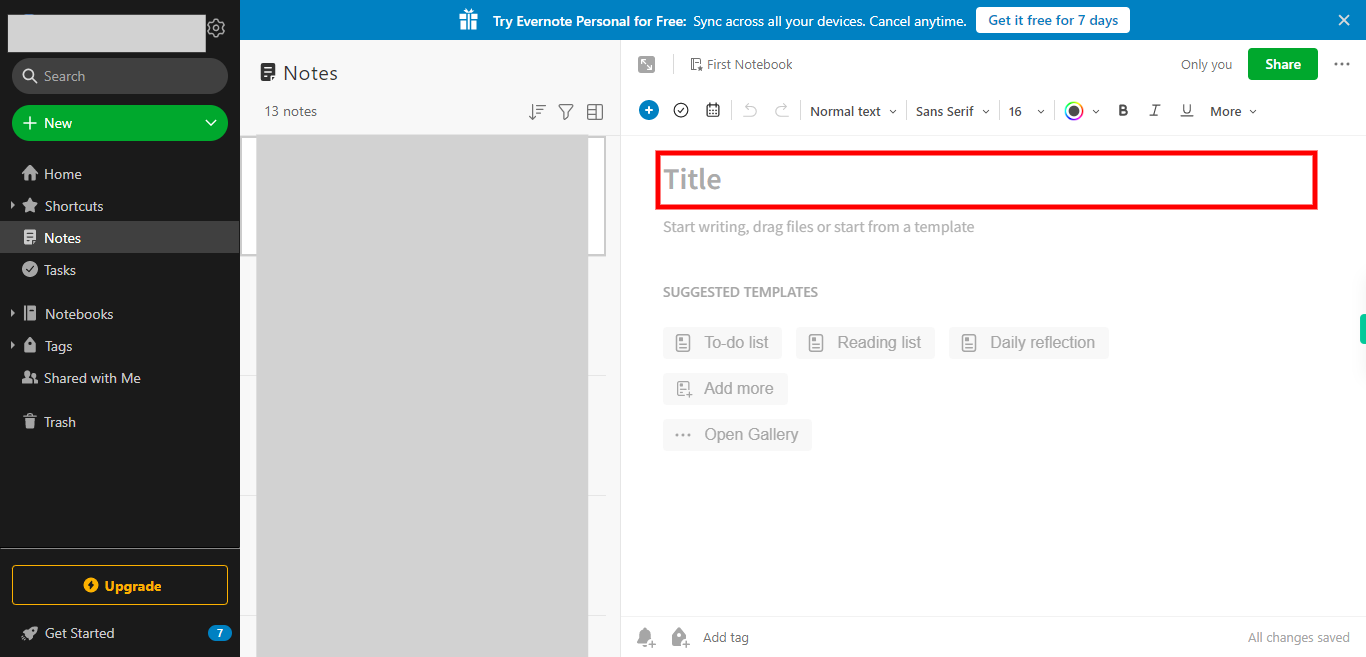
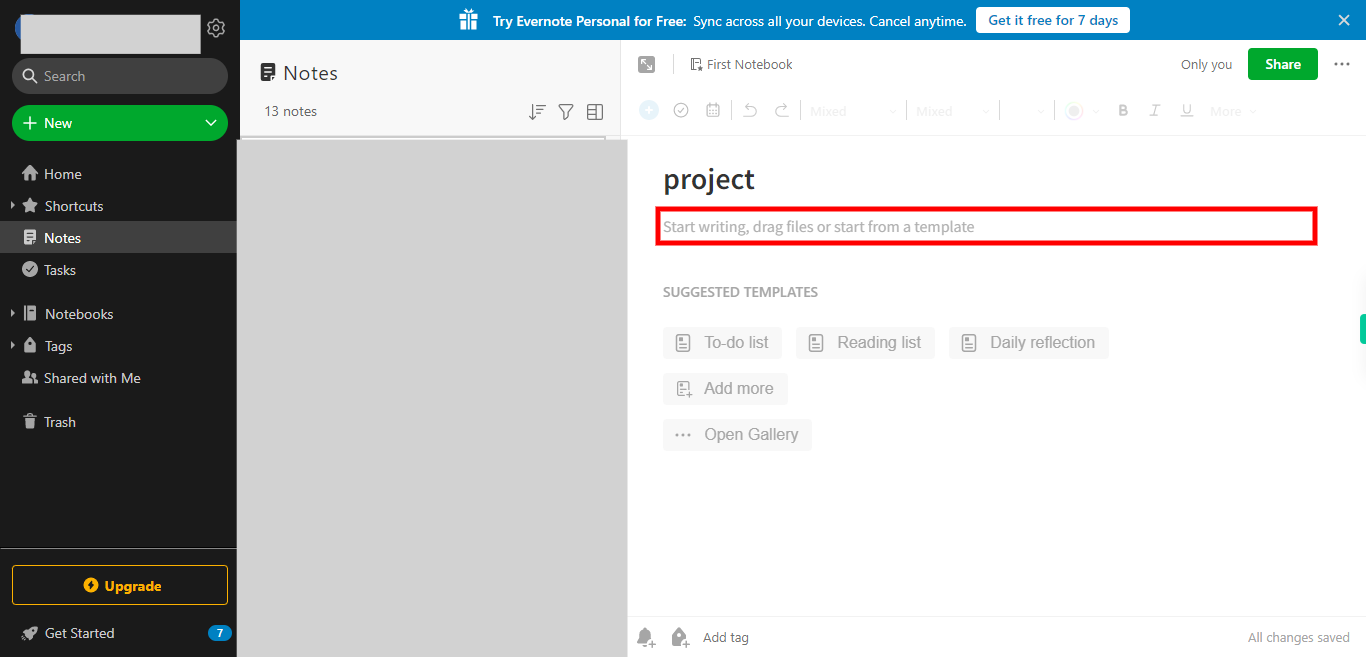
Click on the "Title" field and enter a meaningful title that accurately reflects the context of the note you are creating. Once done, Click on the "Next" button on Supervity Instruction widget.
-
5.
Begin writing the content of your note in the designated area provided in the note window. You can type out your thoughts, ideas, or any other information you want to include in the note. Once done, Click on the "Next" button on Supervity Instruction widget.
-
6.
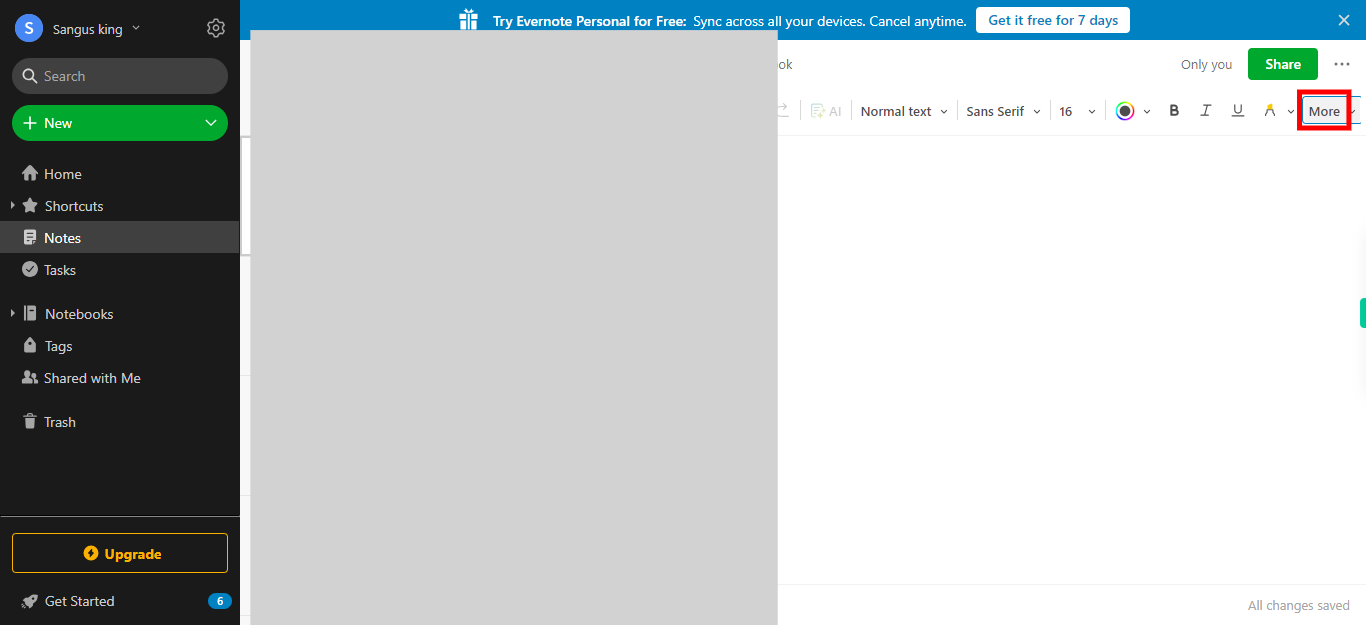
Click on the "Close" button on the Supervity instruction widget. Then, click on the "More" icon, located on the right-hand side of the screen, to access several options related to the text alignment of the content. Changes would be automatically saved to this note.


