This skill guides you in creating a shared folder in Dropbox, enabling you to share and collaborate on an entire folder with others.Please make sure you have logged in to Dropbox before running the skill.
-
1.
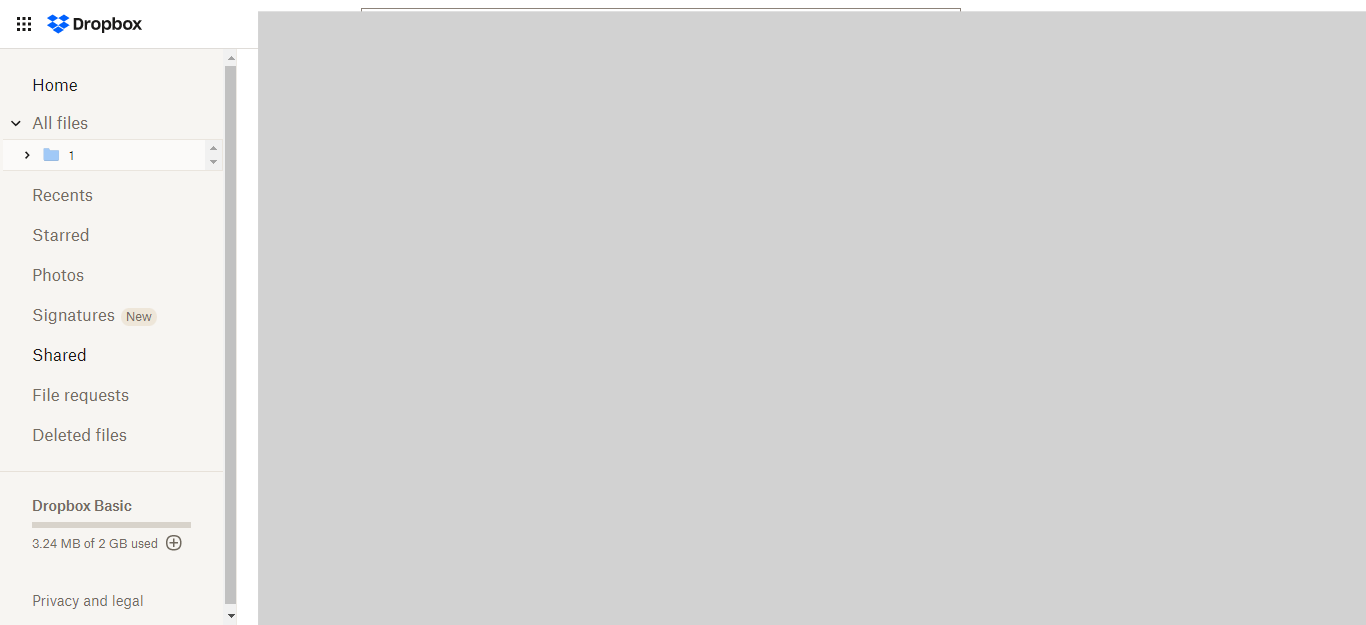
Open Dropbox
-
2.
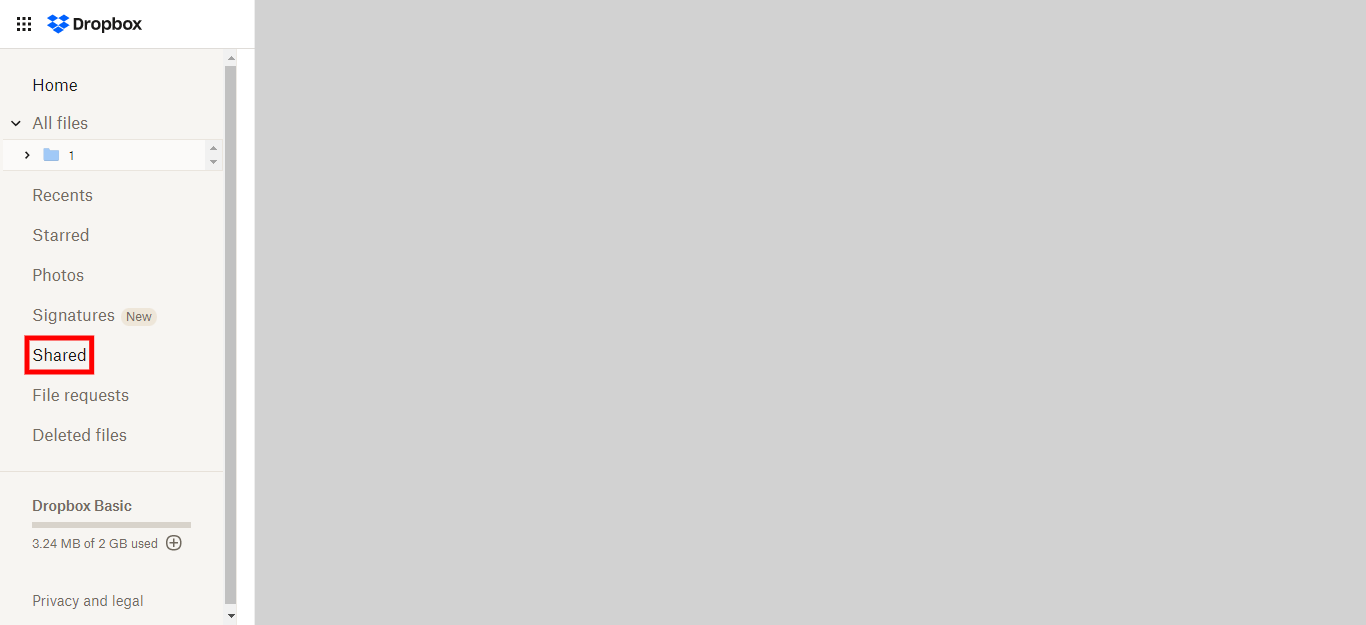
Click on the "Shared" option. Clicking on the "Shared" option will navigate you to the shared folders section in Dropbox.
-
3.
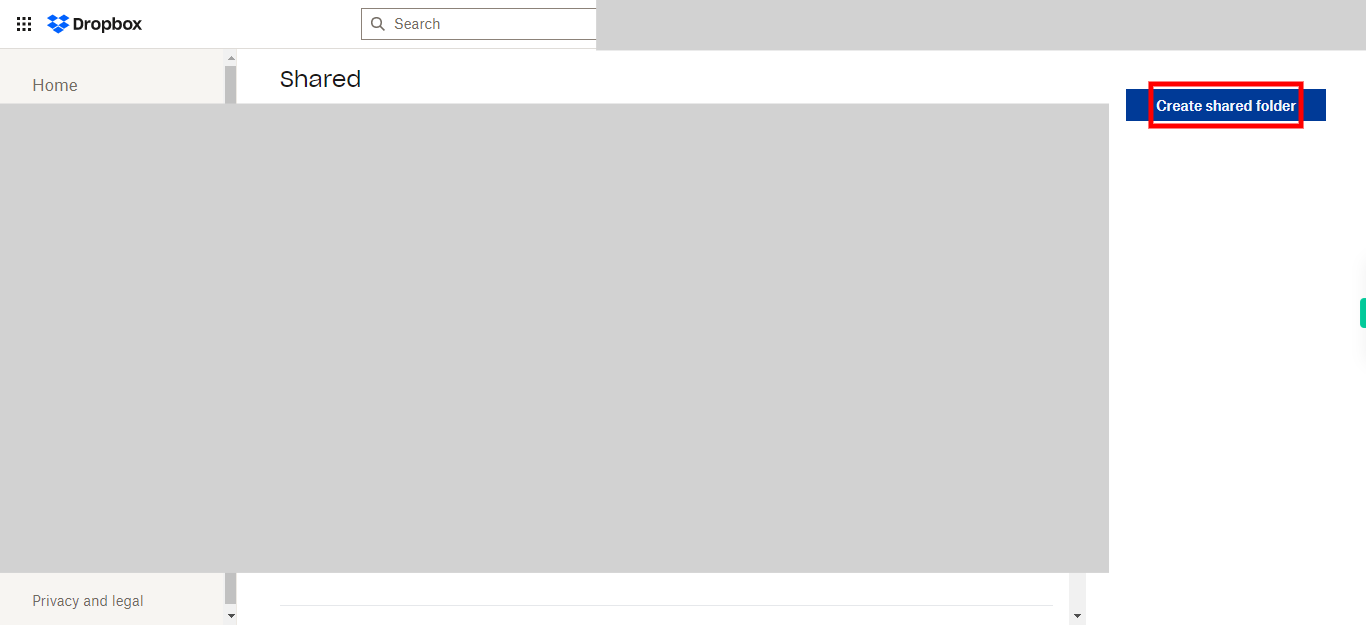
Click on the " Create shared folder" option. Clicking on the "Create shared folder" option allows you to create a new shared folder in Dropbox.
-
4.
Click on the "Next" button. Clicking on the "Next" button proceeds to the next step in creating the shared folder in Dropbox.
-
5.
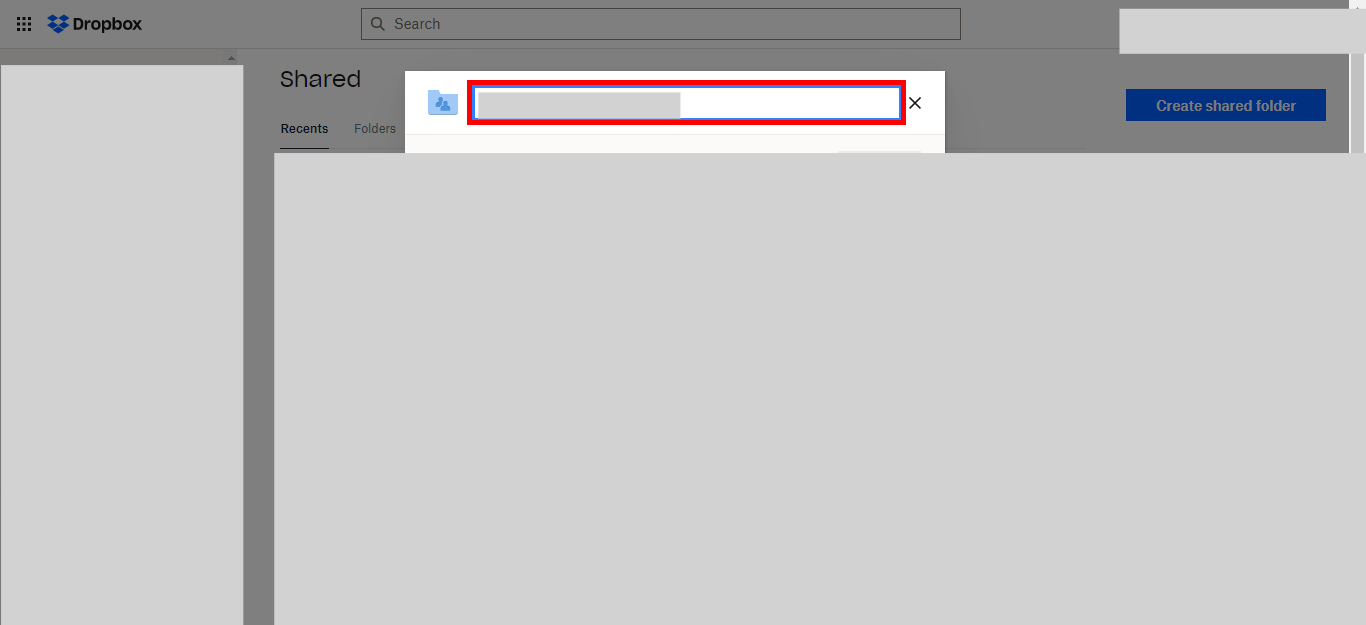
Click on the field provided and enter the name you wish to give to your shared folder in Dropbox. Click on the Next button in the Supervity instruction widget.
-
6.
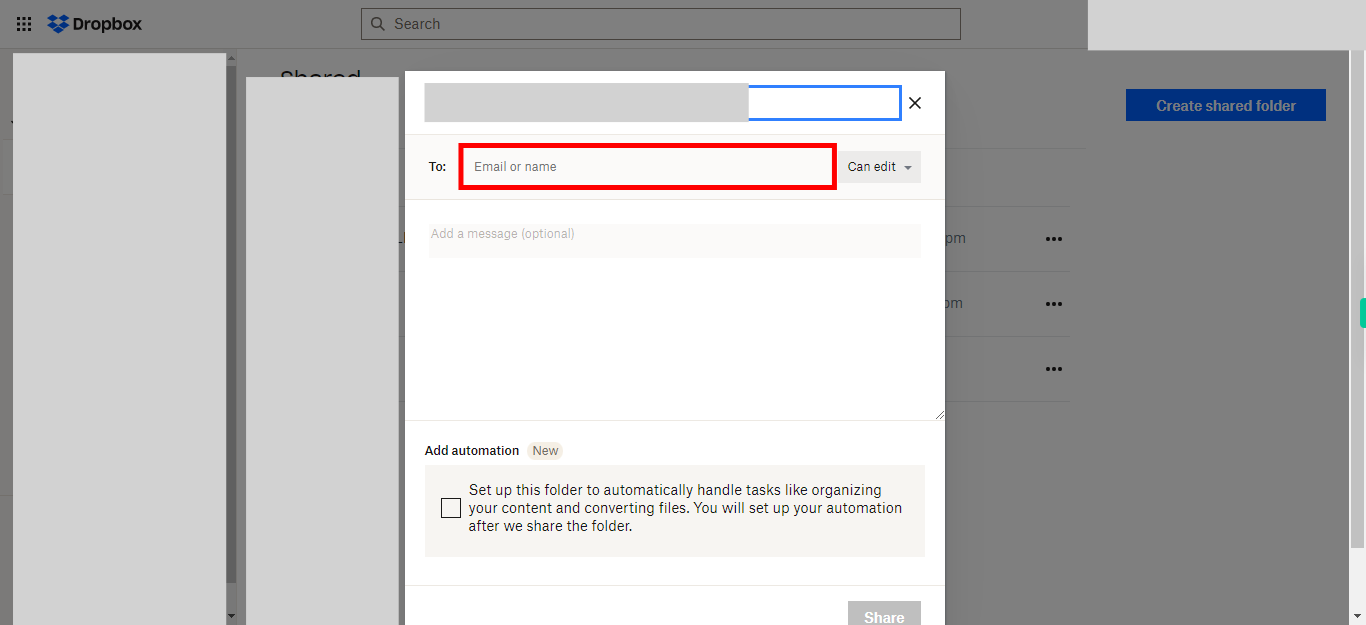
Click on the designated field and enter the name or email address of the person you want to share the folder with in Dropbox. Click on the Next button in the Supervity instruction widget.
-
7.
Click on the designated field to select the appropriate permission level that you want to grant to the person you are sharing the folder with in Dropbox. The available permission levels typically include options such as "Can edit," "Can view," allowing you to control the level of access and collaboration for the shared folder. Click on the Next button in the Supervity instruction widget.
-
8.
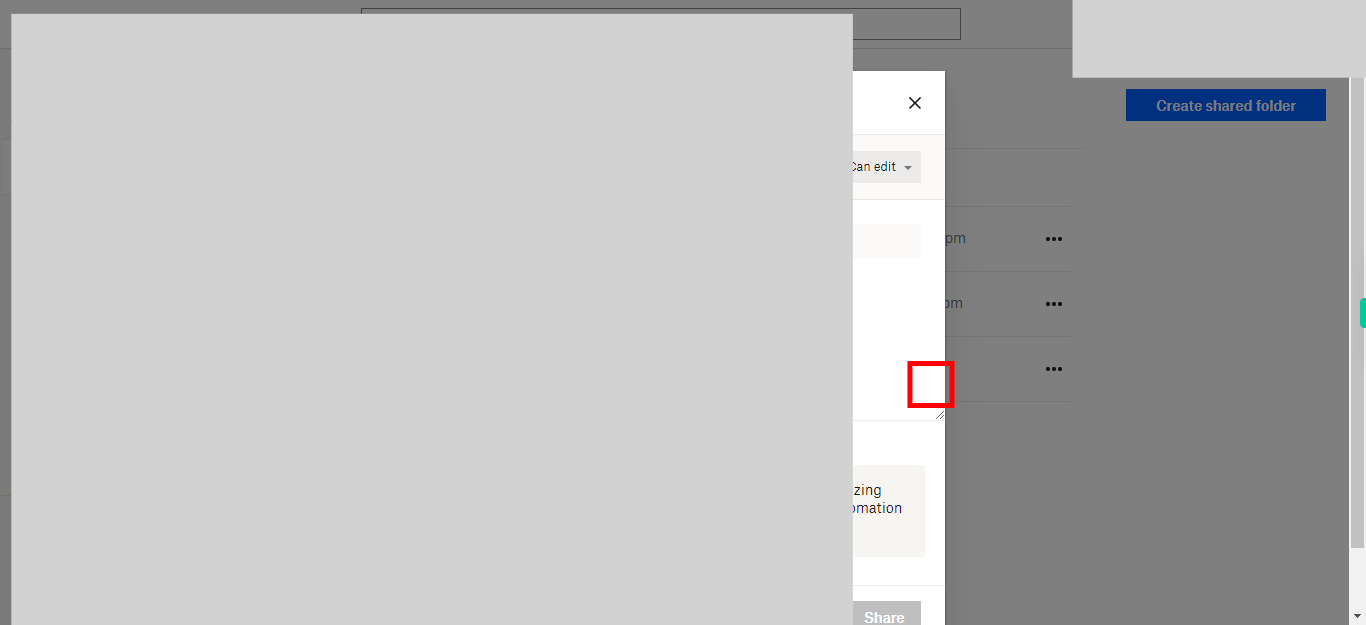
Click on the designated field and enter a message that you want to include when sharing the folder in Dropbox. This message can provide additional context or instructions for the recipient. Click on the Next button in the Supervity instruction widget.
-
9.
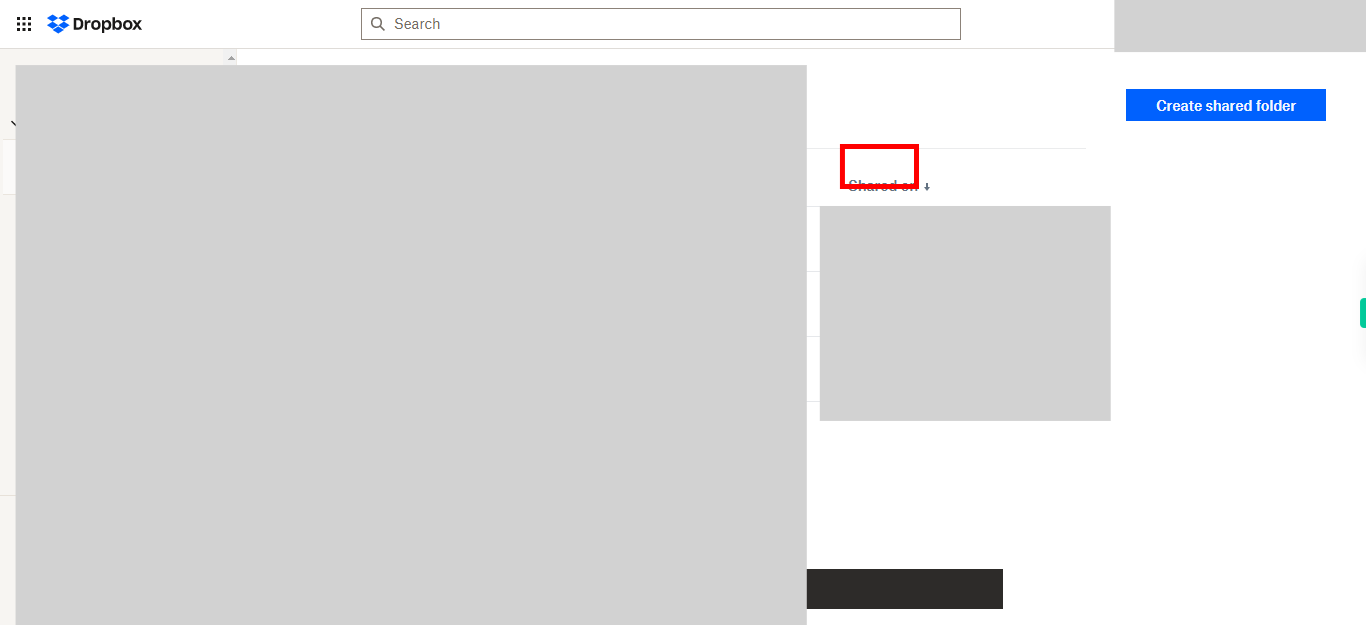
Click on the "Share" button to initiate the sharing process. Once you click on it, the shared folder will be created and the selected contacts will receive an invitation to access and collaborate on the folder in Dropbox.


