This skill navigates the process of using the version history feature in google drive. By following these steps, you can make use of the version history feature in Google Drive to track changes, review previous versions, and restore a specific version if necessary. This feature helps you maintain a history of file revisions and facilitates collaboration and document management. NOTE: Make sure that you have logged into Gmail account before playing the skill.
-
1.
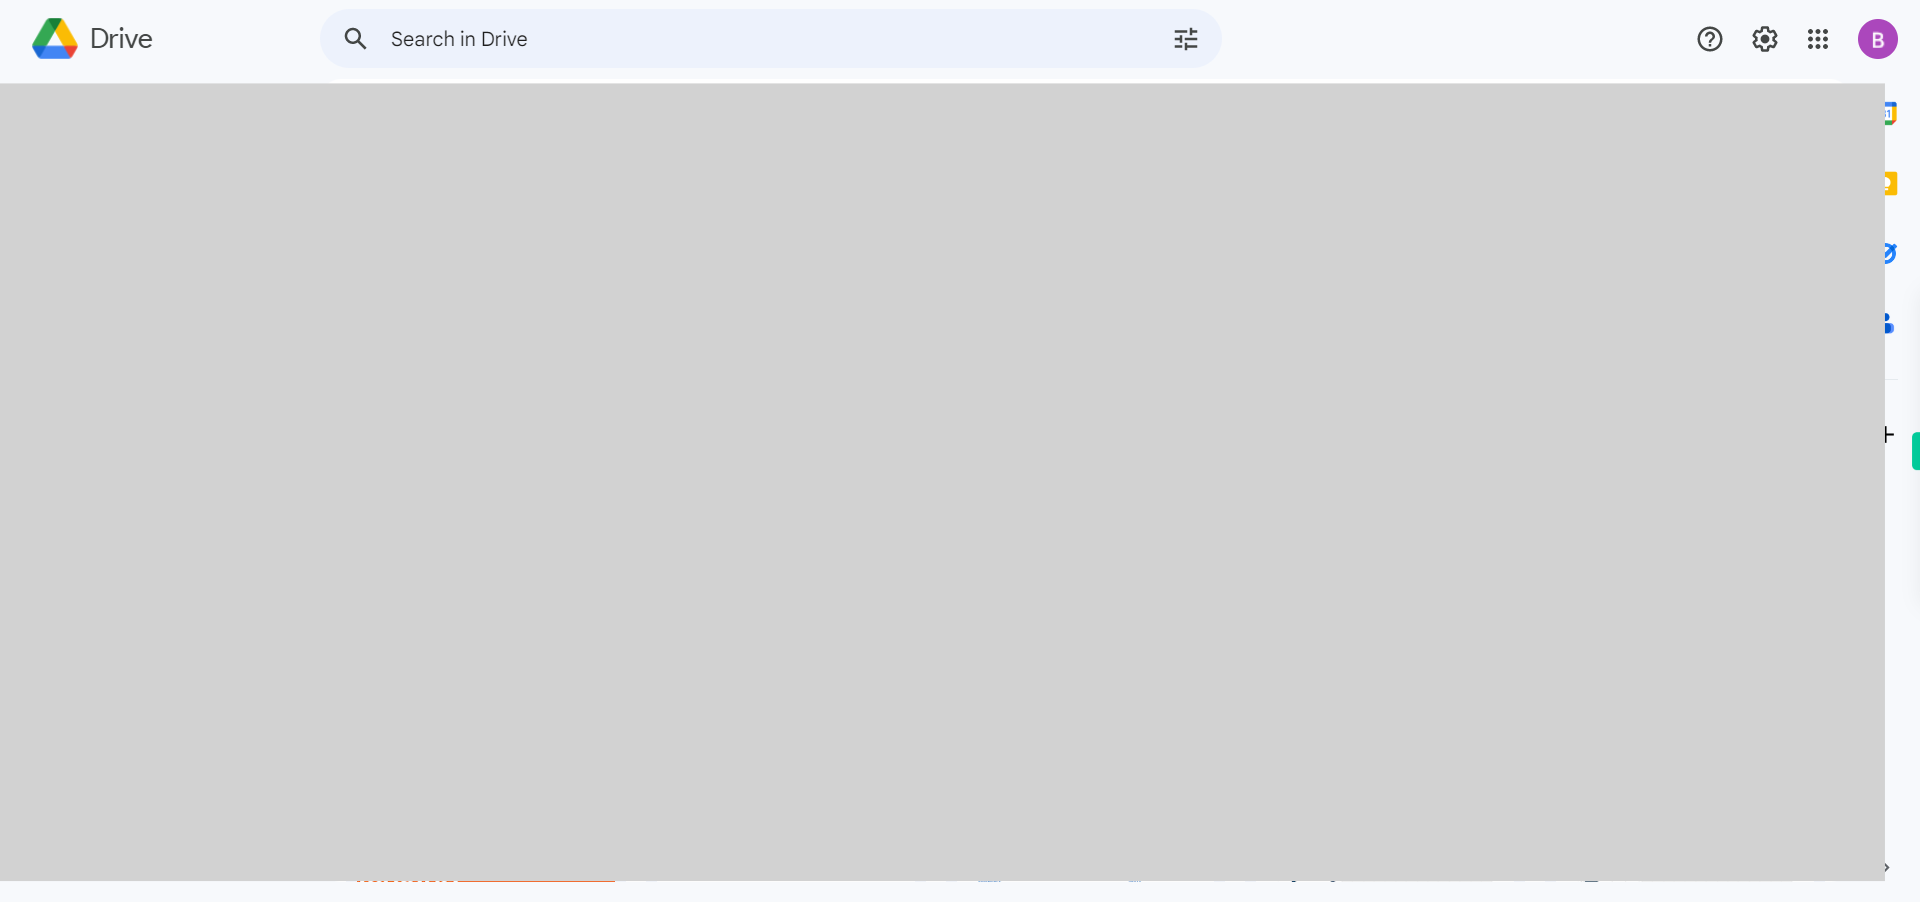
Open Google Drive application in browser.
-
2.
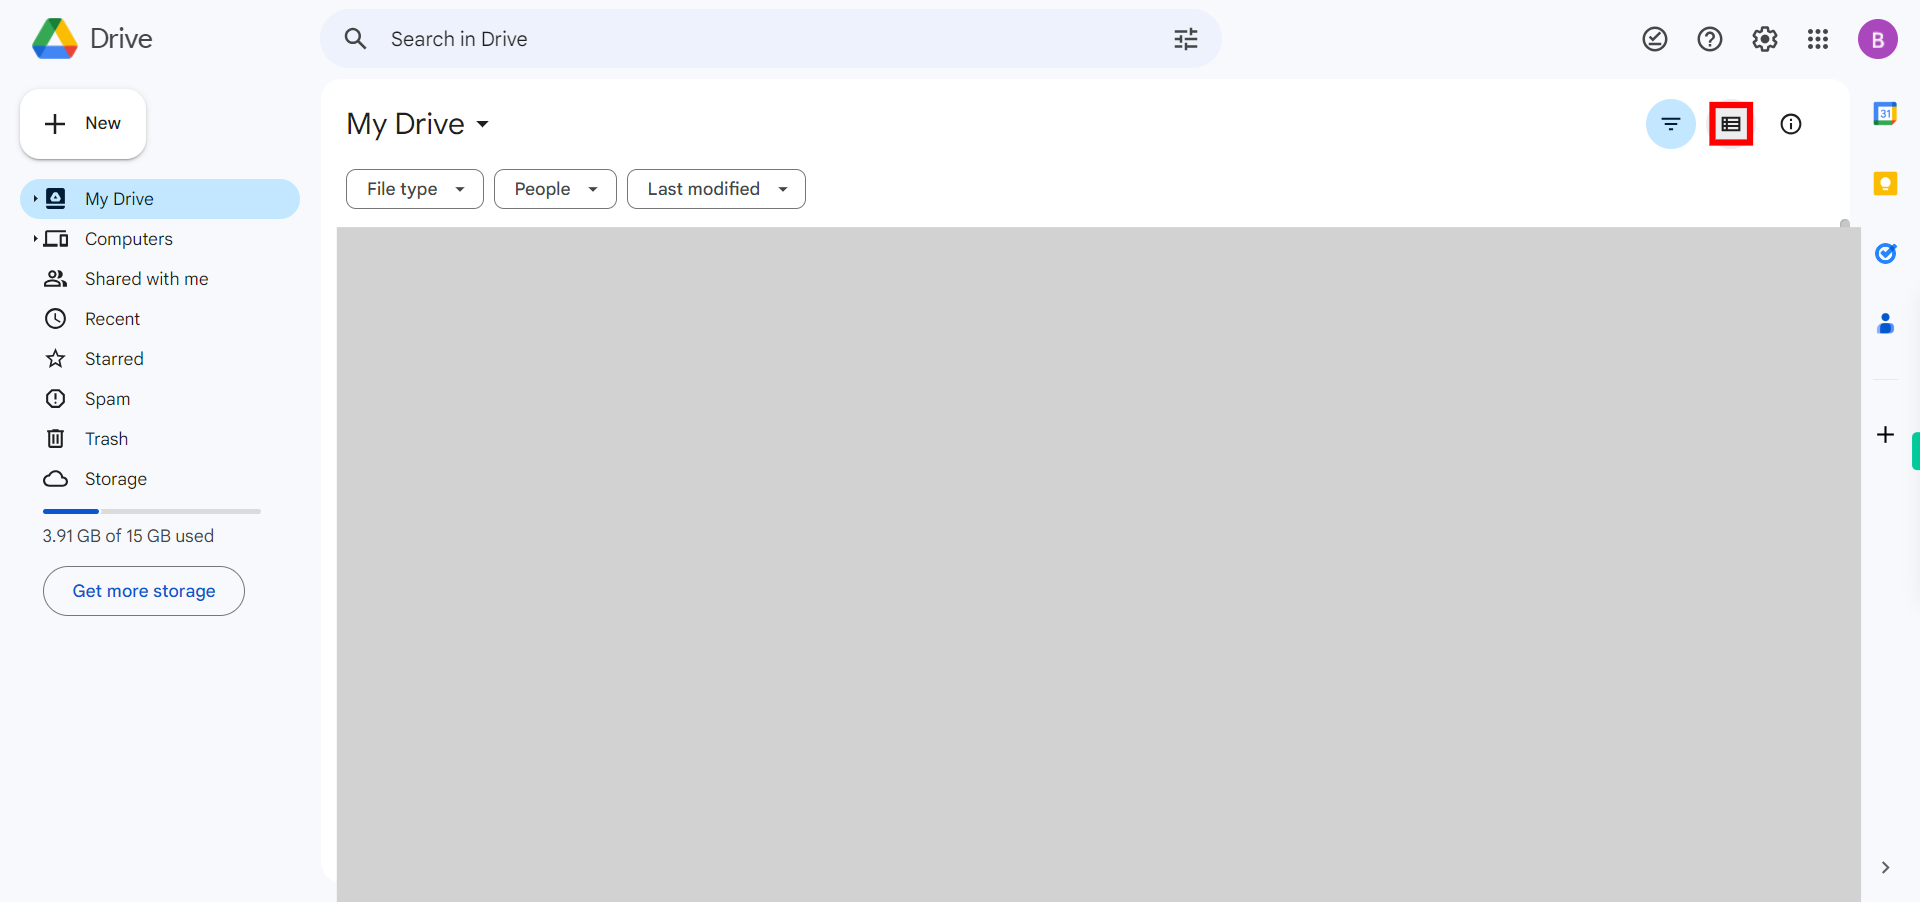
Make sure you will be in the List view of Google Slides. If it is in Grid view then Click on the icon in the toolbar to the left of the AZ icon. To switch from Grid view to List view. Then Click on the Next button in the Supervity instruction widget.
-
3.
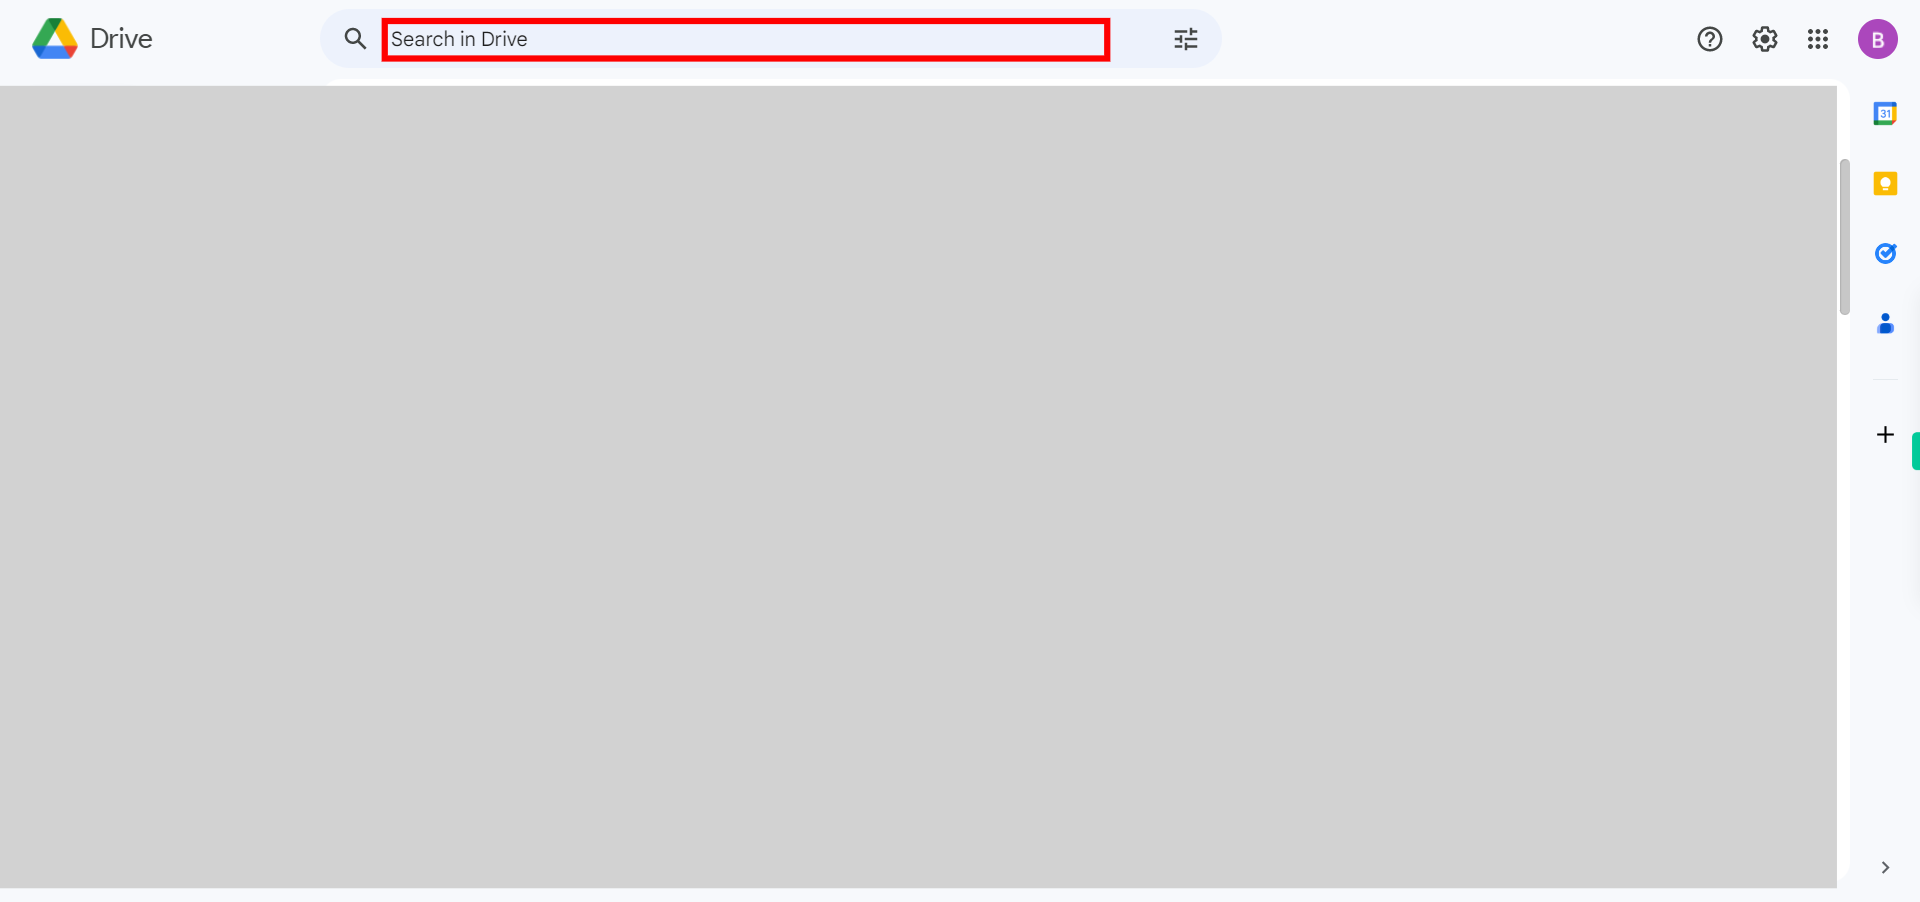
Click on the search bar and search for the file you want to see version history then press enter and click on the Next button in the Supervity instruction widget.
-
4.
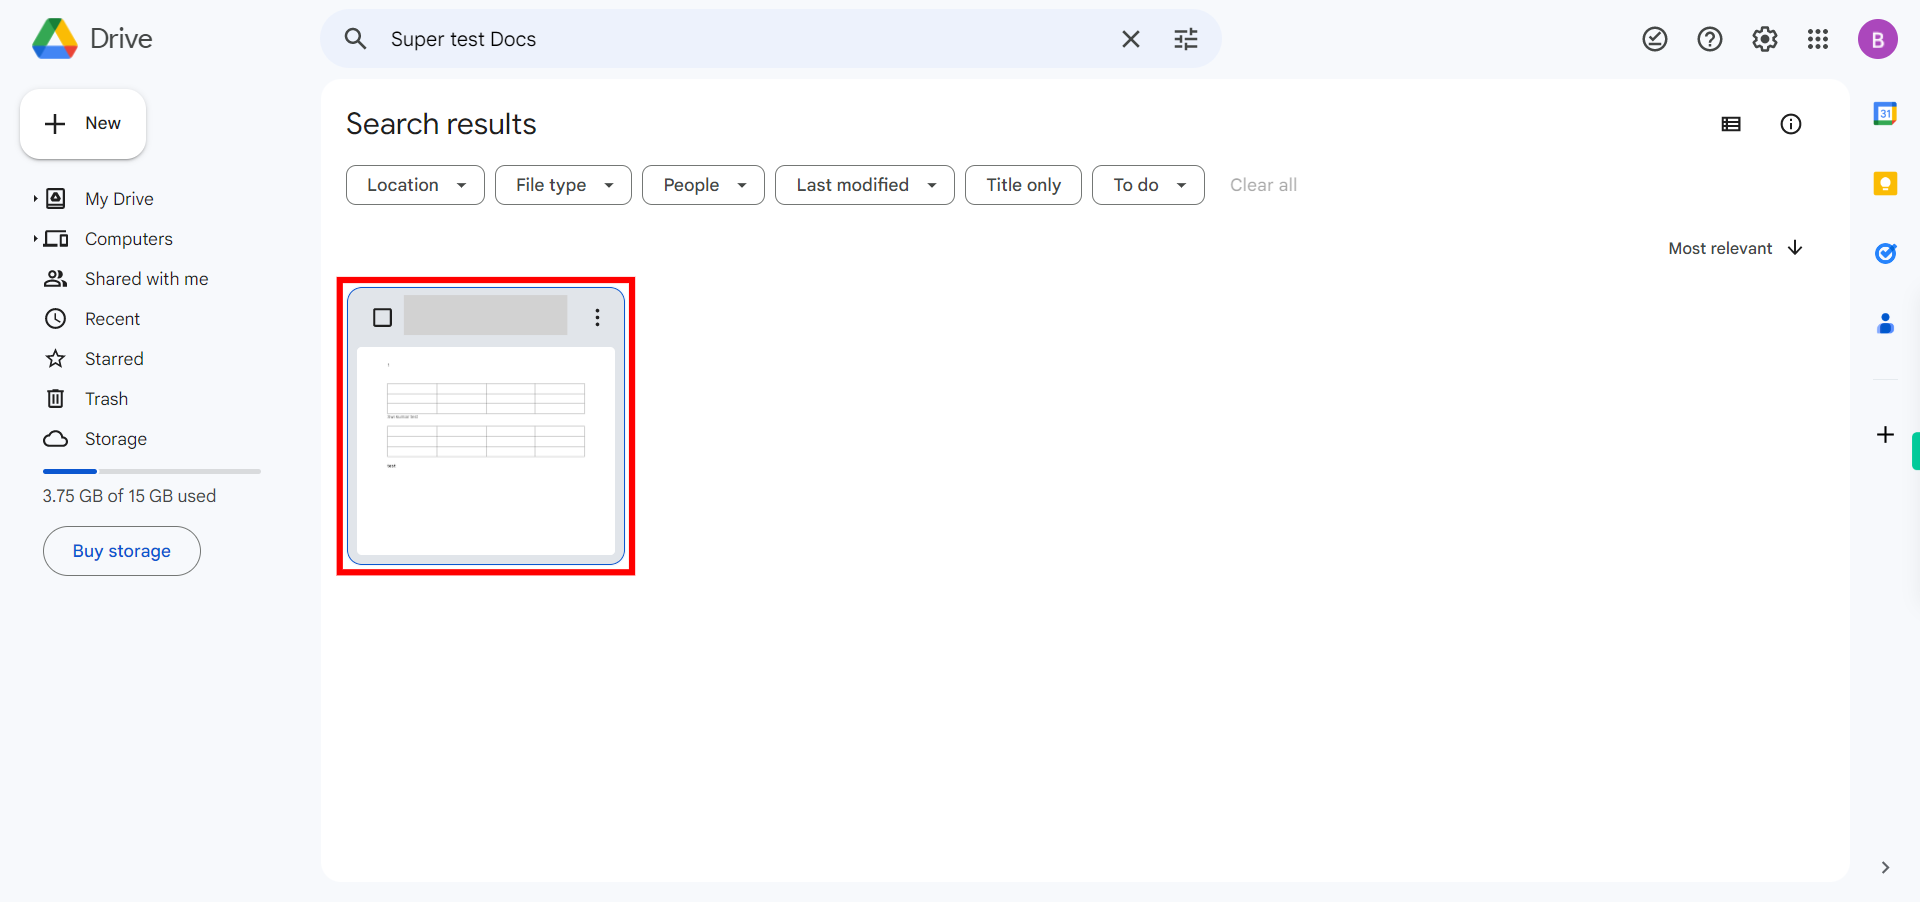
Click on the file you searched so that it will select and click on the Next button in the Supervity instruction widget.
-
5.
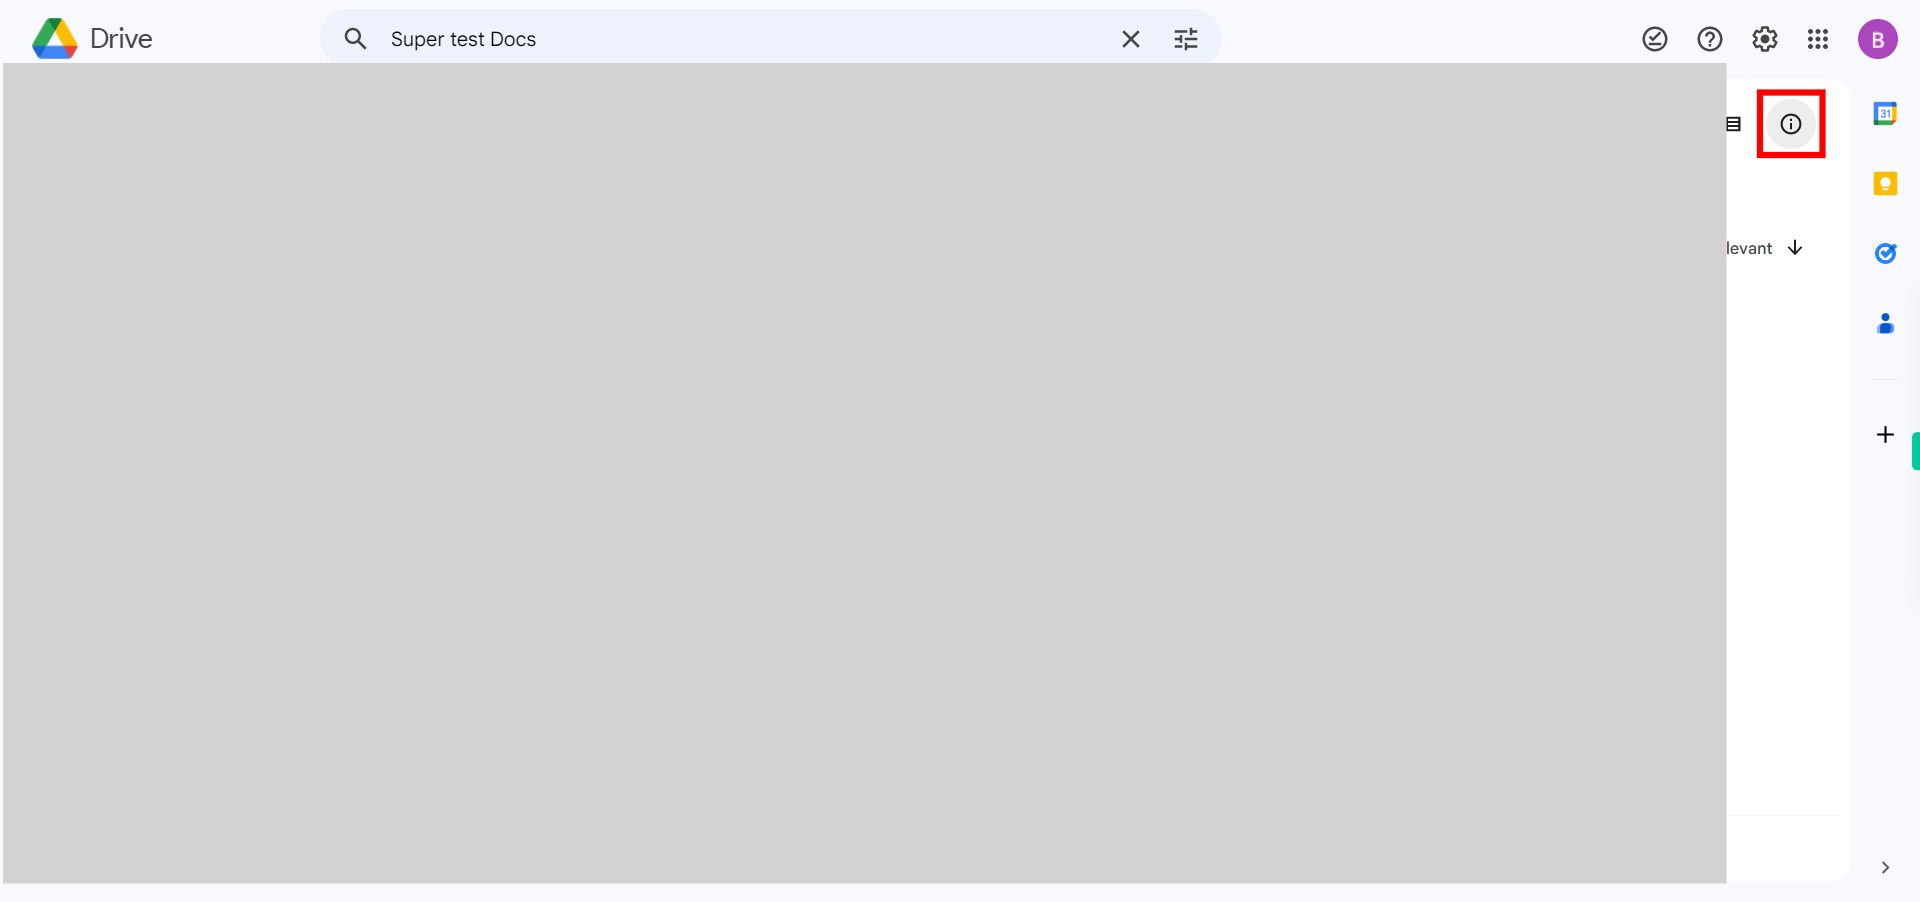
Click on the information icon. A panel will appear on the right side of the screen, showing the details of the file.
-
6.
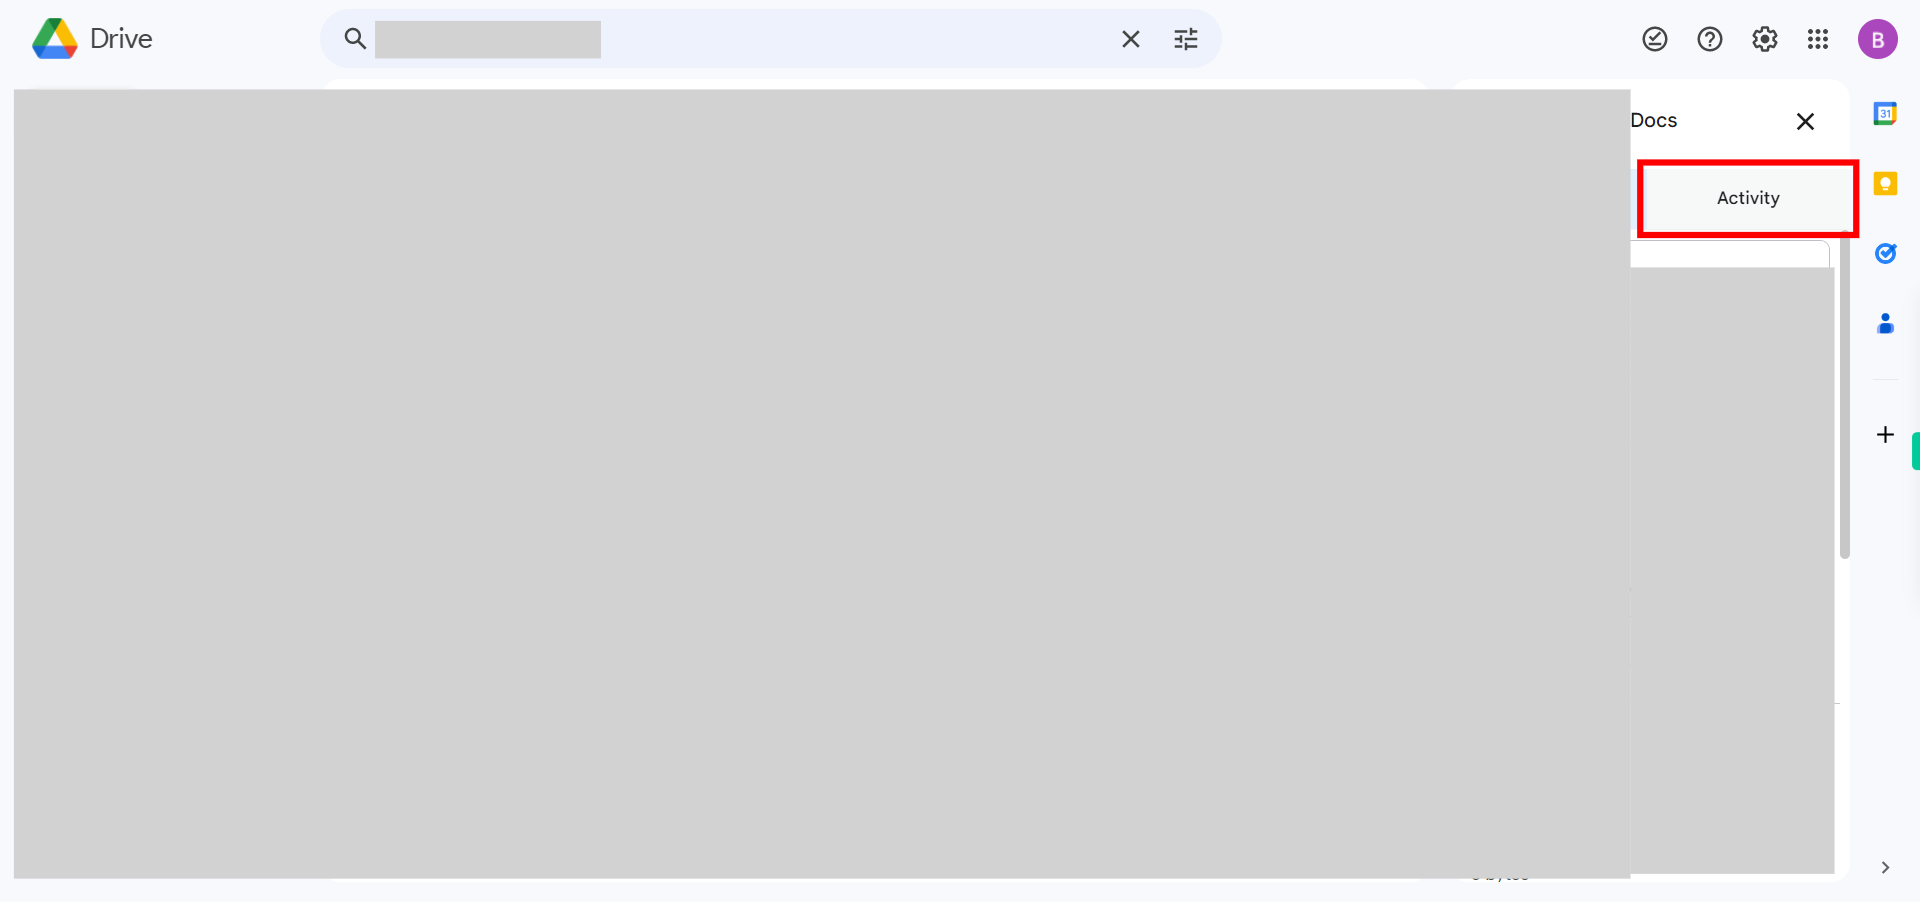
Click on Activity to see the version history of the file you have selected. In the version history panel, you will see a list of versions along with timestamps and the names of editors. Click on a specific version in the list to open it. After selecting a version, the chosen version of the file will open, allowing you to compare it with the current version.


