Step-by-step process to create a new form in google forms of the web application. Note: Make sure you are already logged into the Gmail web application.
-
1.
Open google forms.
-
2.
1. On the home page, click on the "Blank" template to start creating a new form from scratch, A new form will open with a default "Untitled form" title.
-
3.
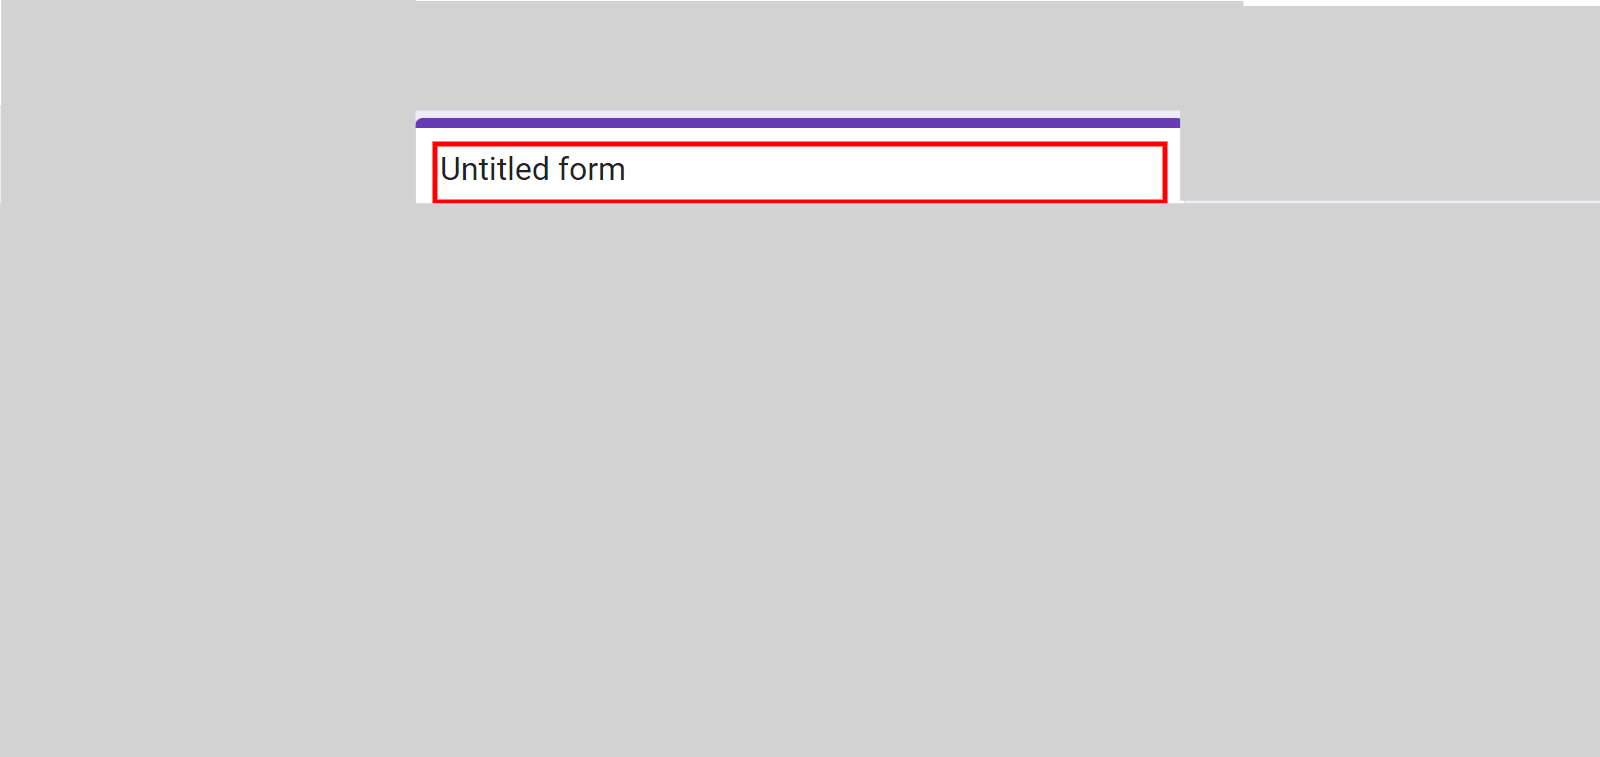
2. Click on the top-middle of the screen at the untitled form to access the field where you can enter a name for the form. Type in the required name for the form, ensuring it accurately represents the purpose or content of the form. Once you have entered the name, click on the "Next" button in the Supervity instruction widget to proceed. By providing a descriptive name for the form, you can easily identify and organize your forms within your workspace or application. This step allows you to establish a clear and meaningful title for the form, making it easier for users to understand its purpose or context.
-
4.
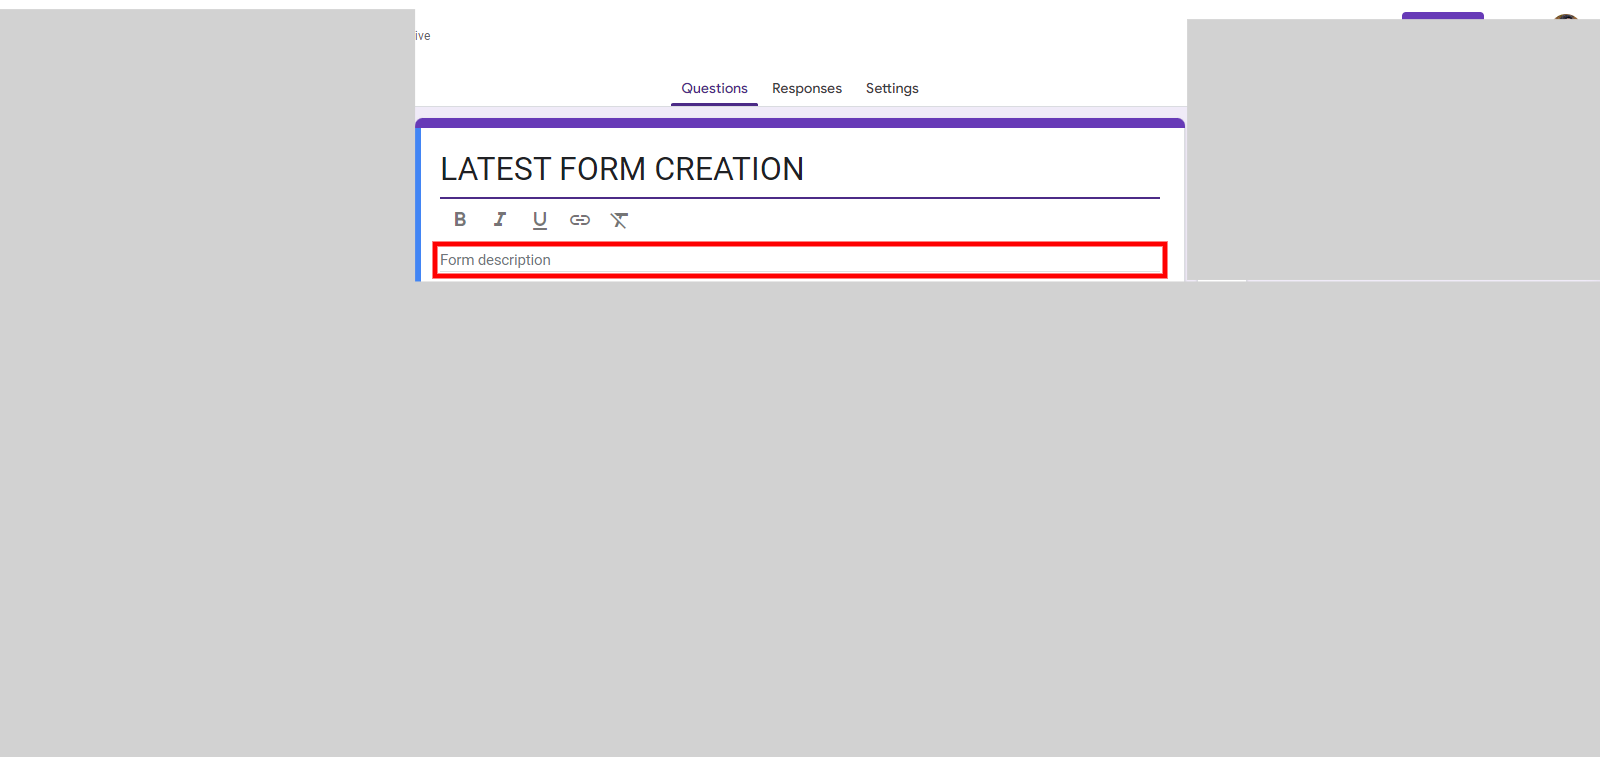
3. Click on the description field, typically located below the form name, to access the area where you can enter a specific description for the form. Type in the detailed description, providing relevant information about the purpose, scope, or any specific instructions related to the form. Once you have entered the description, click on the "Next" button in the Supervity instruction widget to proceed. Adding a description to the form helps provide clarity and context to the form users. It allows them to understand the form's purpose, provide appropriate responses, and follow any guidelines or instructions provided. This step ensures that the form is well-defined and helps users accurately fill it out.
-
5.
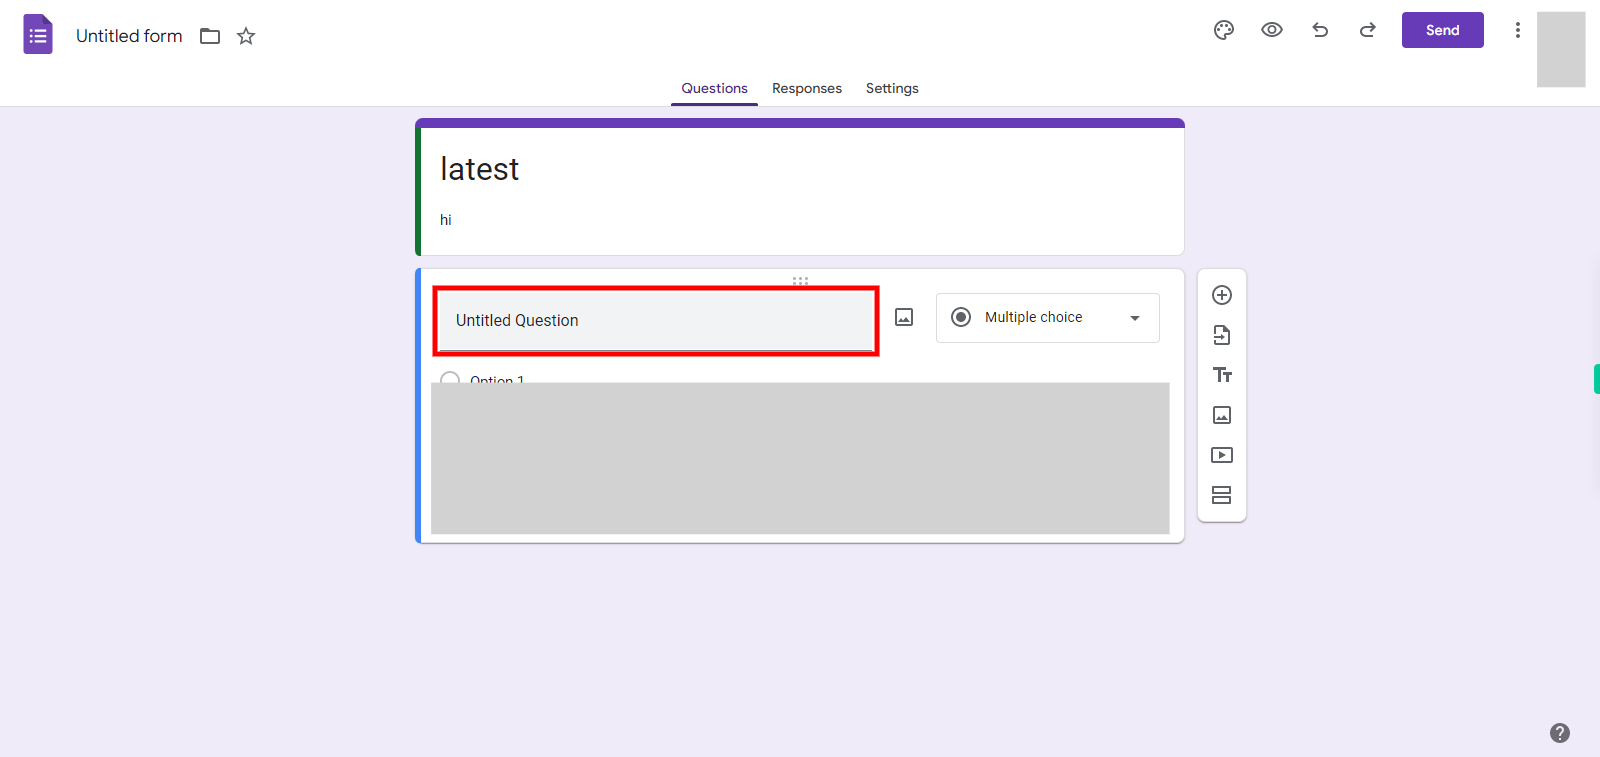
4. A question dialog will appear, where you can click and enter the question text then click on the Next button in the Supervity instruction widget.
-
6.
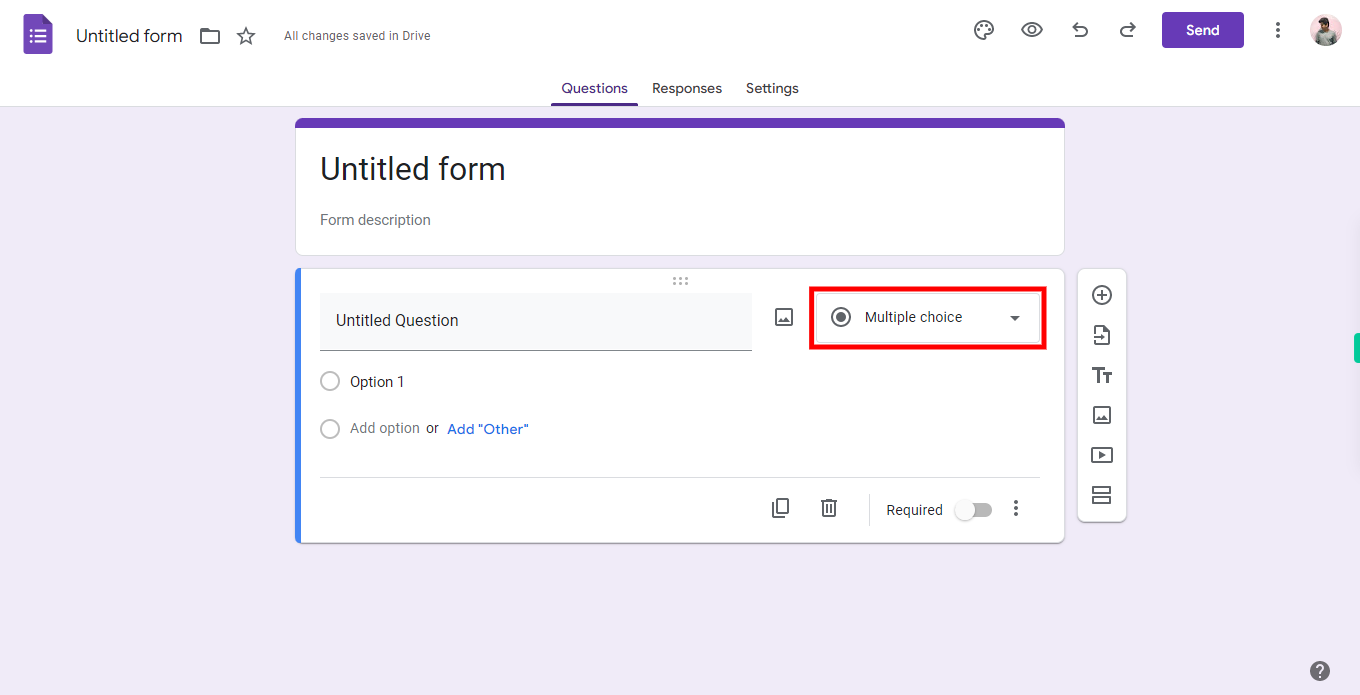
5. Select the type of response you want (e.g., multiple choice, short answer, etc.).
-
7.
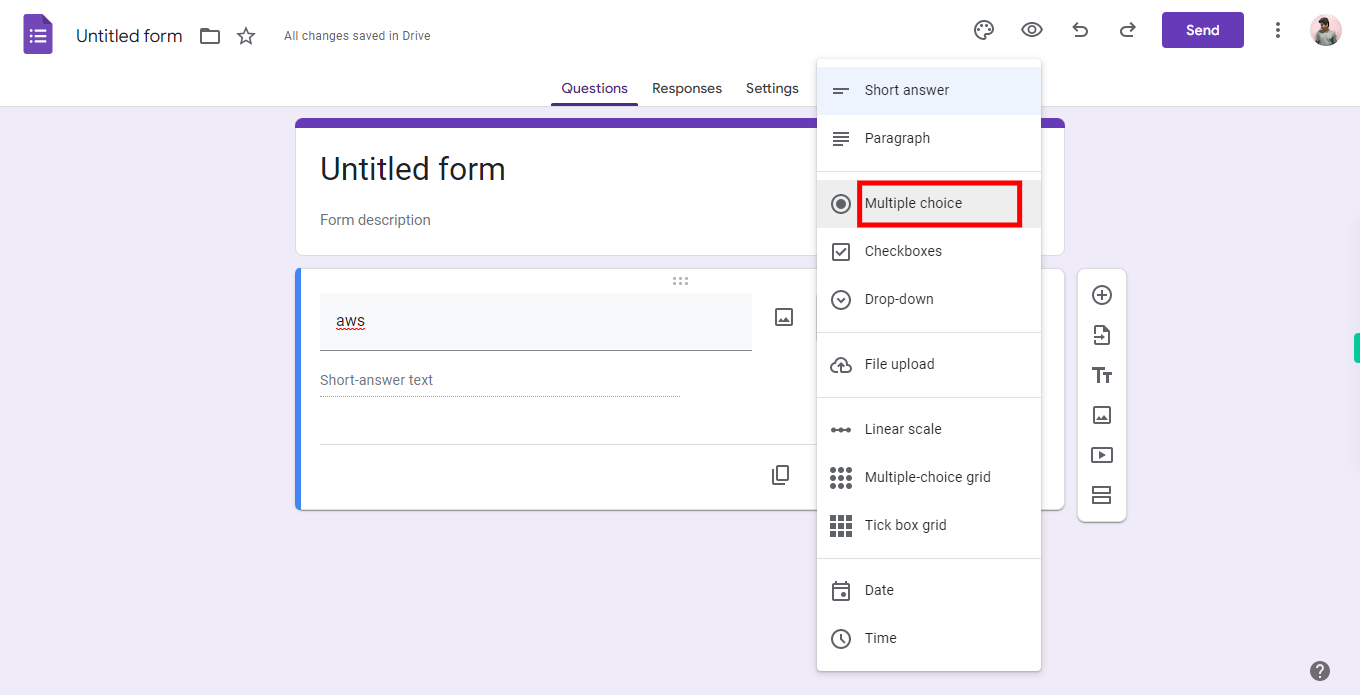
6. After entering your question in Google Forms, select the appropriate response type based on the nature of the question. Then, click on the "Next" button in the Supervity instruction widget to proceed. By selecting the correct response type, you can tailor the format in which respondents provide their answers. This ensures that the responses align with the intended question format and facilitates efficient data collection and analysis. Here we are going with a Multiple choice.
-
8.
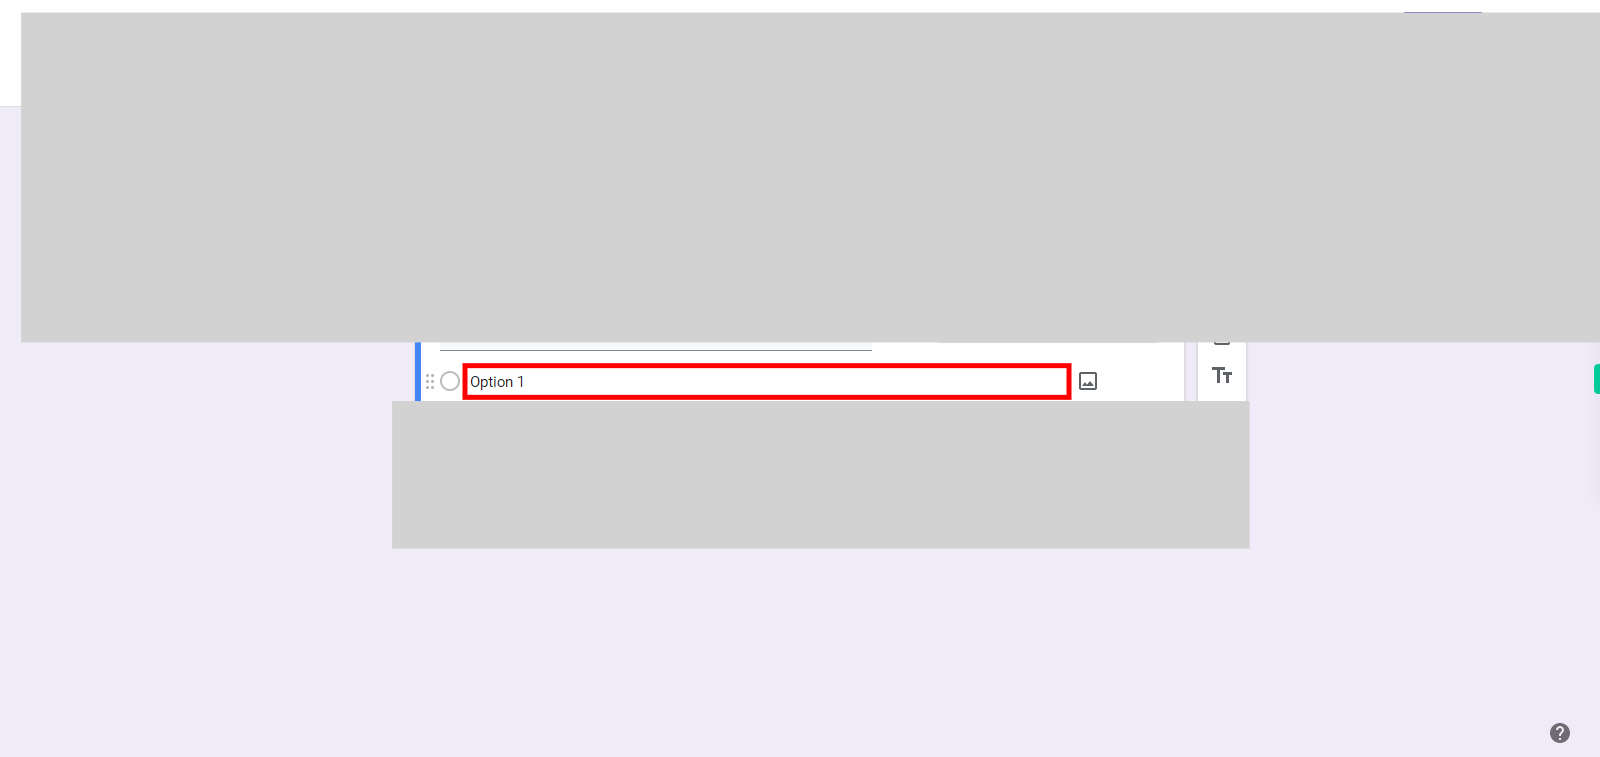
7. Click option value and enter the value and click on next.
-
9.
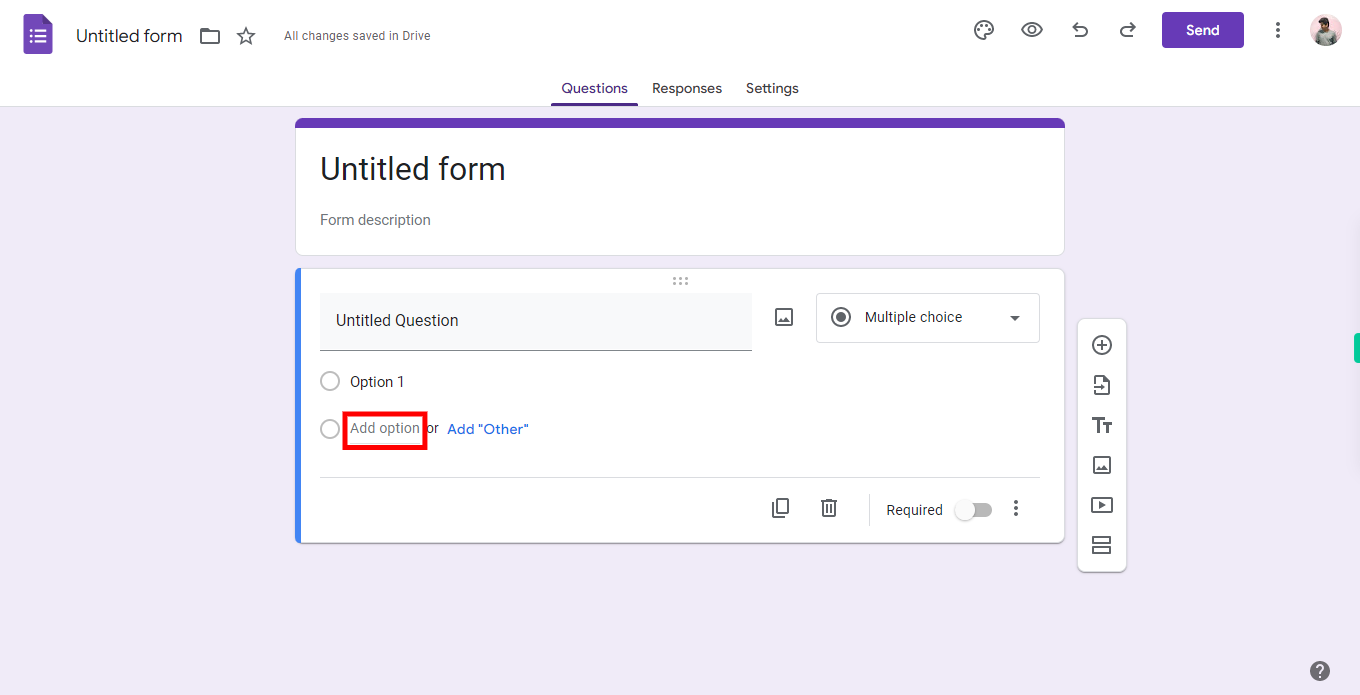
8. To add a few more options to the question you have typed, click on the "Add option" button. This button allows you to include an additional response option for respondents to choose from in the question.
-
10.
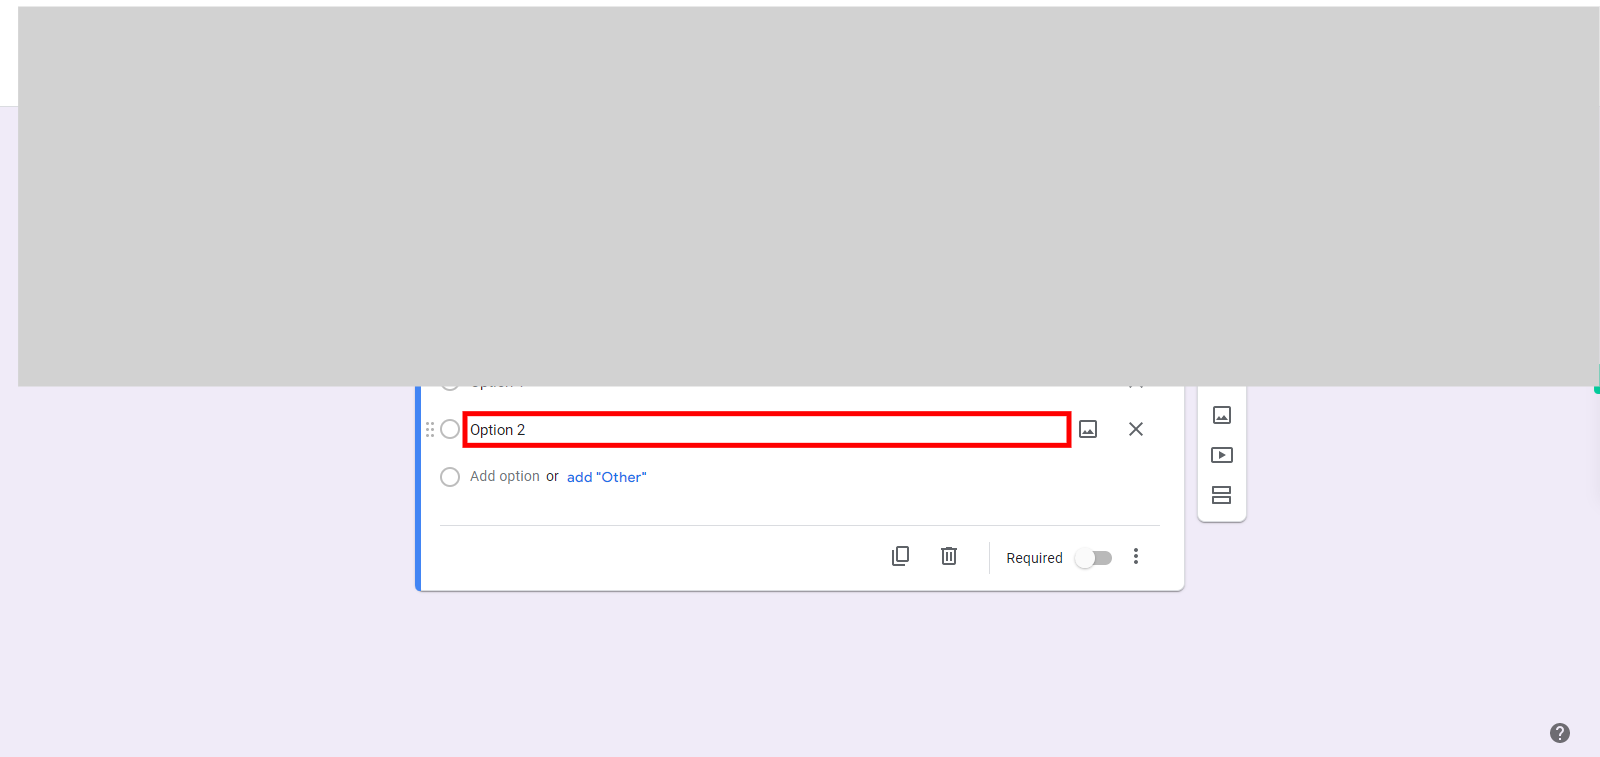
9. Click on option 2 and enter the option value and click on the Next button in the Supervity instruction widget. Repeat the step 4 to 9 to add few question in the form with different type of response{like multiple choice, short answer, etc}
-
11.
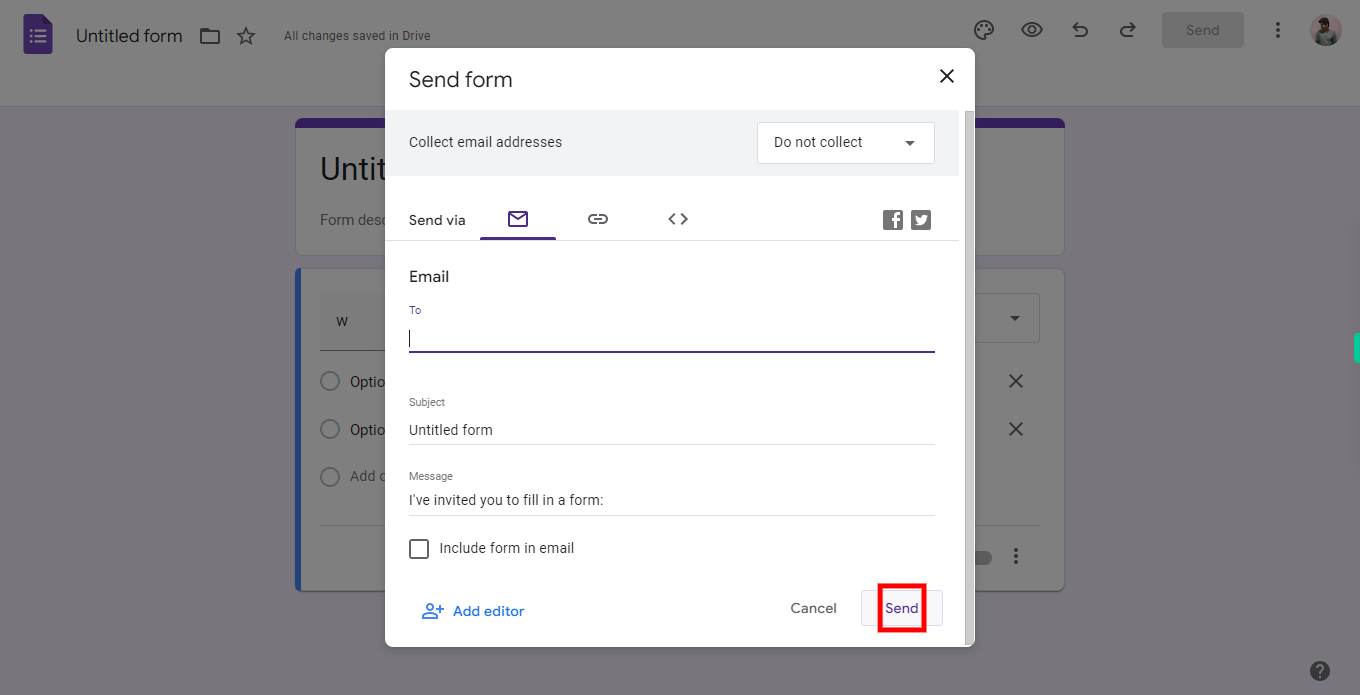
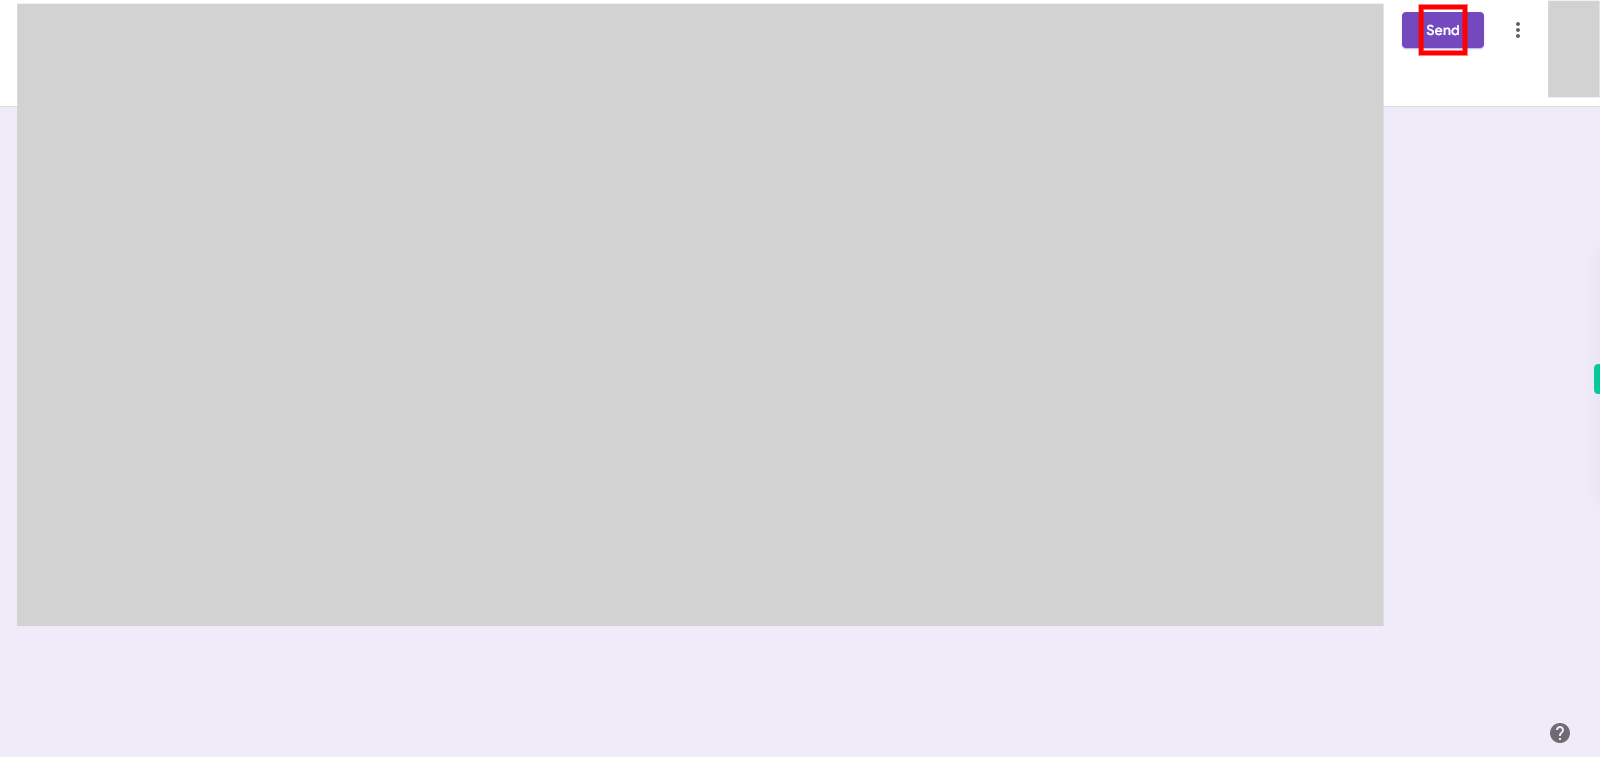
10. Once the form is ready to be shared with users, locate the "Send" button at the top-right corner of the screen. Click on the "Send" button to initiate the sharing process and send the form to the intended recipients.
-
12.
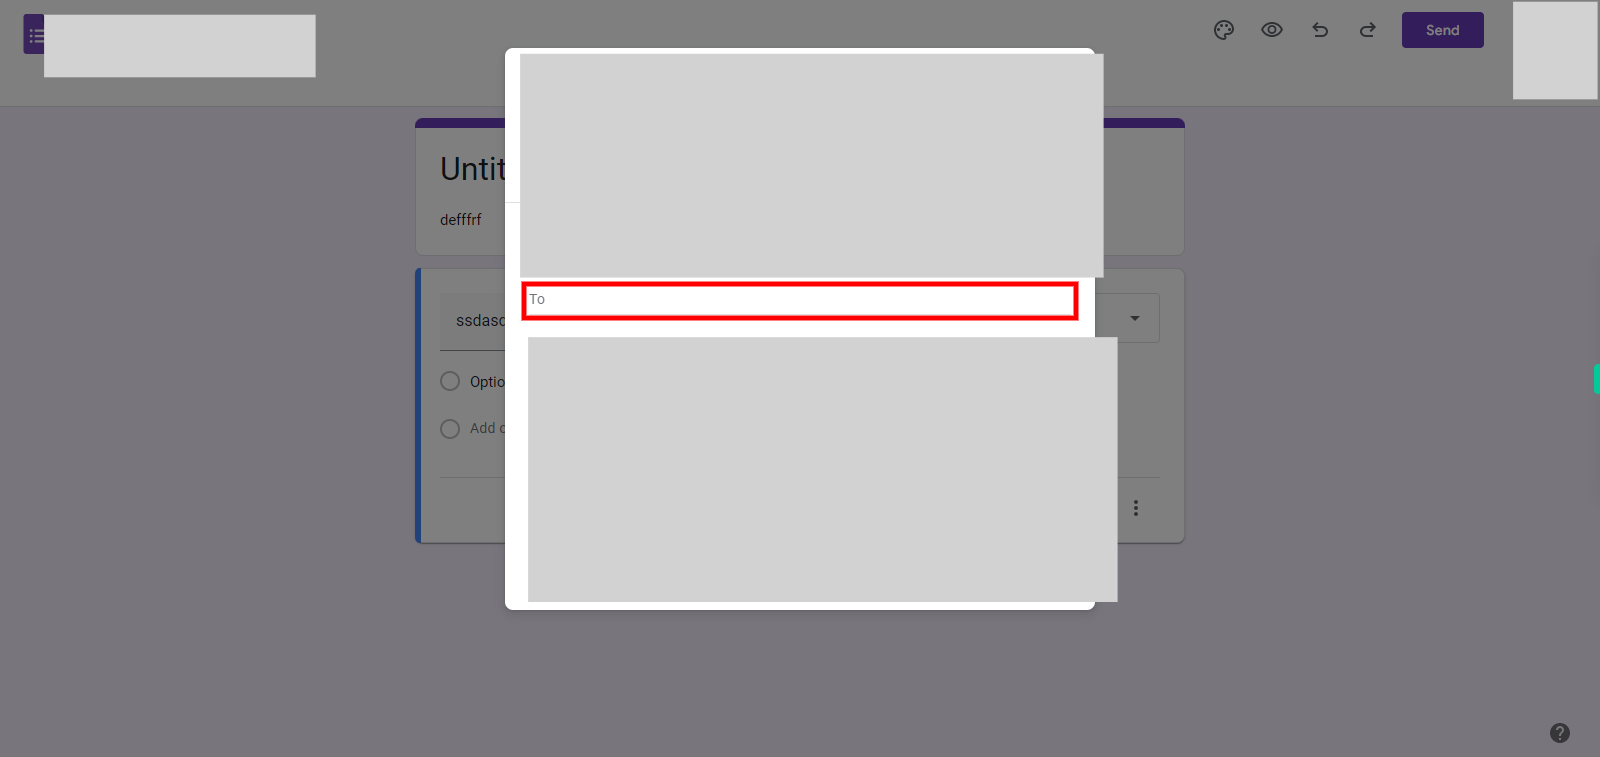
11. Enter the email ID in the provided field, and then click on the "Next" button in the Supervity instruction widget to proceed. This step will take you to the next stage or prompt in the process.
-
13.
12. After entering the emails you want to send, locate the send button at the bottom right corner of the screen. Click on the send button to initiate the sending process.
