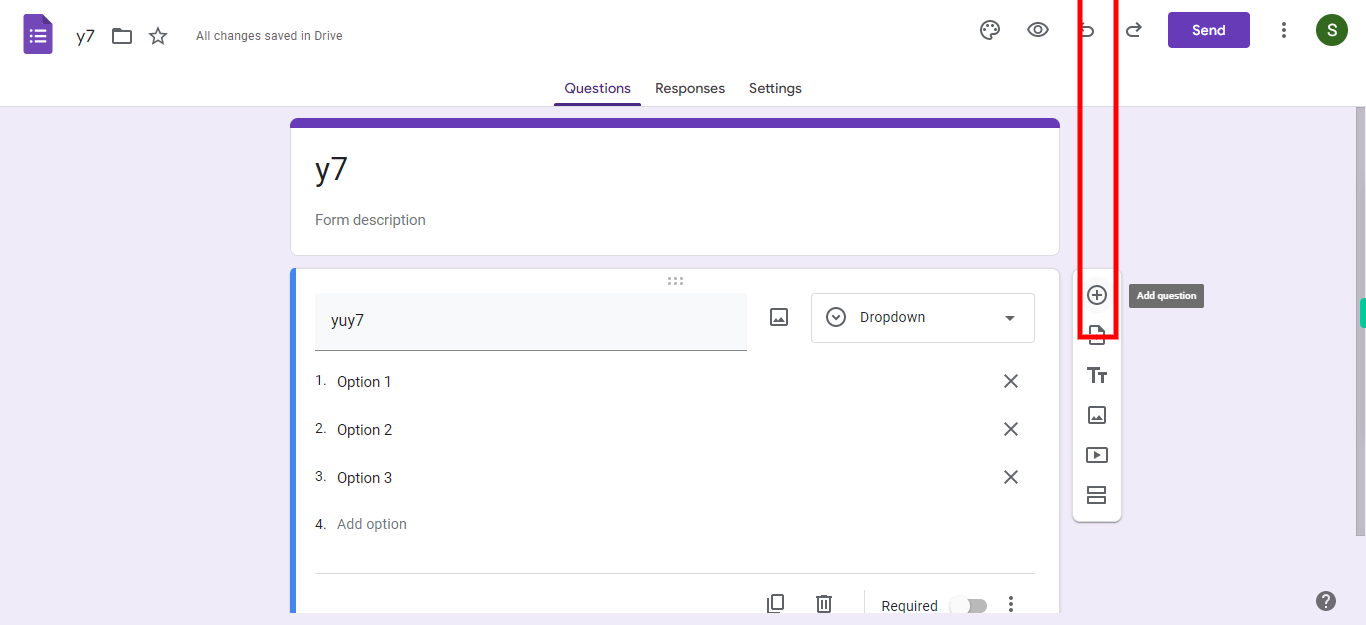
Step-by-step guide to using multiple choice, dropdown, and checkbox questions in Google Forms for structured data collection and gathering user responses. These question types provide respondents with a range of options to choose from, allowing them to select one or multiple answers based on the prompts. Note: Ensure that you are logged into the Google Forms web application before using this skill.
-
1.
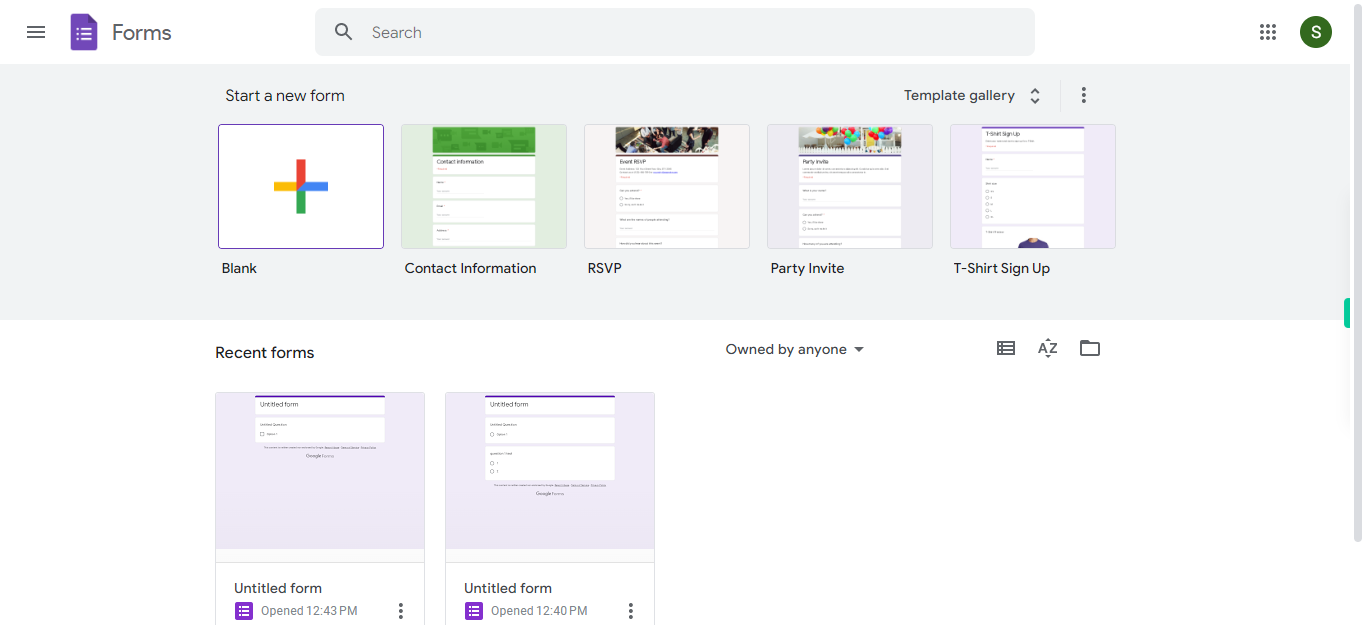
Open Google Forms web application.
-
2.
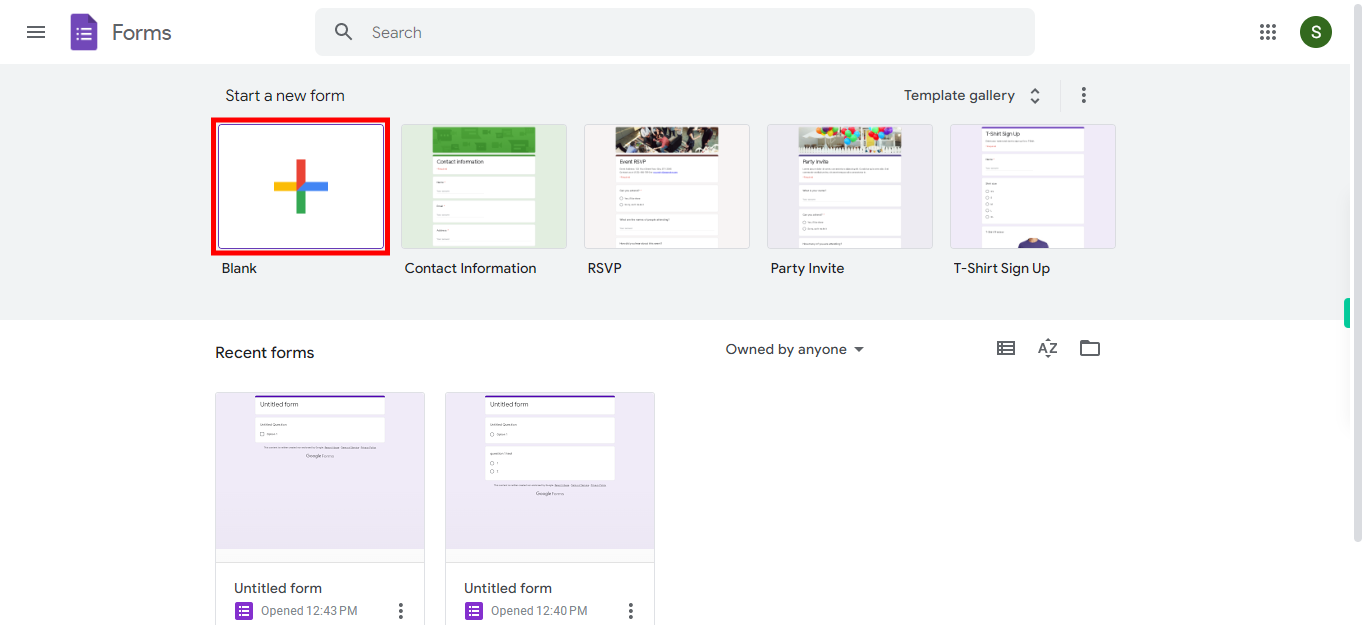
Click on the "+" icon that appears on the screen to begin creating a new Google Form. This feature allows you to effortlessly customize and expand your form by adding various question types and content, tailored to meet your specific data collection requirements.
-
3.
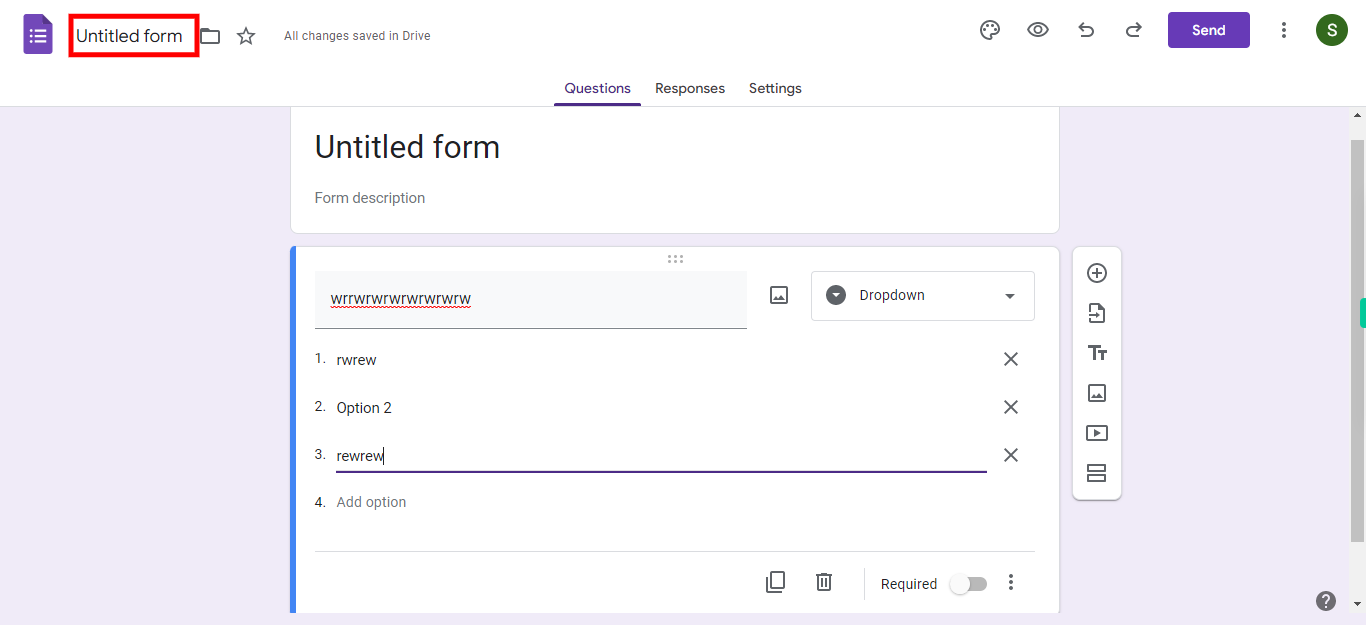
To provide a name for the form, click on the existing title ("Untitled form") located at the top of the page. Edit the title to give your form a descriptive name that accurately represents its content. Afterward, click on the "Next" button in the Supervity instruction widget to proceed.
-
4.
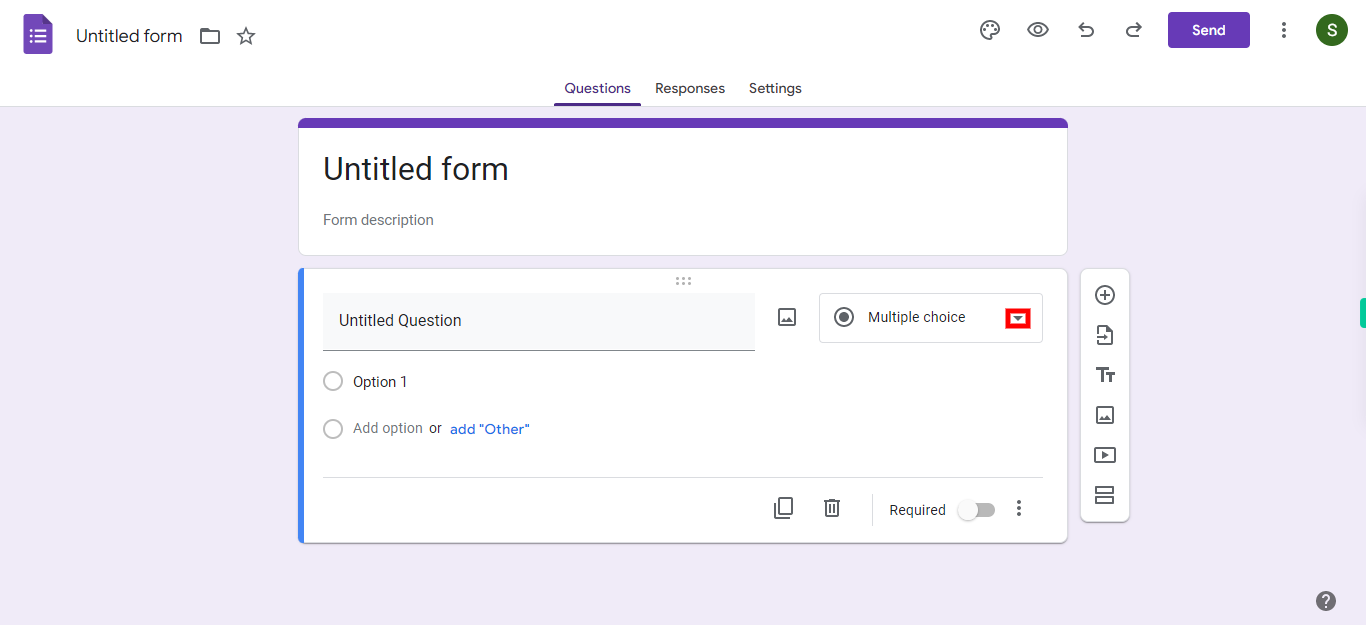
Click on the dropdown menu that appears on the webpage to view the available question formats, which typically include Multiple choice, Dropdown, and Checkbox questions. Select a question format from these three options. Once you have made your selection, click on the "Next" button in the Supervity instruction widget.
-
5.
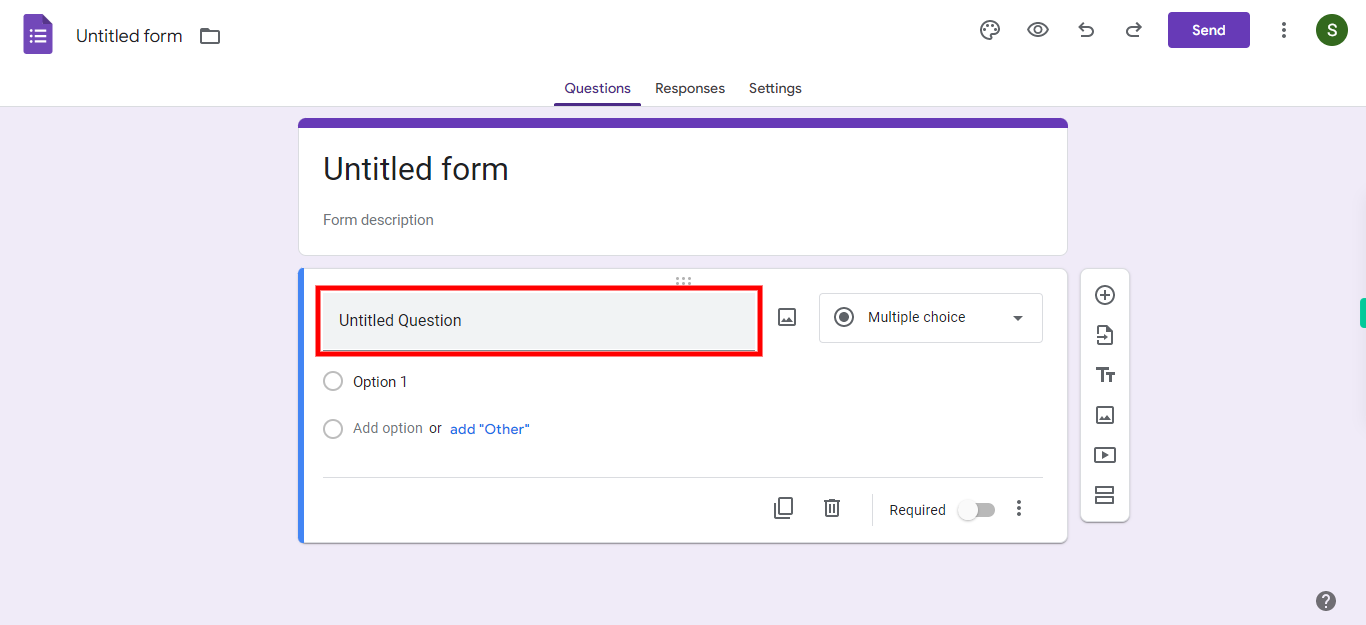
Now, enter the question by clicking on "Untitled Question". Once you have entered the question, click on the "Next" button in the Supervity instruction widget to proceed.
-
6.
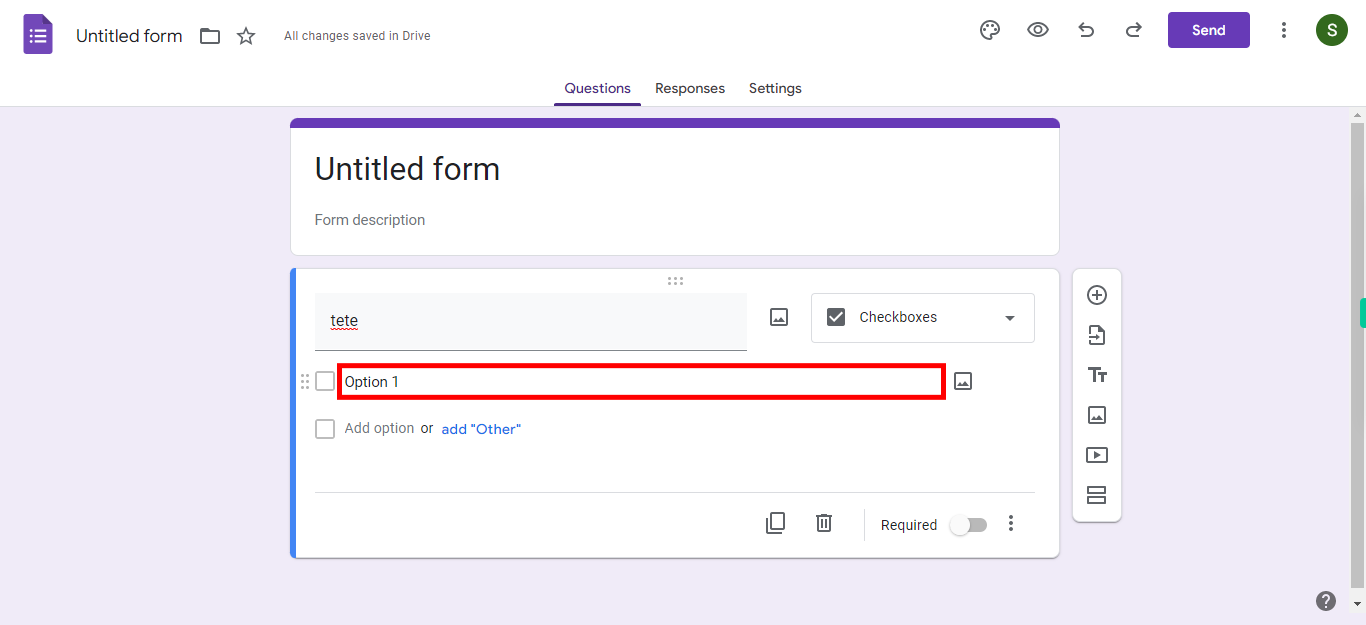
Add the necessary options relevant to the question. "Add option": Add a new predefined choice to your multiple choice or checkbox question. "Add Other": Allow respondents to enter a custom or alternative answer that is not listed in the predefined options. After entering the question, click "Next" in the Supervity instruction widget to continue.
-
7.
6. Click on Add question + icon and continue the process.
