This skill shows the steps to be followed to add and format videos in Google Slides in web. Prerequisites: you want to add throw youtube you have a youtube video link. 2.from the local you want to move that video to google drive. [NOTE: Please signup into your Google account and then execute this skill.]
-
1.
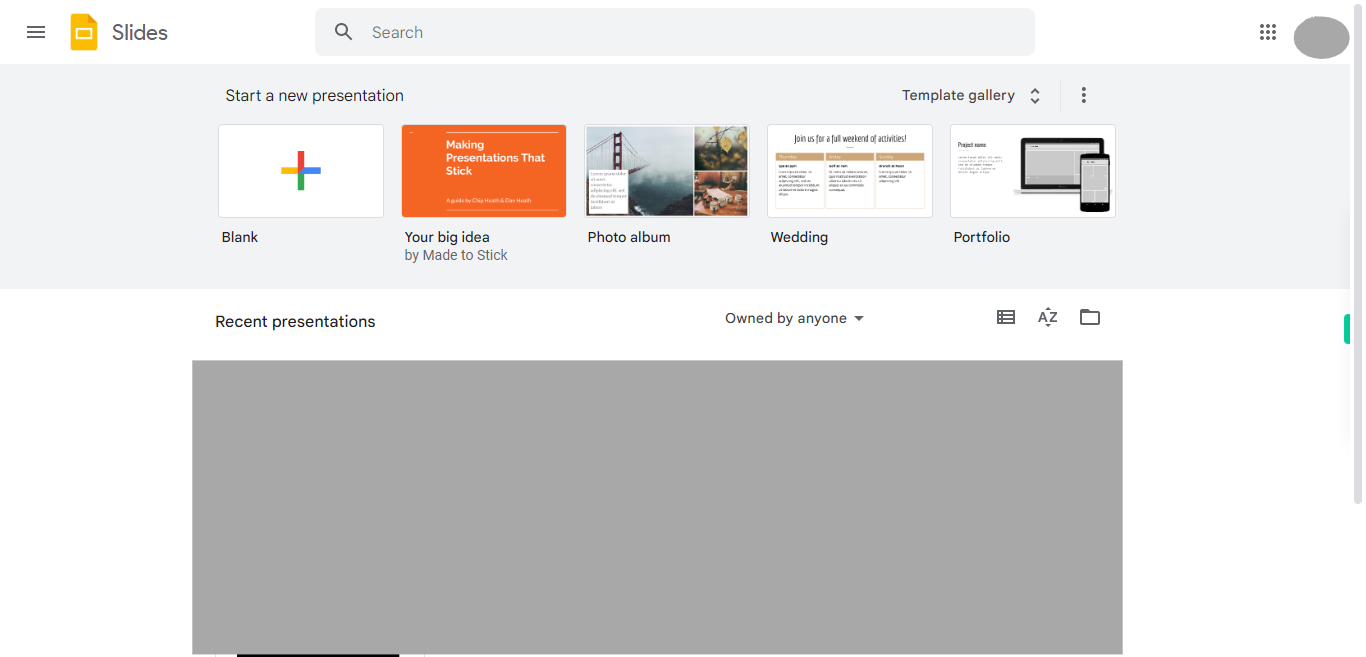
open google slides.
-
2.
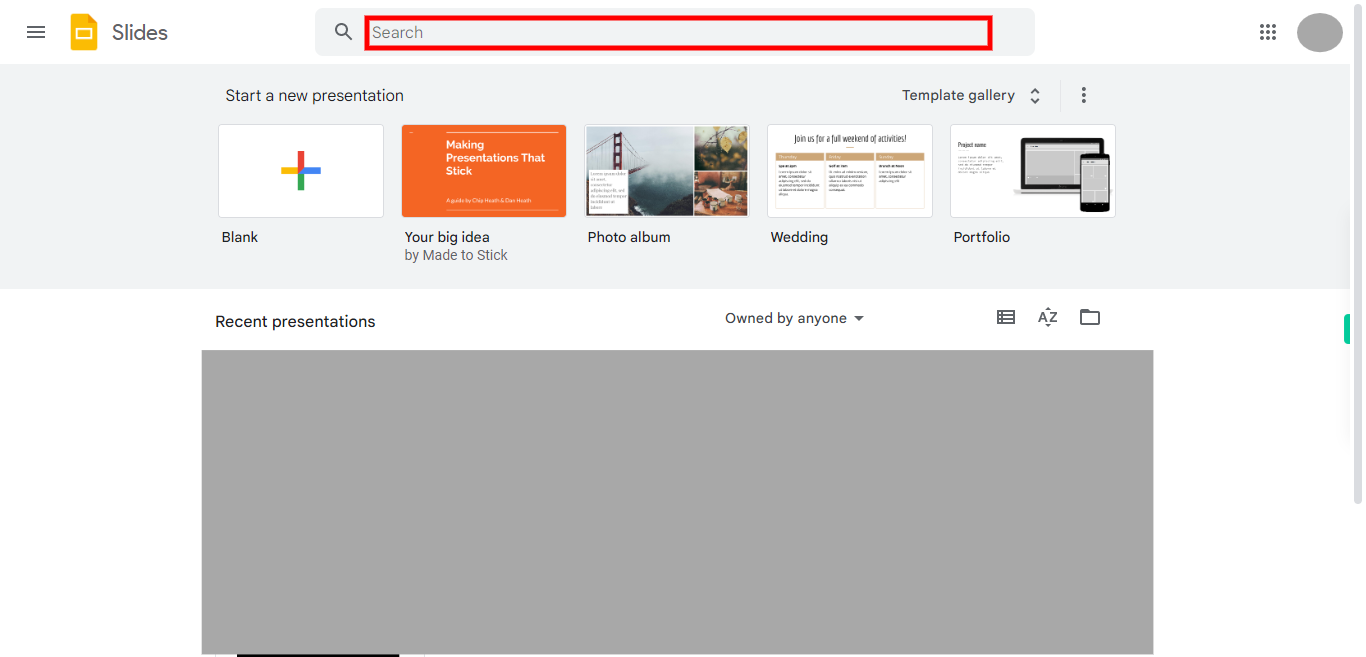
Click on the search bar located at the top of the screen. Enter the file name you are searching for. Press the "Enter" key or click on the search icon to initiate the search. Click on the Next button in the Supervity instruction widget.
-
3.
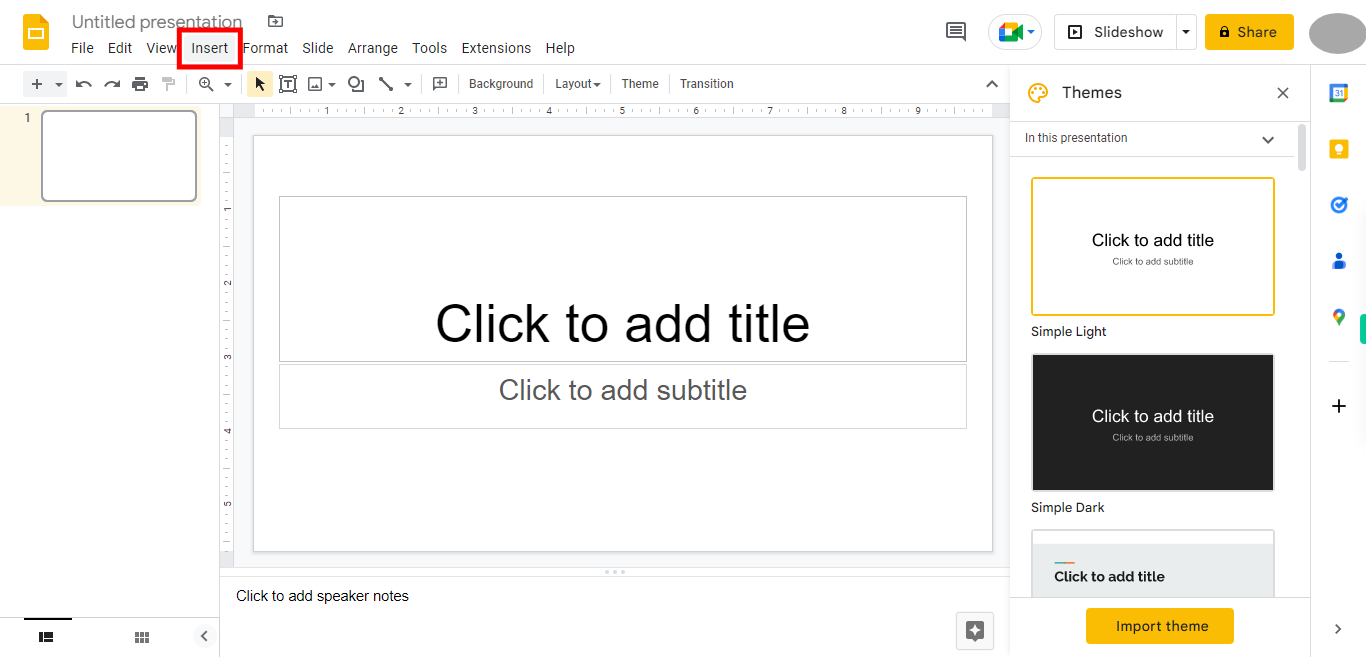
Locate the area or position in the document where you want to insert the item. Click on the "Insert" option in the menu or toolbar. This option is typically found at the top of the screen. A drop-down menu or dialog box will appear, presenting various insertion options.
-
4.
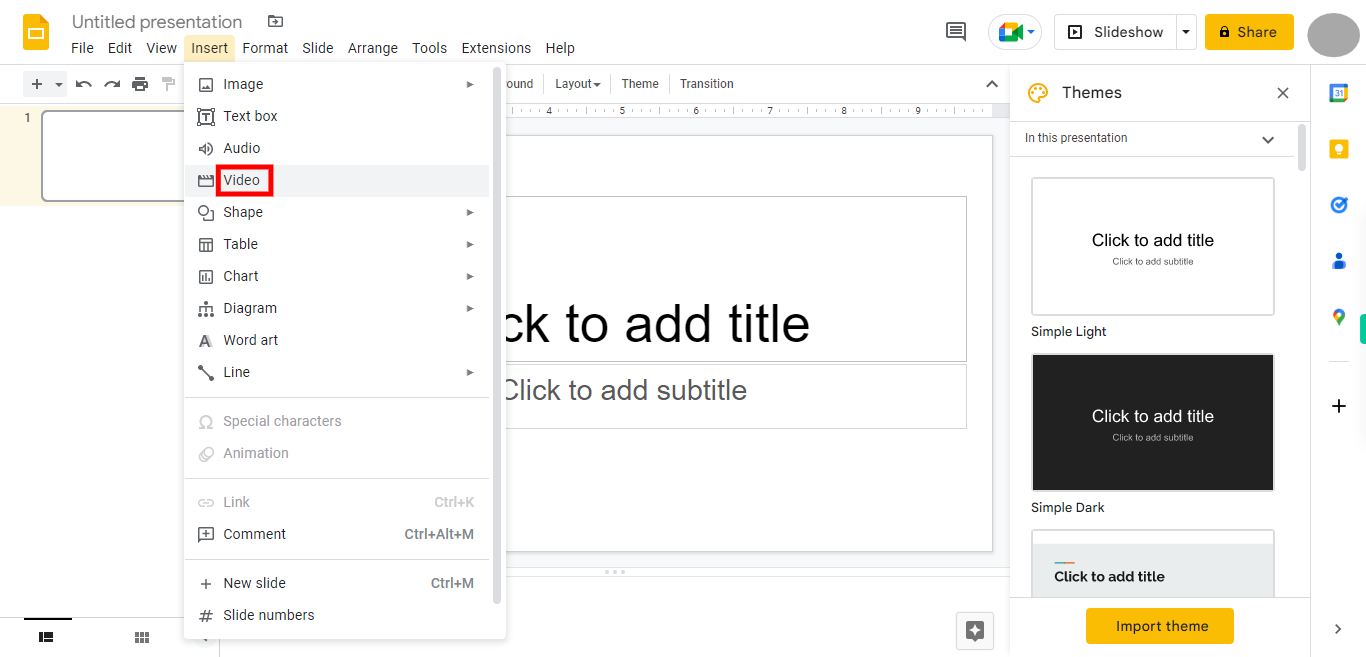
3. Click on video from the displayed options.
-
5.
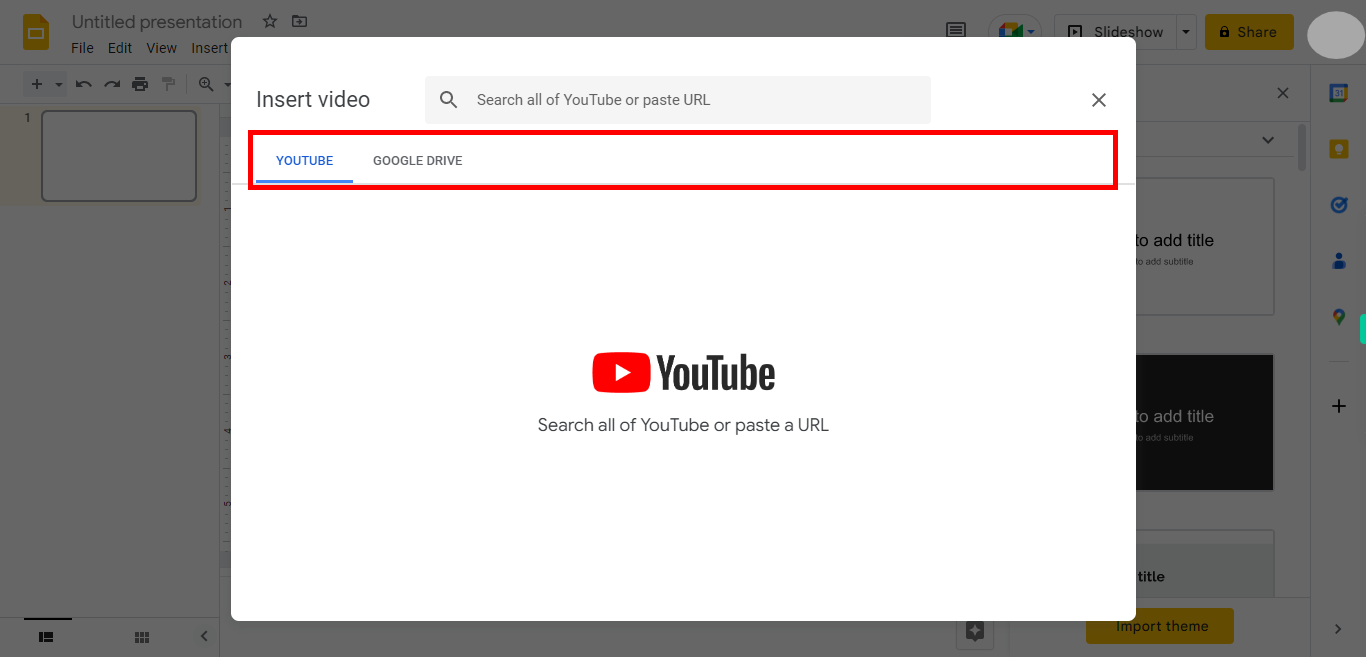
Identify the location where you need to choose a file, such as a file upload field or a media insertion option. Click on the required option, which may be labeled as "Select from Drive" or "Select from YouTube." If selecting a file from Google Drive, a pop-up window will appear displaying your Google Drive files and folders. Navigate through your files and folders to locate the desired file. If selecting a file from YouTube, you will be having the YouTube video link that you want to insert and place it in the search bar located top of the screen and press enter and select the video. Click on the Next button in the Supervity instruction widget.
-
6.
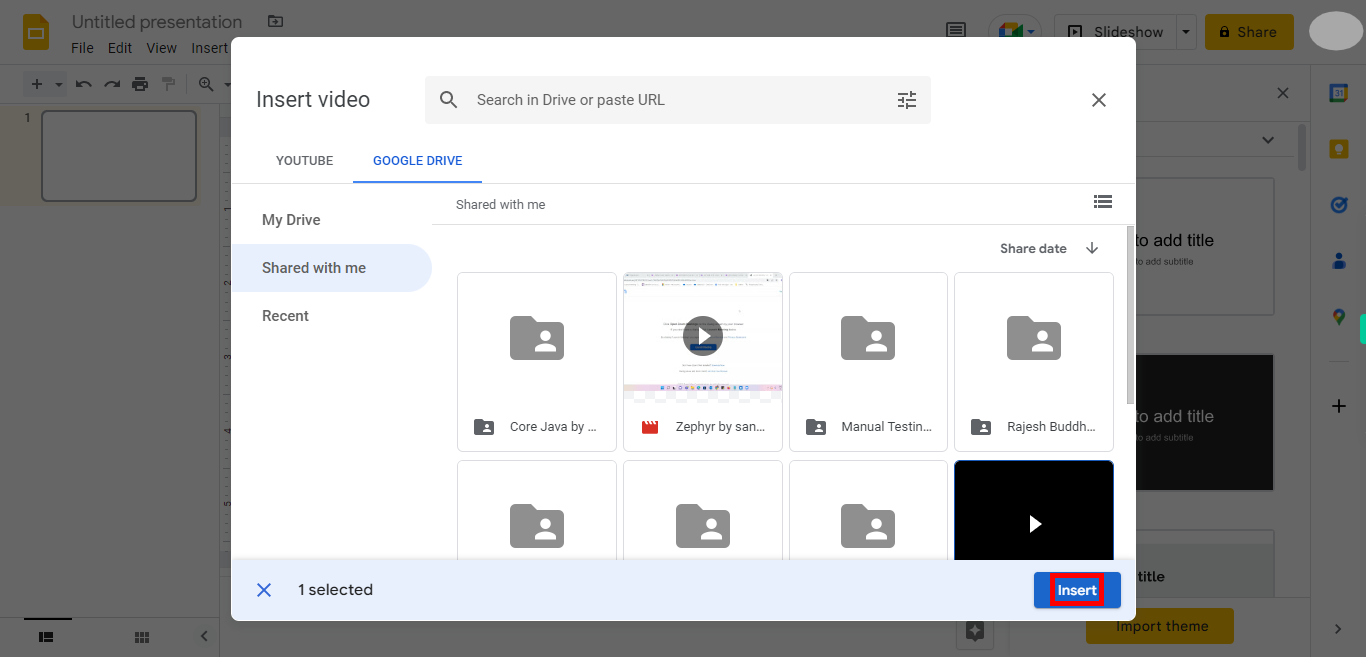
After selecting the desired file or video, click on the "Insert" button or option. The file or video will be inserted into the designated location or task.
-
7.
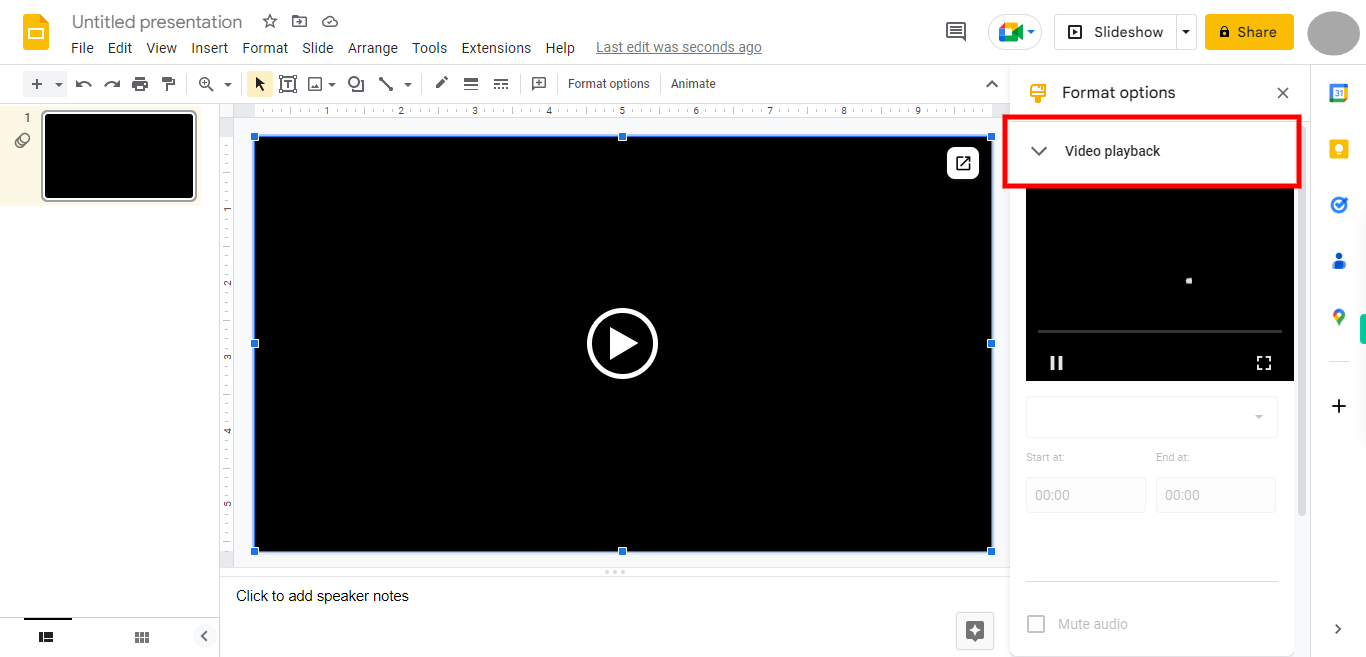
After inserting the video, locate the video playback option or controls. Click on the video playback option, which may include buttons like play, pause, rewind, or volume controls. Click on the Next button in the Supervity instruction widget.
-
8.
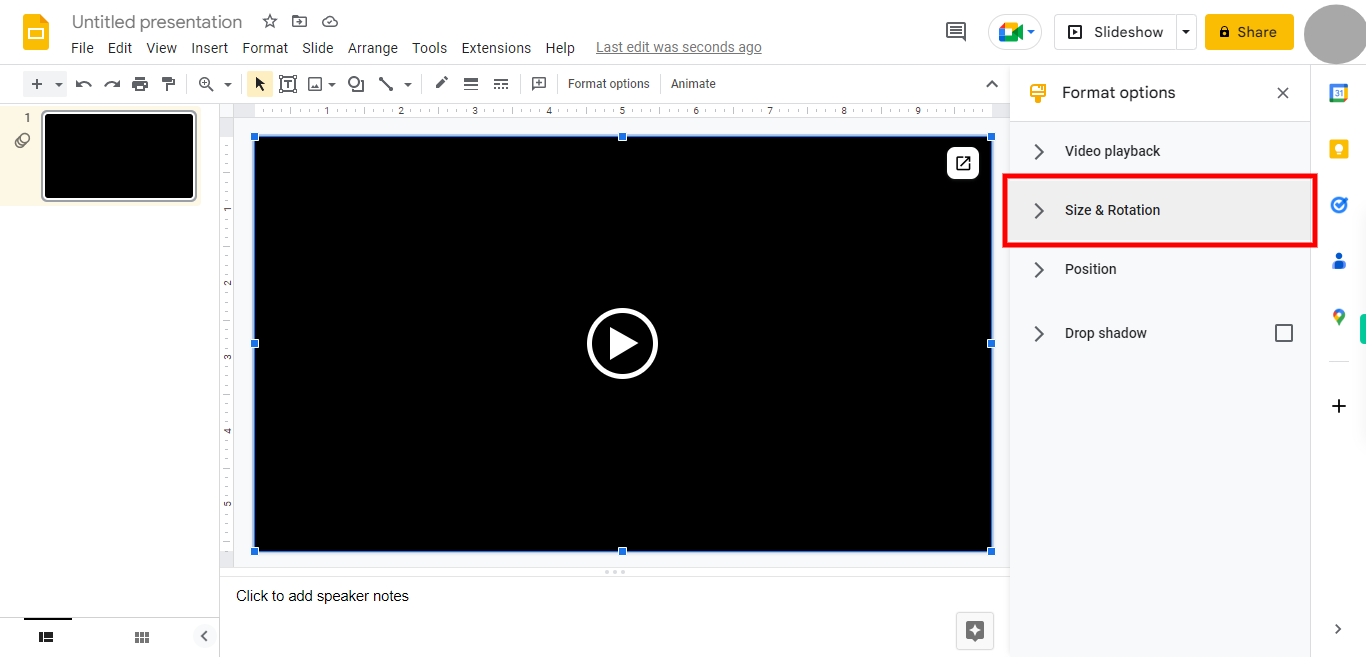
Locate the "Size & Rotation" option for the video you want to customize. Click on the "Size & Rotation" option to access the settings for adjusting the video's size and rotation. Depending on the application or platform, you may see options such as width, height, aspect ratio, or rotation angle. Adjust the size and rotation settings according to your preferences. For example, you can enter specific values for width and height to resize the video, or use rotation controls to rotate the video clockwise or counterclockwise. Click on the Next button in the Supervity instruction widget.
-
9.
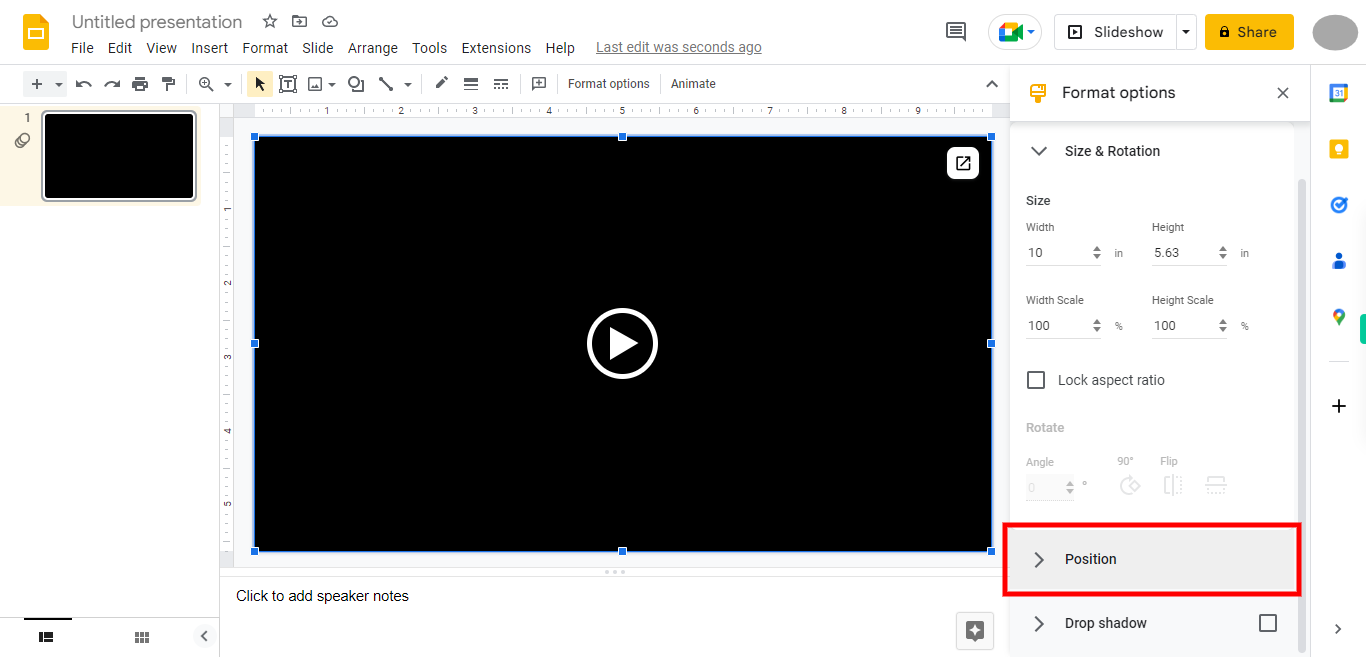
Look for the "Position" option or controls associated with the video you want to customize. Click on the "Position" option to access the settings for adjusting the video's position. Depending on the application or platform, you may see options such as X-axis and Y-axis coordinates, alignment settings, or drag-and-drop functionality. Use the provided controls or input fields to change the position of the video. For example, you can enter specific values for the X and Y coordinates to position the video precisely, or use alignment options to align the video within a specific area or container. Click on the Next button in the Supervity instruction widget.
-
10.
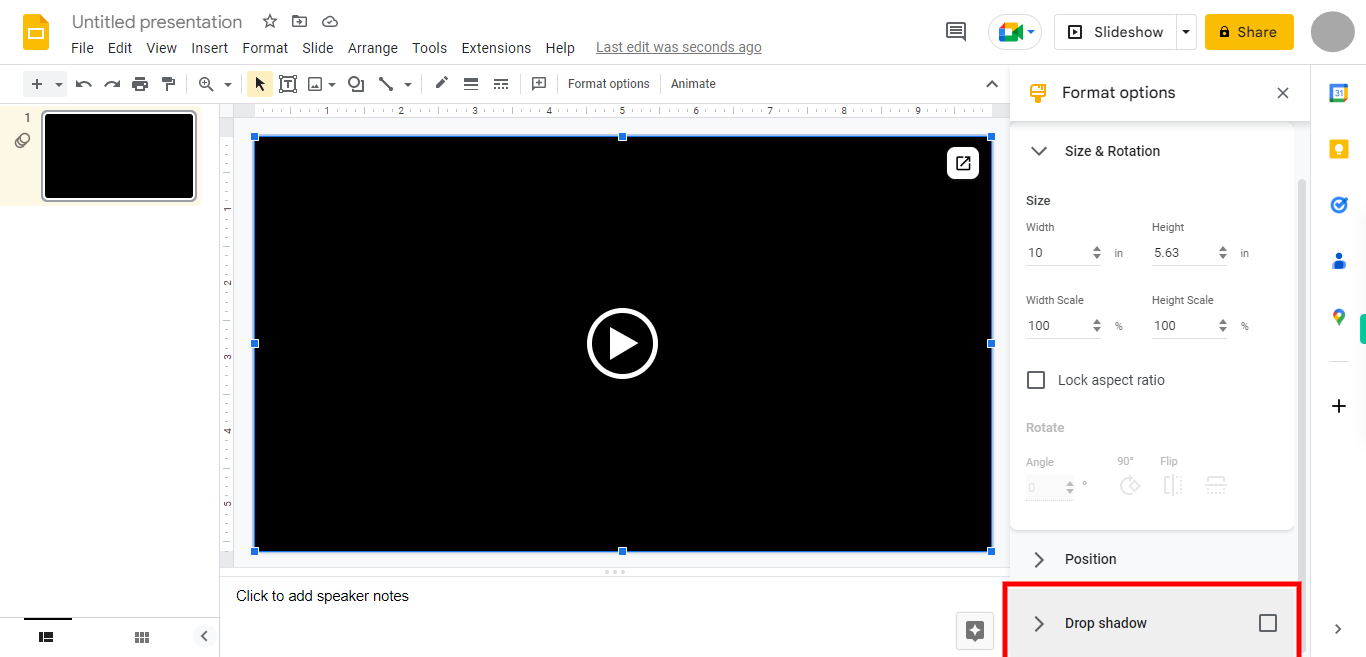
Click on the "Drop Shadow" option to access the settings for adjusting the video's drop shadow effect. Depending on the application or platform, you may see options such as shadow color, shadow intensity, shadow distance, or shadow blur. Click on the Next button in the Supervity instruction widget.


