Step-by-step guide on how to utilize the "Organize Emails into Folders" feature in the Outlook web application to efficiently categorize and manage your emails by sorting them into designated folders. Note: Ensure that you are logged into the Outlook web application before proceeding.
-
1.
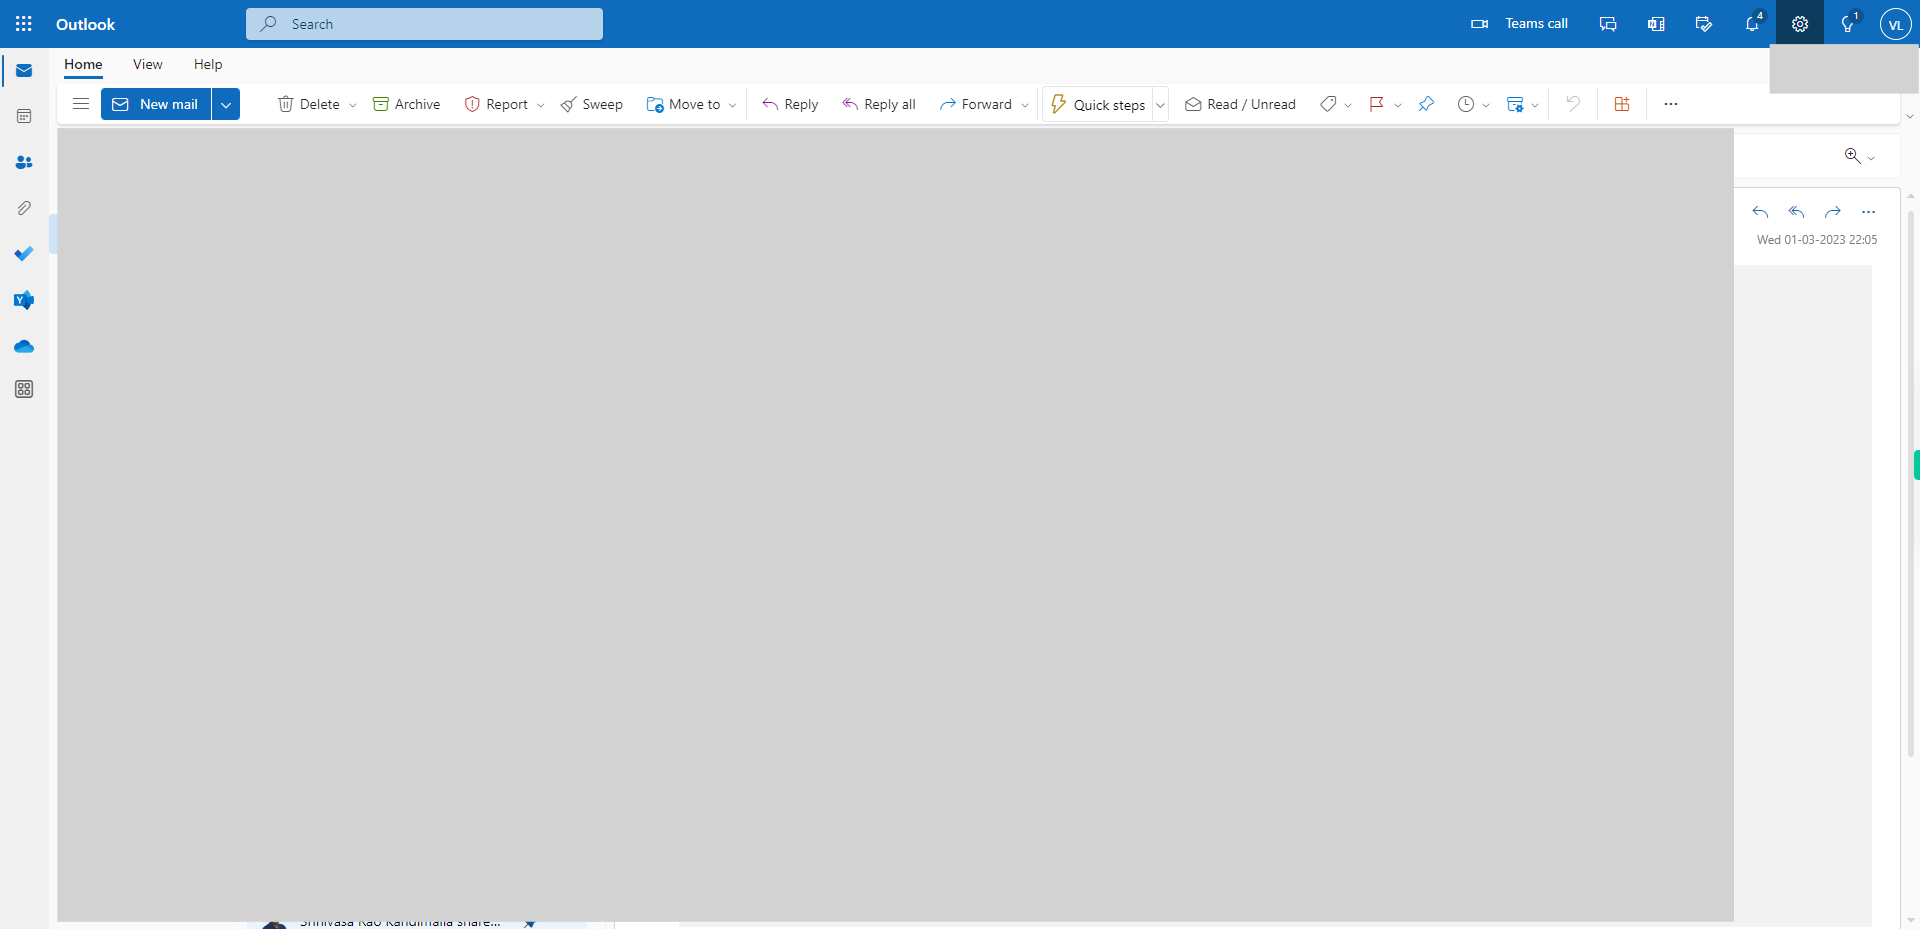
Open web Outlook account.
-
2.
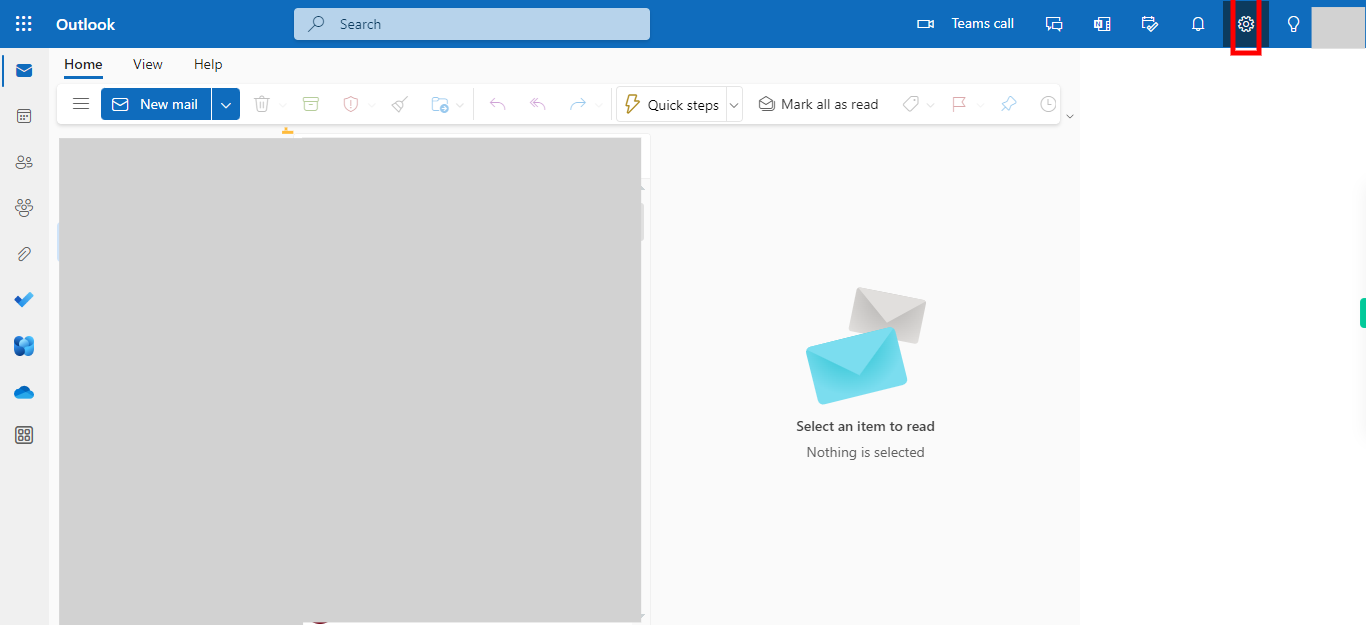
Click on the Settings icon to open the settings menu, which is represented by a gear or cogwheel. The Settings icon is usually located in the top-right corner of the Outlook interface, near your profile picture or avatar.
-
3.
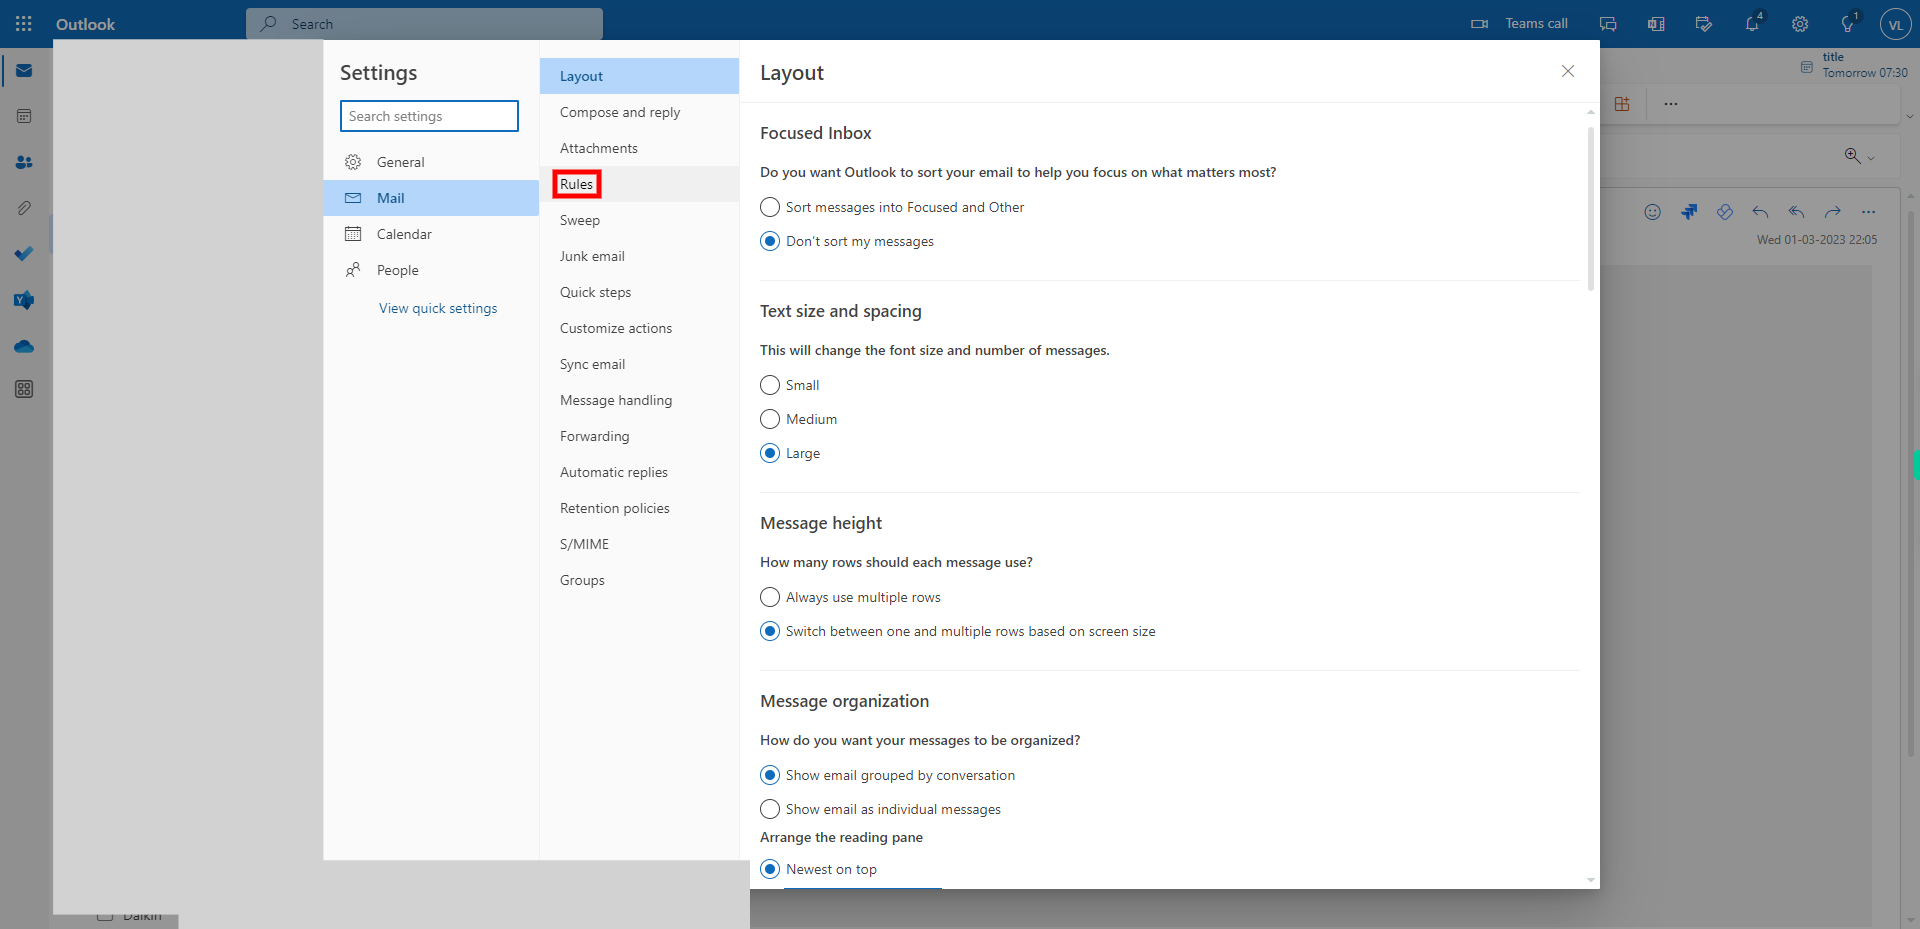
On the Settings panel, click on "Rules", which is located under the "Mail" option.
-
4.
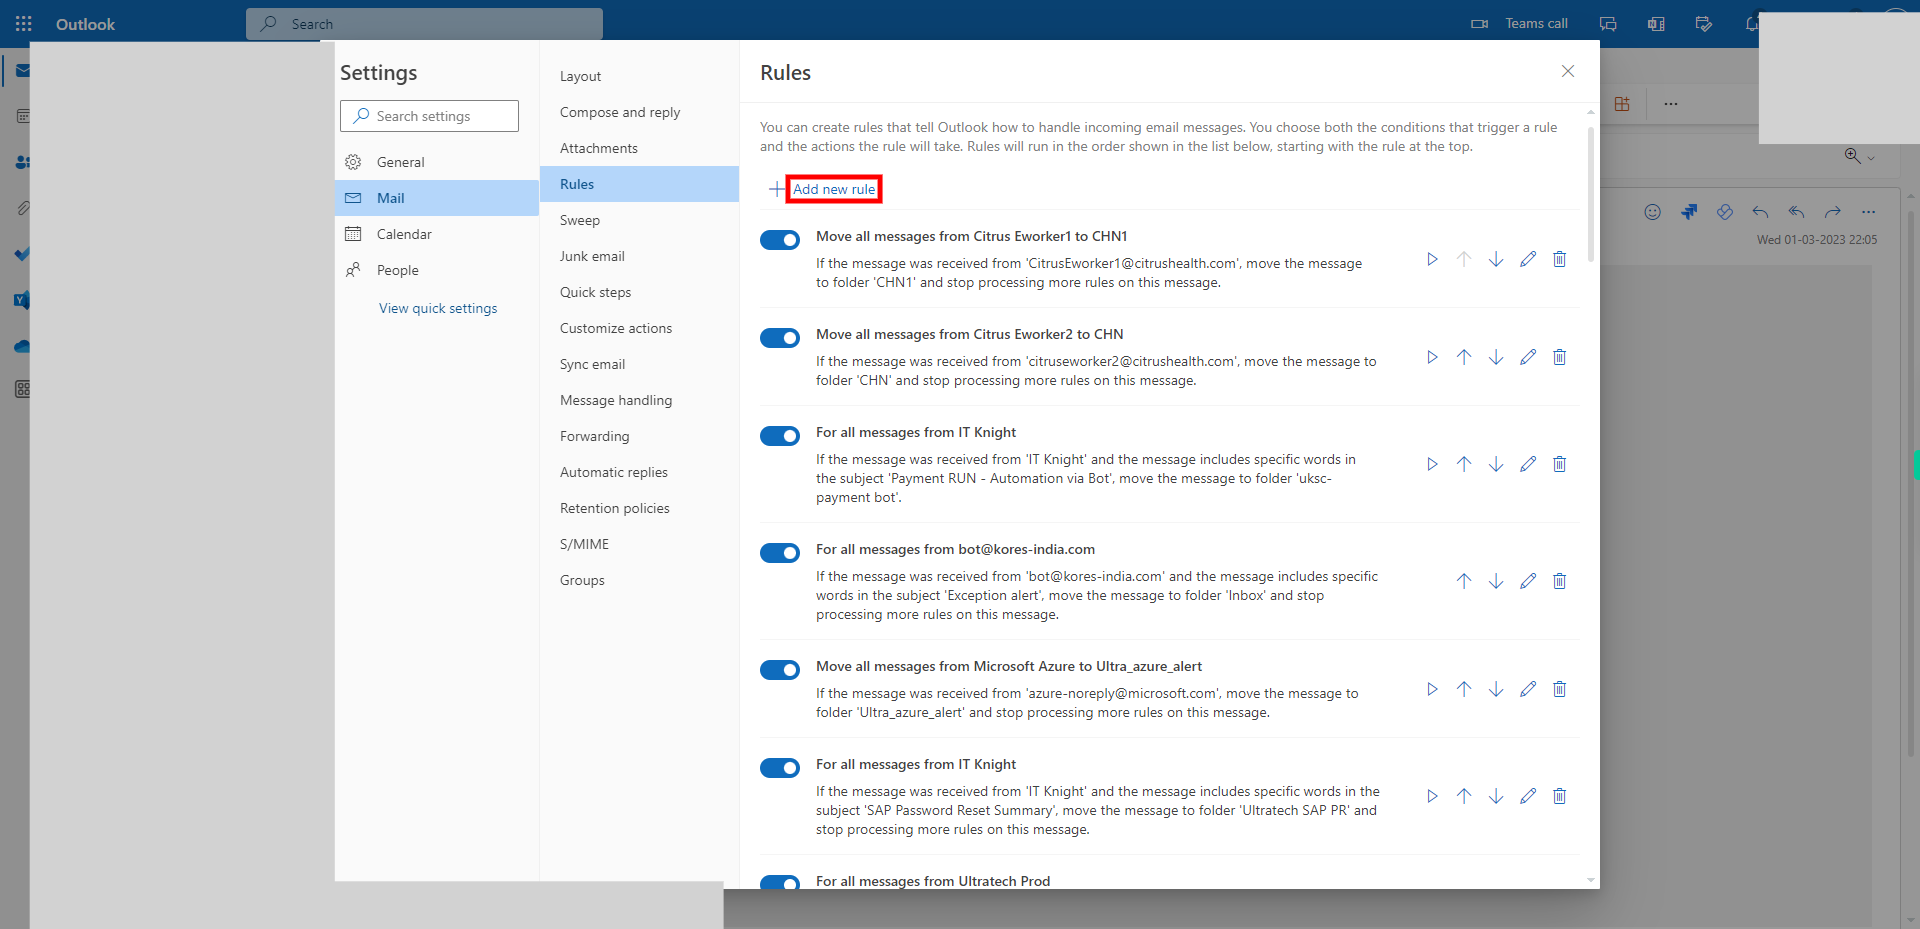
Click on "Add new rule" to start the process of creating a new rule. This will open the rule creation interface where you can specify the conditions and actions for your new rule.
-
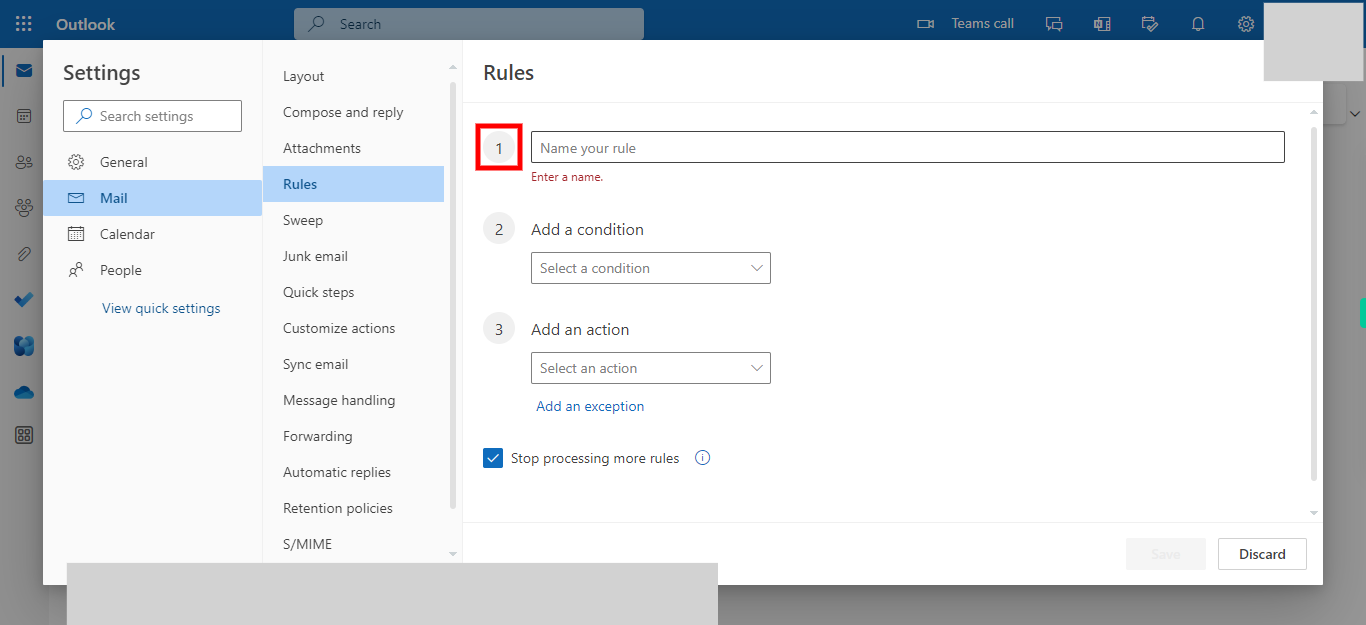
5.
Click on "Name your rule" and enter a name for your rule, choosing a descriptive name that will help you identify the purpose of the rule. Once done, click on the "Next" button on the Supervity instruction widget.
-
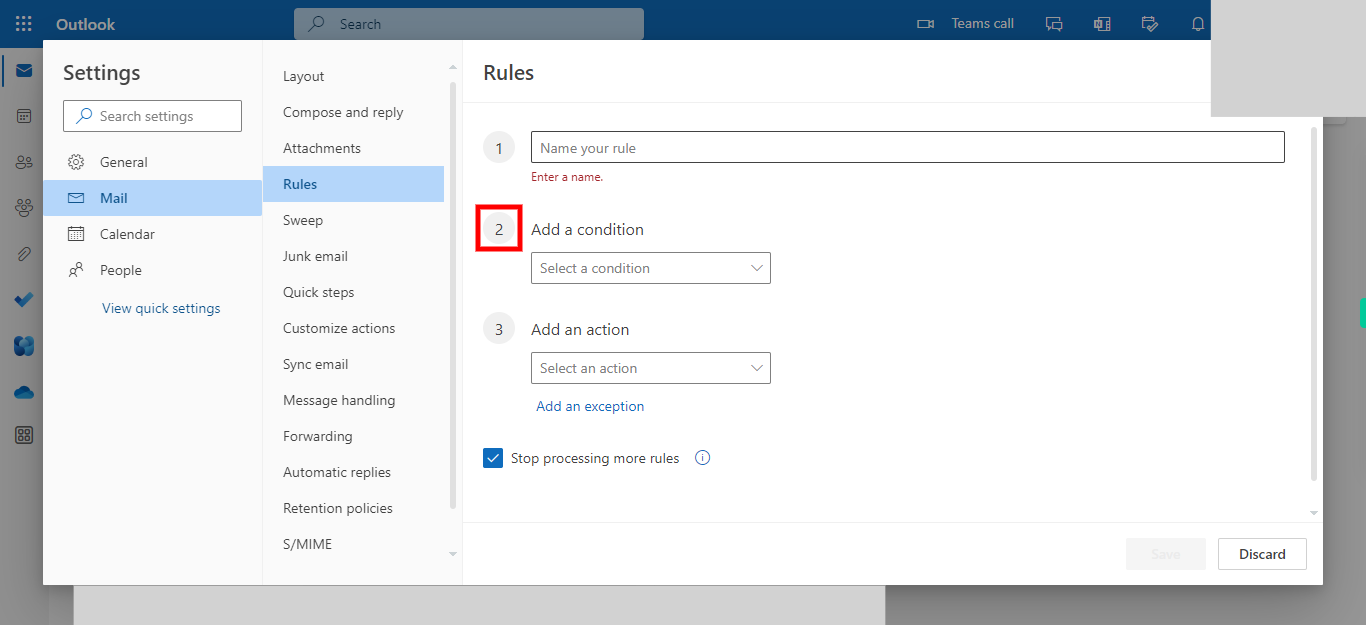
6.
From the "Add a Condition" dropdown, select the "From" option. After choosing it, an additional text box will appear where you can enter the sender's email address for whom you want to organize their emails into folders. Once done, click on the "Next" button on the Supervity instruction widget.
-
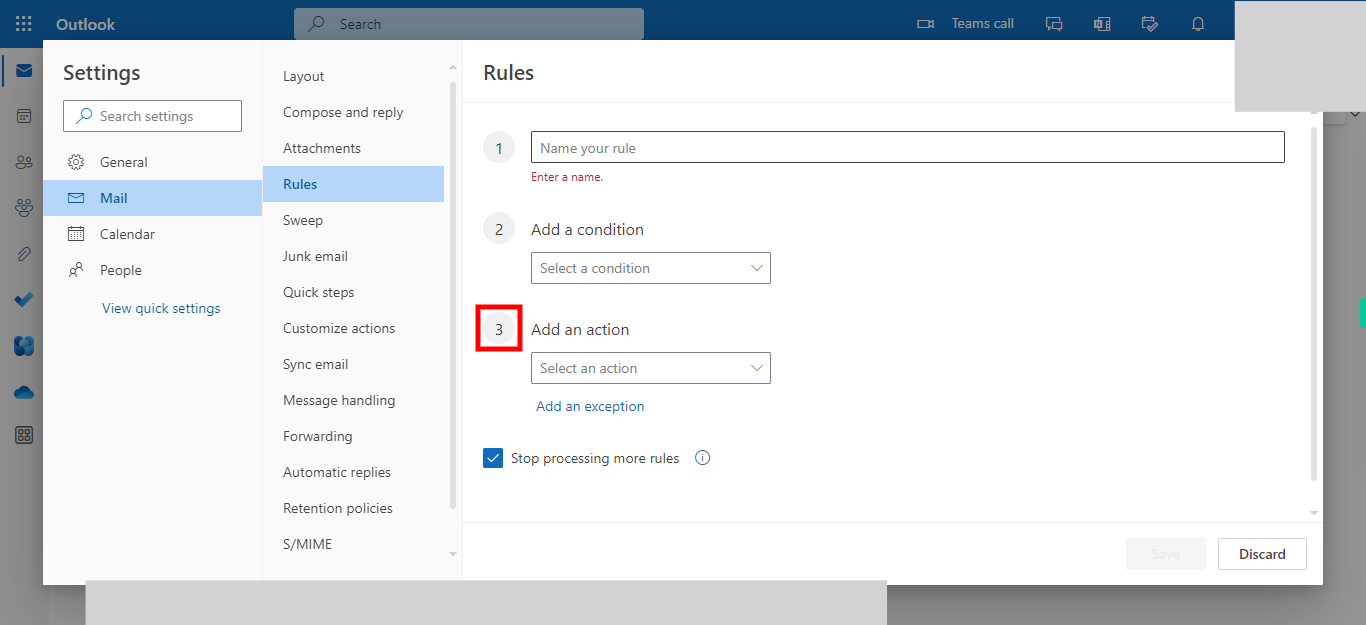
7.
From the "Add an action" dropdown, select the "Move to" option. After choosing it, an additional text box will appear where you can select the folder to which the selected sender's emails should be moved, organizing them into a separate folder. Once done, click on the "Next" button on the Supervity instruction widget.
-
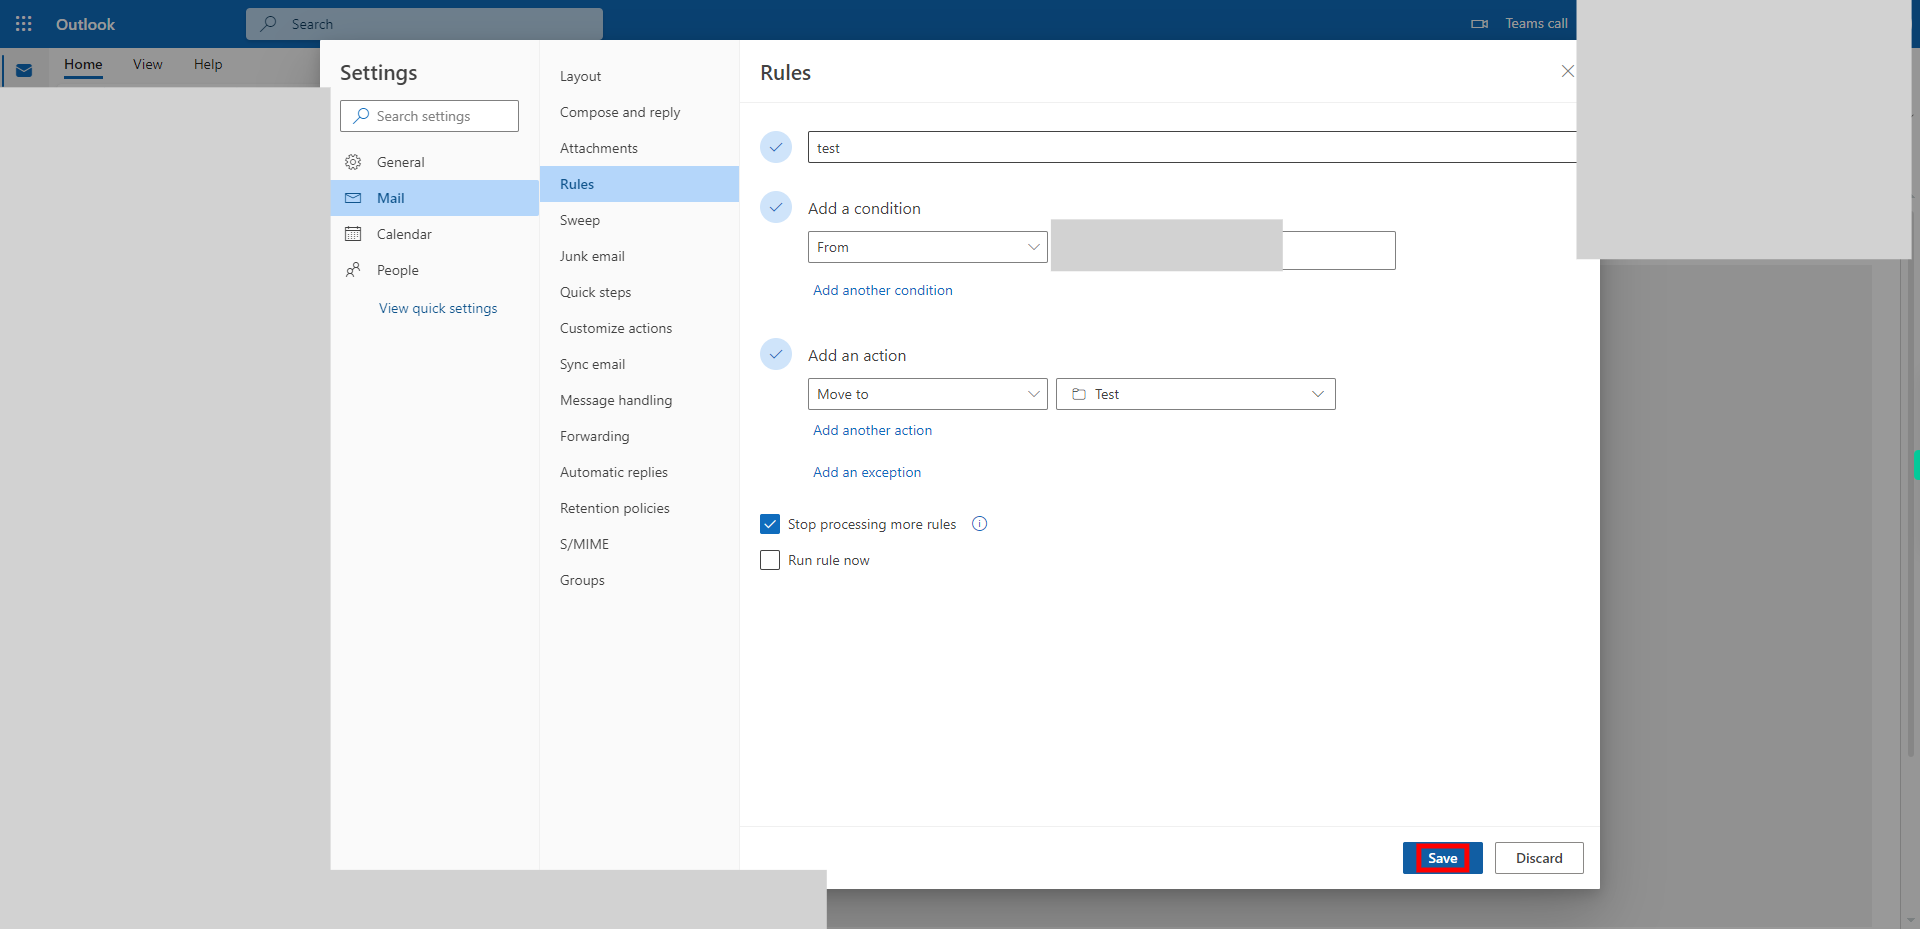
8.
Click on the "Save" button to complete the process.


