This skill helps you to easily rename files and folders within your OneDrive account, allowing you to organize and manage your files more efficiently. Pre-Requisites: Make sure you are having files and folders in your OneDrive. NOTE: Please sign in to your web Outlook account and then execute this skill.
-
1.
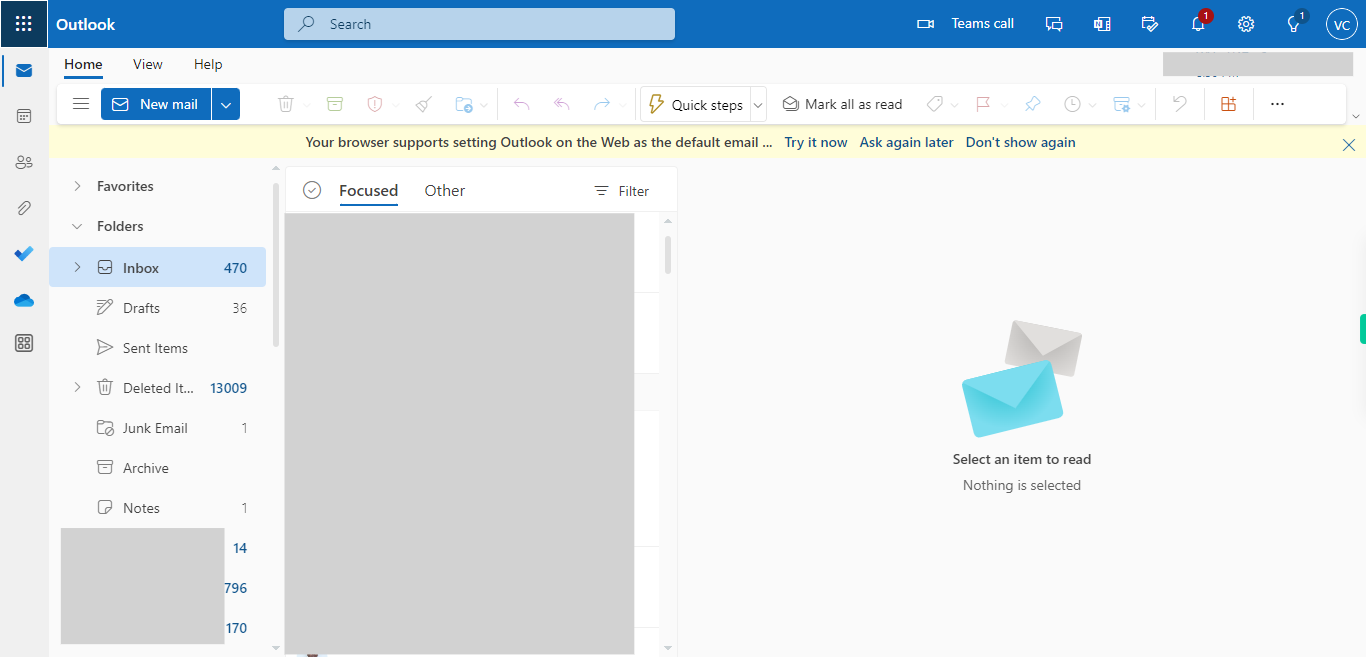
Open web Outlook.
-
2.
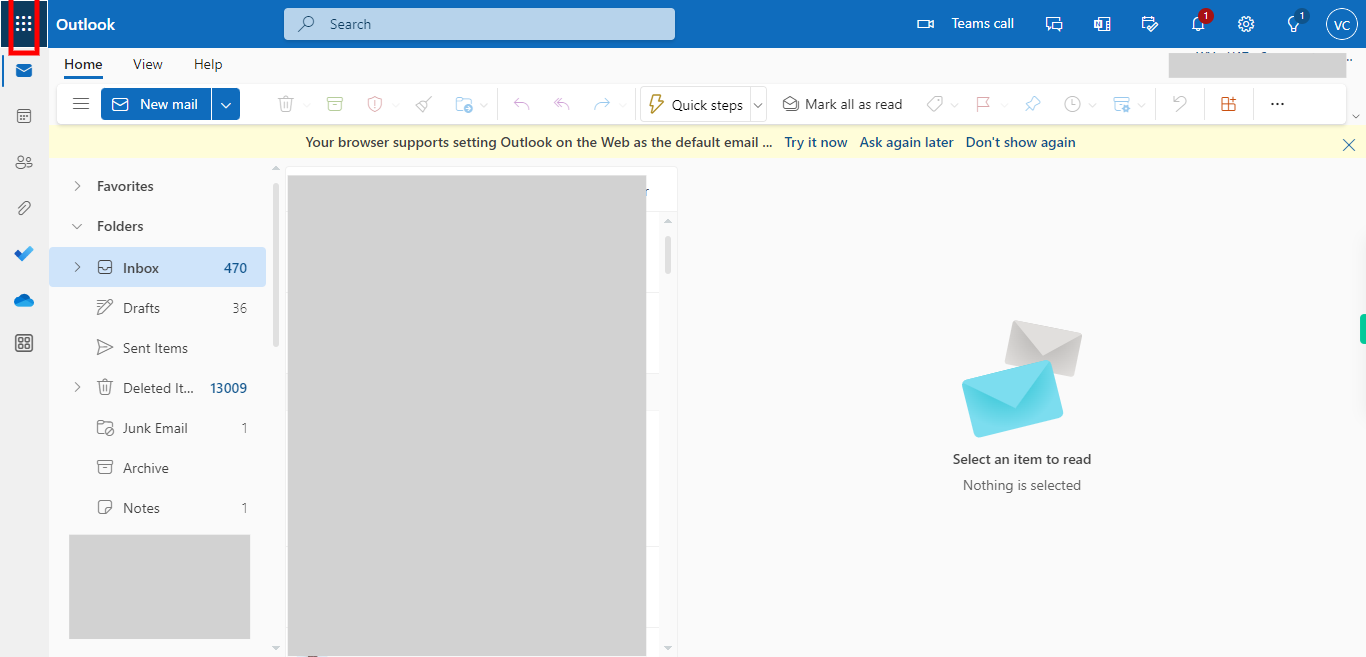
1. Click on the "App Launcher" icon in the top left corner to navigate to the OneDrive application.
-
3.
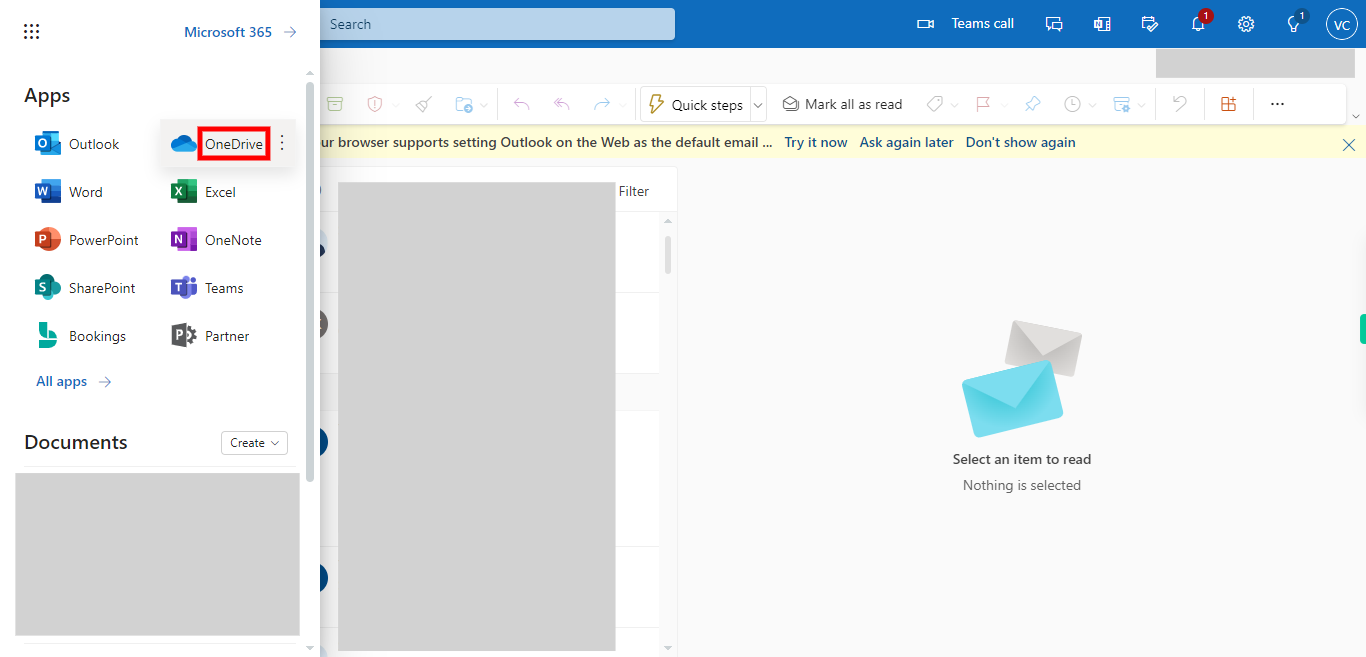
2. First click on the Next button in the Supervity instruction widget, and then select OneDrive from the listed applications.
-
4.
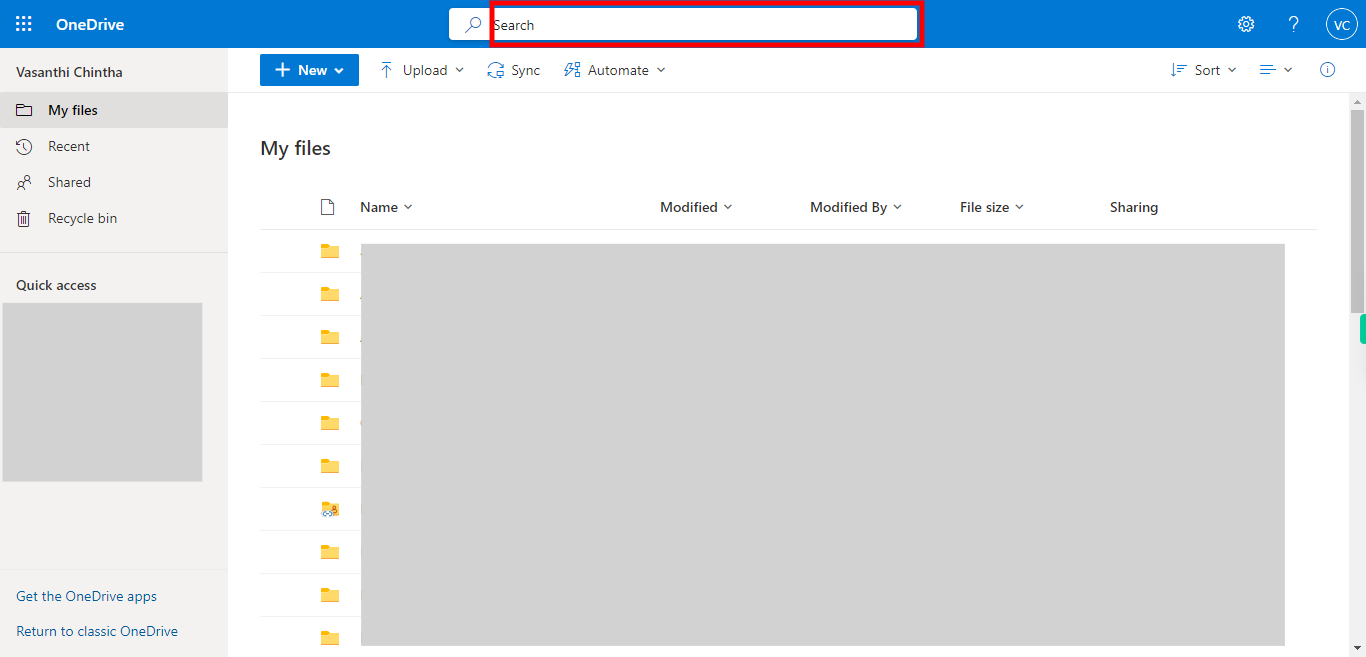
3. First click on the Next button in the Supervity instruction widget and then type the folder or file name that you want to rename in the "Search bar" and then press "Enter" from your keyboard and a list of files and folders that matches your search criteria will be displayed.
-
5.
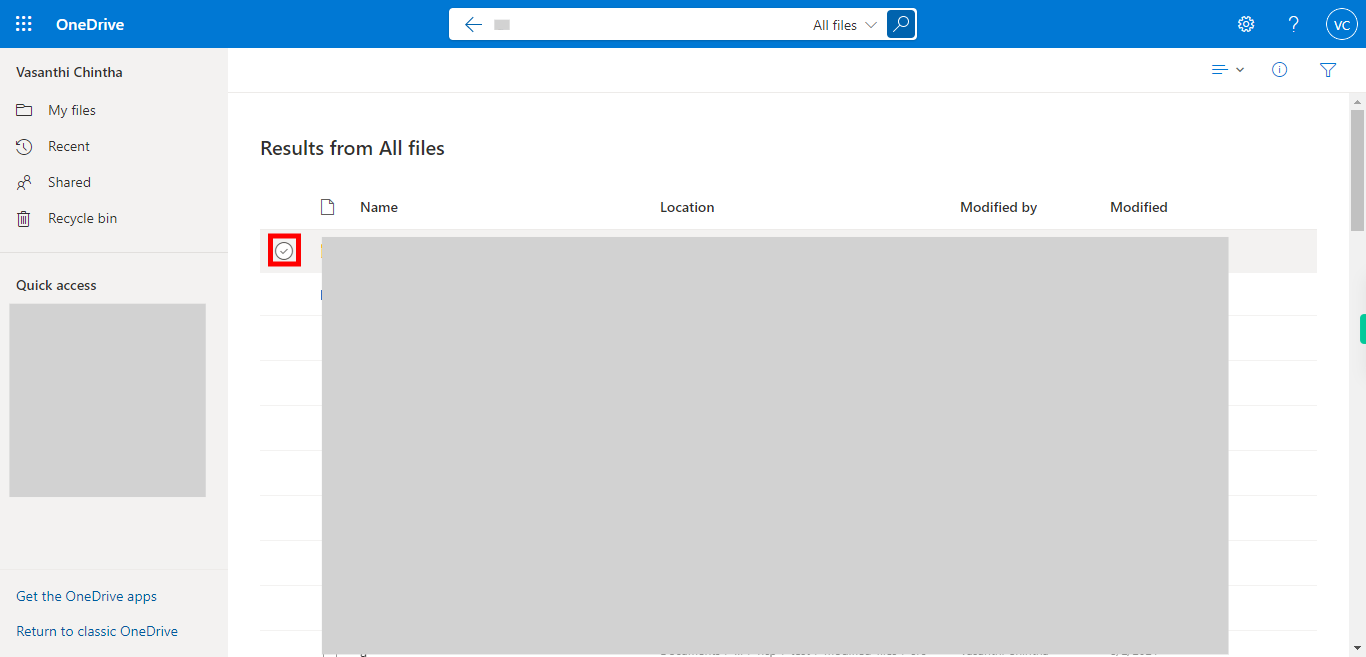
4. First click on the Next button in the Supervity instruction widget, and then check the check box of the respective file/folder that is to be renamed.
-
6.
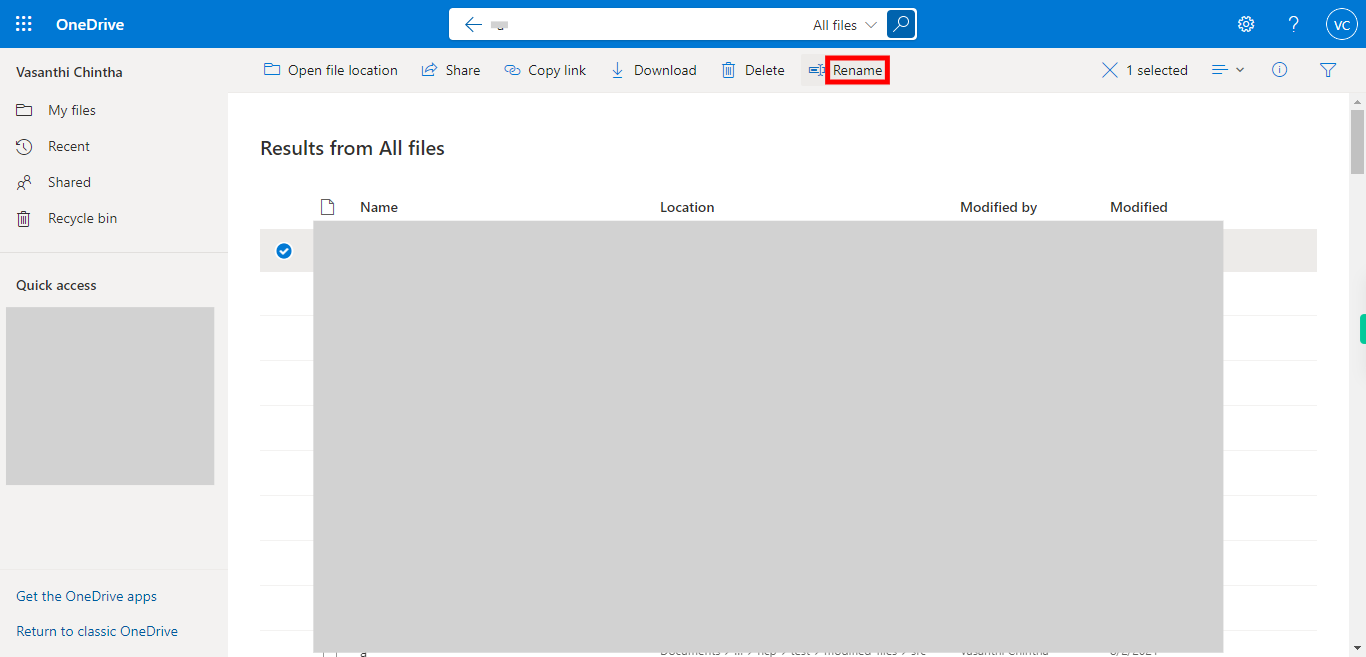
5. First click on the Next button in the Supervity instruction widget. Click on the "Rename" option at the top of the page in the toolbar.
-
7.
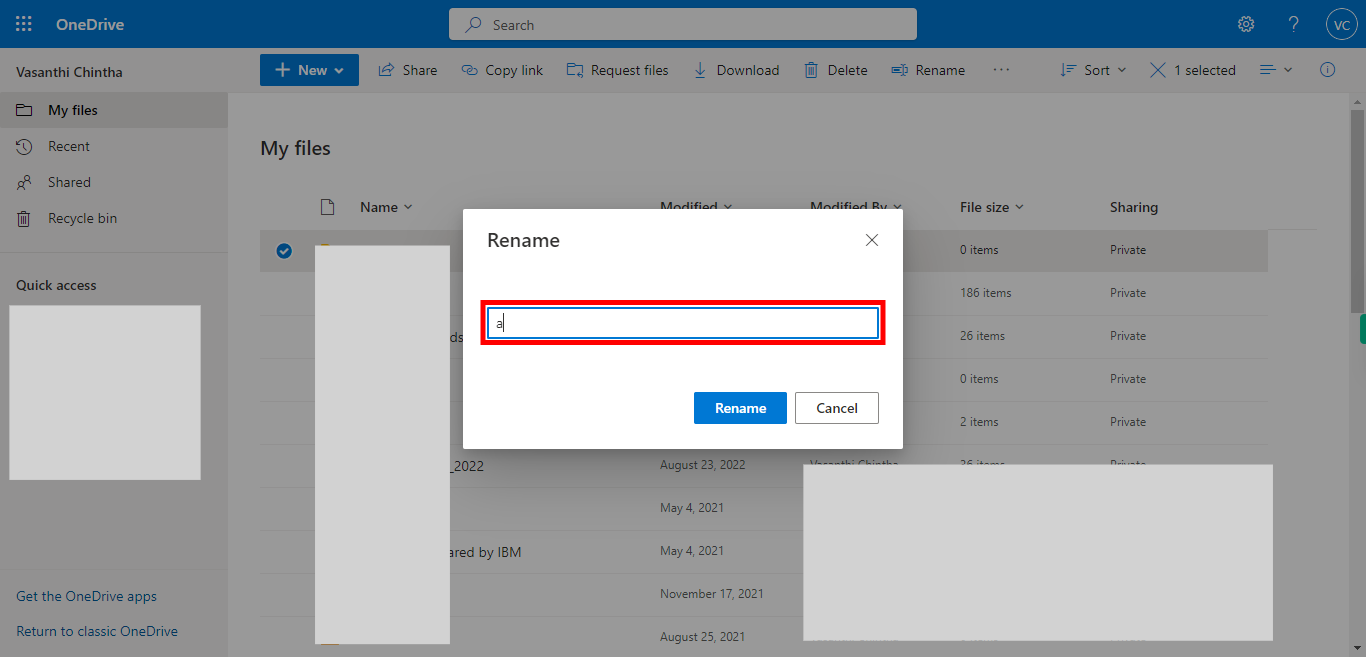
6. A "Rename" pop-up will appear, enter the new name with which you want to rename the selected file/folder in the available text box, where you can either type or paste the text and then click on the Next button in the Supervity instruction widget. But ensure that it complies with the naming rules and restrictions in OneDrive (e.g., no special characters or prohibited words).
-
8.
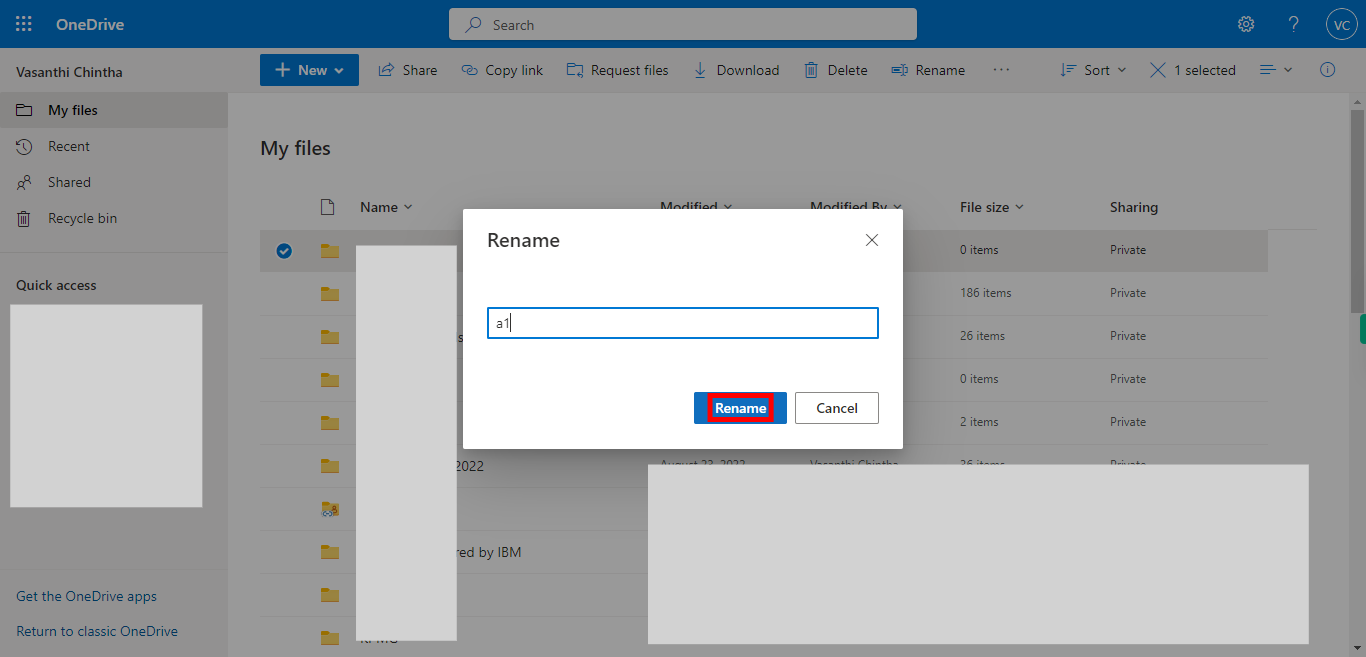
7. Click on the "Rename" button. The file or folder will be renamed with the new name you provided. The change will be reflected in the file or folder's display name within OneDrive.


