Effortlessly create and manage your distribution lists in Outlook, making your email communication more efficient and organized. With this skill, easily navigate through the features without leaving the application as the step-by-step guide, handholds you through the process, ensuring you can create, modify, and update your distribution lists seamlessly. Say goodbye to the hassle of manually selecting recipients one by one, and enjoy the convenience of sending emails to your entire group with just a few clicks. NOTE: Make sure that, you are already logged into the Outlook web application.
-
1.
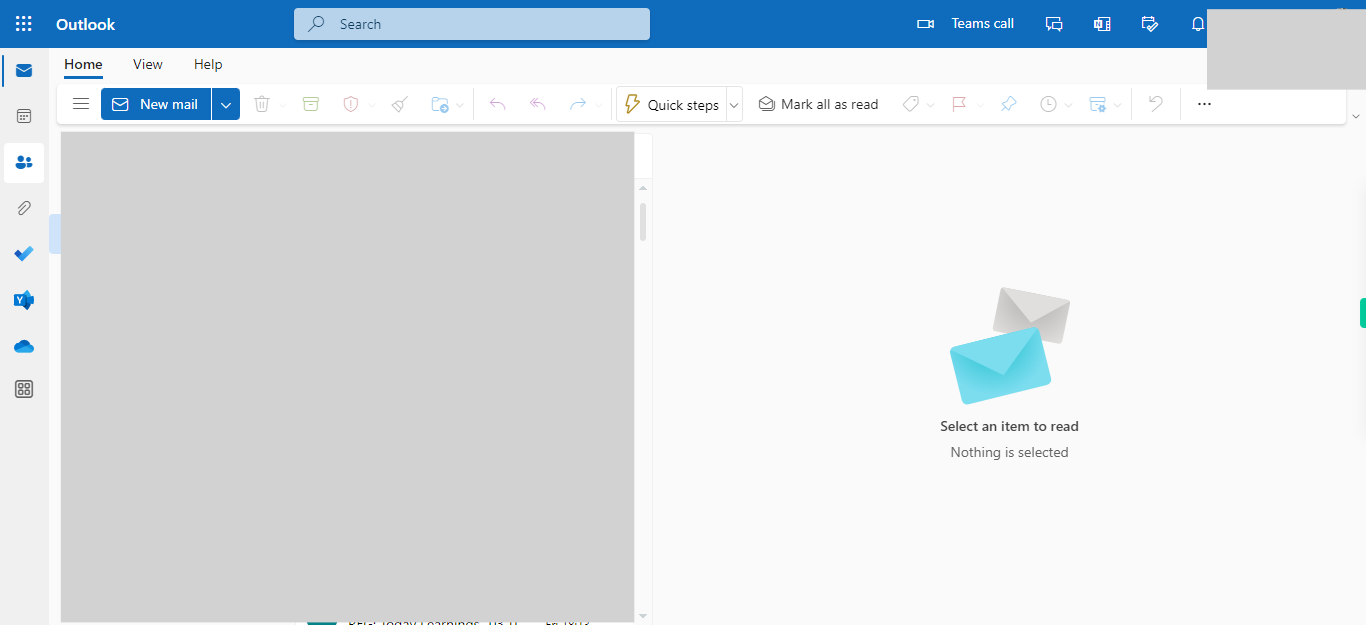
Open Outlook on the web.
-
2.
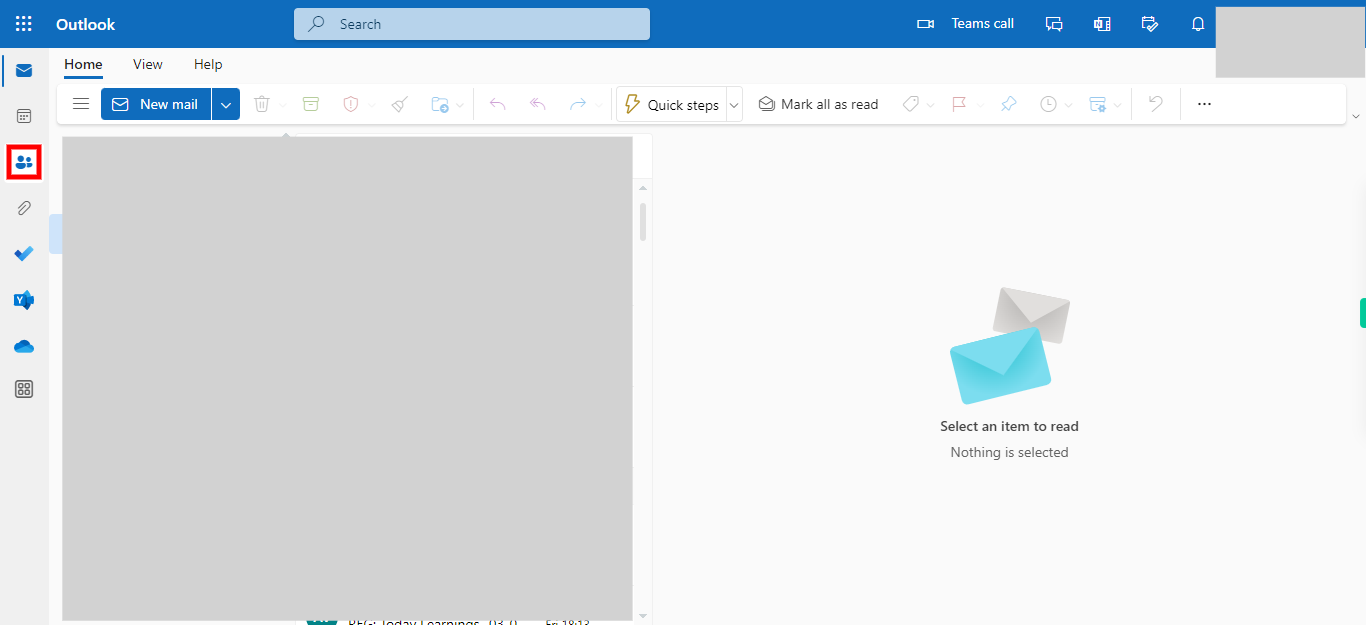
On the Outlook homepage, look for the icons or menu options located on the left-hand side of the page. Click on the "People" icon. You will be taken to the Contacts or People section of Outlook, where you can manage your contacts, create new contacts, and perform various contact-related tasks. Please note that the interface may vary slightly depending on the version of Outlook you are using.
-
3.
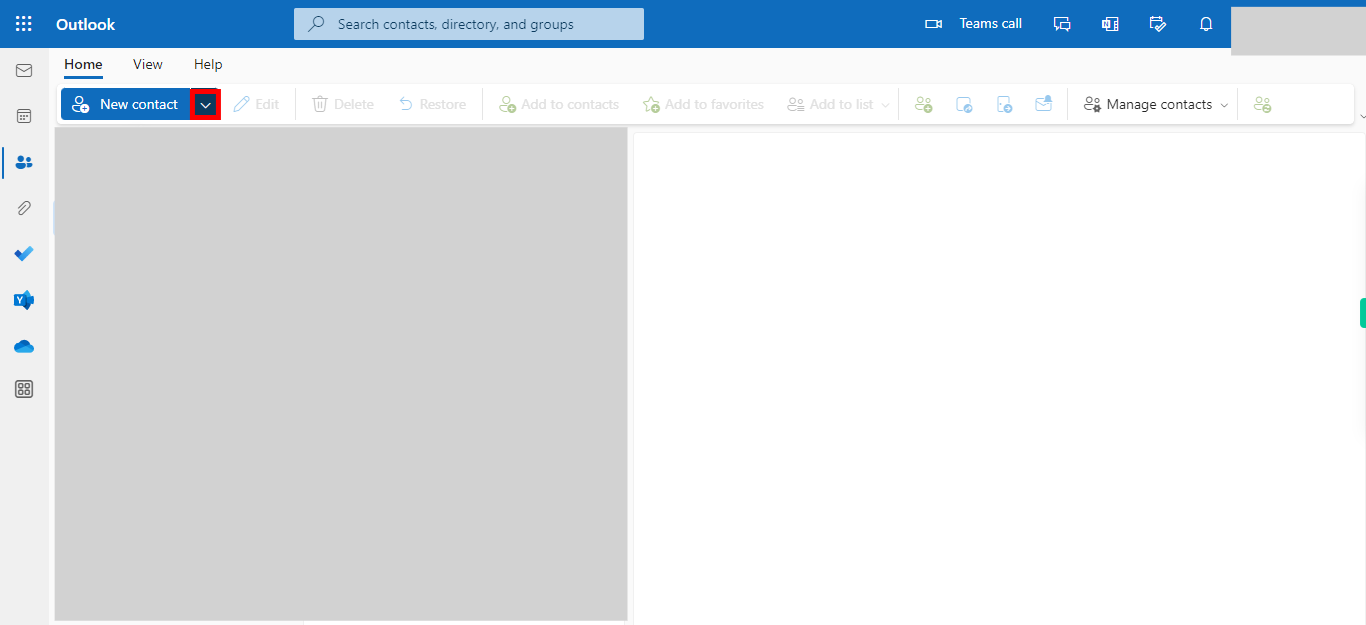
In the Contacts or People section, look for a button labeled "New Contact" or a "+" symbol. Click on it to open a drop-down menu or a list of options.
-
4.
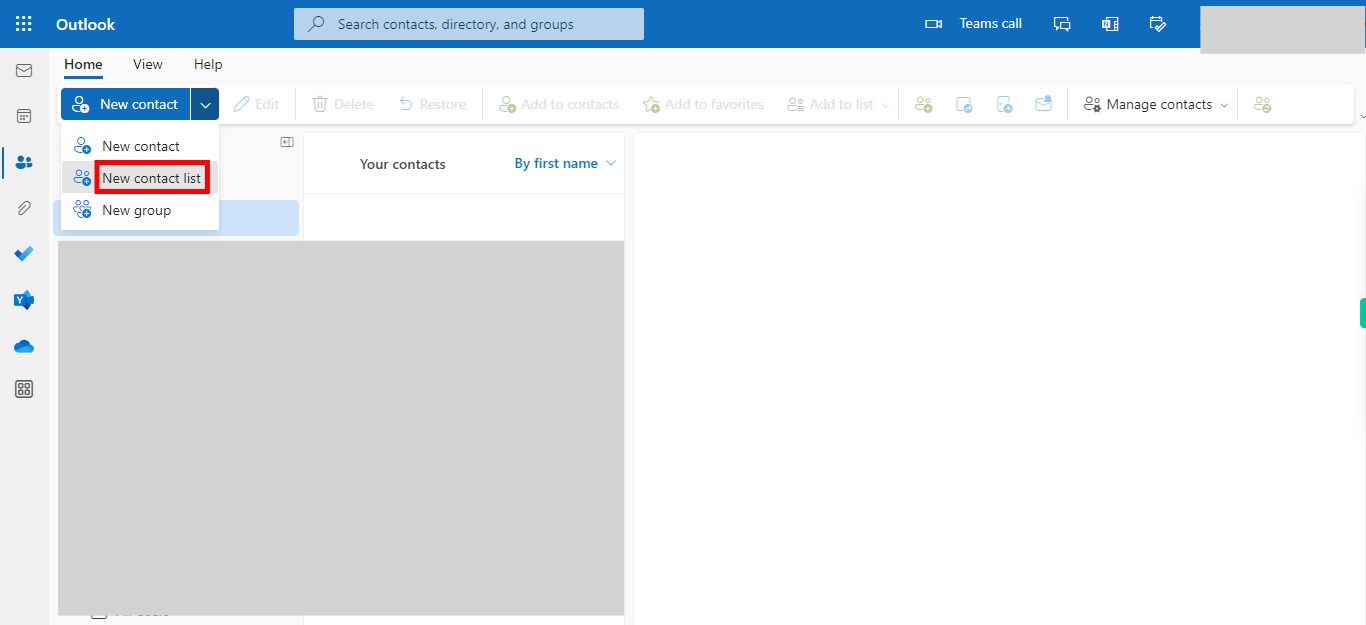
From the drop-down menu or list, find and click on the option that says "New Contact list" or "Create Contact list." This option allows you to create a new email distribution list in Outlook. A dialog box or form will appear, allowing you to enter the details for the new contact list.
-
5.
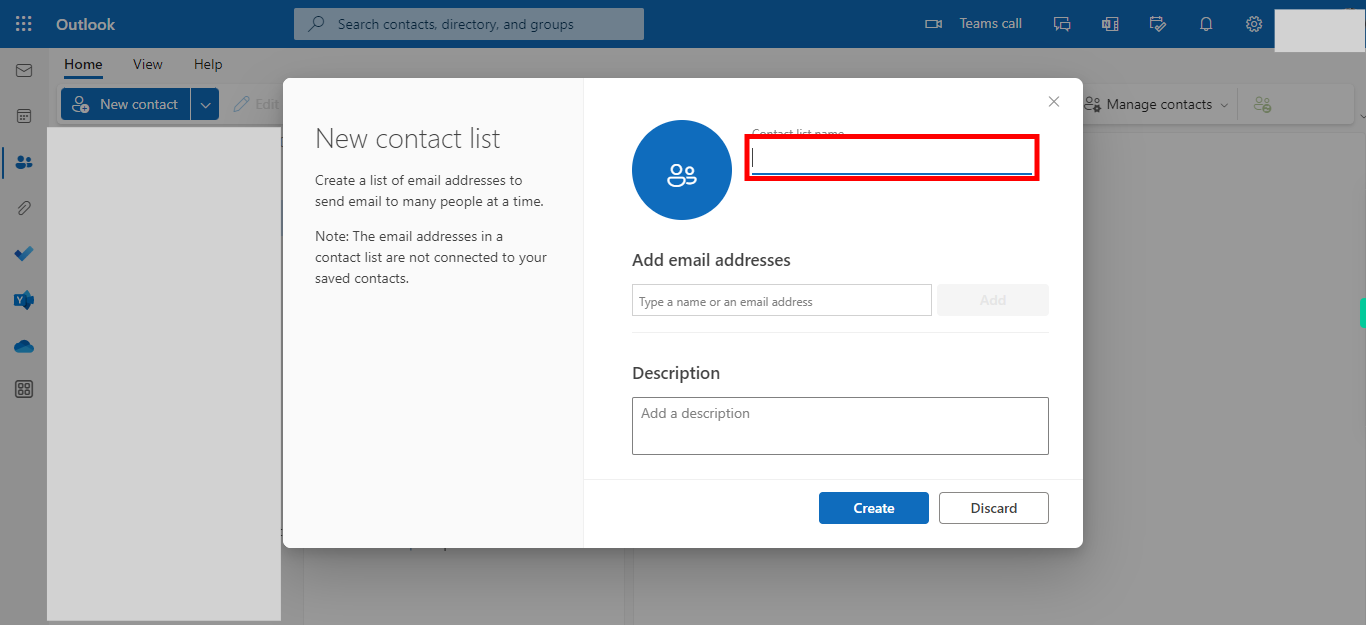
In the available dialog box, provide a name for the contact list or distribution list in the appropriate field. You can also optionally add a description or notes to further define the purpose of the list. Once done, click on the Next button on the Supervity instruction widget.
-
6.
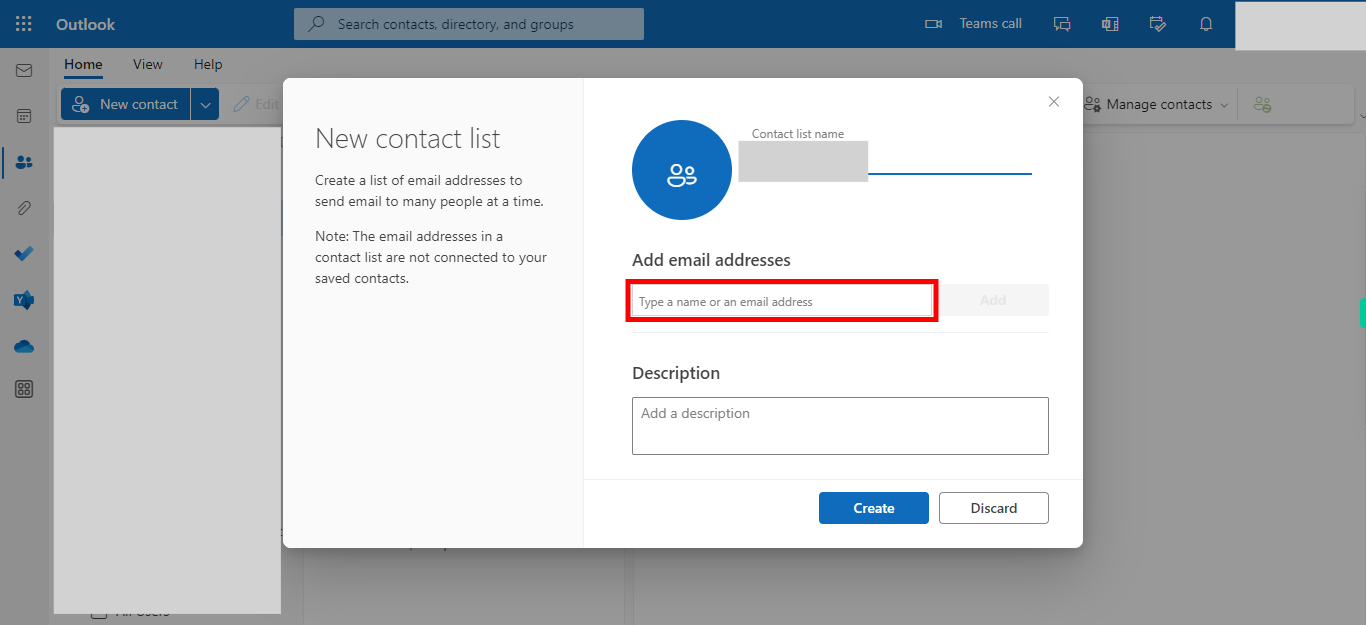
In the "Add email addresses", you can start adding contacts to the list. You can search for existing contacts in your address book or manually enter new contact details. Once done, click on the Next button on the Supervity instruction widget.
-
7.
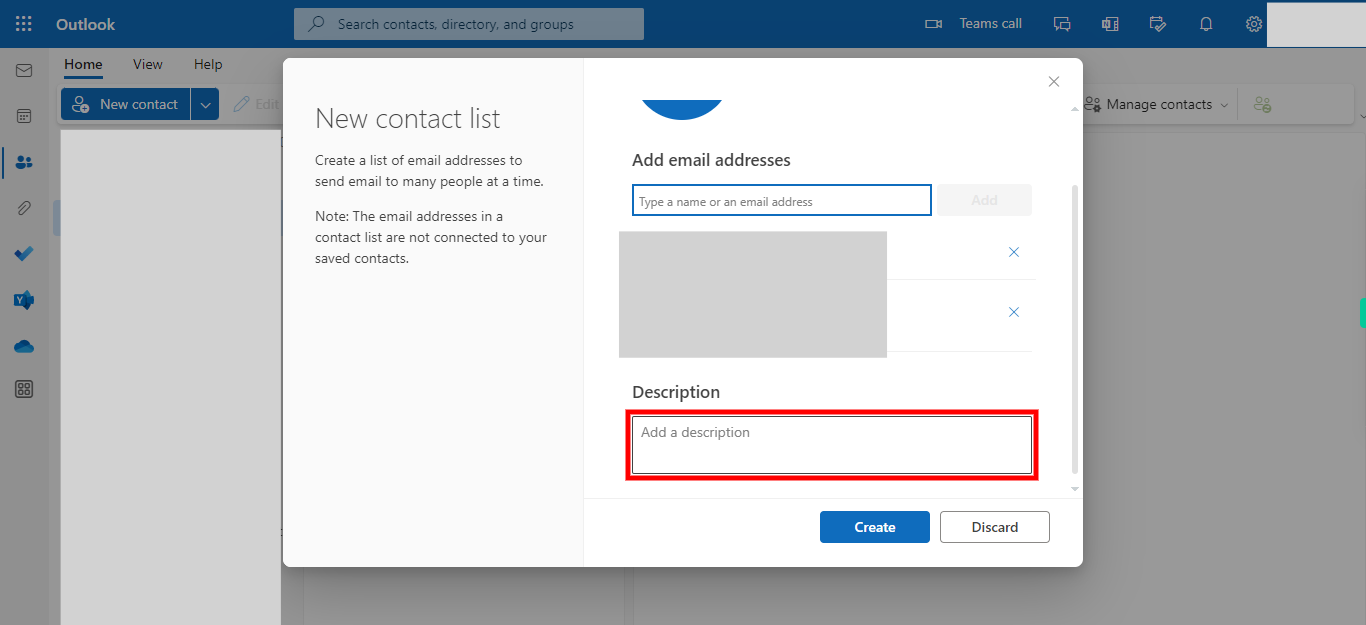
In the field titled "Description", add the required description for the distribution list. Once done, click on the Next button on the Supervity Instruction widget.
-
8.
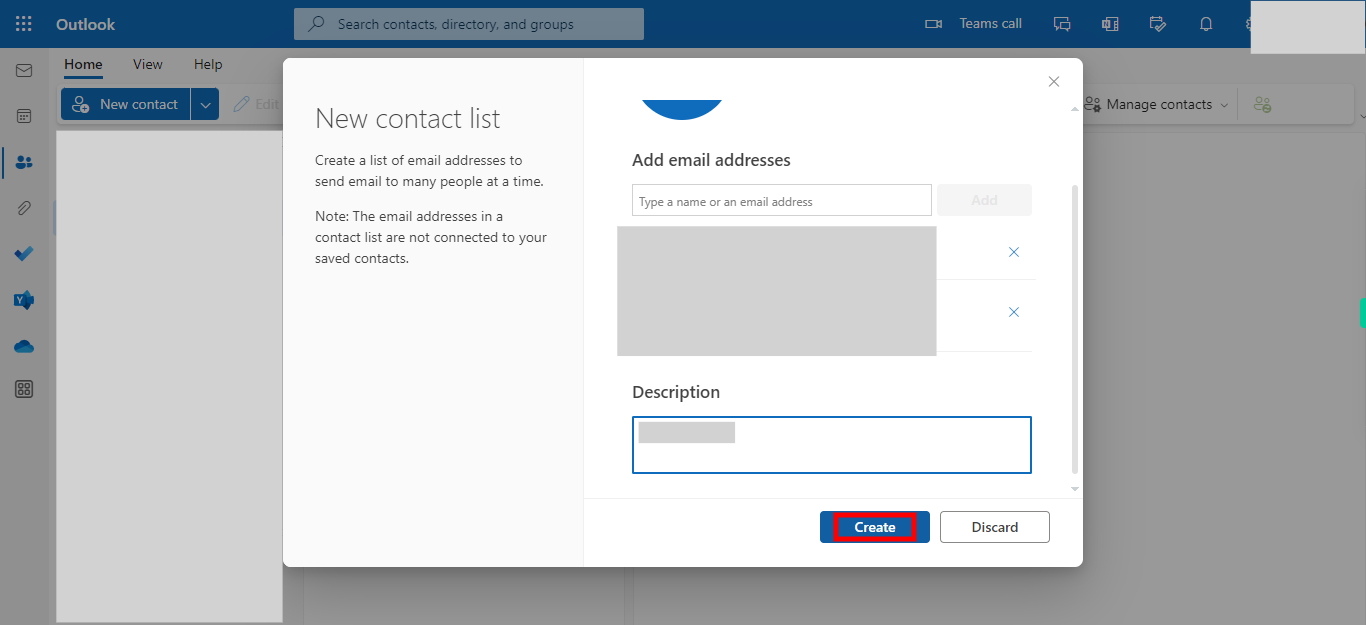
Once you have added the desired member details, name, and required description to the Distribution List, click on the "Create" button to complete the process.


